
How to Create and Manage Message Templates
Create and manage talent message templates in Settings with dynamic placeholders to send recurring messages to candidates faster.
In this article, you'll learn how to create and manage message templates in Instaffo. Templates help you send recurring messages faster - whether it's for the talent feed, rejections, or chat messages to talents.

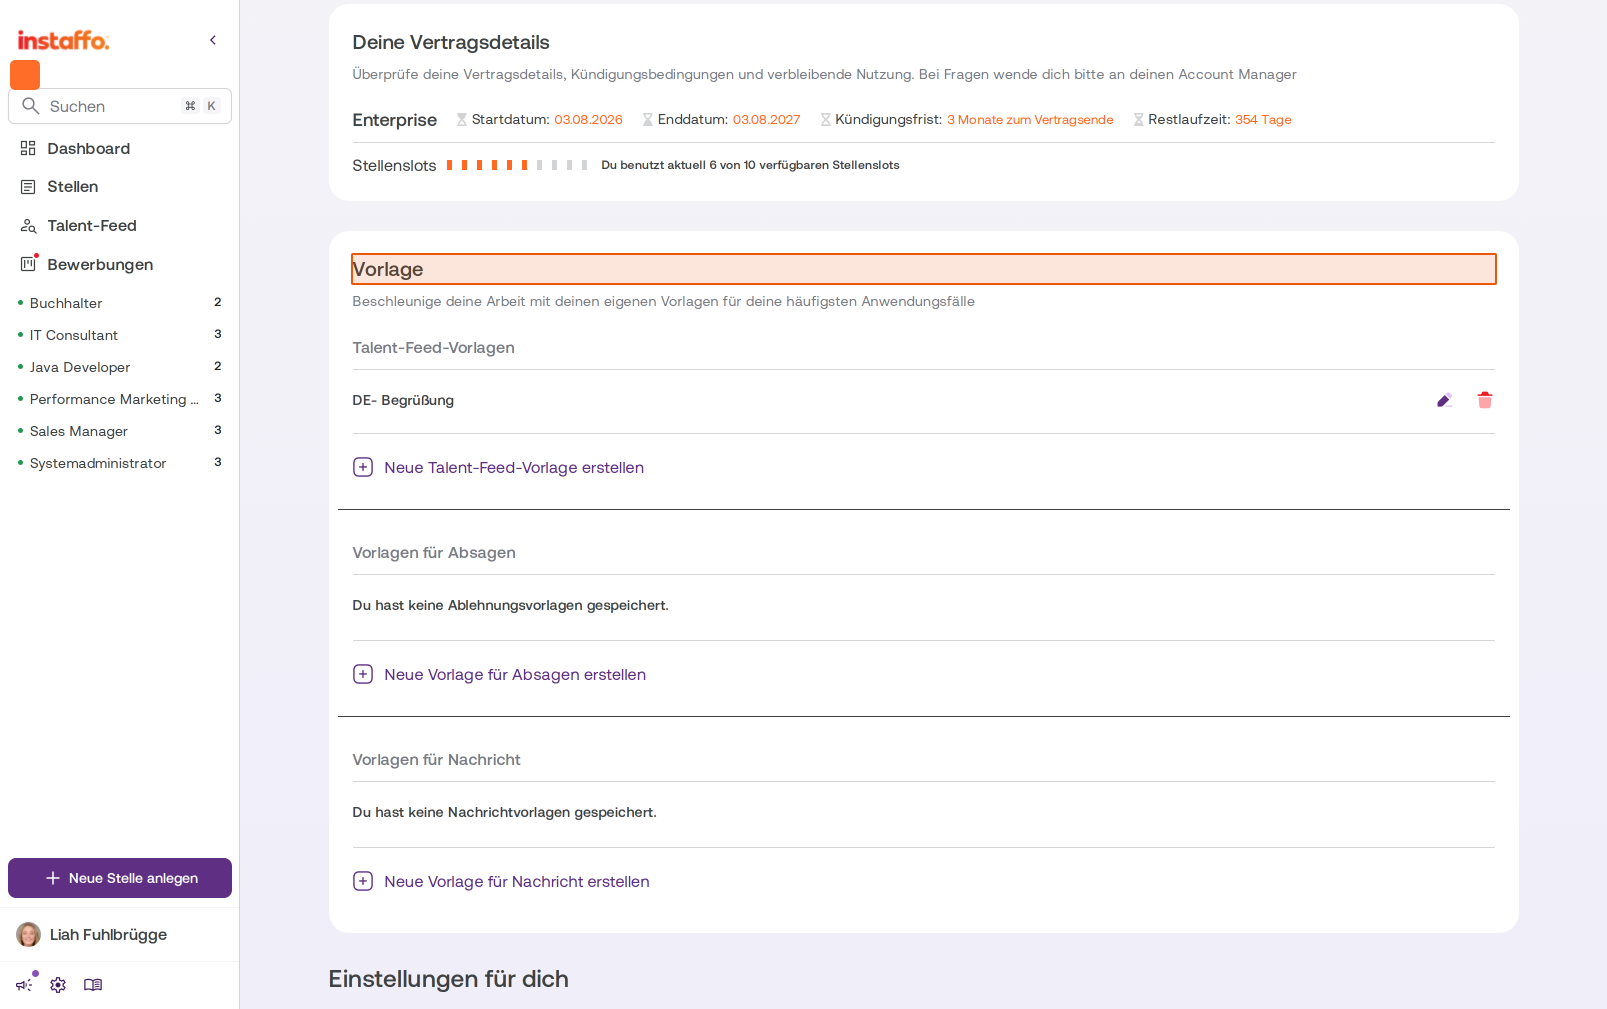
Manage Templates in Settings
-
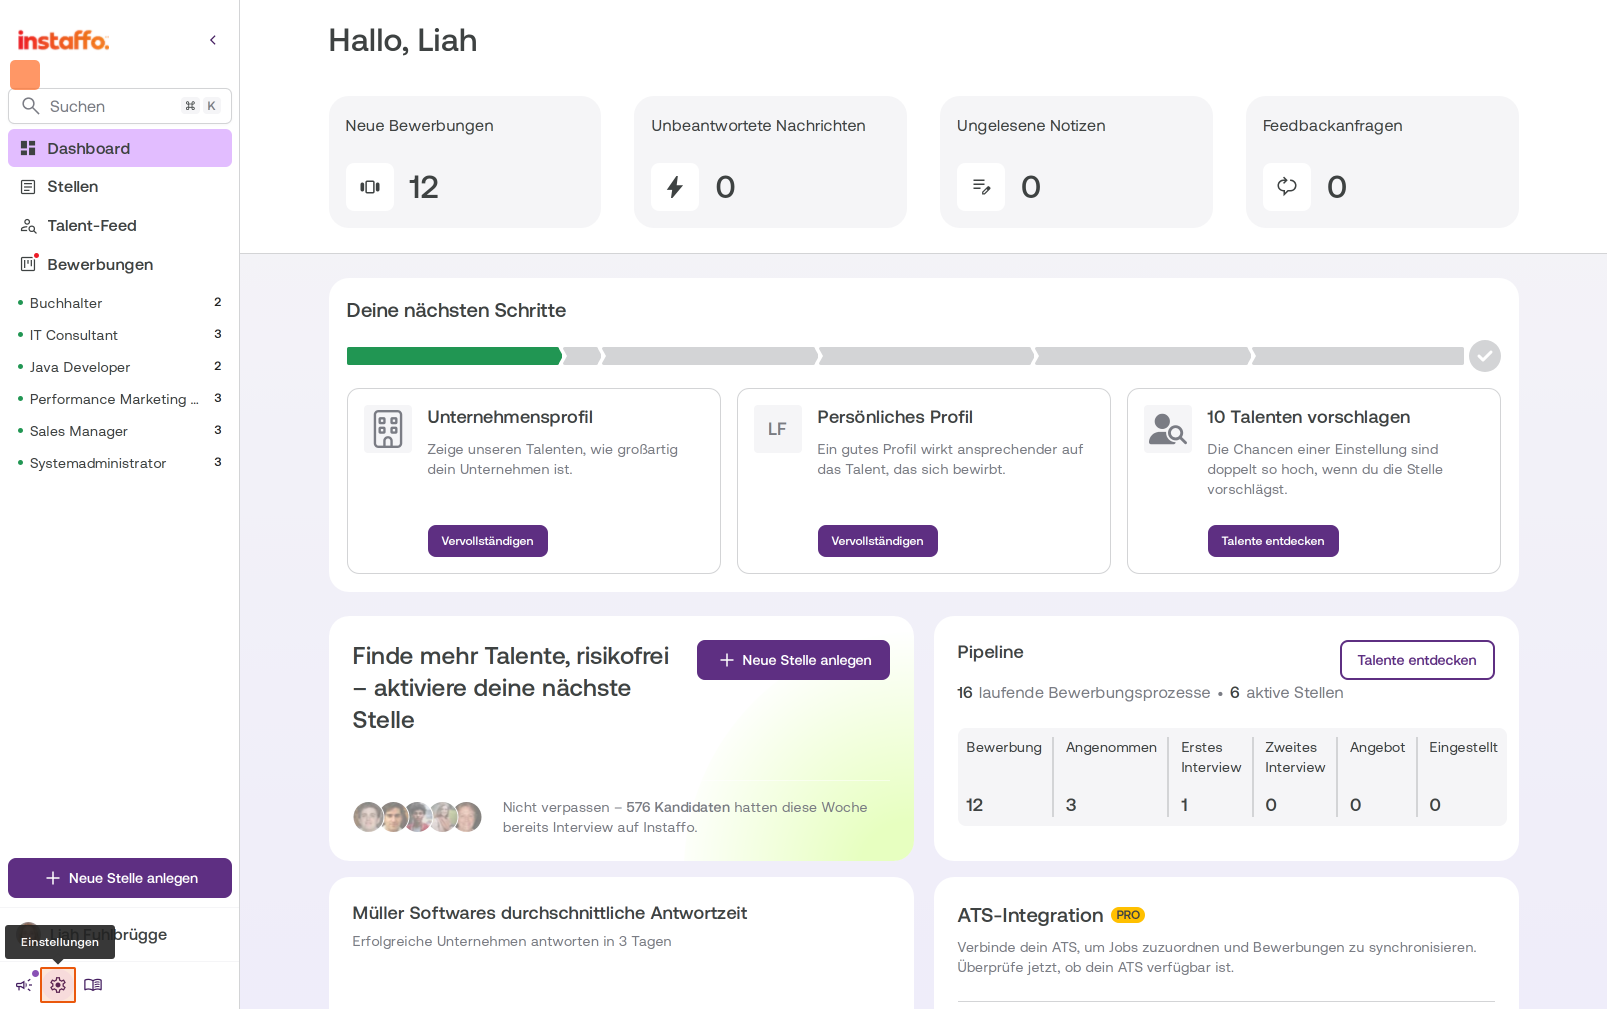
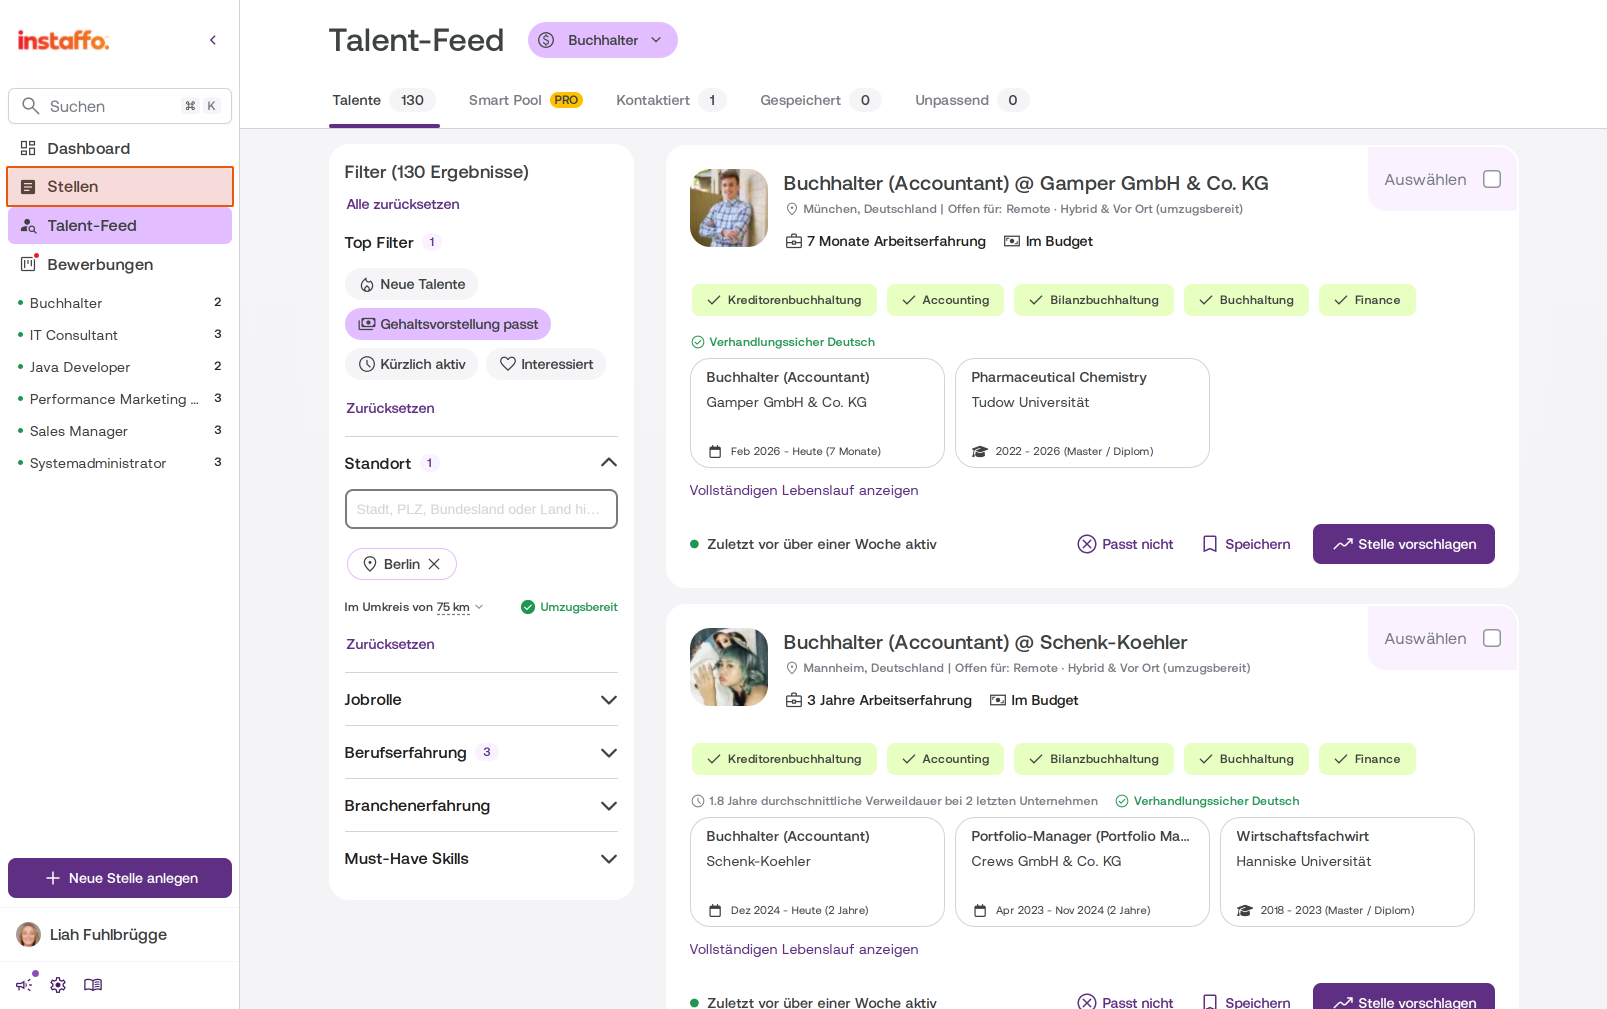
Open Settings
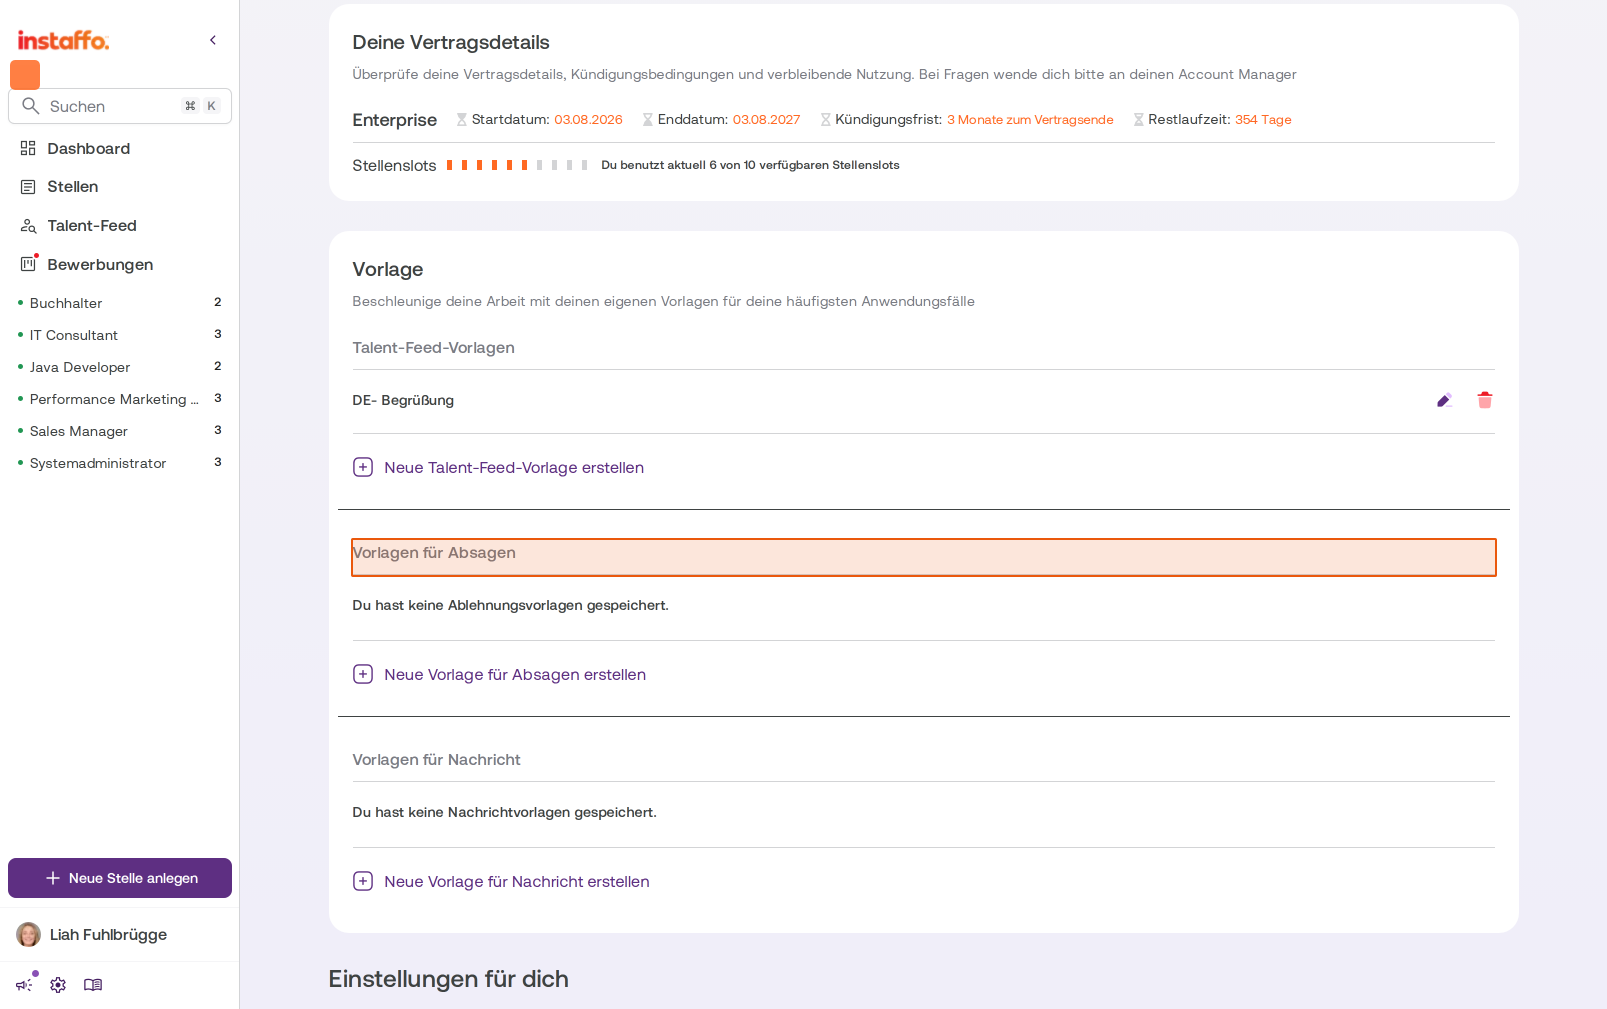
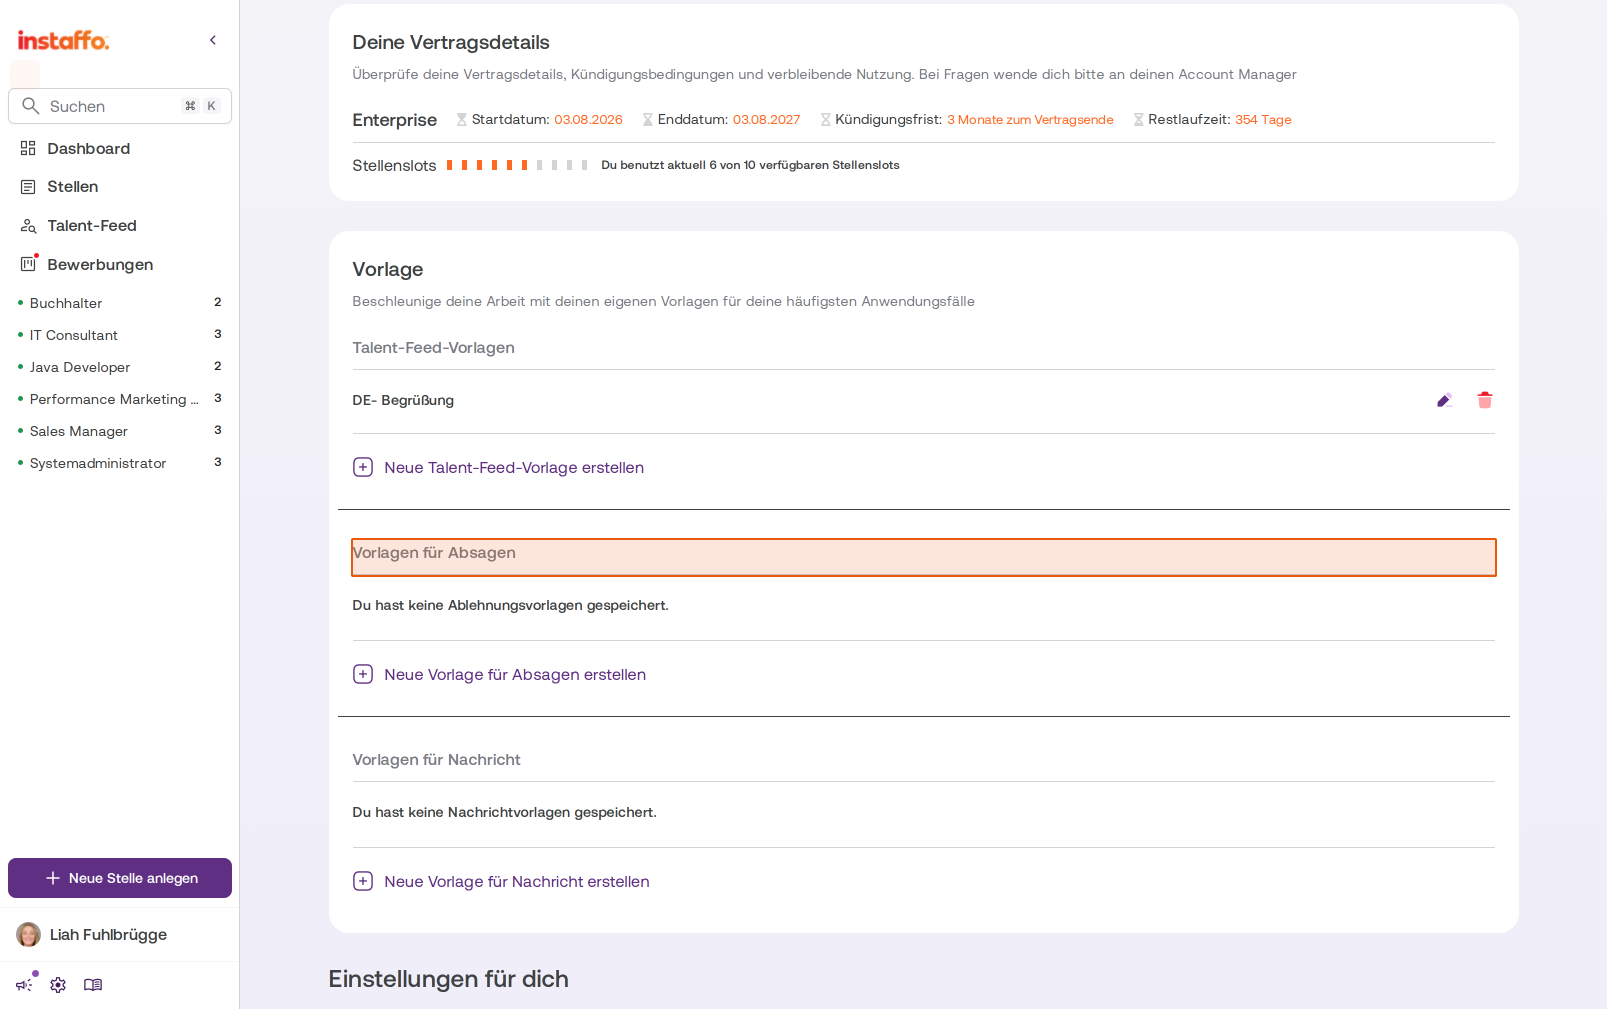
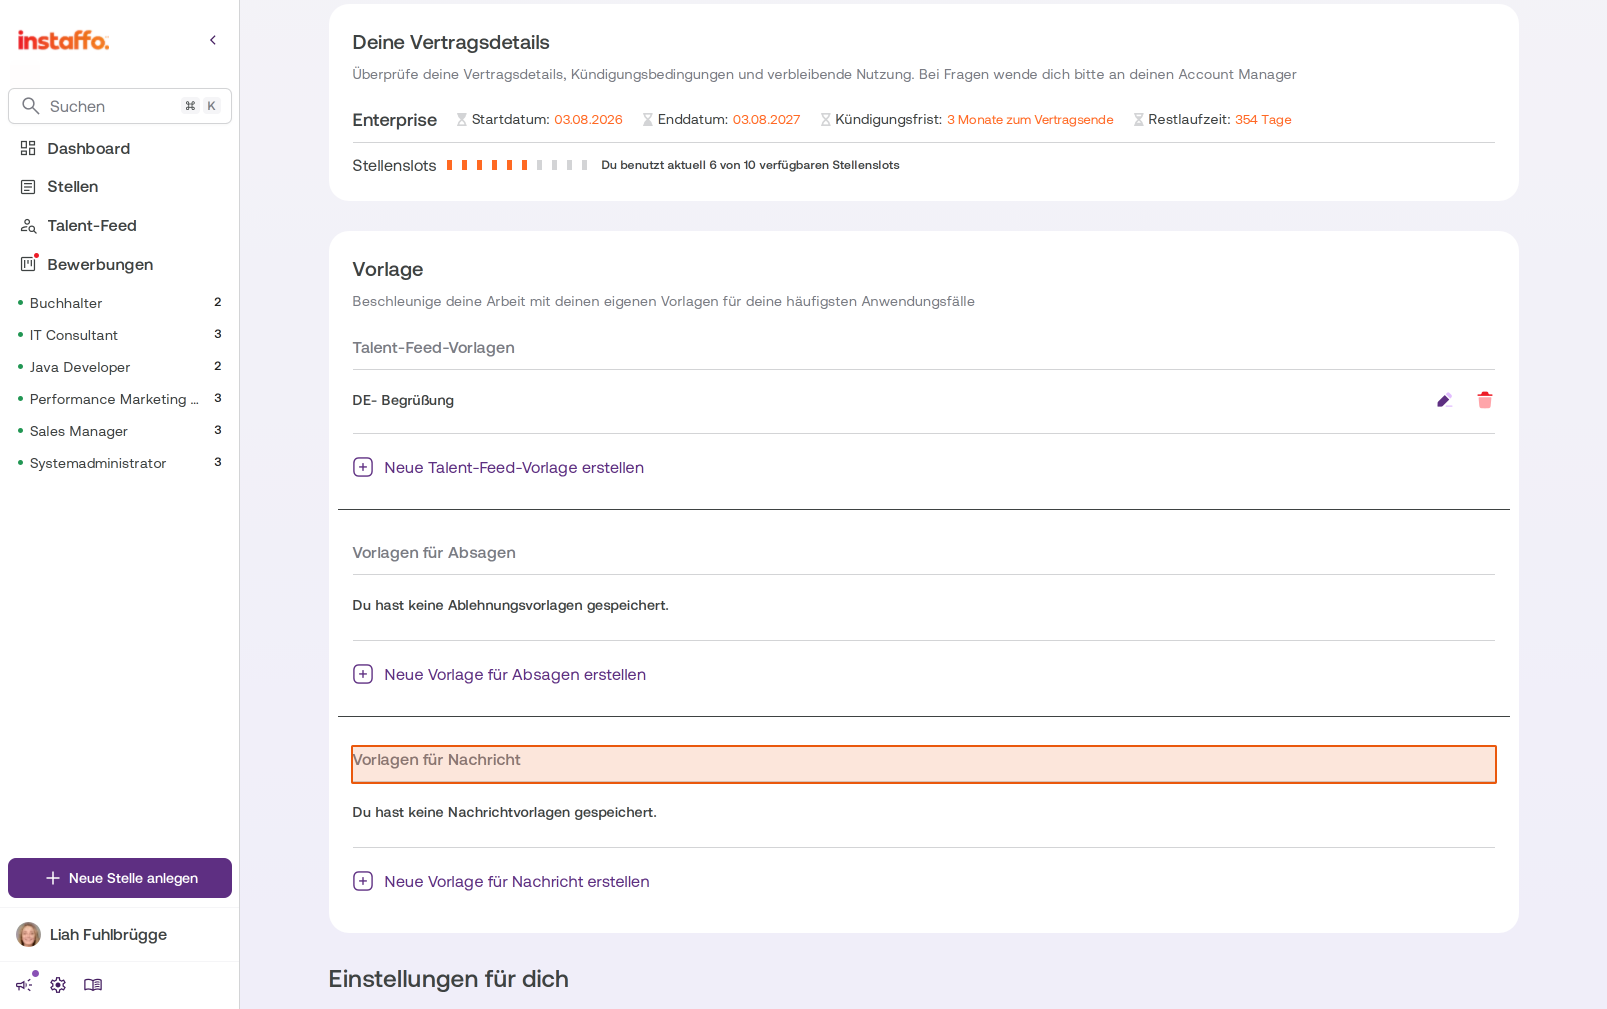
Click the gear icon at the bottom left in the sidebar. You'll find three separate template types in their own rows: talent feed templates, rejection templates, and message templates. Each row has its own "Manage" button that opens a searchable card grid modal. -
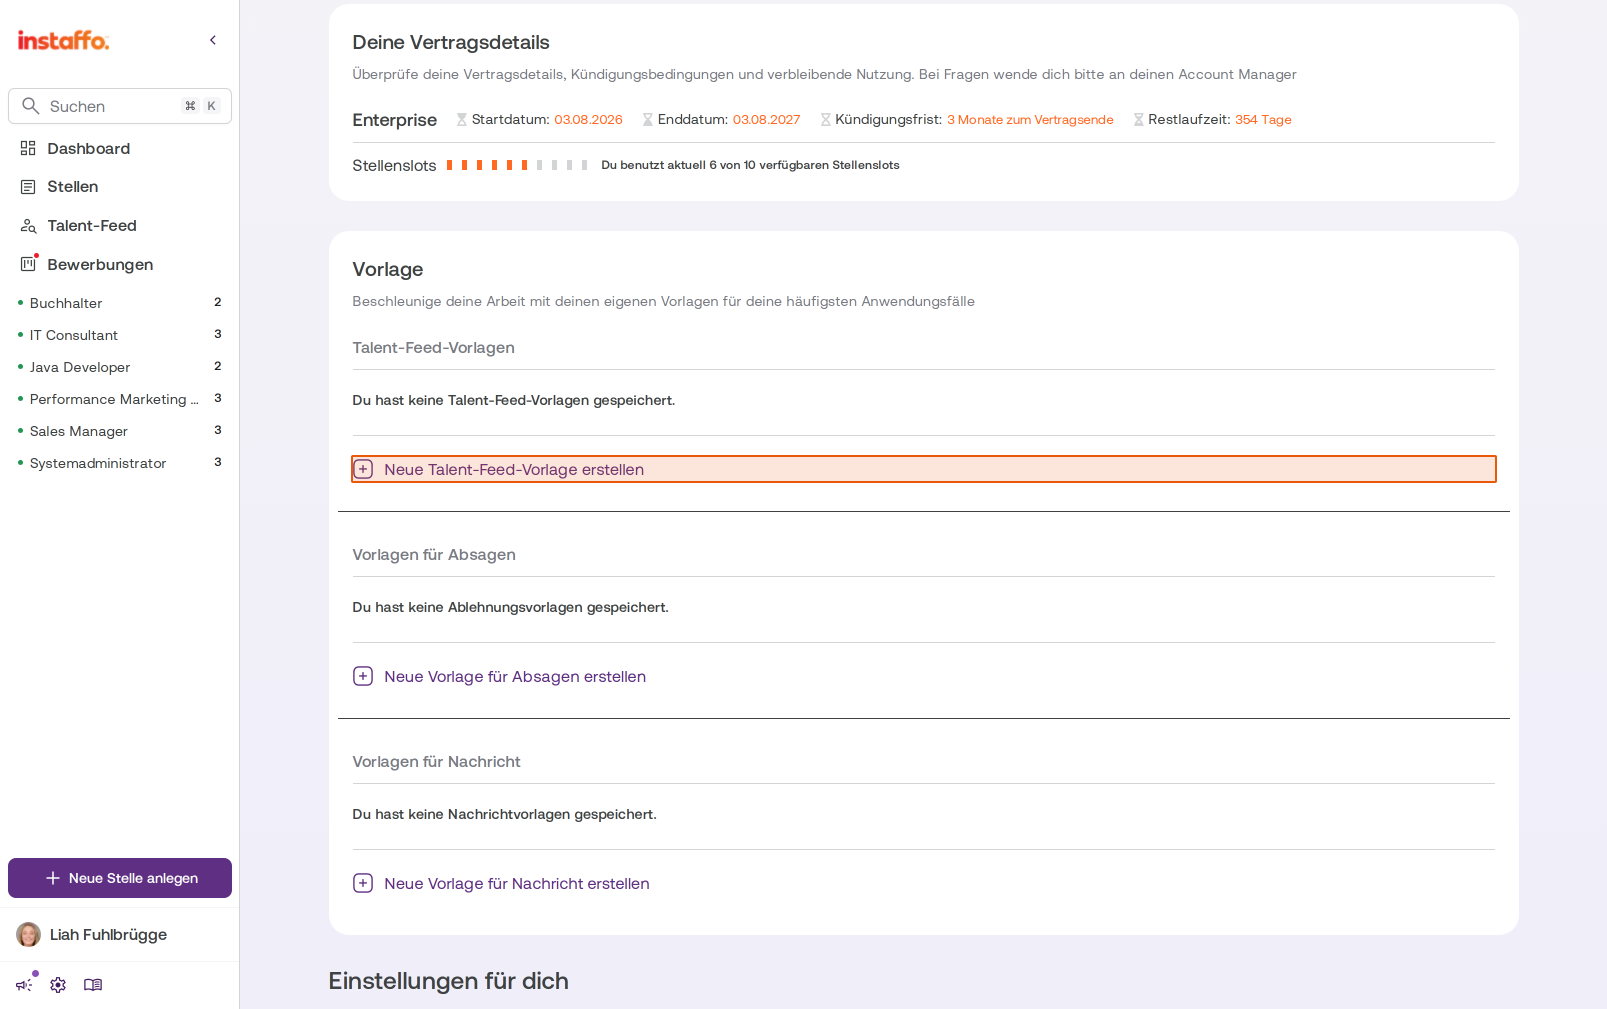
Create a New Talent Feed Template
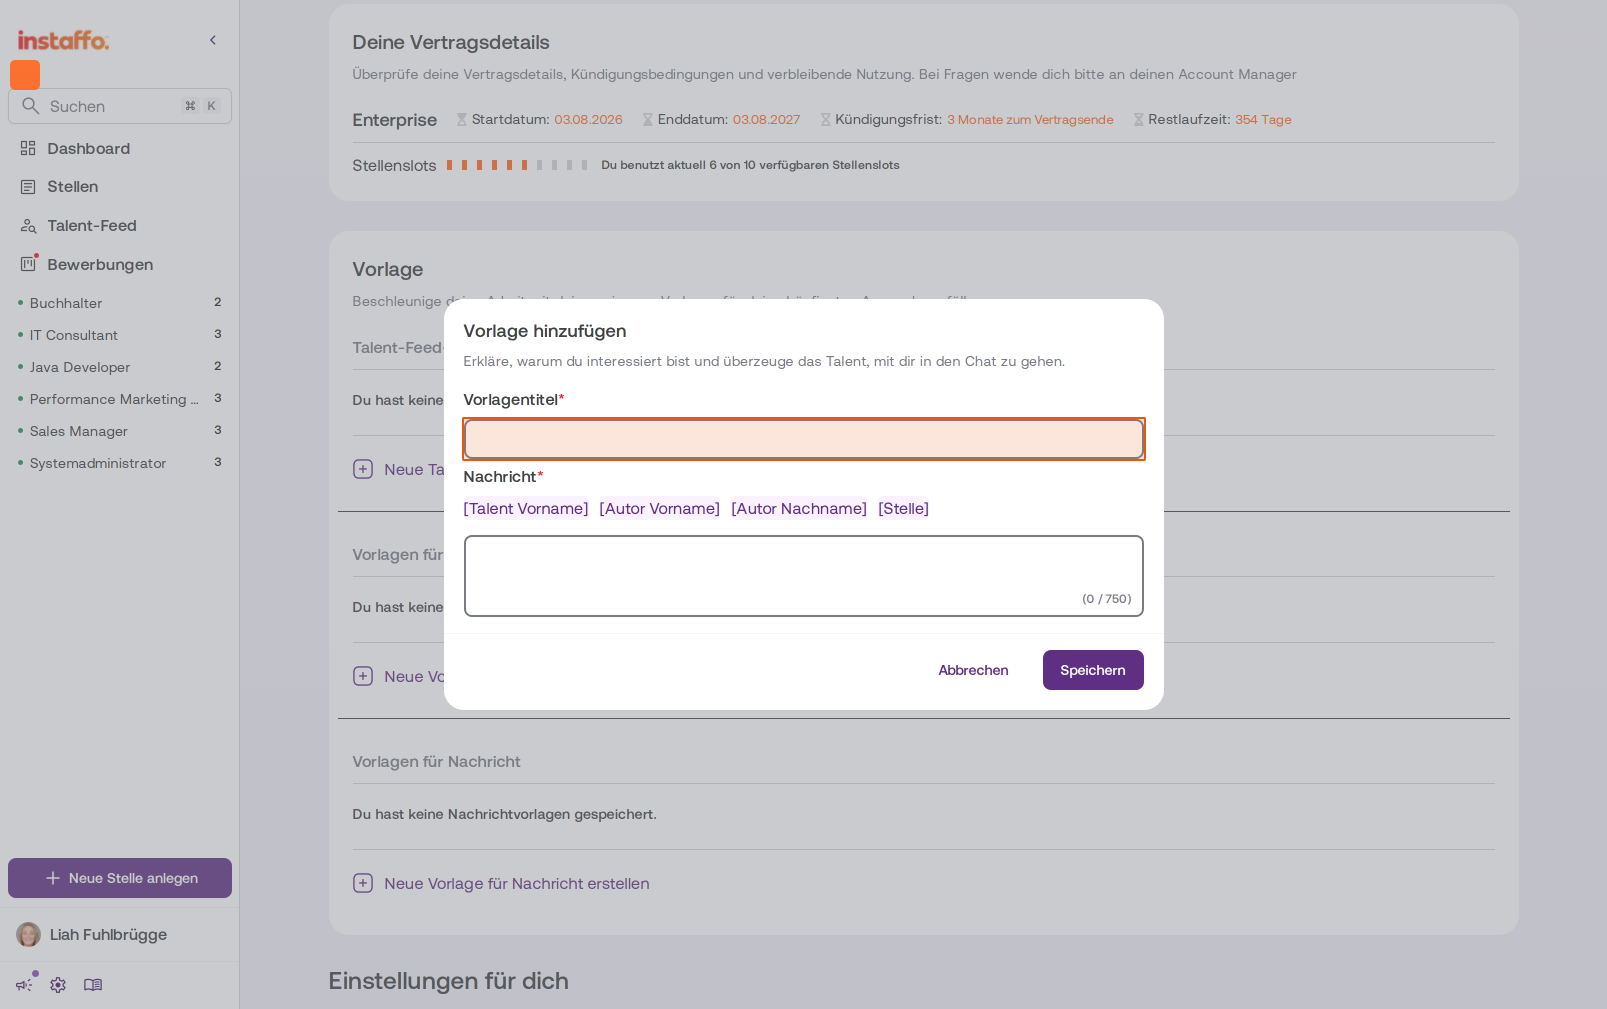
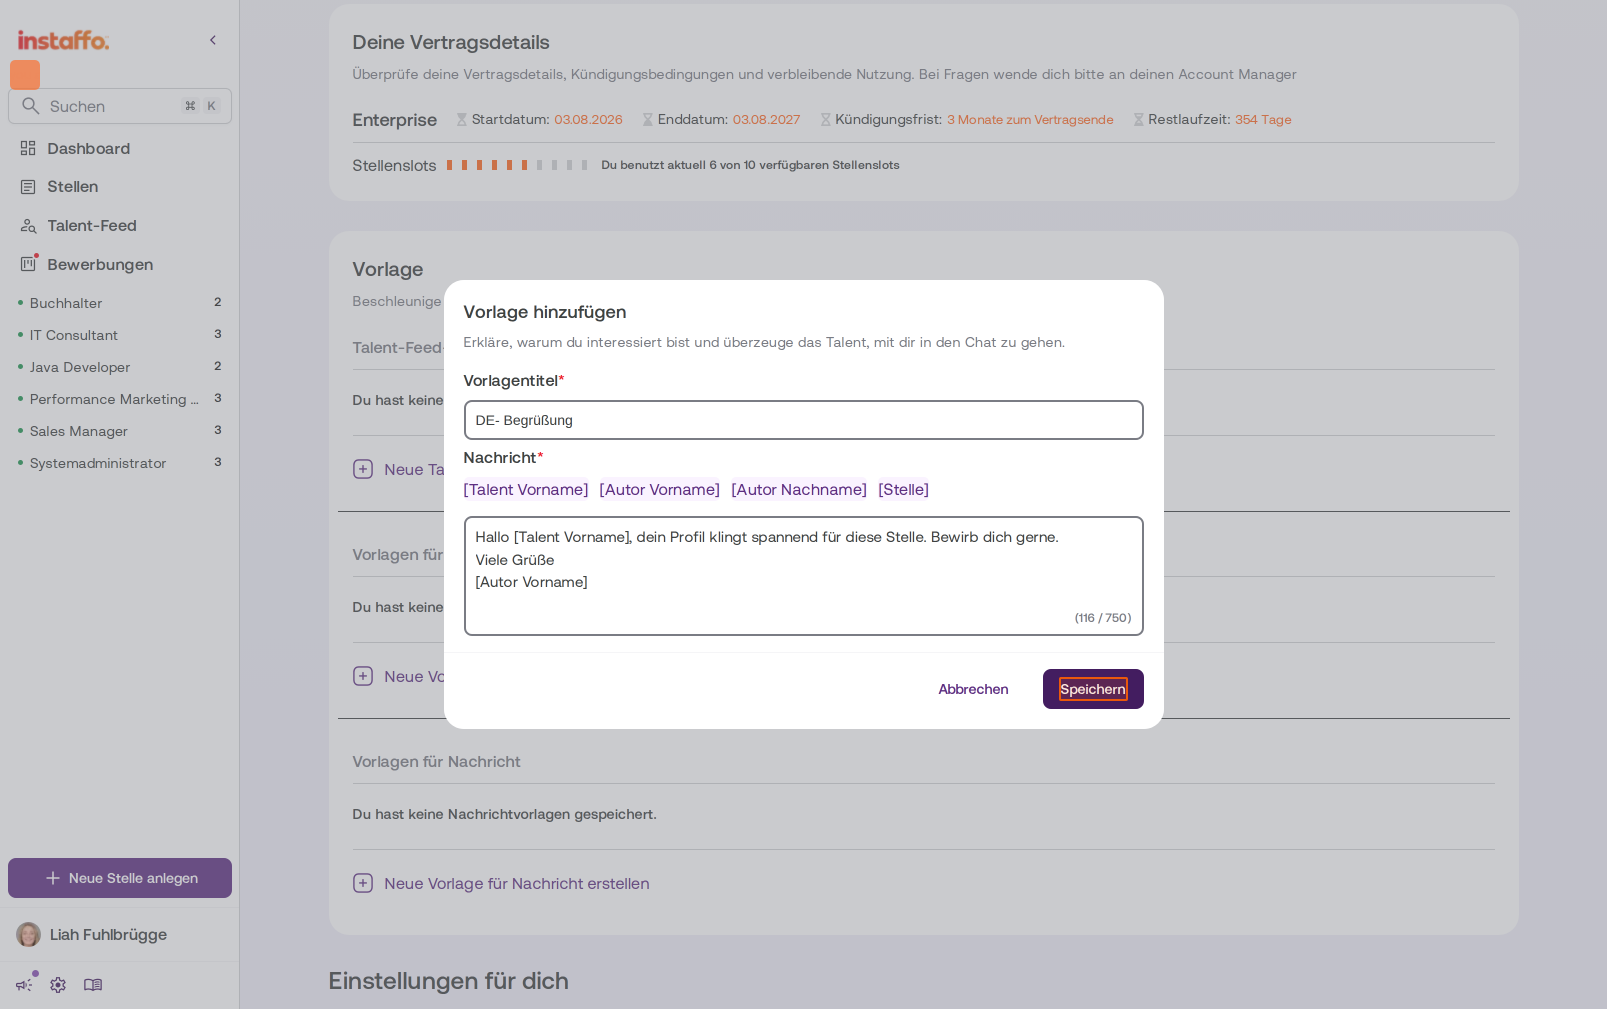
In the "Template" section, click Create New Talent Feed Template. A dialog window titled "Add Template" will open. -
Enter Template Details
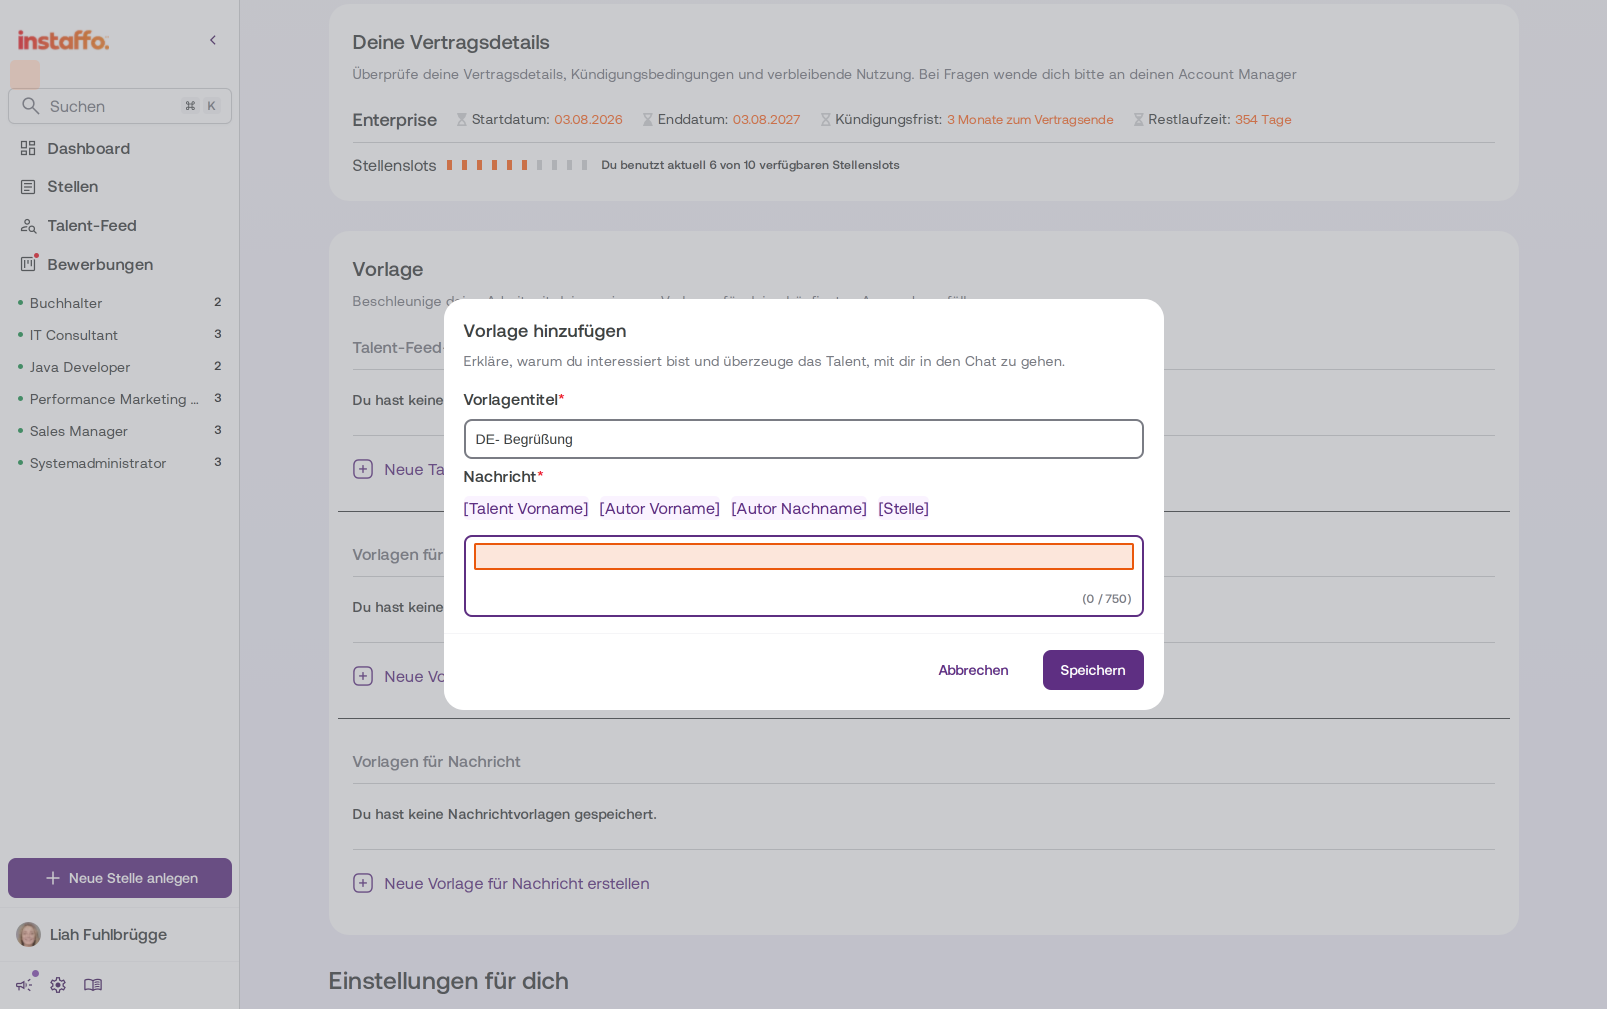
- In the Template Title field, enter a meaningful name, for example "EN - Welcome"
- Click in the Message field and write your message text
- You can use placeholders like [Talent First Name], [Author First Name], [Author Last Name], and [Position] that will be automatically replaced when sending
-
Save Template
Click Save to save the template. The template will now appear in the list under the corresponding section.
Create Additional Template Types
-
Create Rejection Templates
In the "Rejection Templates" section, you can create rejection templates. Click Create New Rejection Template and fill out the form similar to the talent feed templates. -
Create Message Templates
In the "Message Templates" row, click "Manage" to create templates for general chat messages. The first chat message is managed through positions and won't appear in this section.
Use Templates in the Talent Feed
-
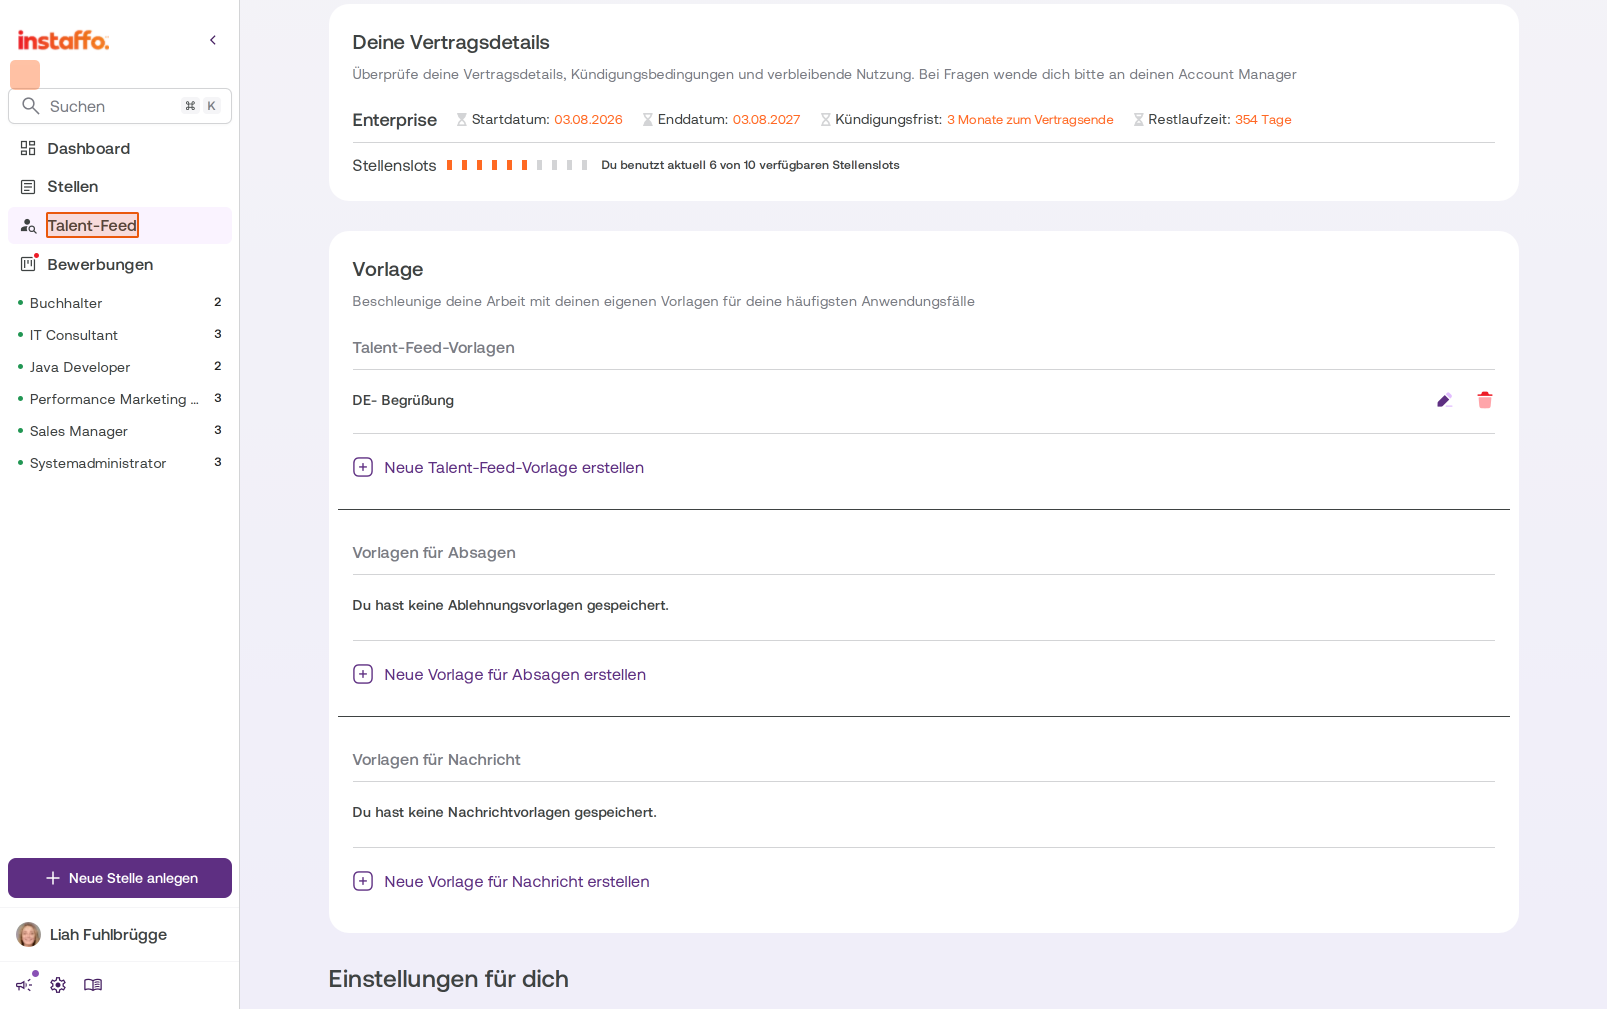
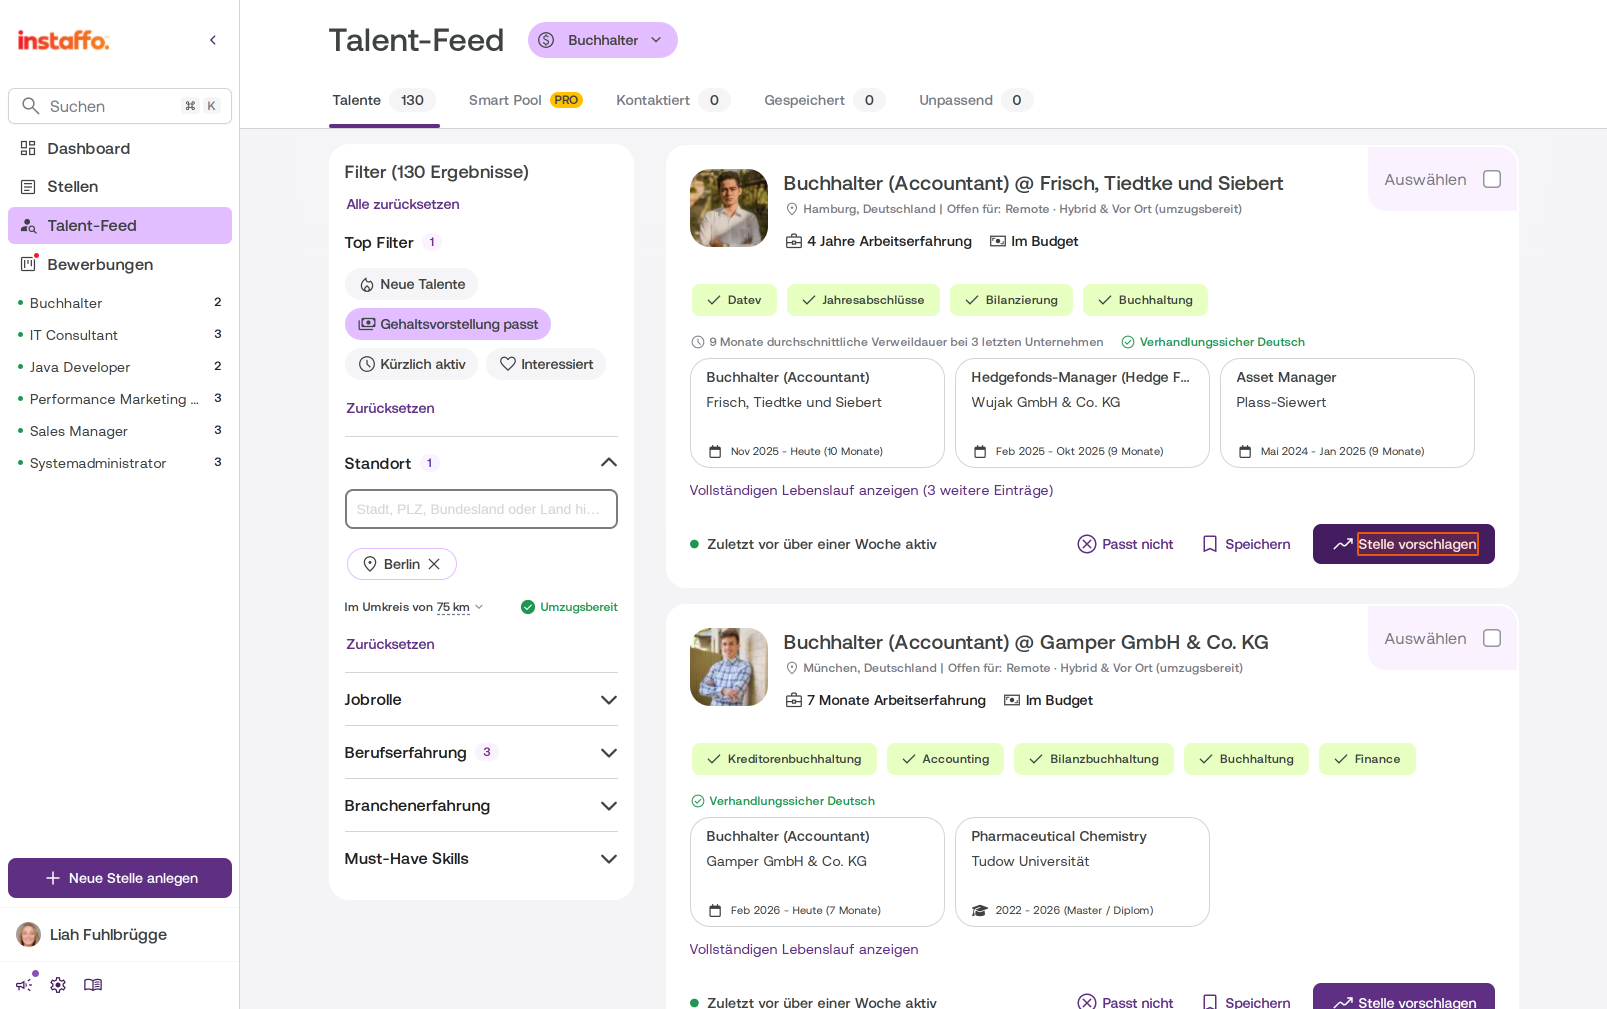
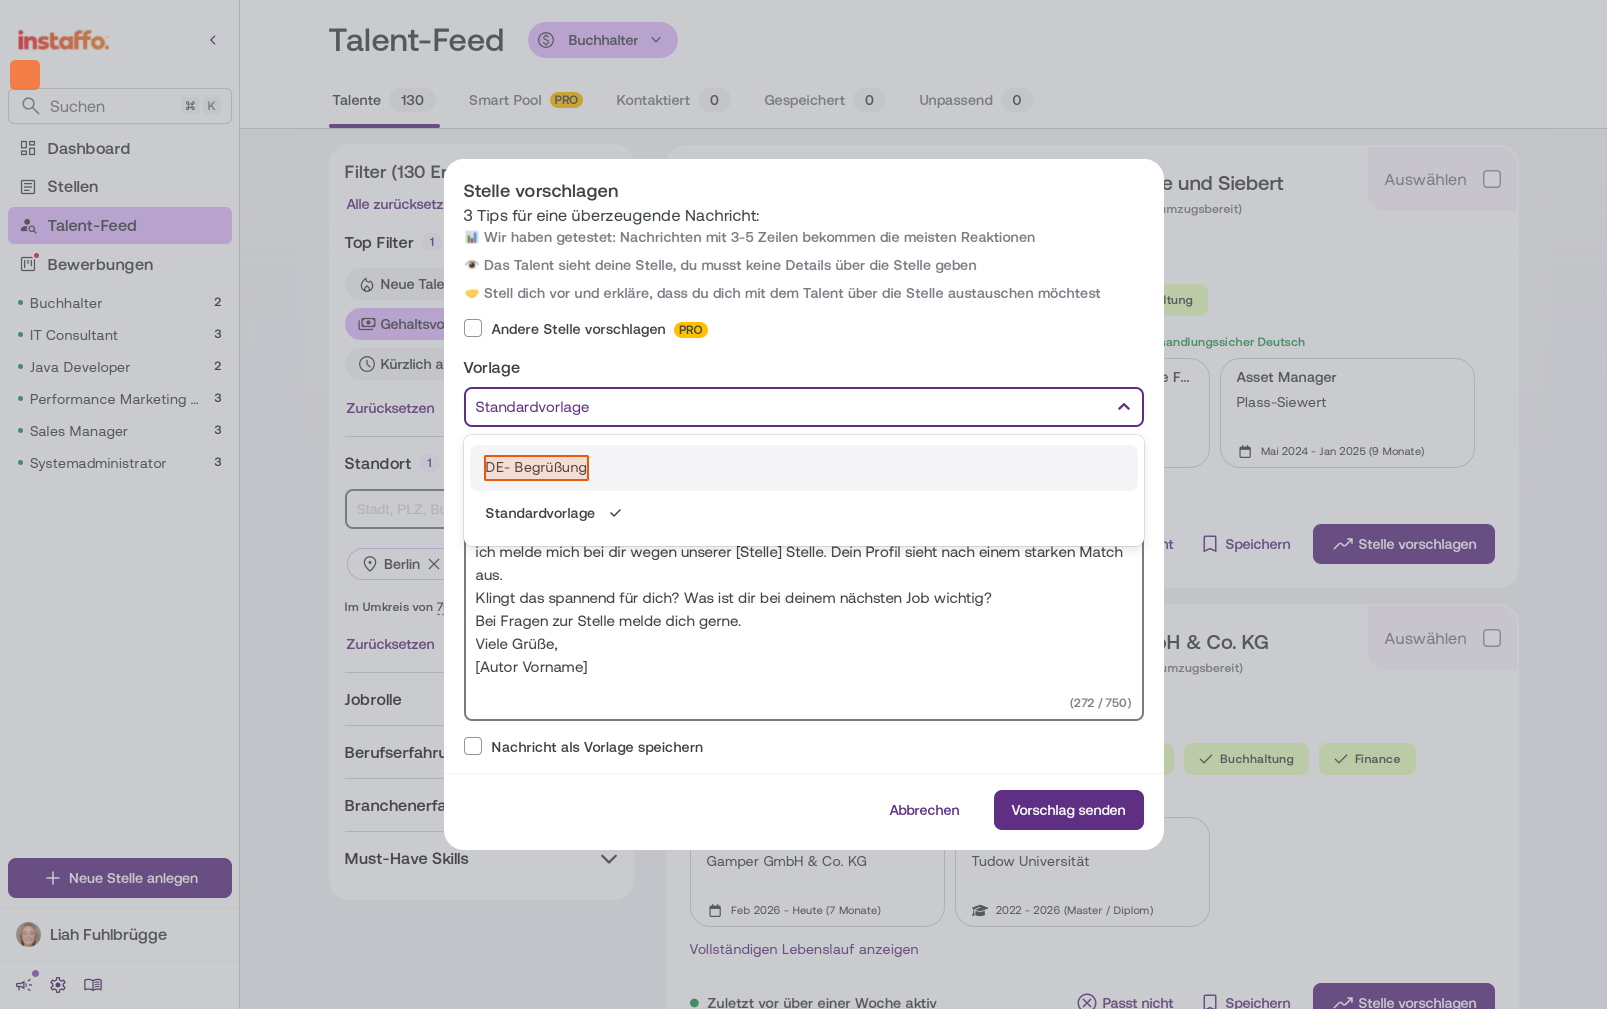
Suggest a Position to a Talent
Switch to the Talent Feed in the left navigation. Click Suggest Position for a suitable talent. -
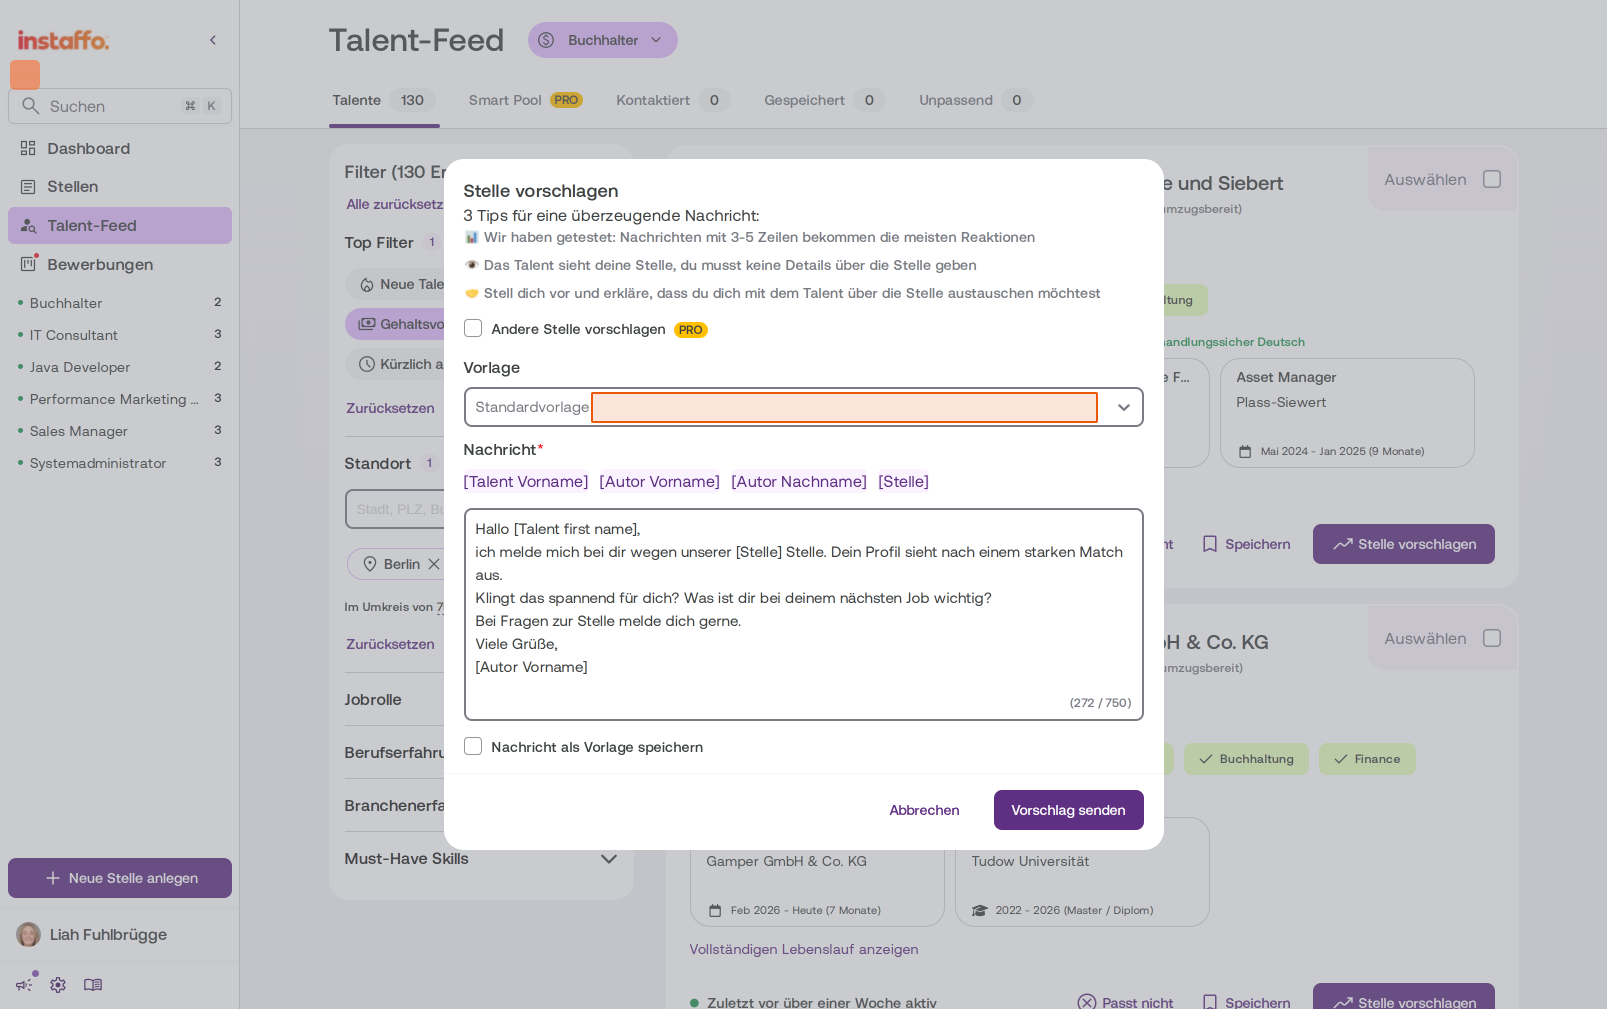
Select a Template
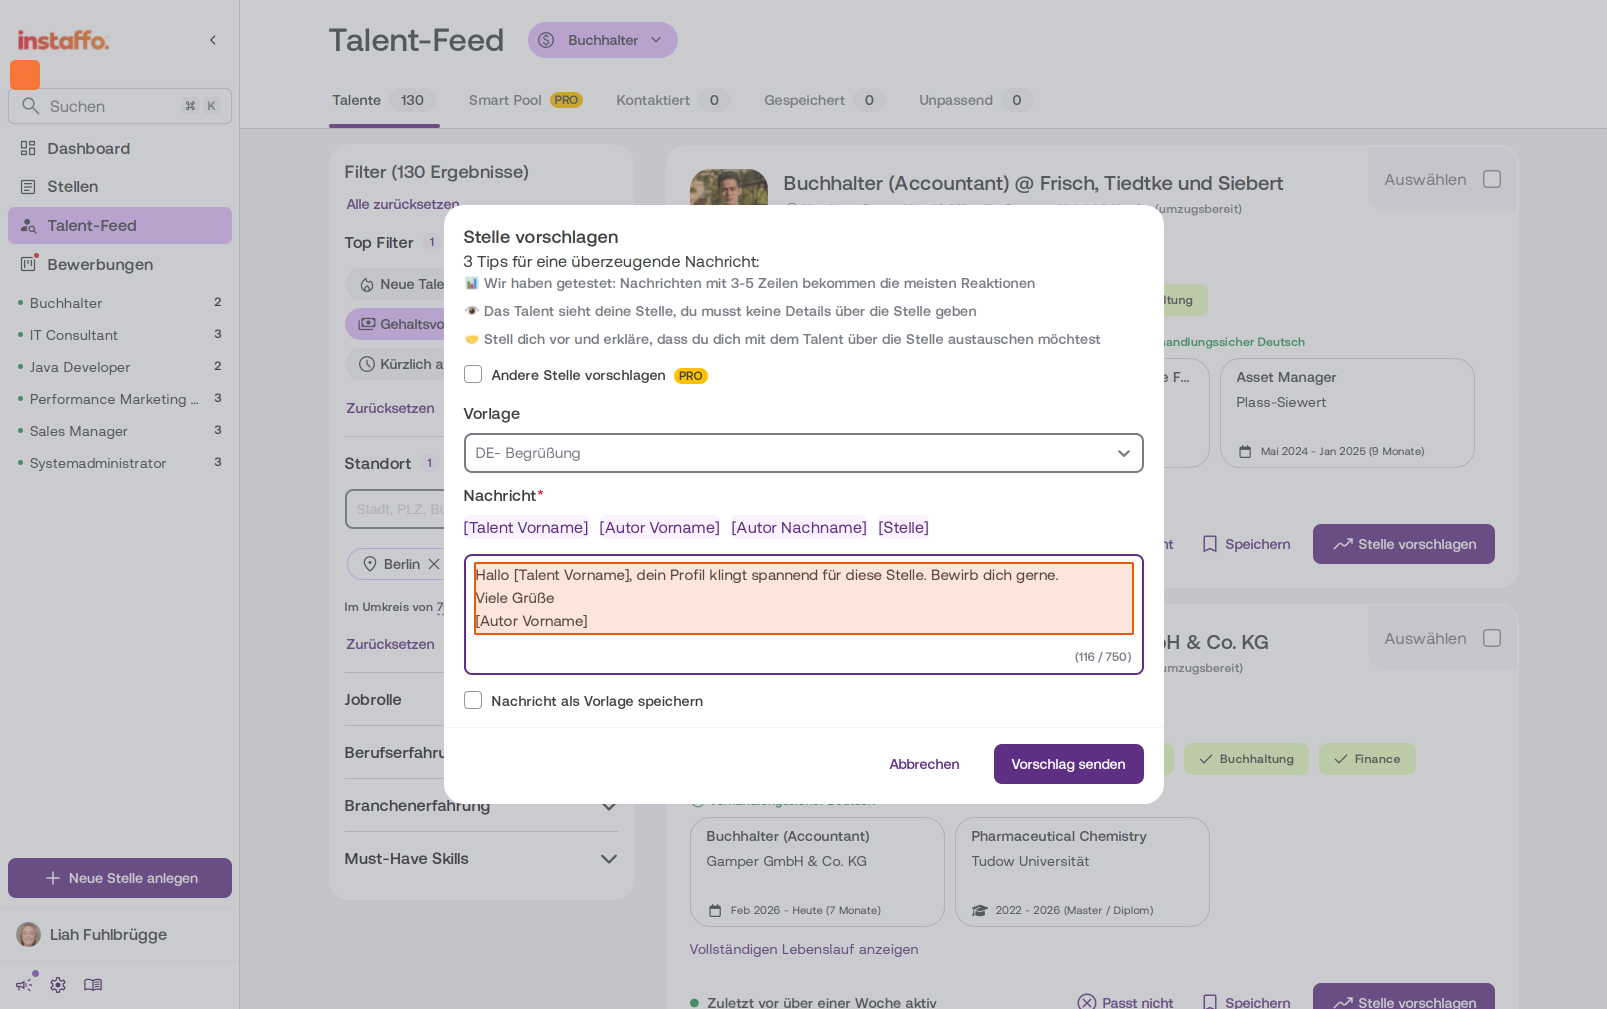
In the opened "Suggest Position" dialog, you'll find a Template dropdown field. Click on it and select one of your saved templates, for example "EN - Welcome". The message text will automatically be filled into the message field. -
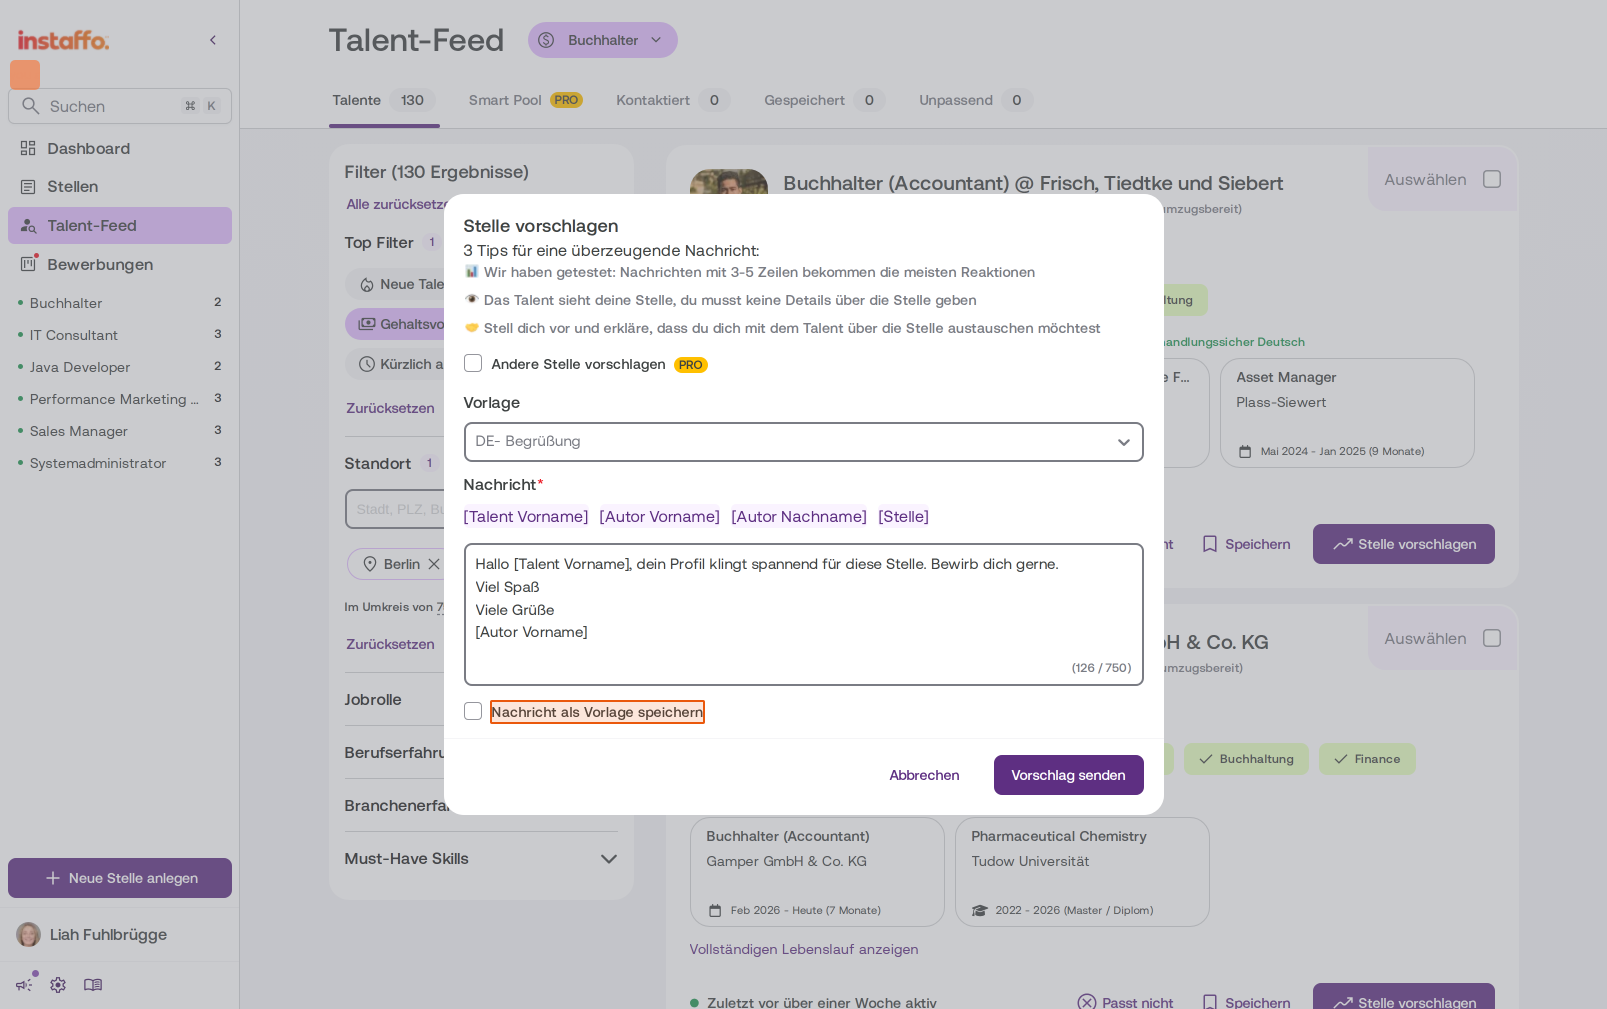
Customize Message and Save as New Template
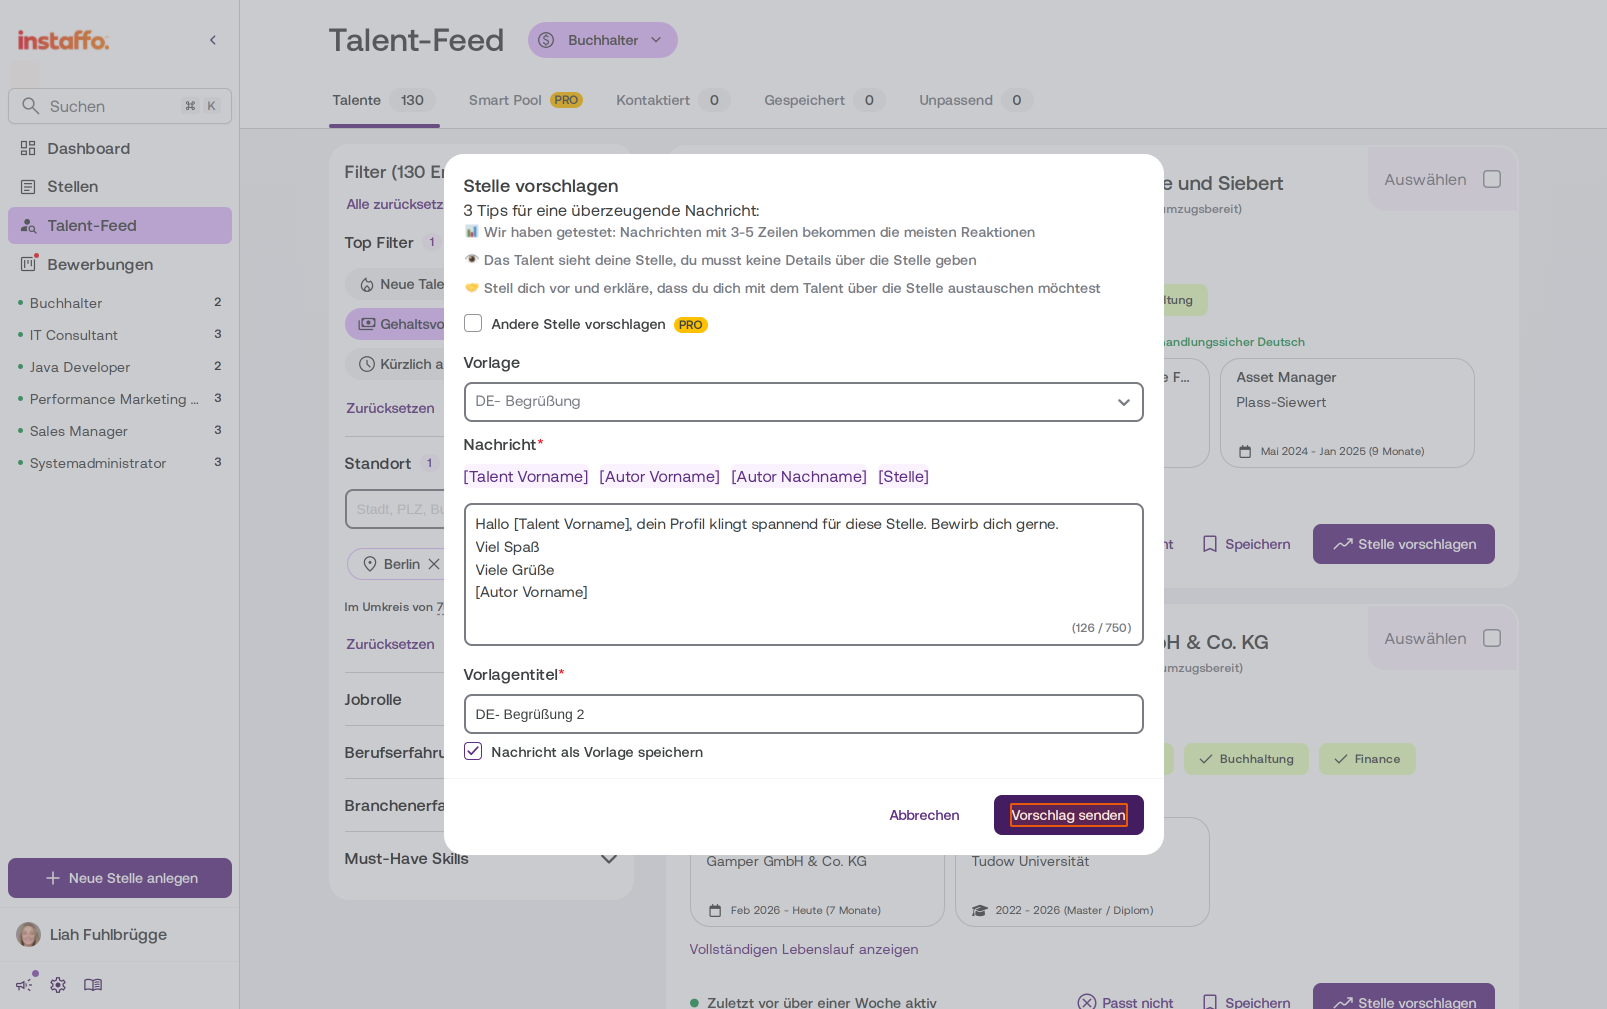
You can customize the pre-filled text as needed. If you want to save the changed message as a new template, check the Save Message as Template checkbox and enter a template title. -
Send Suggestion
Click Send Suggestion to send the message to the talent. If you checked the checkbox, the message will be saved as a new template at the same time.
Create and Use Templates in the Applications Section
-
Create Chat Templates Directly
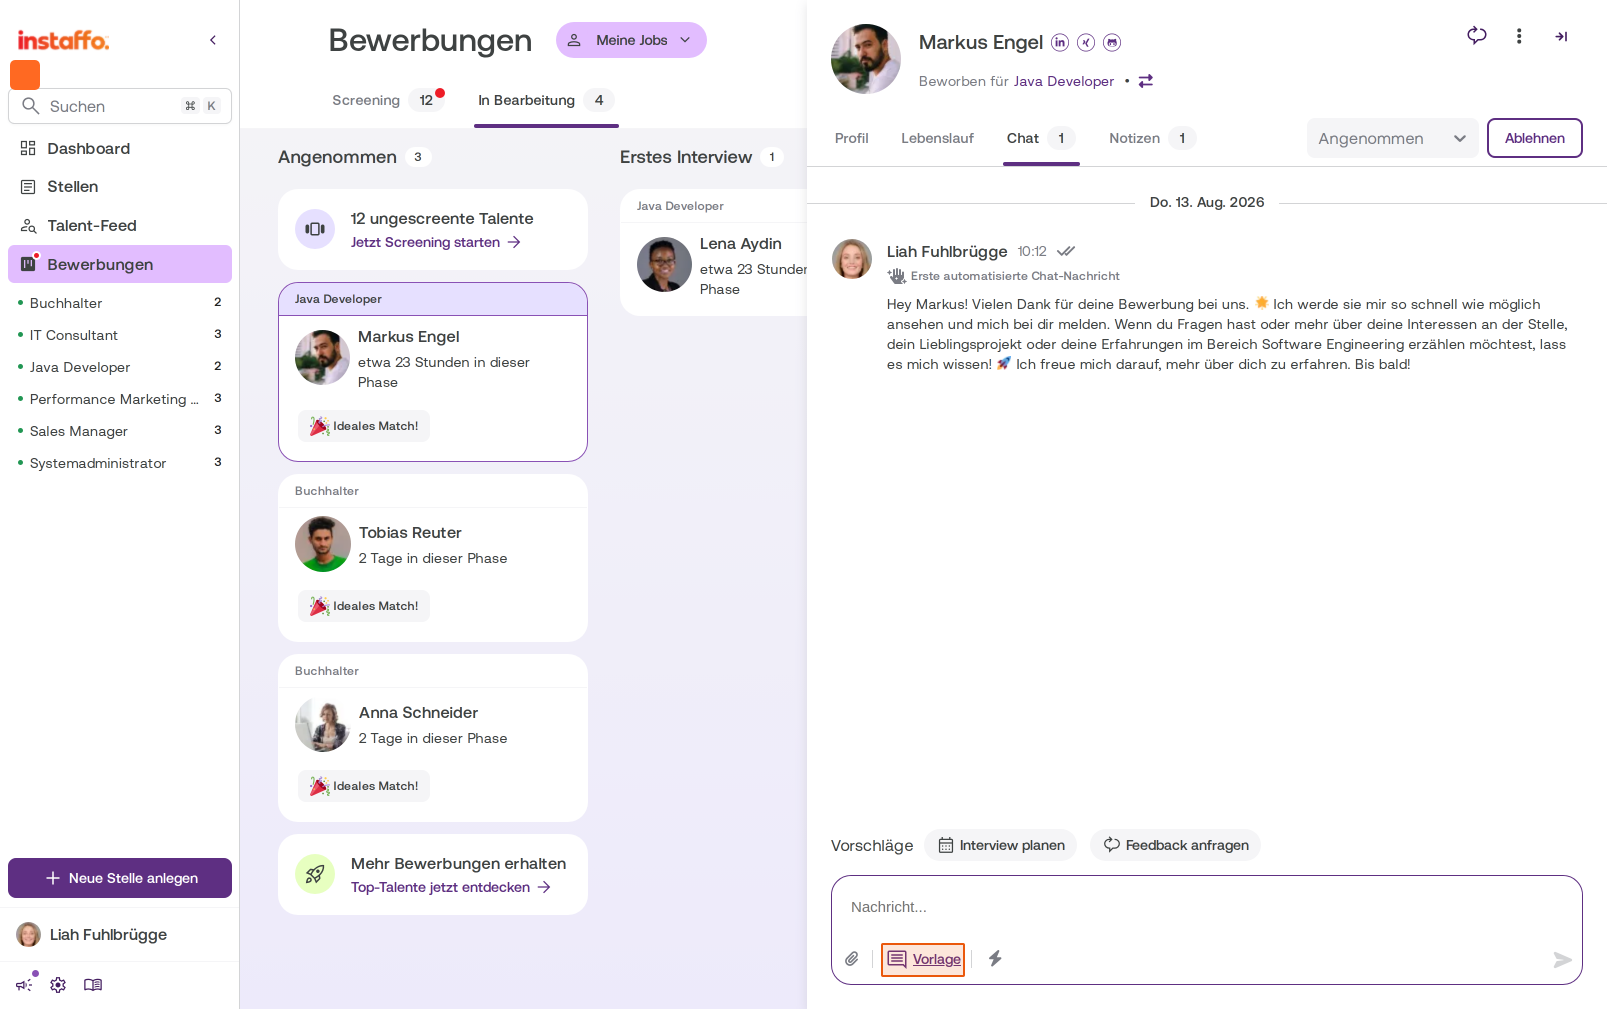
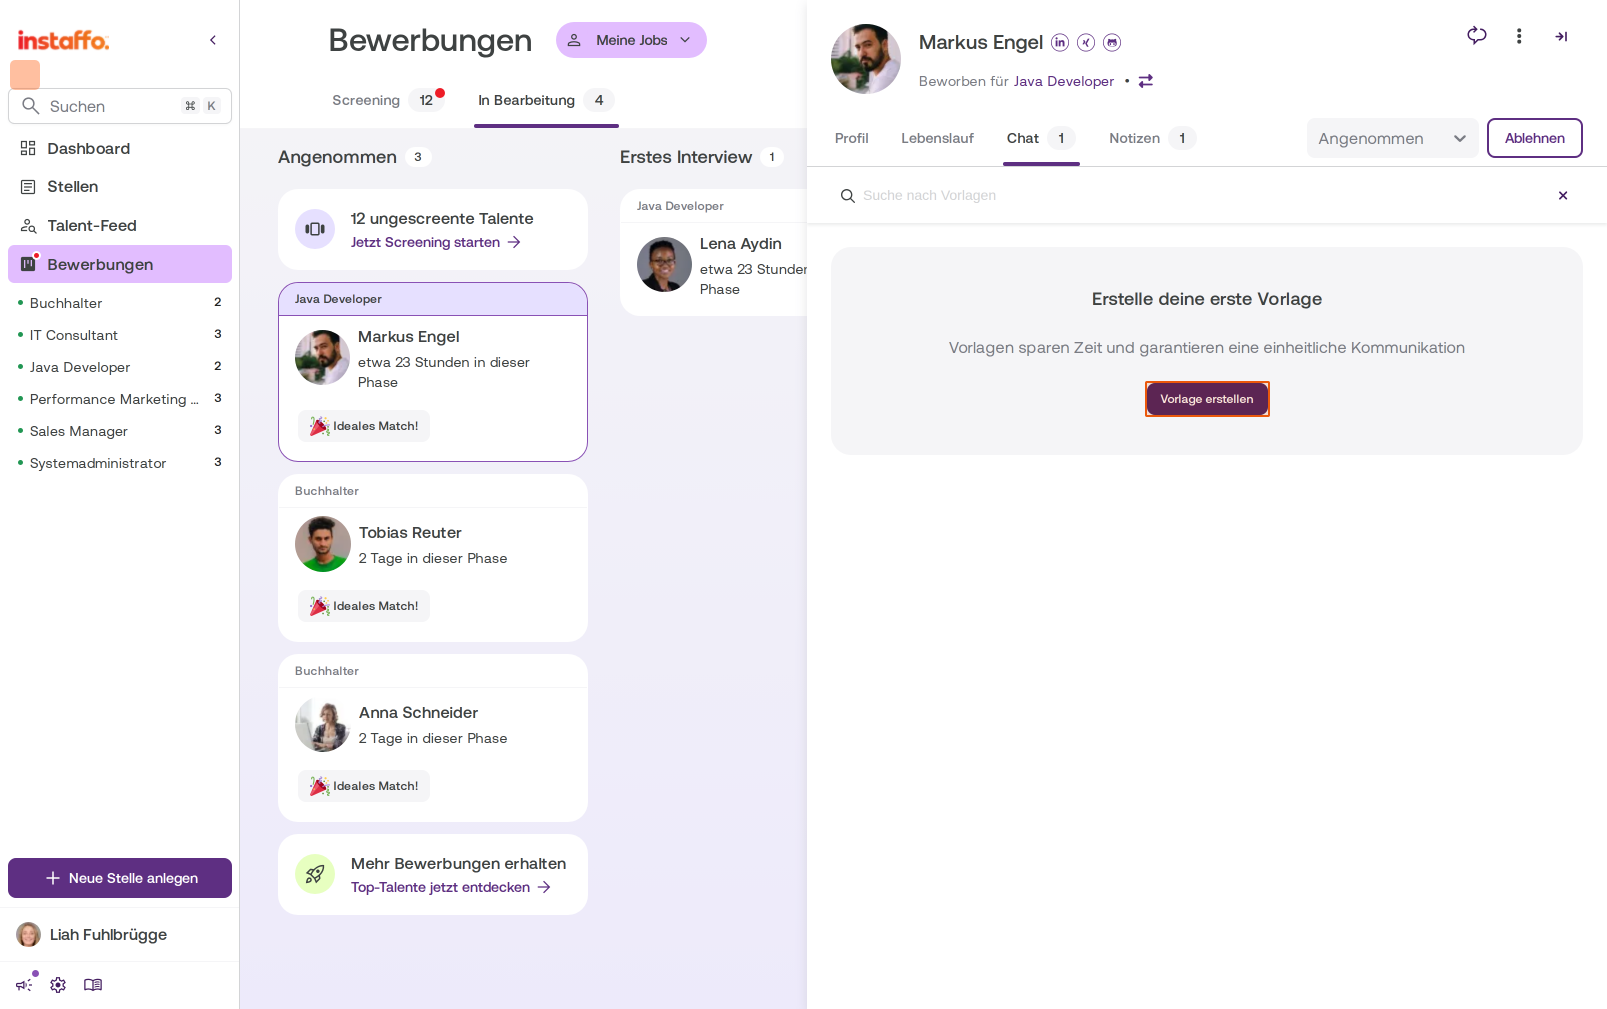
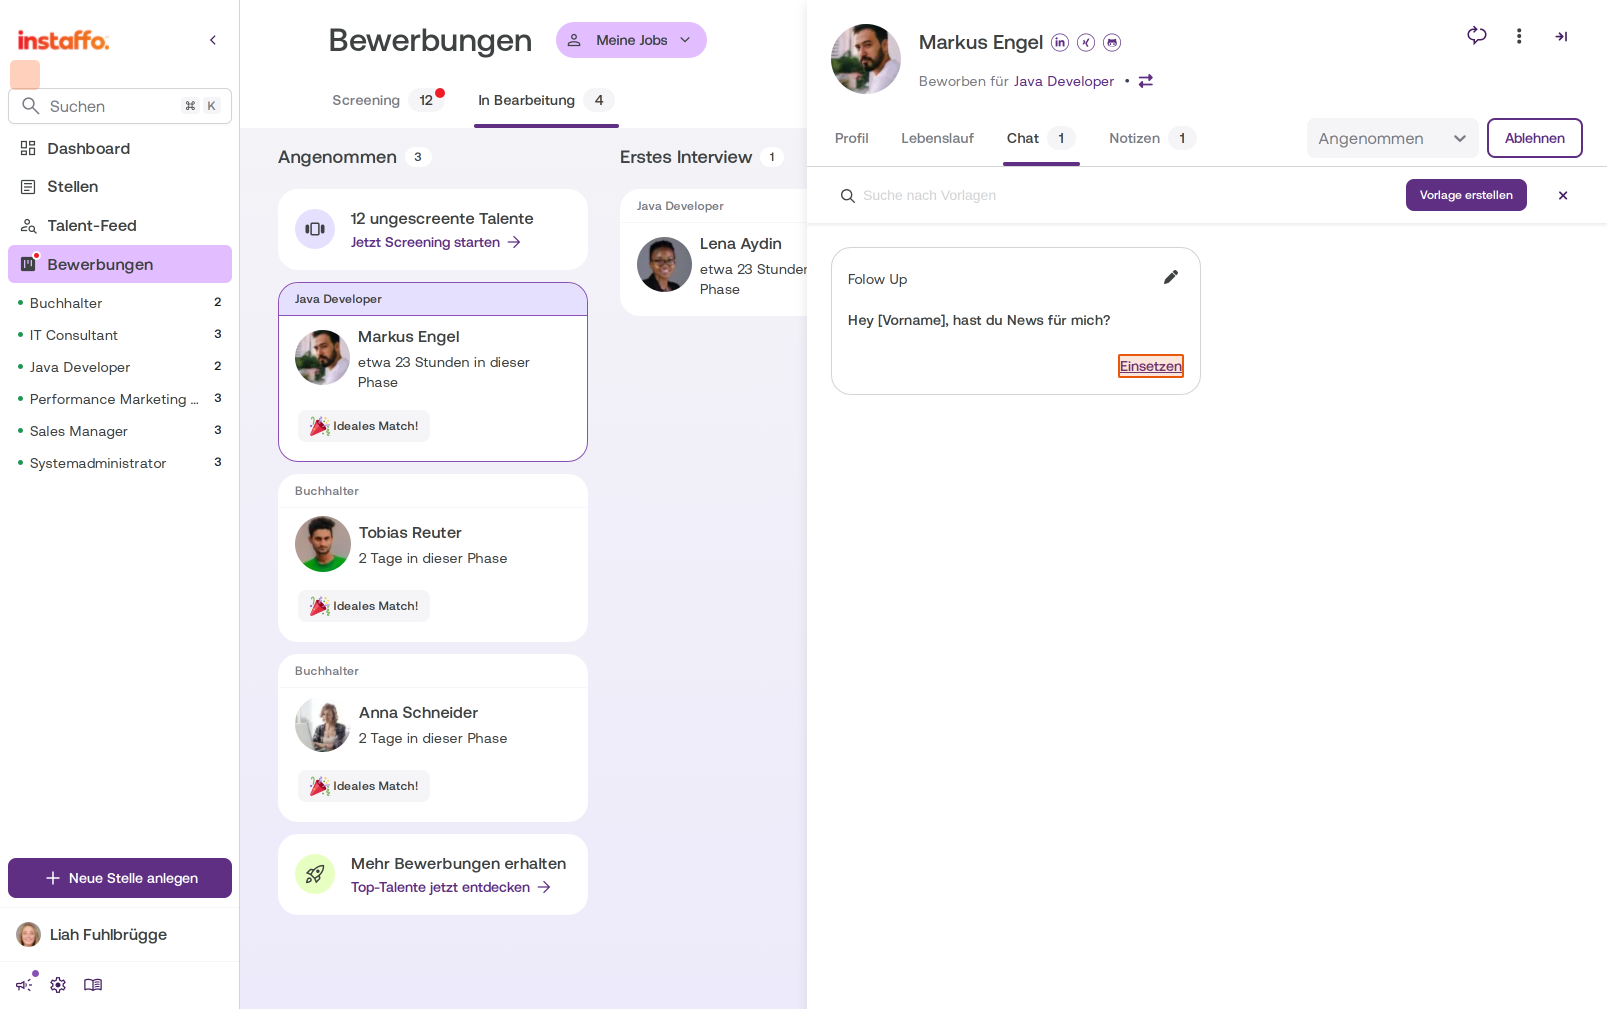
Go to Applications and select a talent. In the Chat tab you'll find the Template option. Click on it to see existing templates or create a new one. -
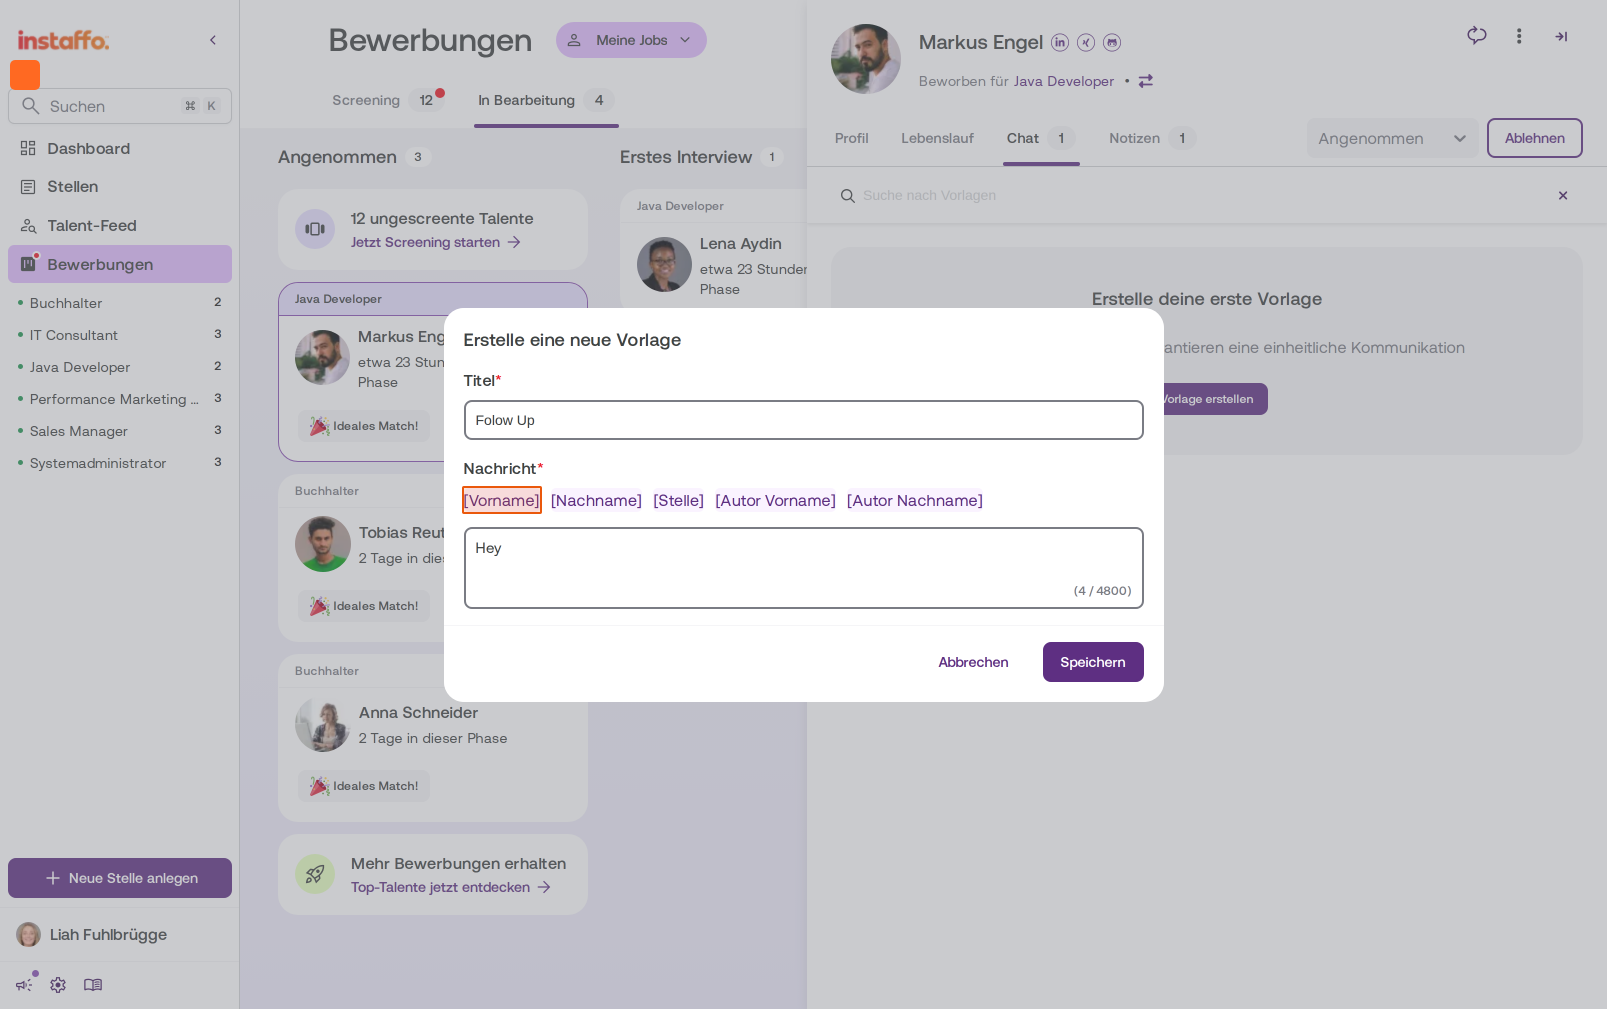
Create Your First Template
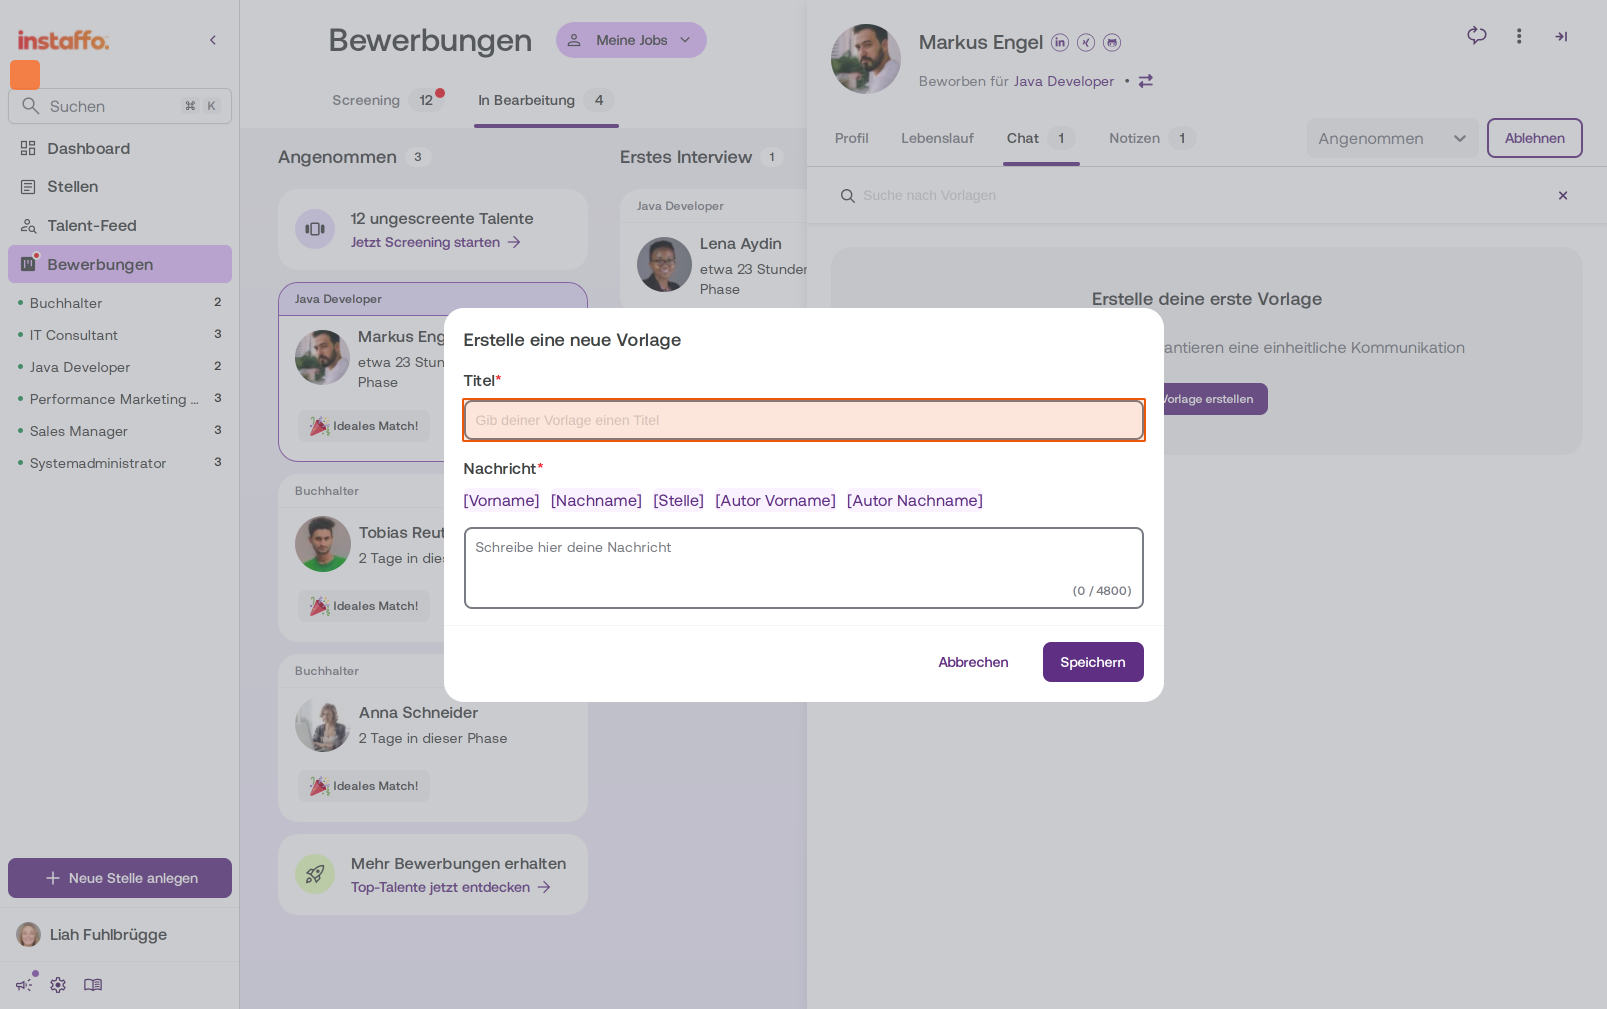
Click Create Template. The "Create a New Template" dialog will open. -
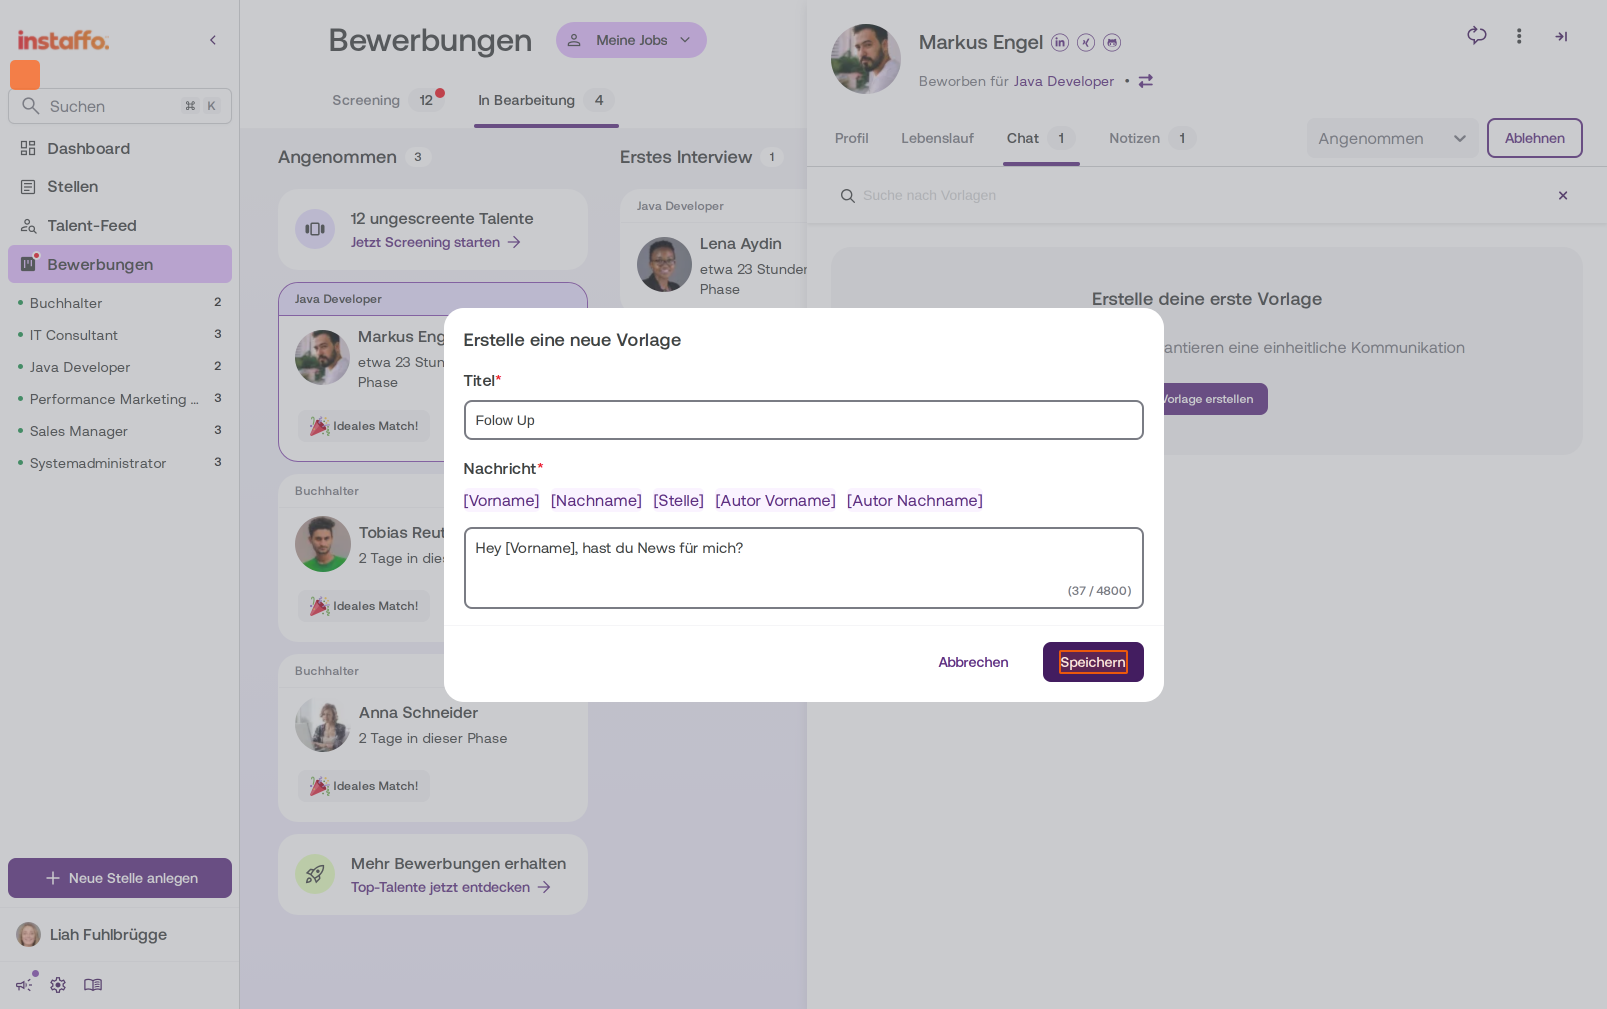
Fill Out the Template Form
- In the Title field, enter a name for the template, for example "Follow Up"
- In the Message field, write your text
- Use the available placeholders like [First Name], [Last Name], [Position], [Author First Name], and [Author Last Name]
-
Save and Use Template
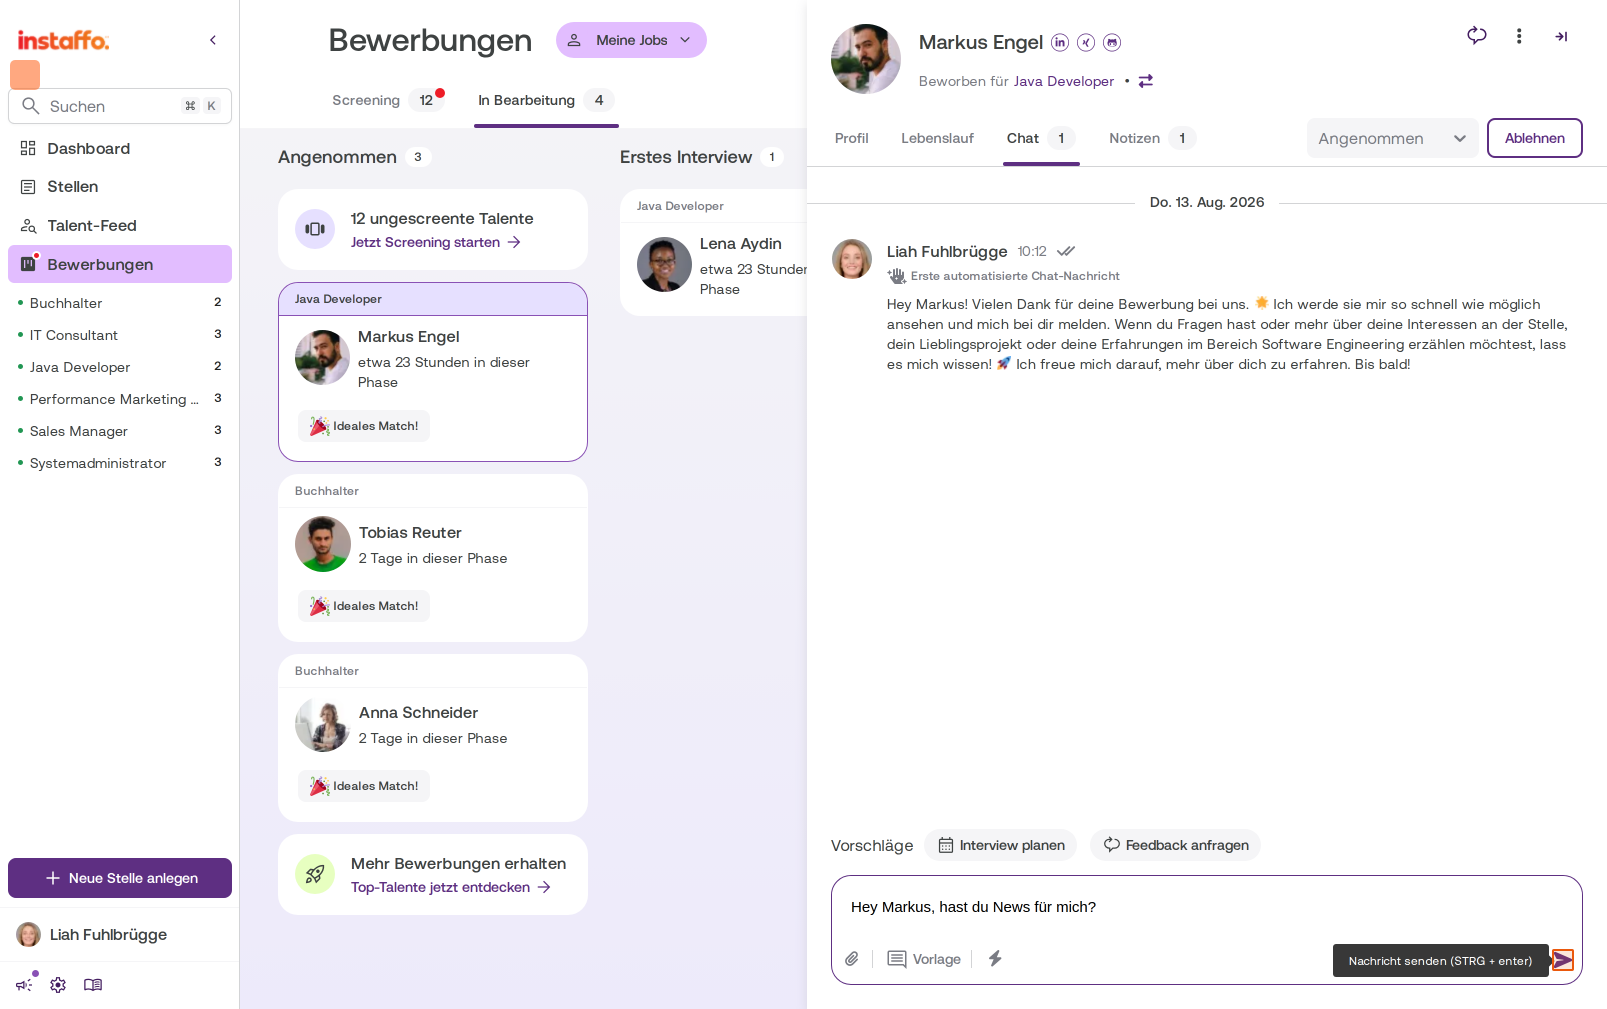
Click Save. The new template will appear in the template list. To use it, click Apply on the template you want - the text will be directly inserted into the message field and can be sent.
Use Templates When Rejecting Talents
-
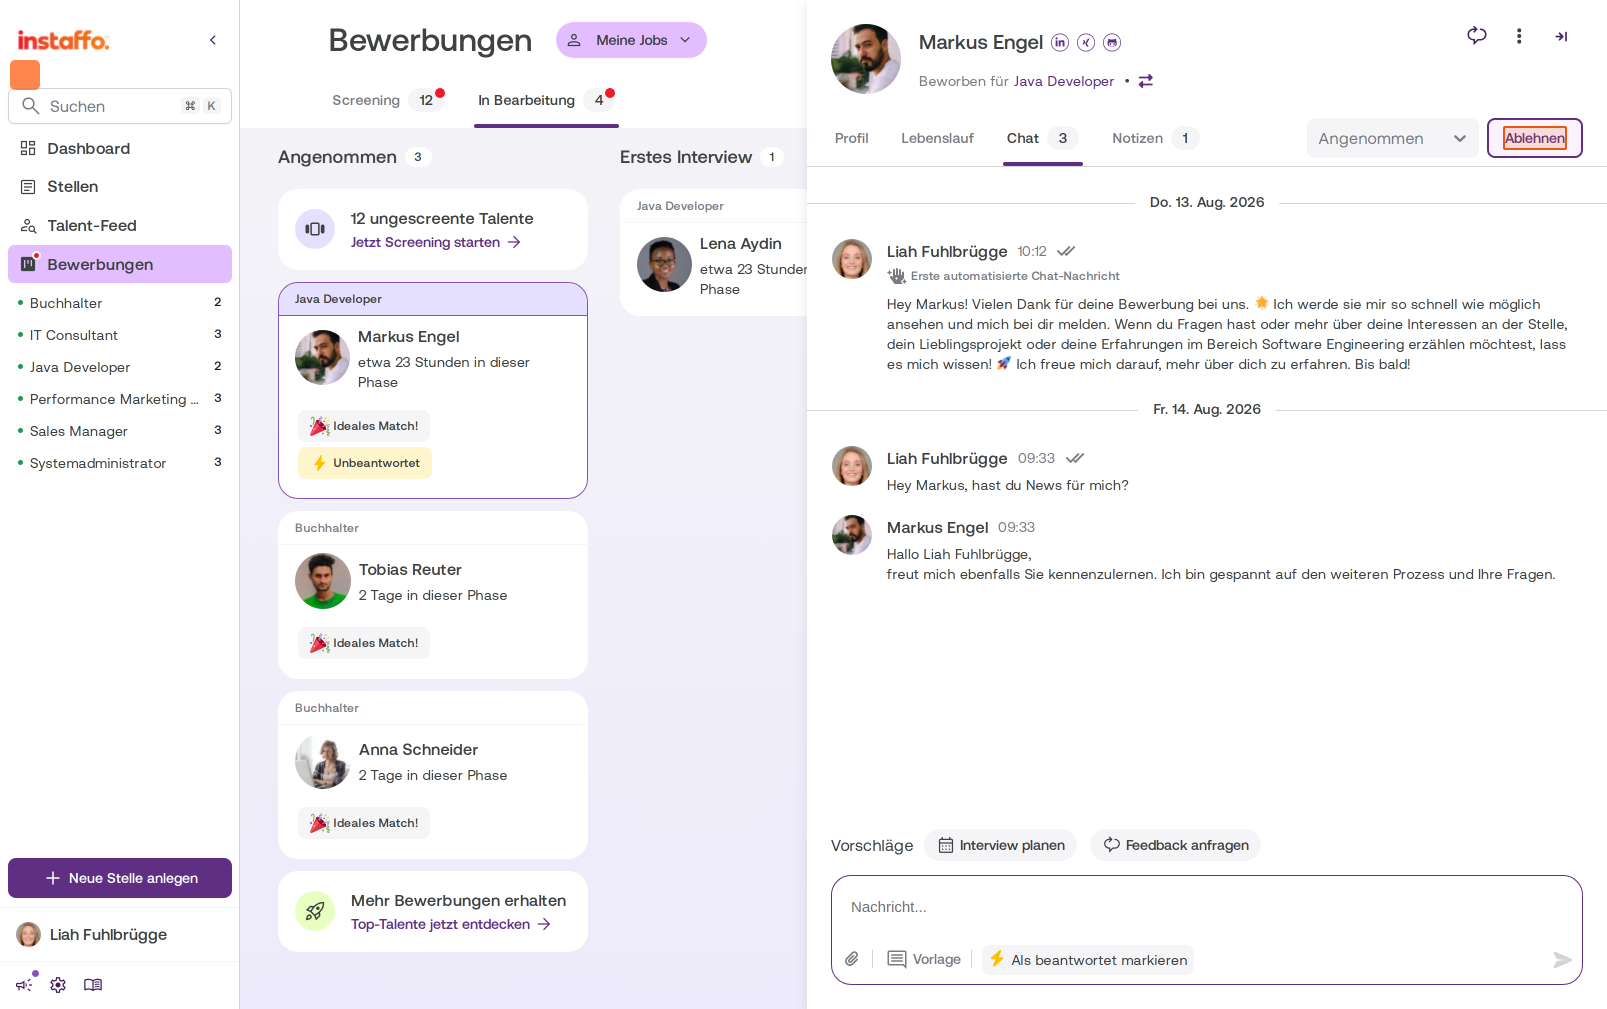
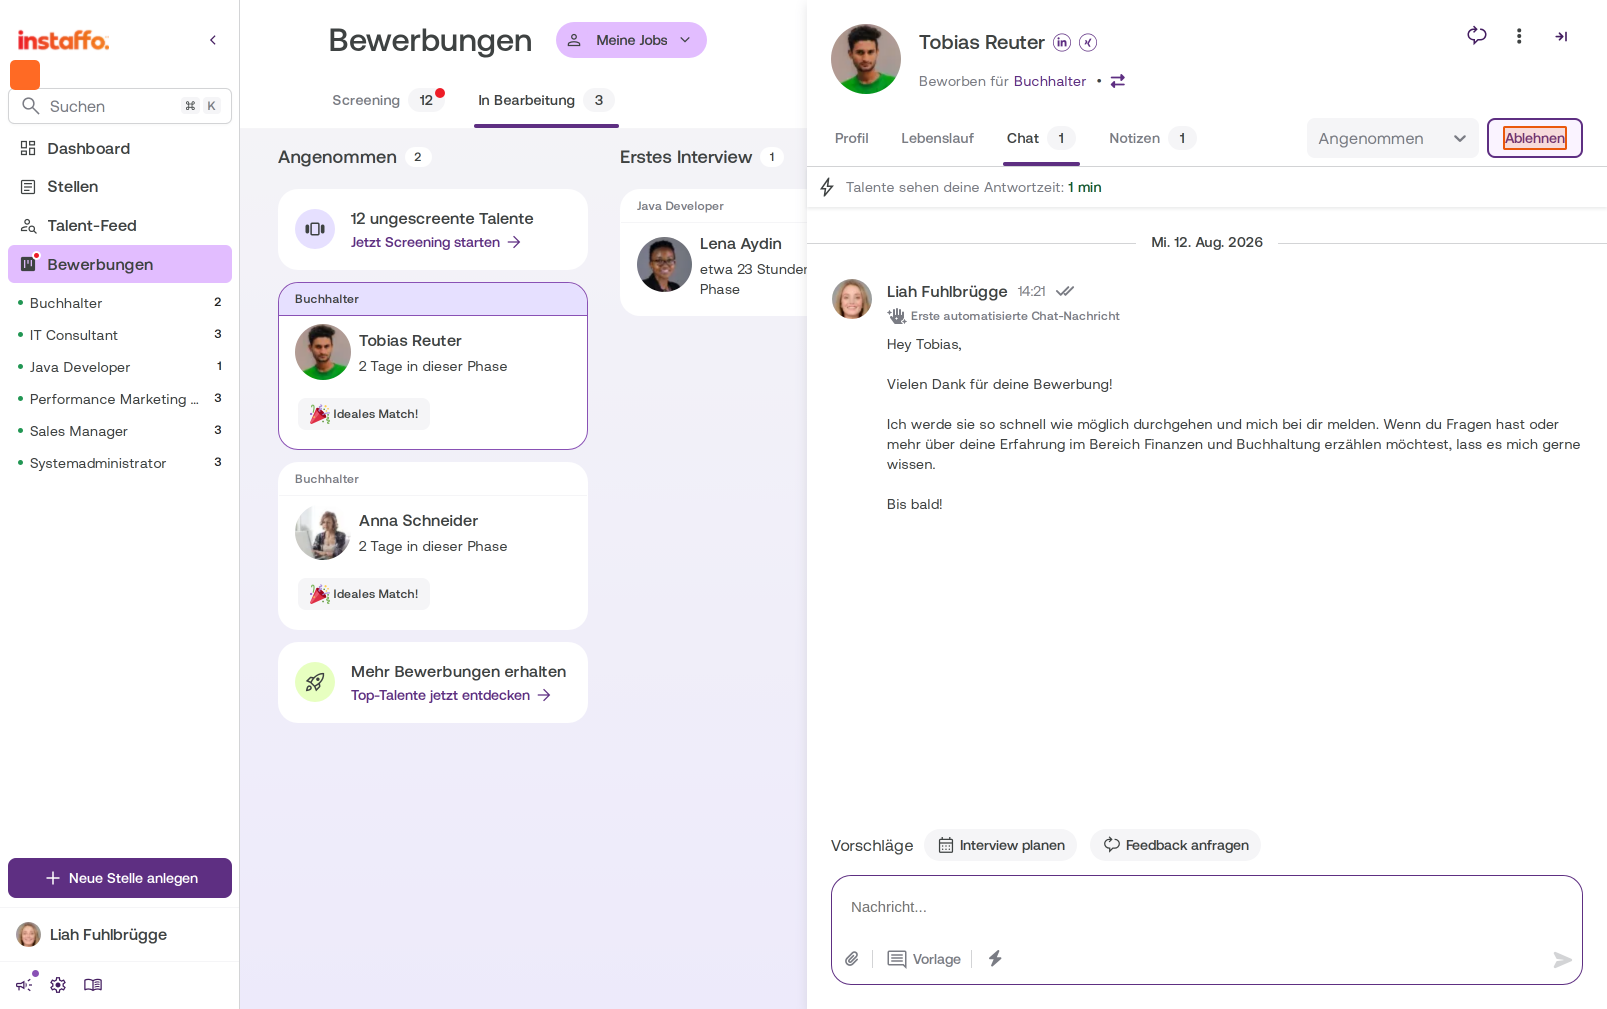
Reject a Talent
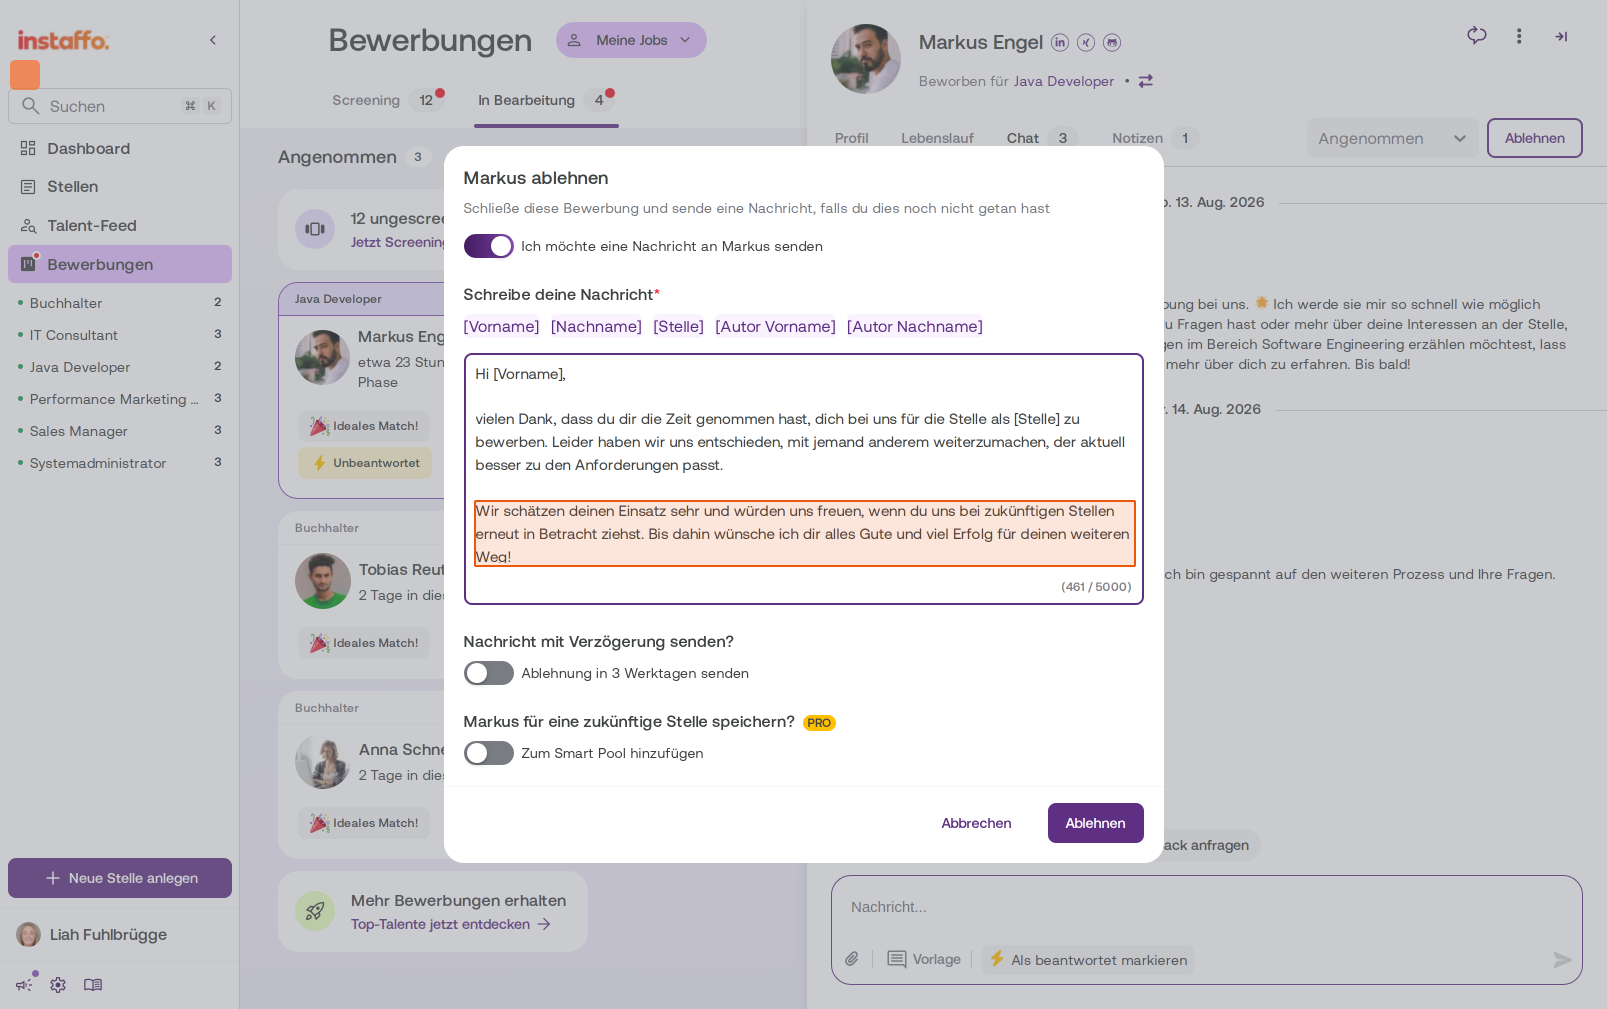
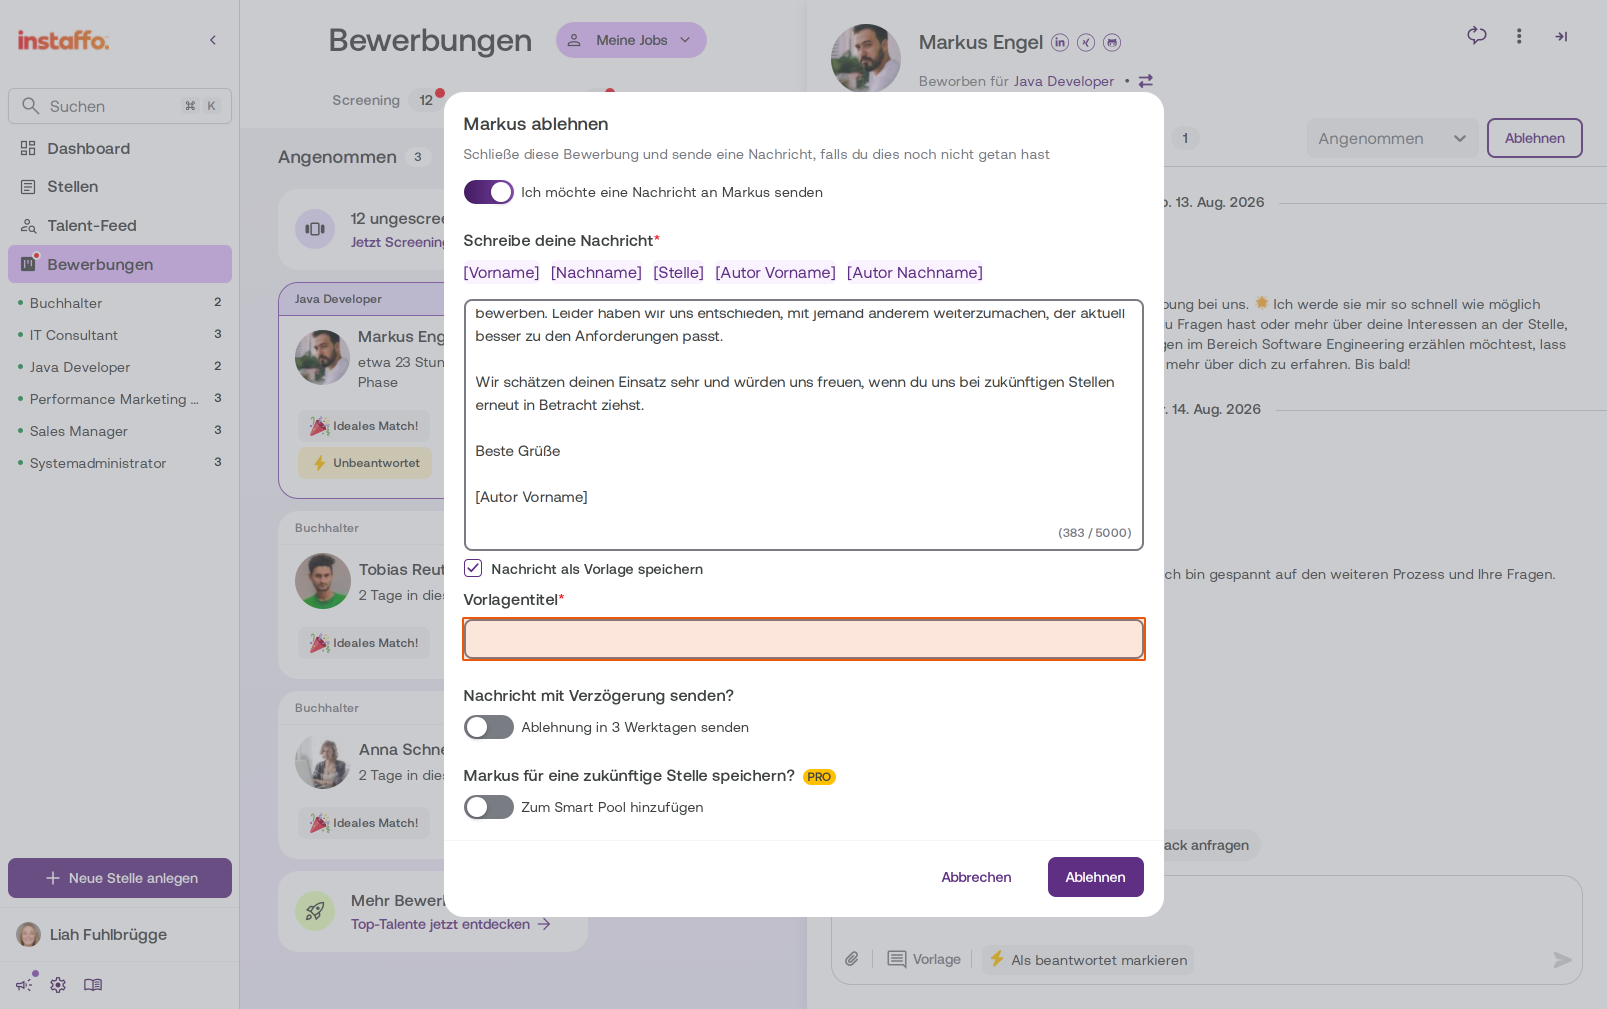
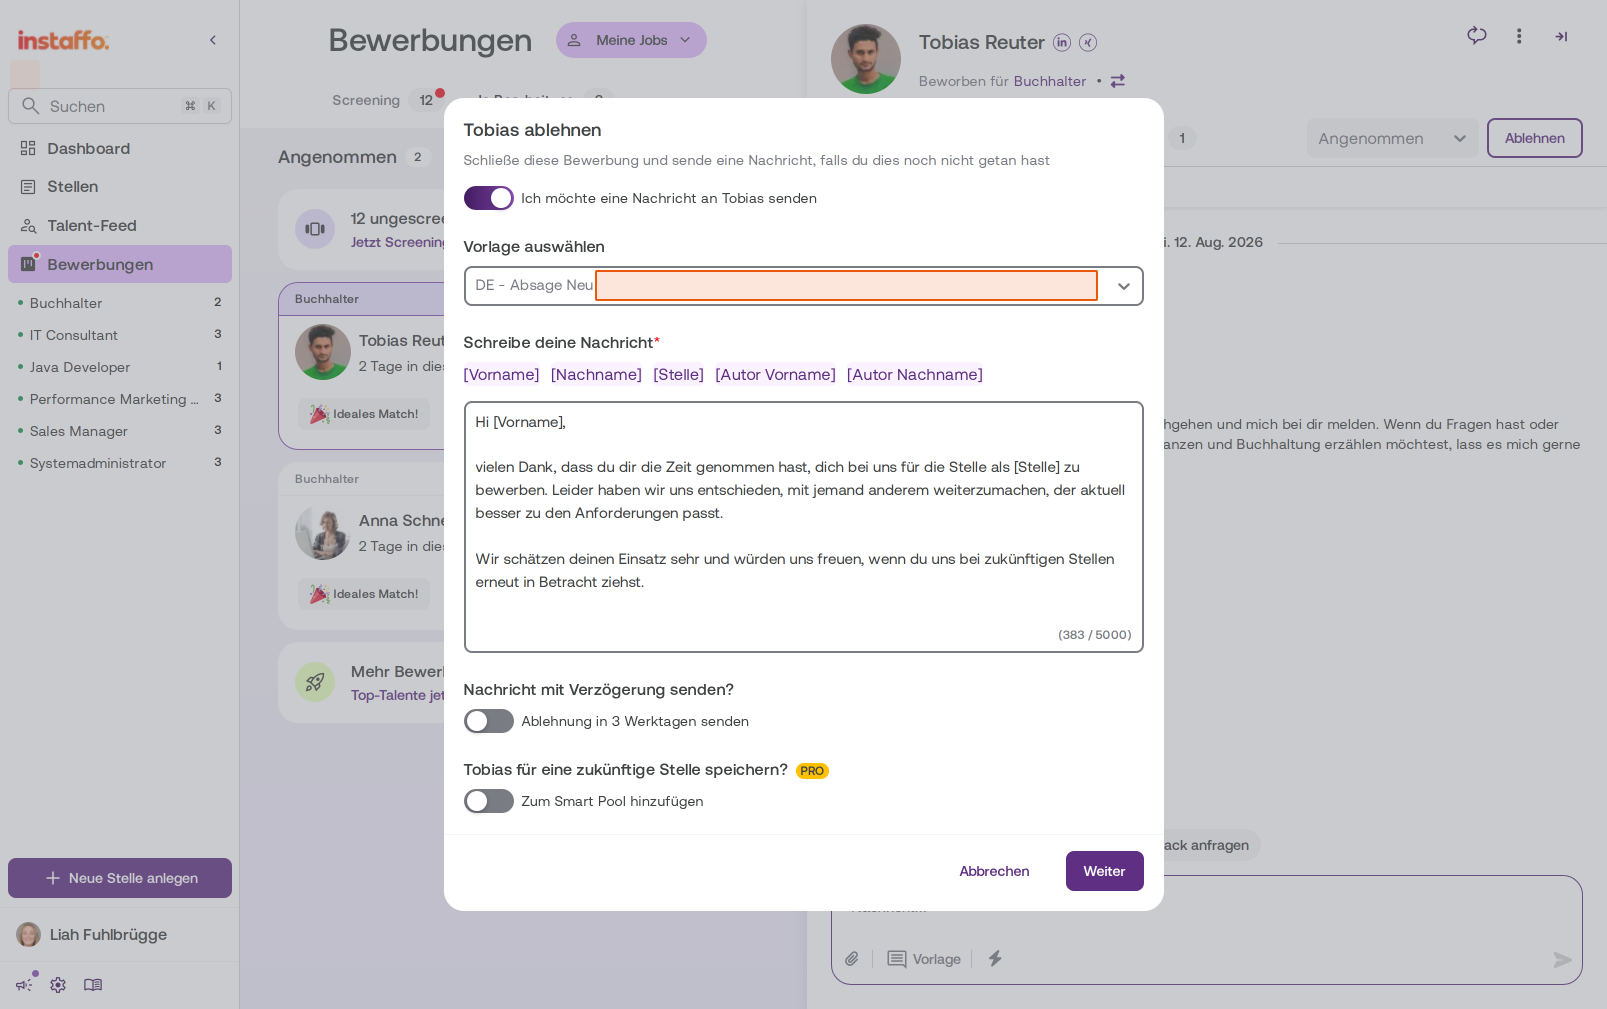
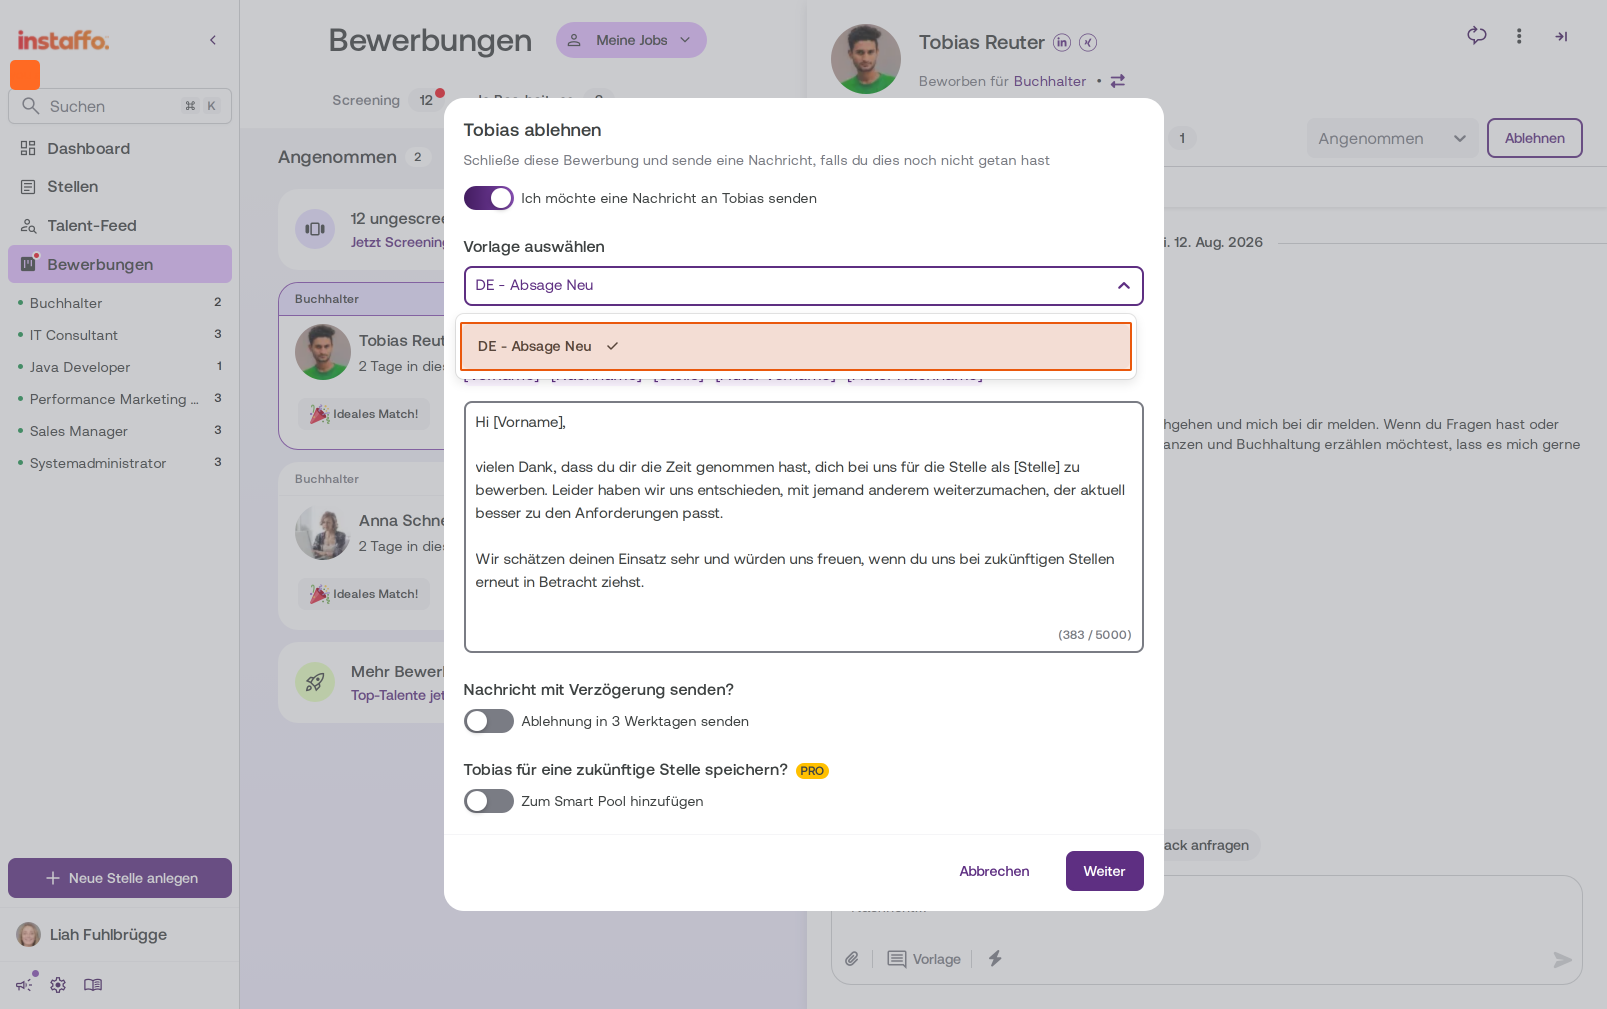
Select a talent and click Reject. The rejection dialog will open. -
Select a Rejection Template
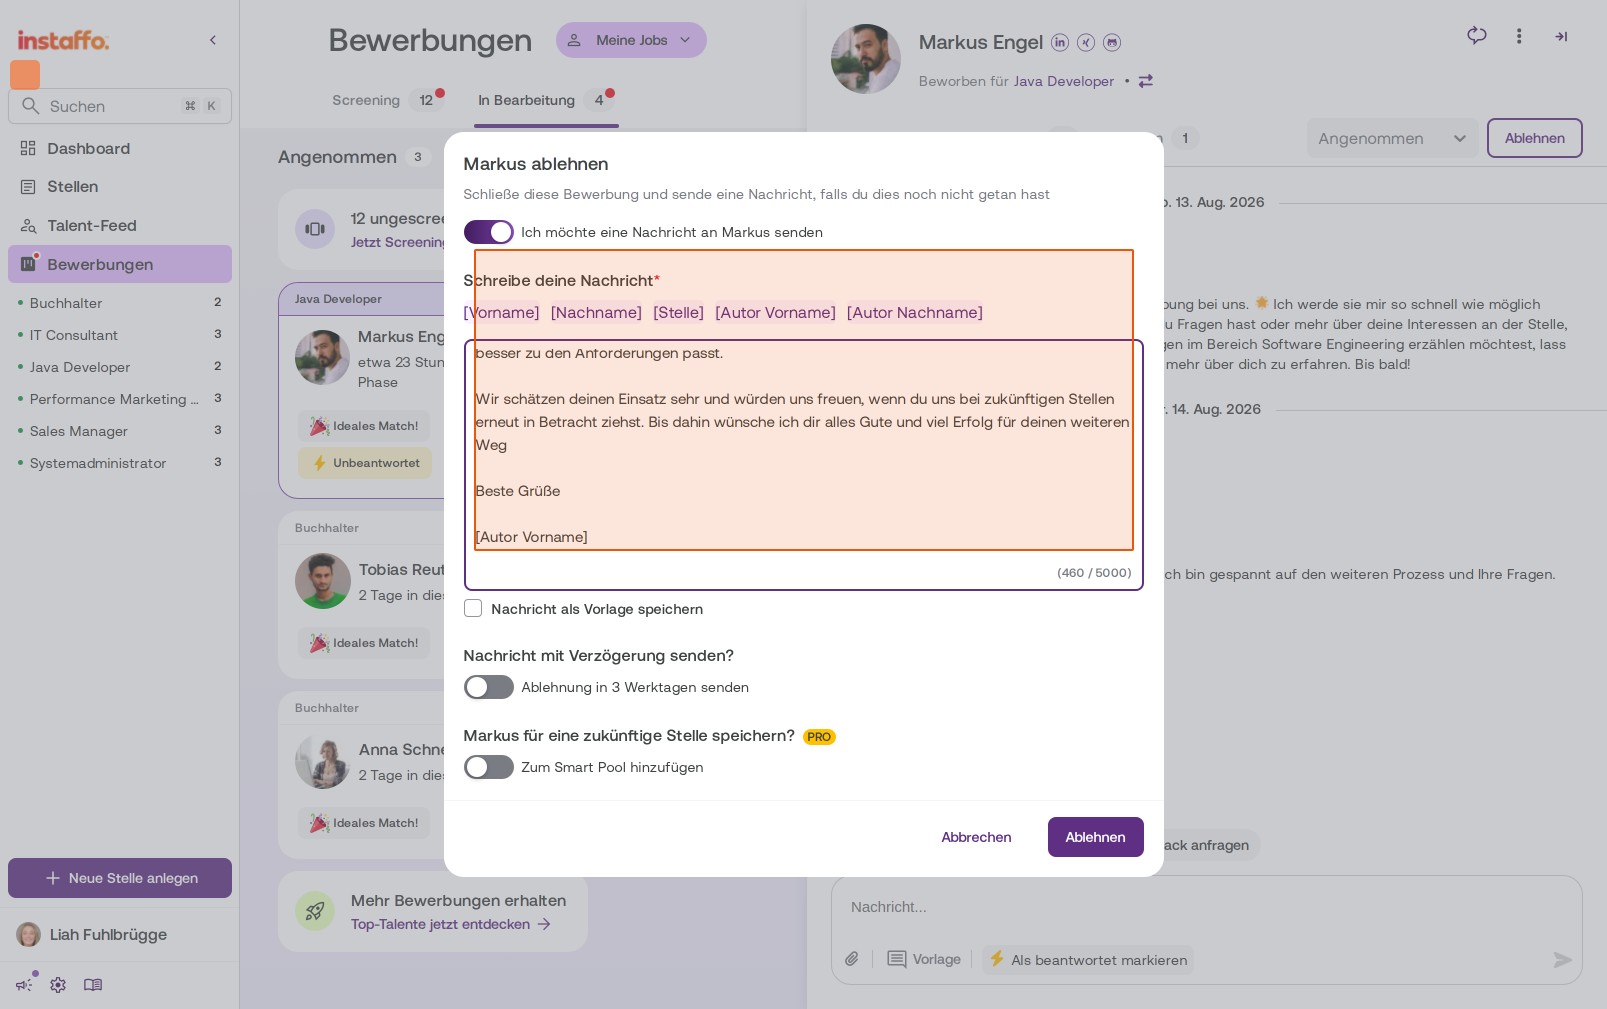
In the Select Template dropdown field, you can choose a saved rejection template, for example "EN - Rejection New". The message will automatically be loaded into the text field. -
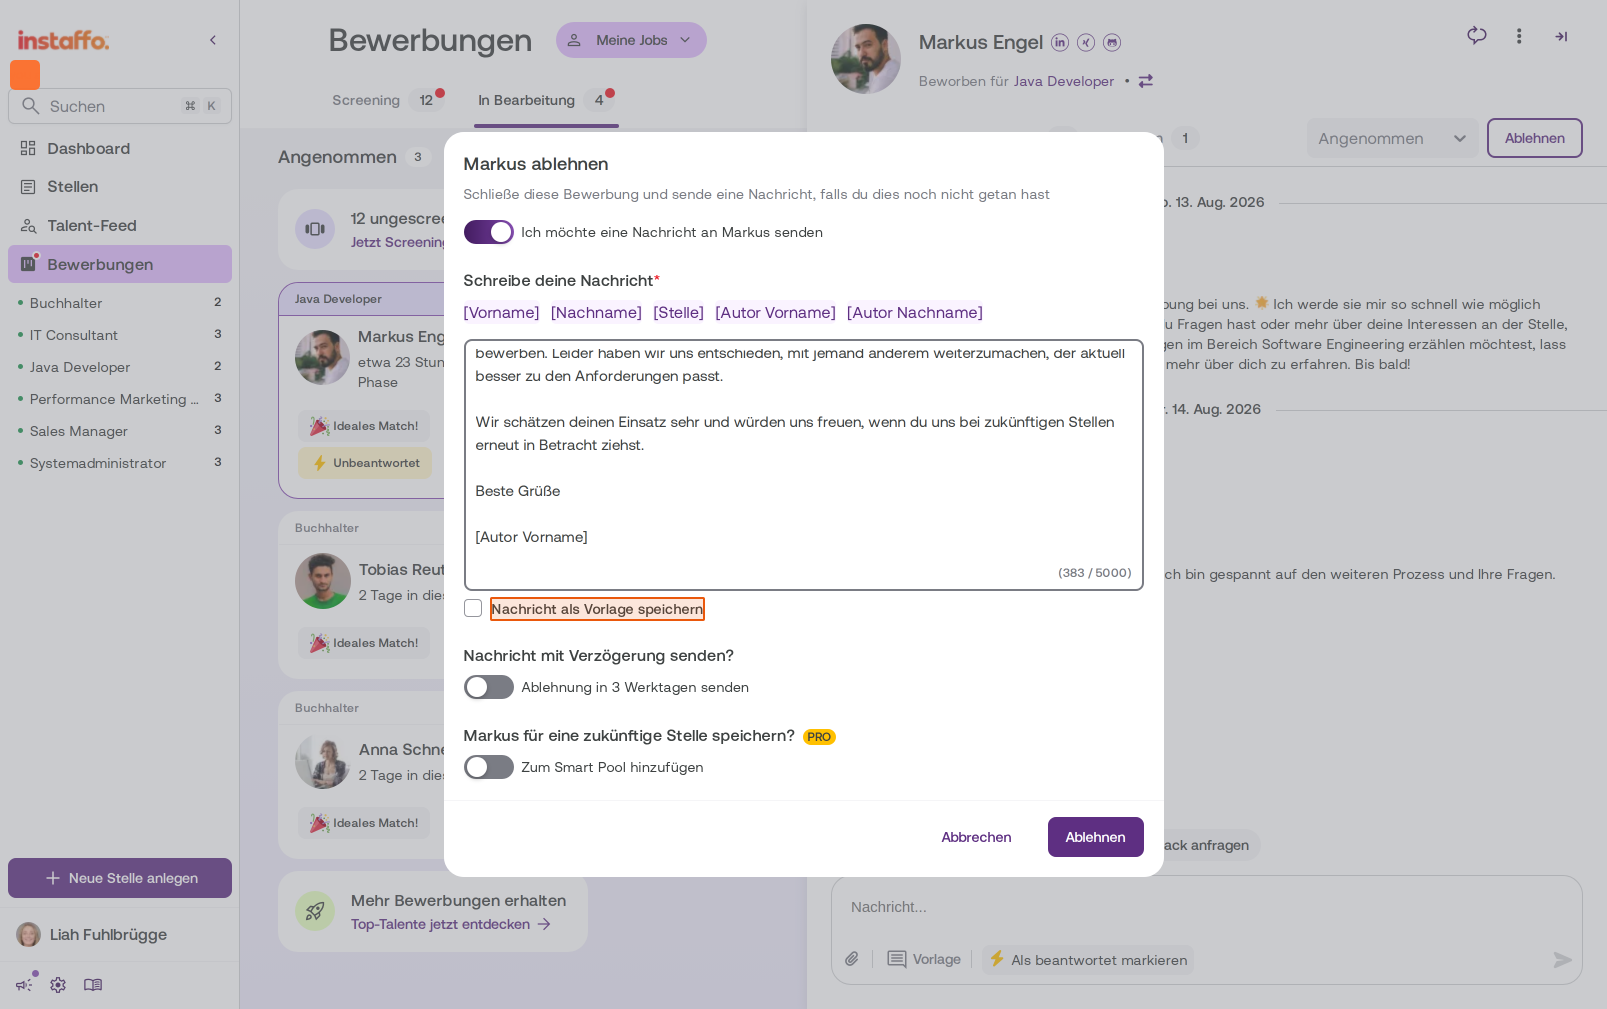
Customize Message and Save as Template
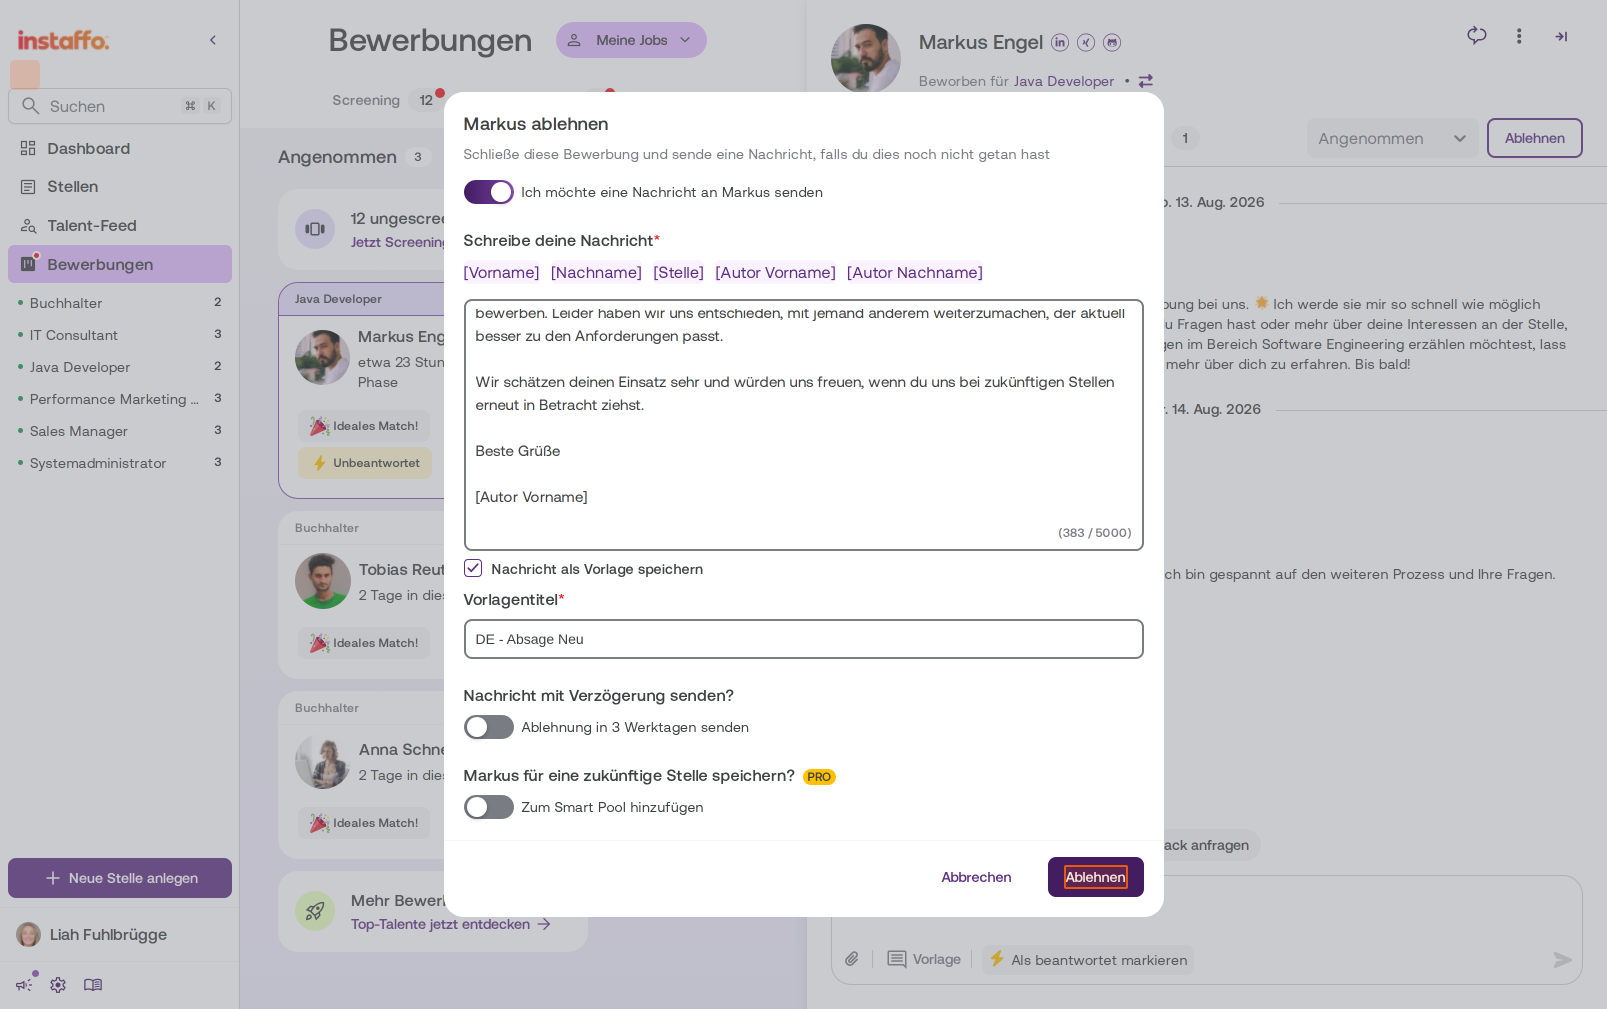
Customize the message if needed. Check the Save Message as Template checkbox and enter a name in the appearing Template Title field if you want to save the changed version as a new template. -
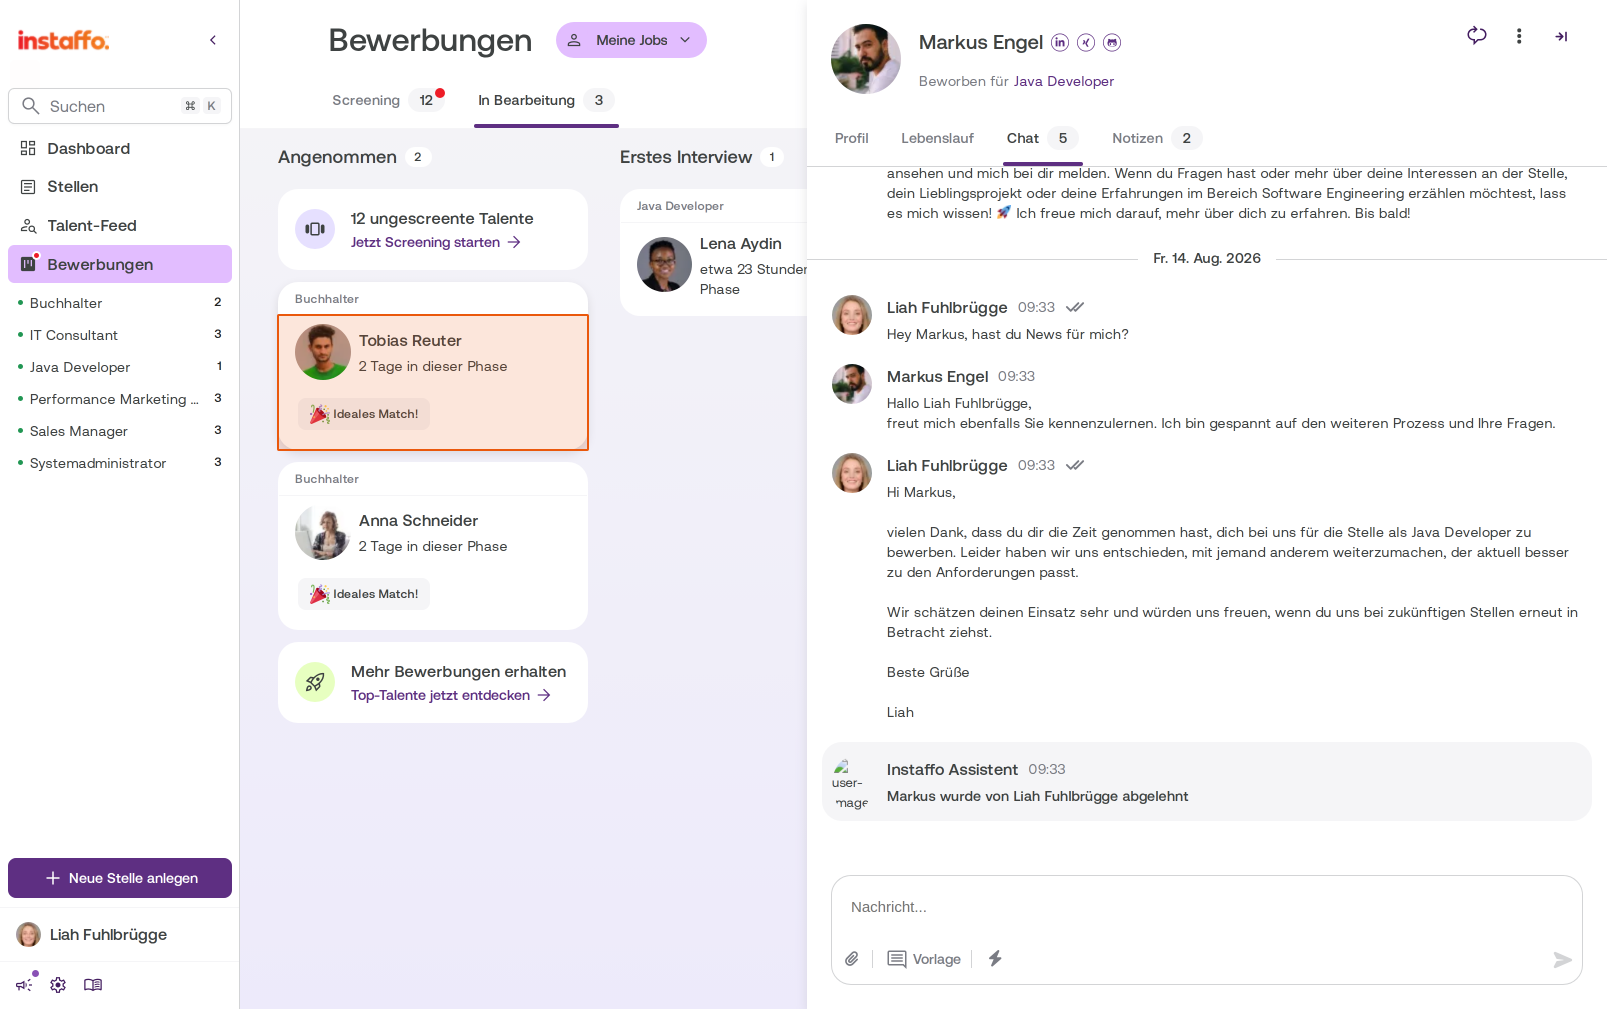
Complete the Rejection
Click Reject to complete the process. The next time you reject someone, the new template will be available for selection right away.
You've now learned all the ways to create, manage, and efficiently use message templates in Instaffo - both through settings and directly in your work areas.
 Powered by happysupport.ai