
How do I reject applications?
Reject candidate applications by clicking the Ablehnen button on their profile and optionally send a personal message through the chat template
In this article, you’ll learn how to reject applications at different stages of the application process. You’ll learn about both quick rejections during screening and rejecting applications you’ve already accepted, including the option to send rejection messages later.

Rejecting applications during screening
-
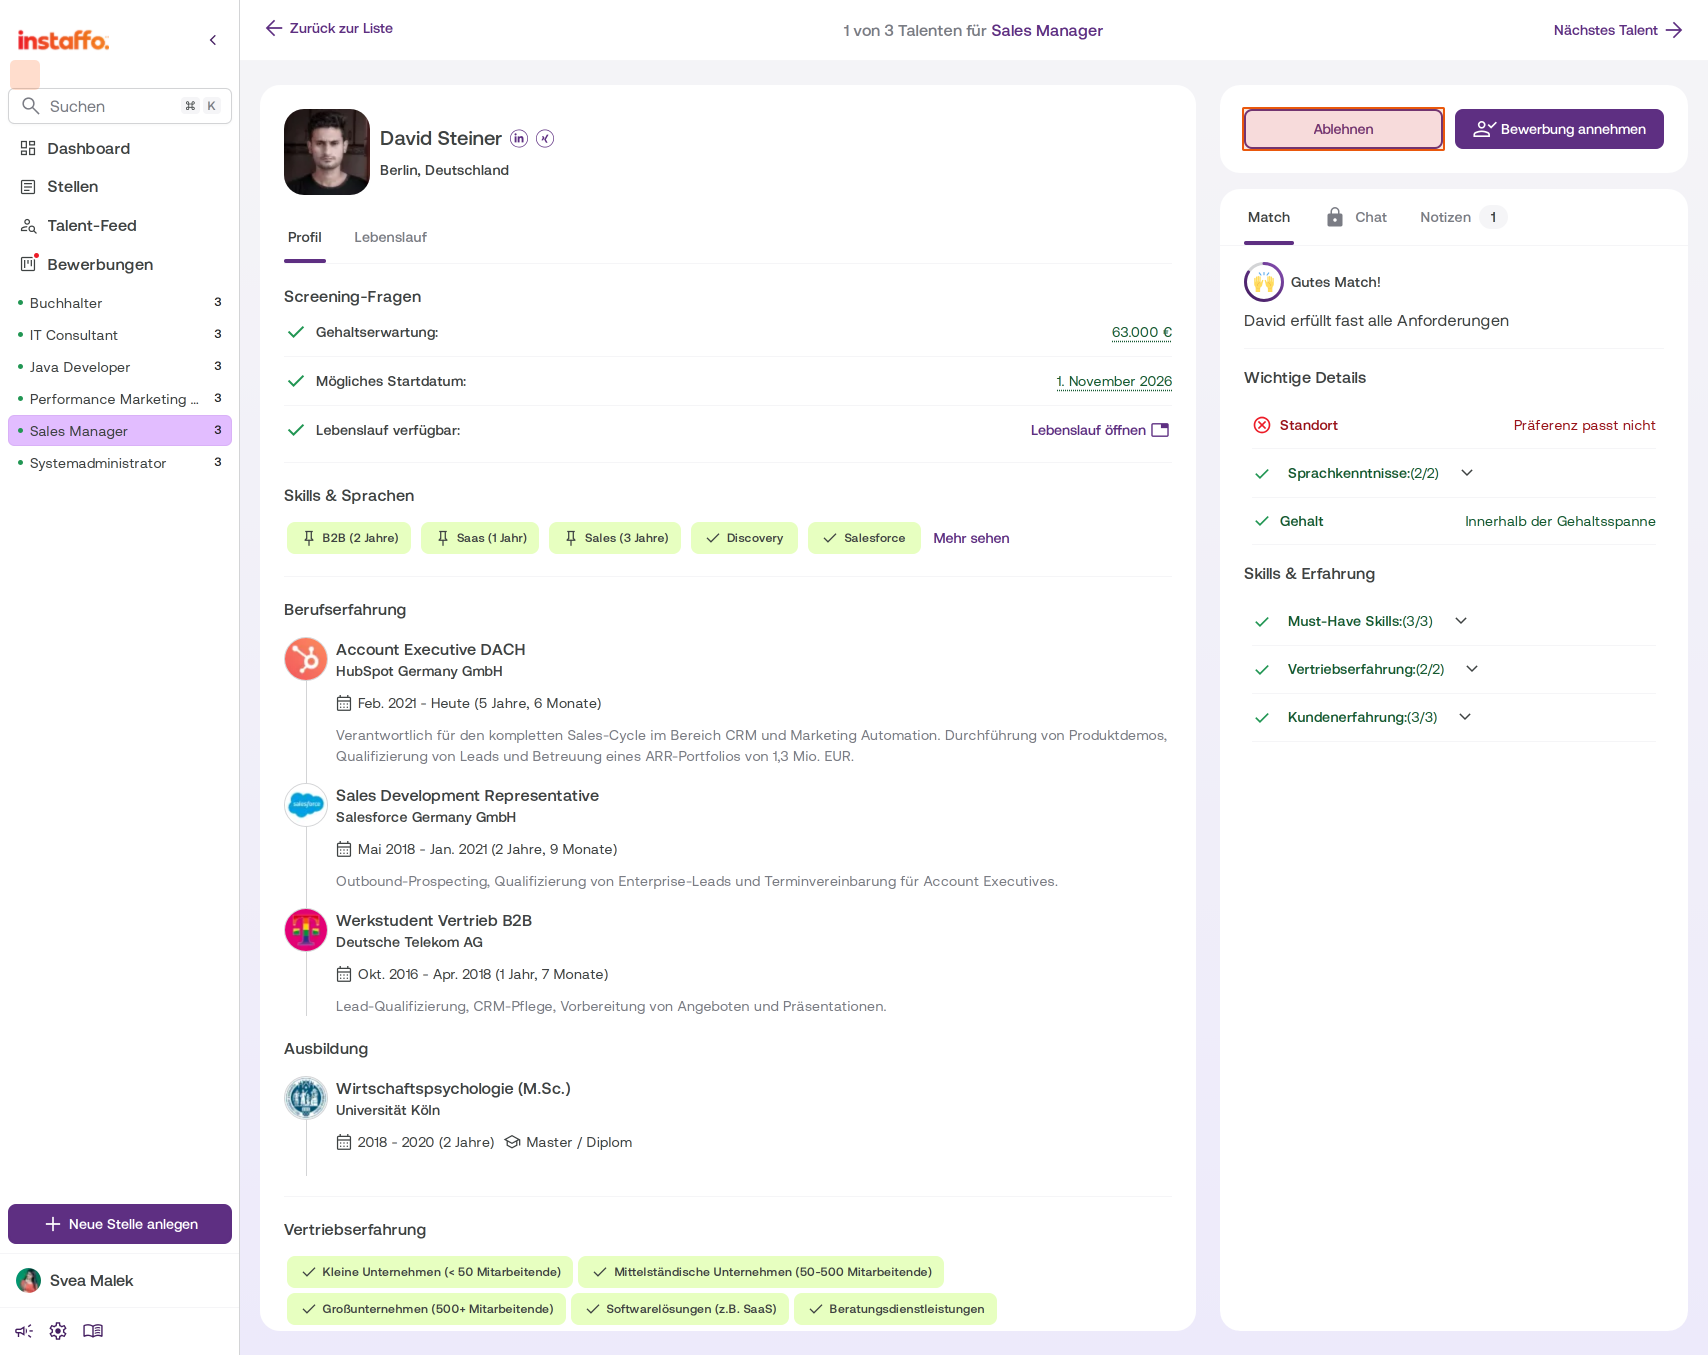
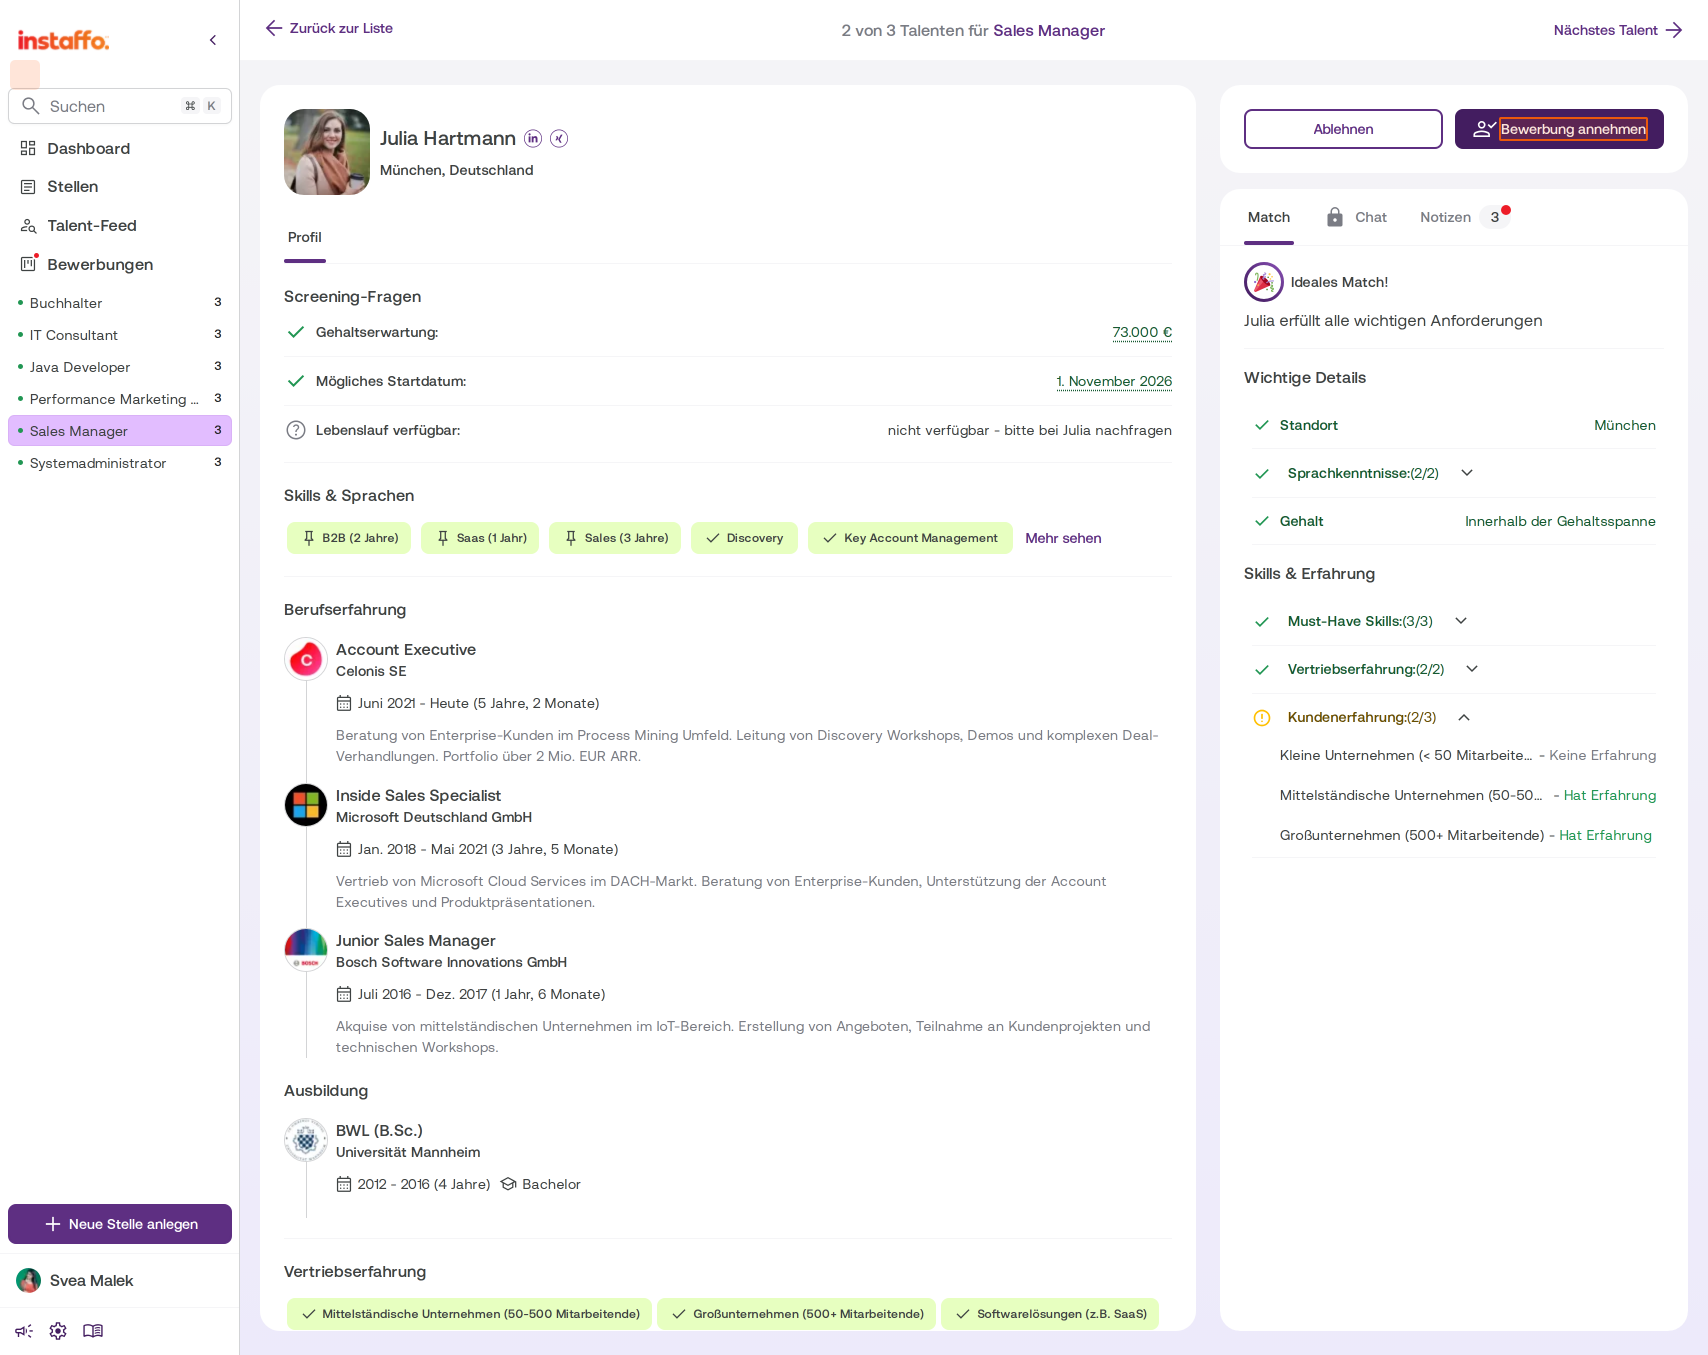
Reject an application directly during screening
When an application is in screening, you can reject it very easily. The application may appear in the Rahmenbedingungen passen or Nicht alle Rahmenbedingungen passen group. Open the candidate’s profile in the relevant group and click Ablehnen at the top of the right-hand panel. The candidate will be notified automatically, so you don’t need to send a separate message.Reject with a personal message: In the Chat tab, under Annehmen & chatten, you’ll find the Mit Nachricht ablehnen button. Choose a template or write a short message, then click Ablehnen. The candidate will see your message in the chat but won’t be able to reply because the chat remains closed. You’ll stay on the candidate’s profile and can continue with Nächstes Talent.
To reject multiple candidates at once, use the checkboxes in the screening list. For instructions, see How can I reject multiple applications at once?.
Rejecting applications you’ve already accepted
-
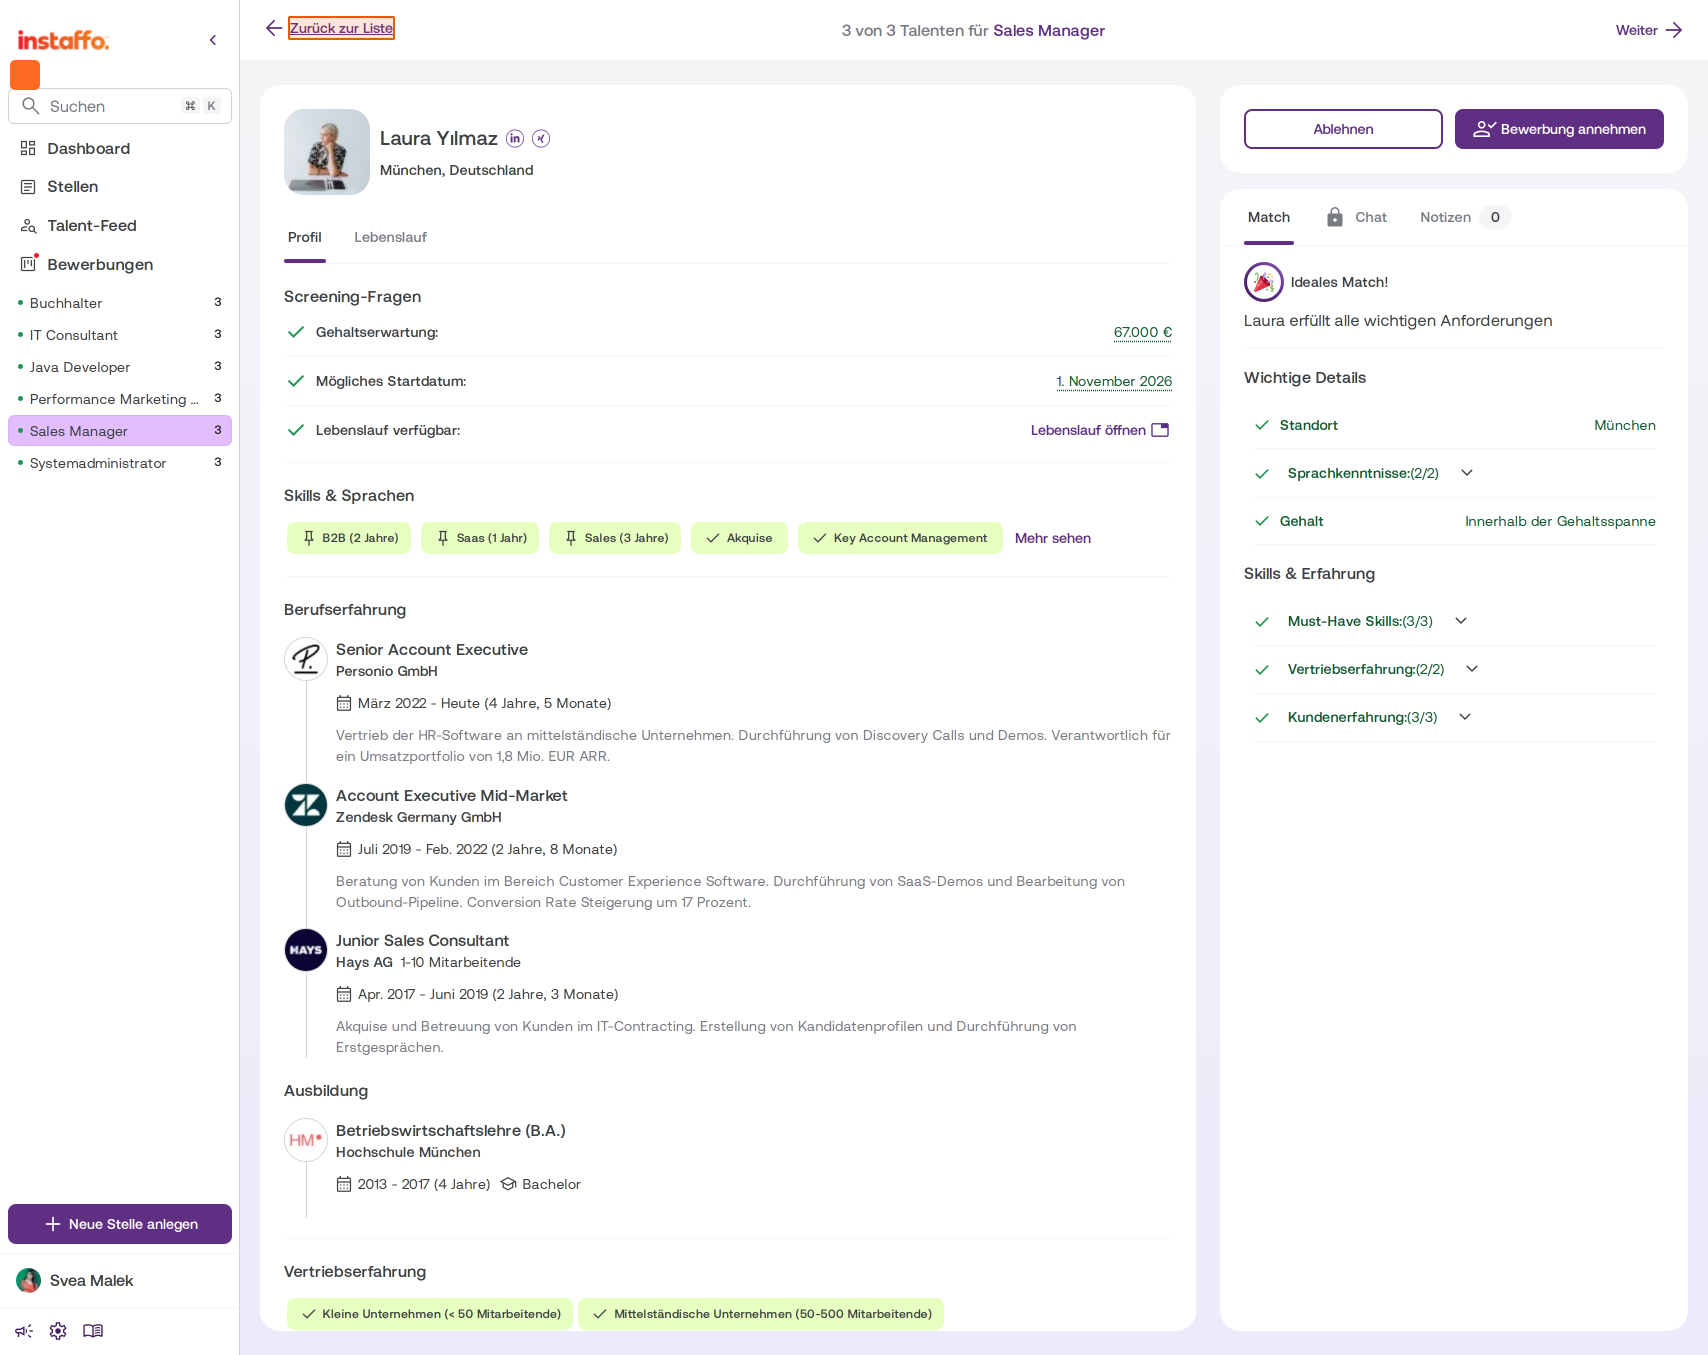
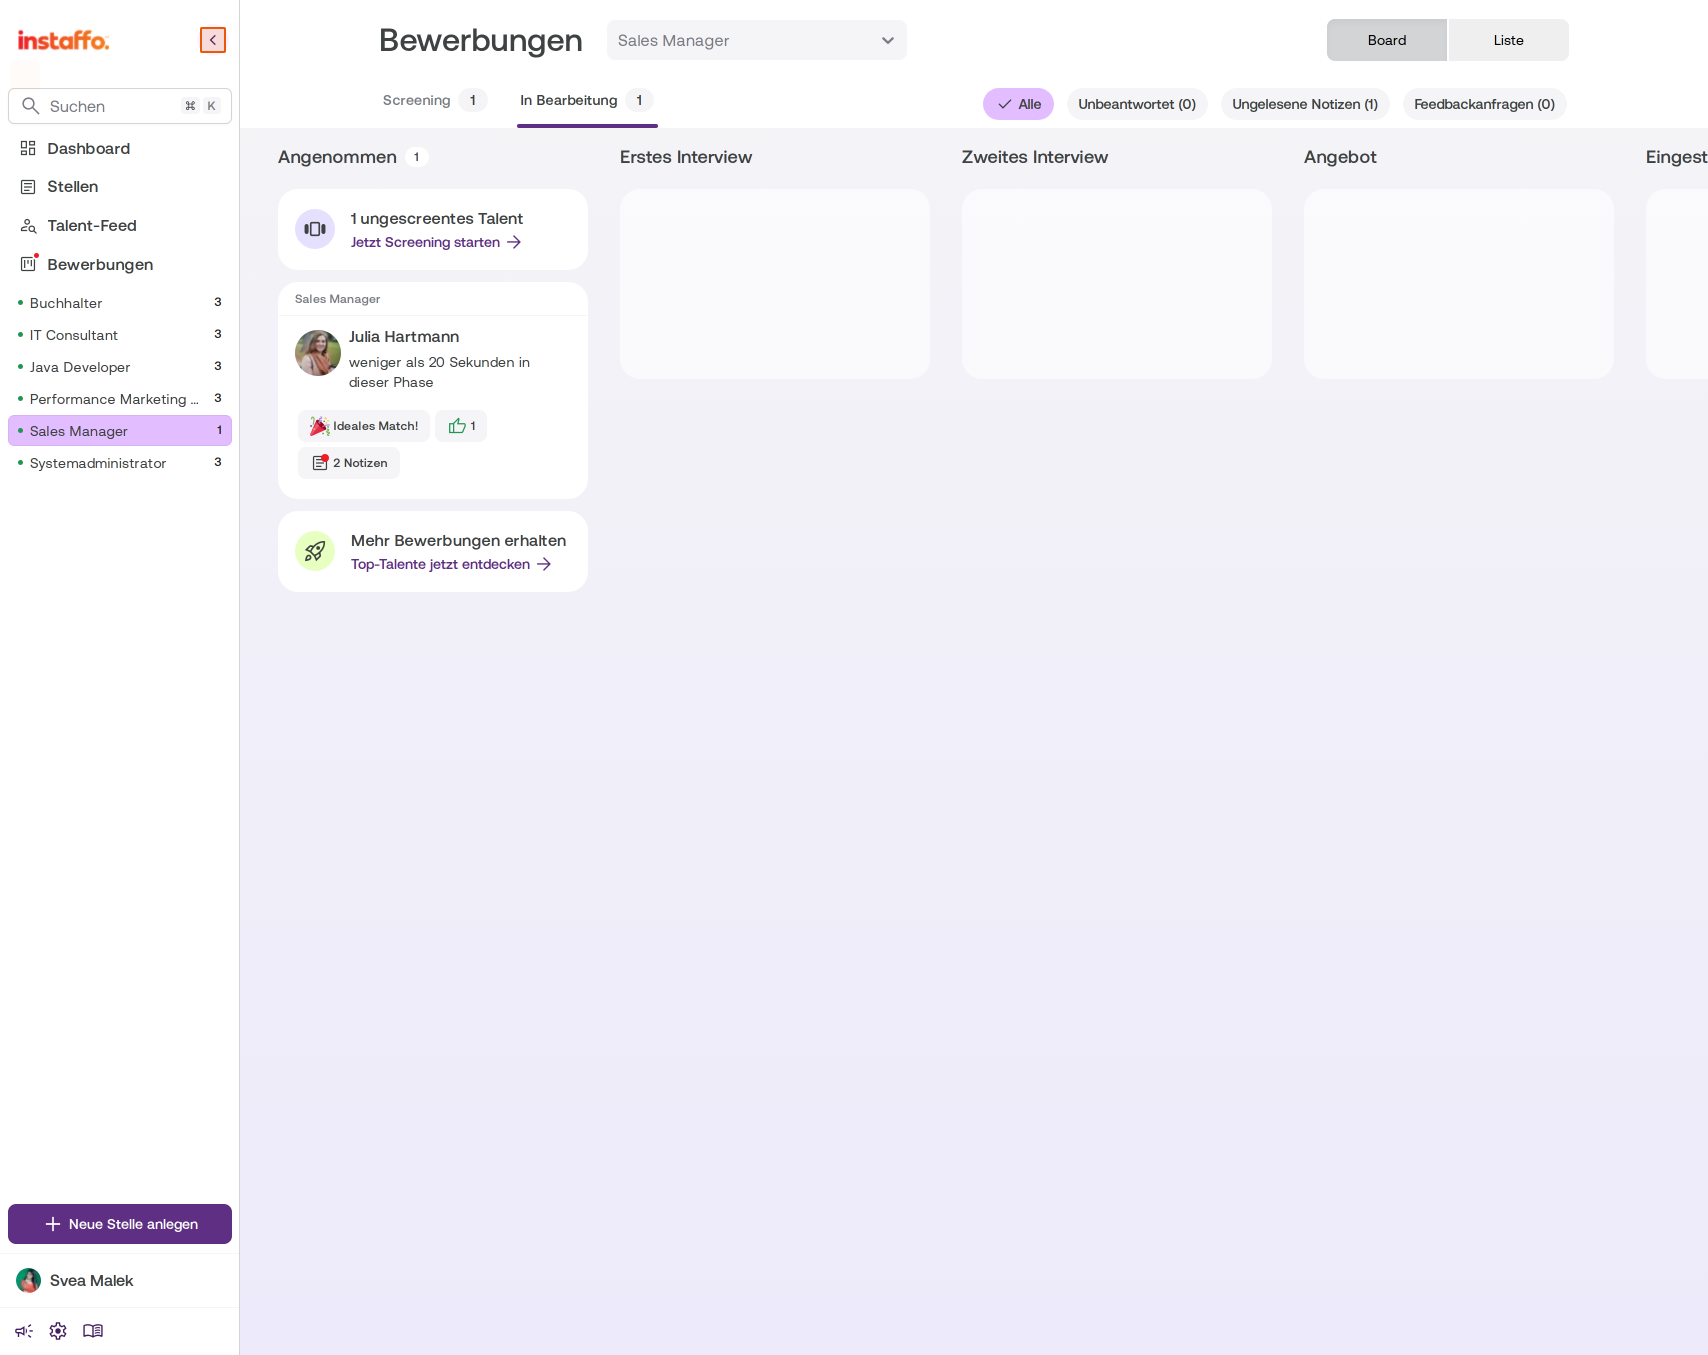
Go to the application overview
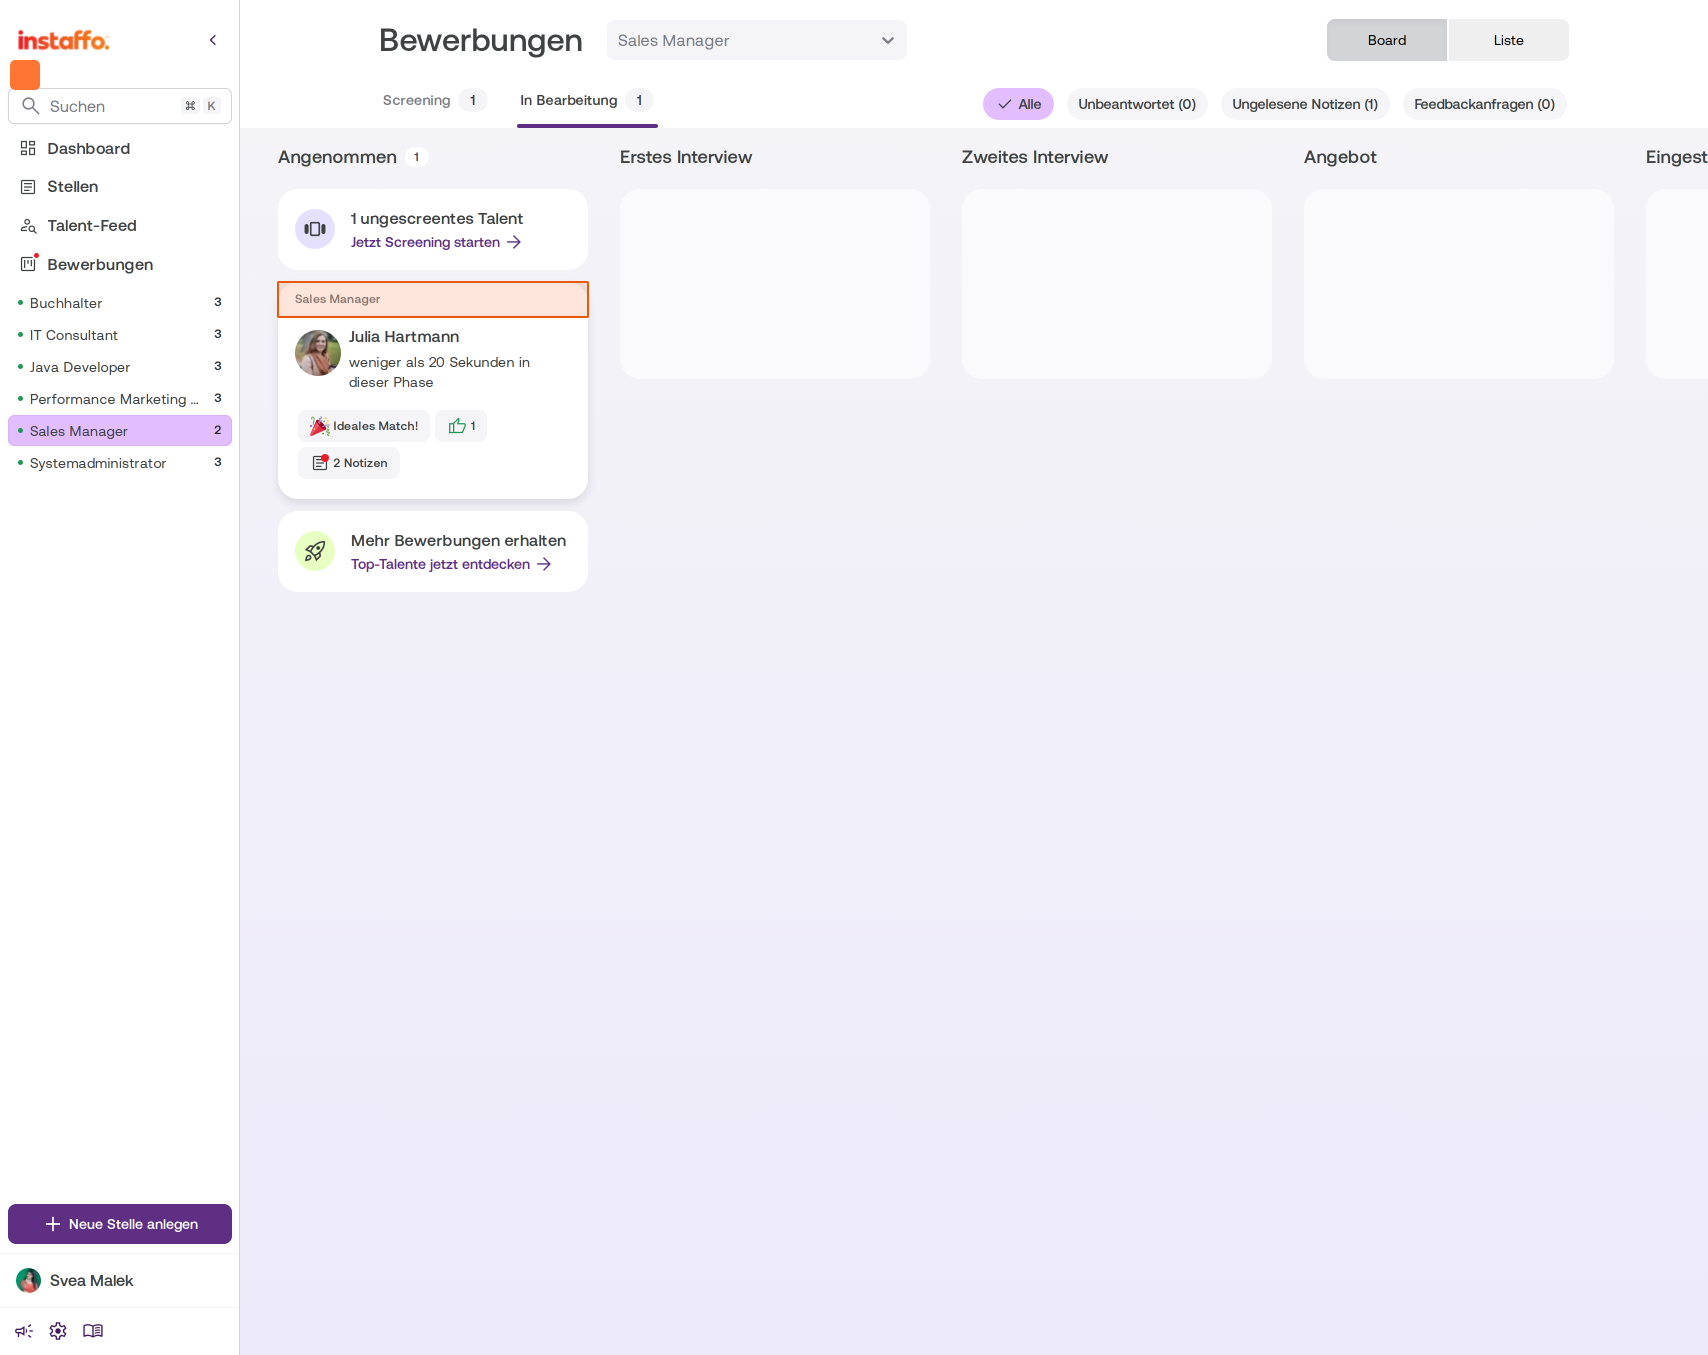
If you’ve already accepted an application and want to reject it later, close the detail view by clicking the X in the top left to return to the overview. -
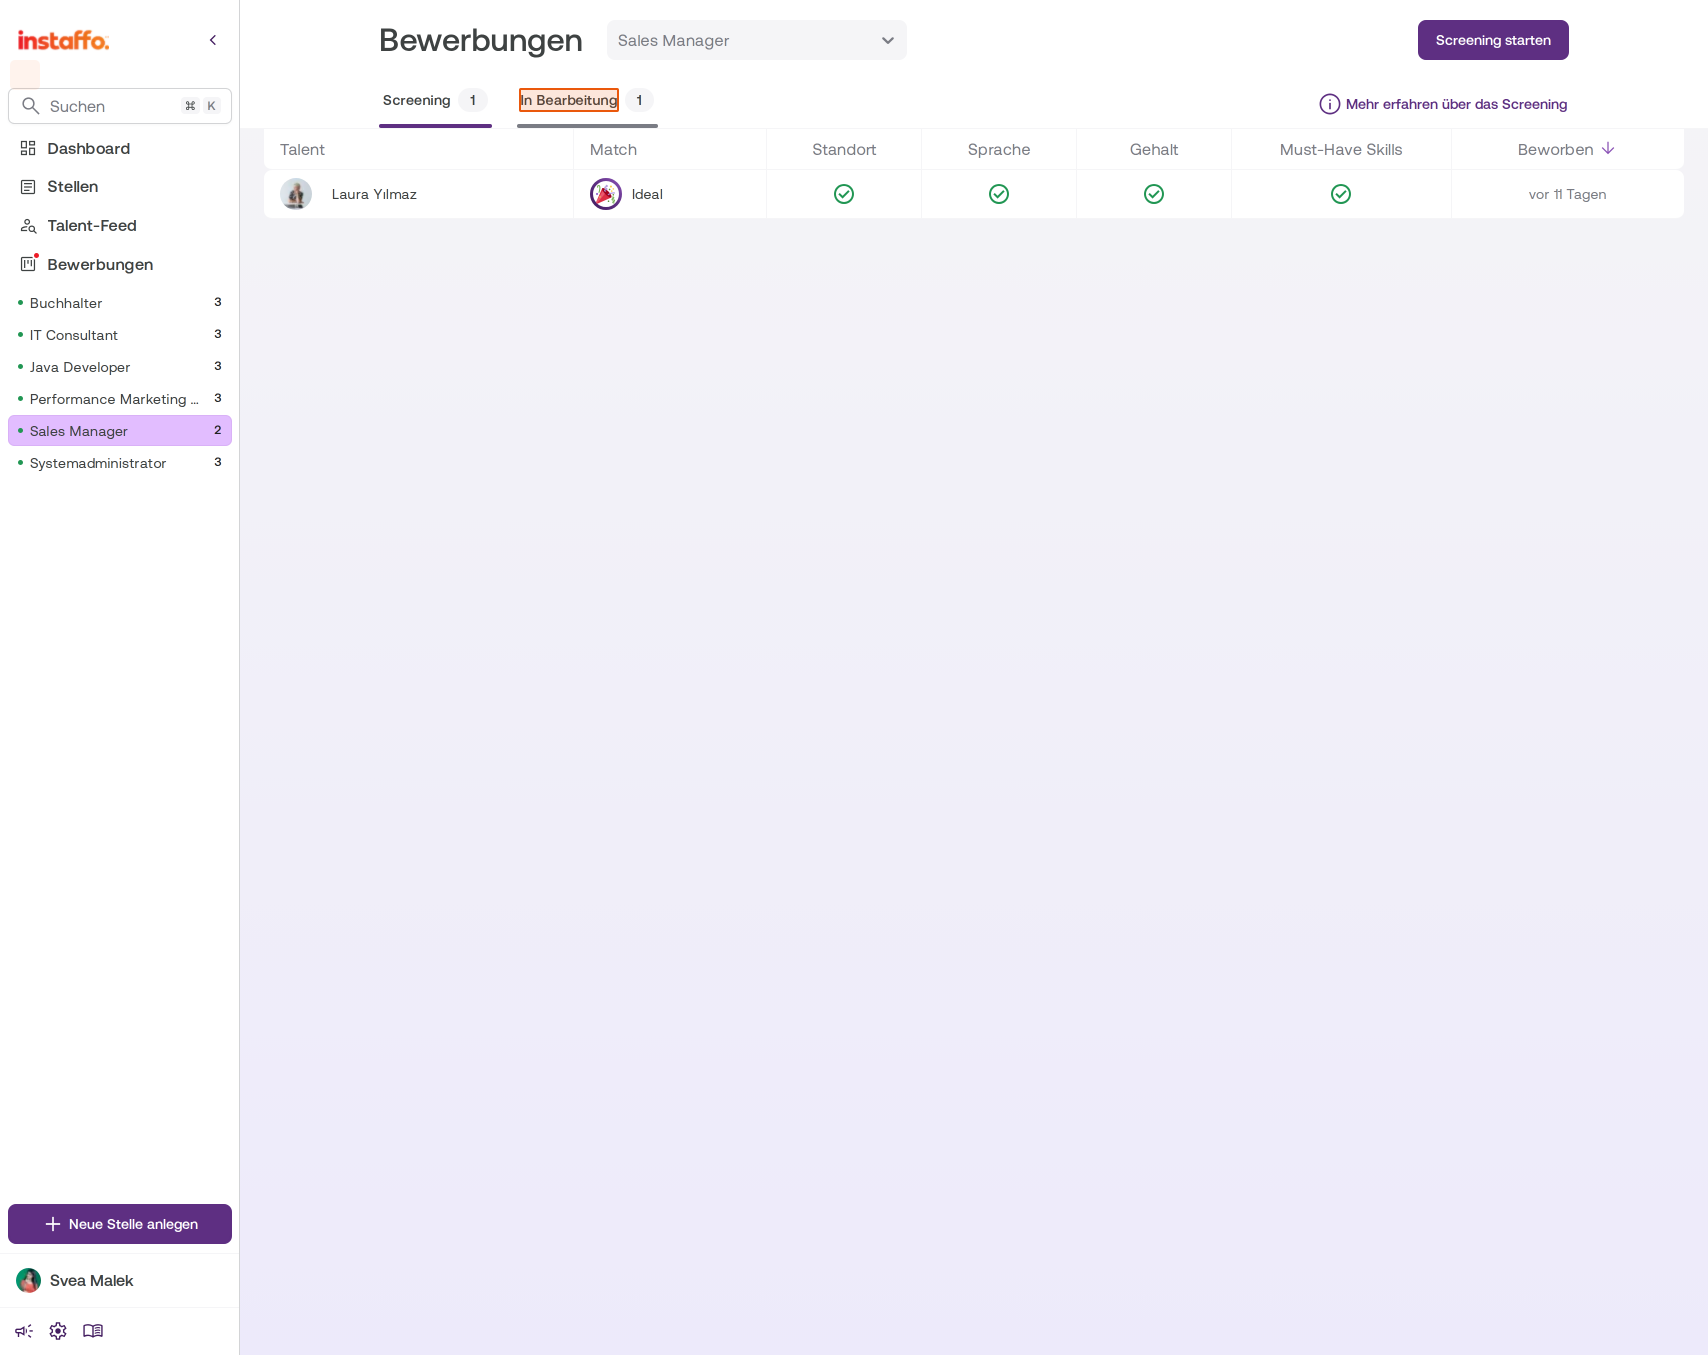
Open the "In Bearbeitung" tab
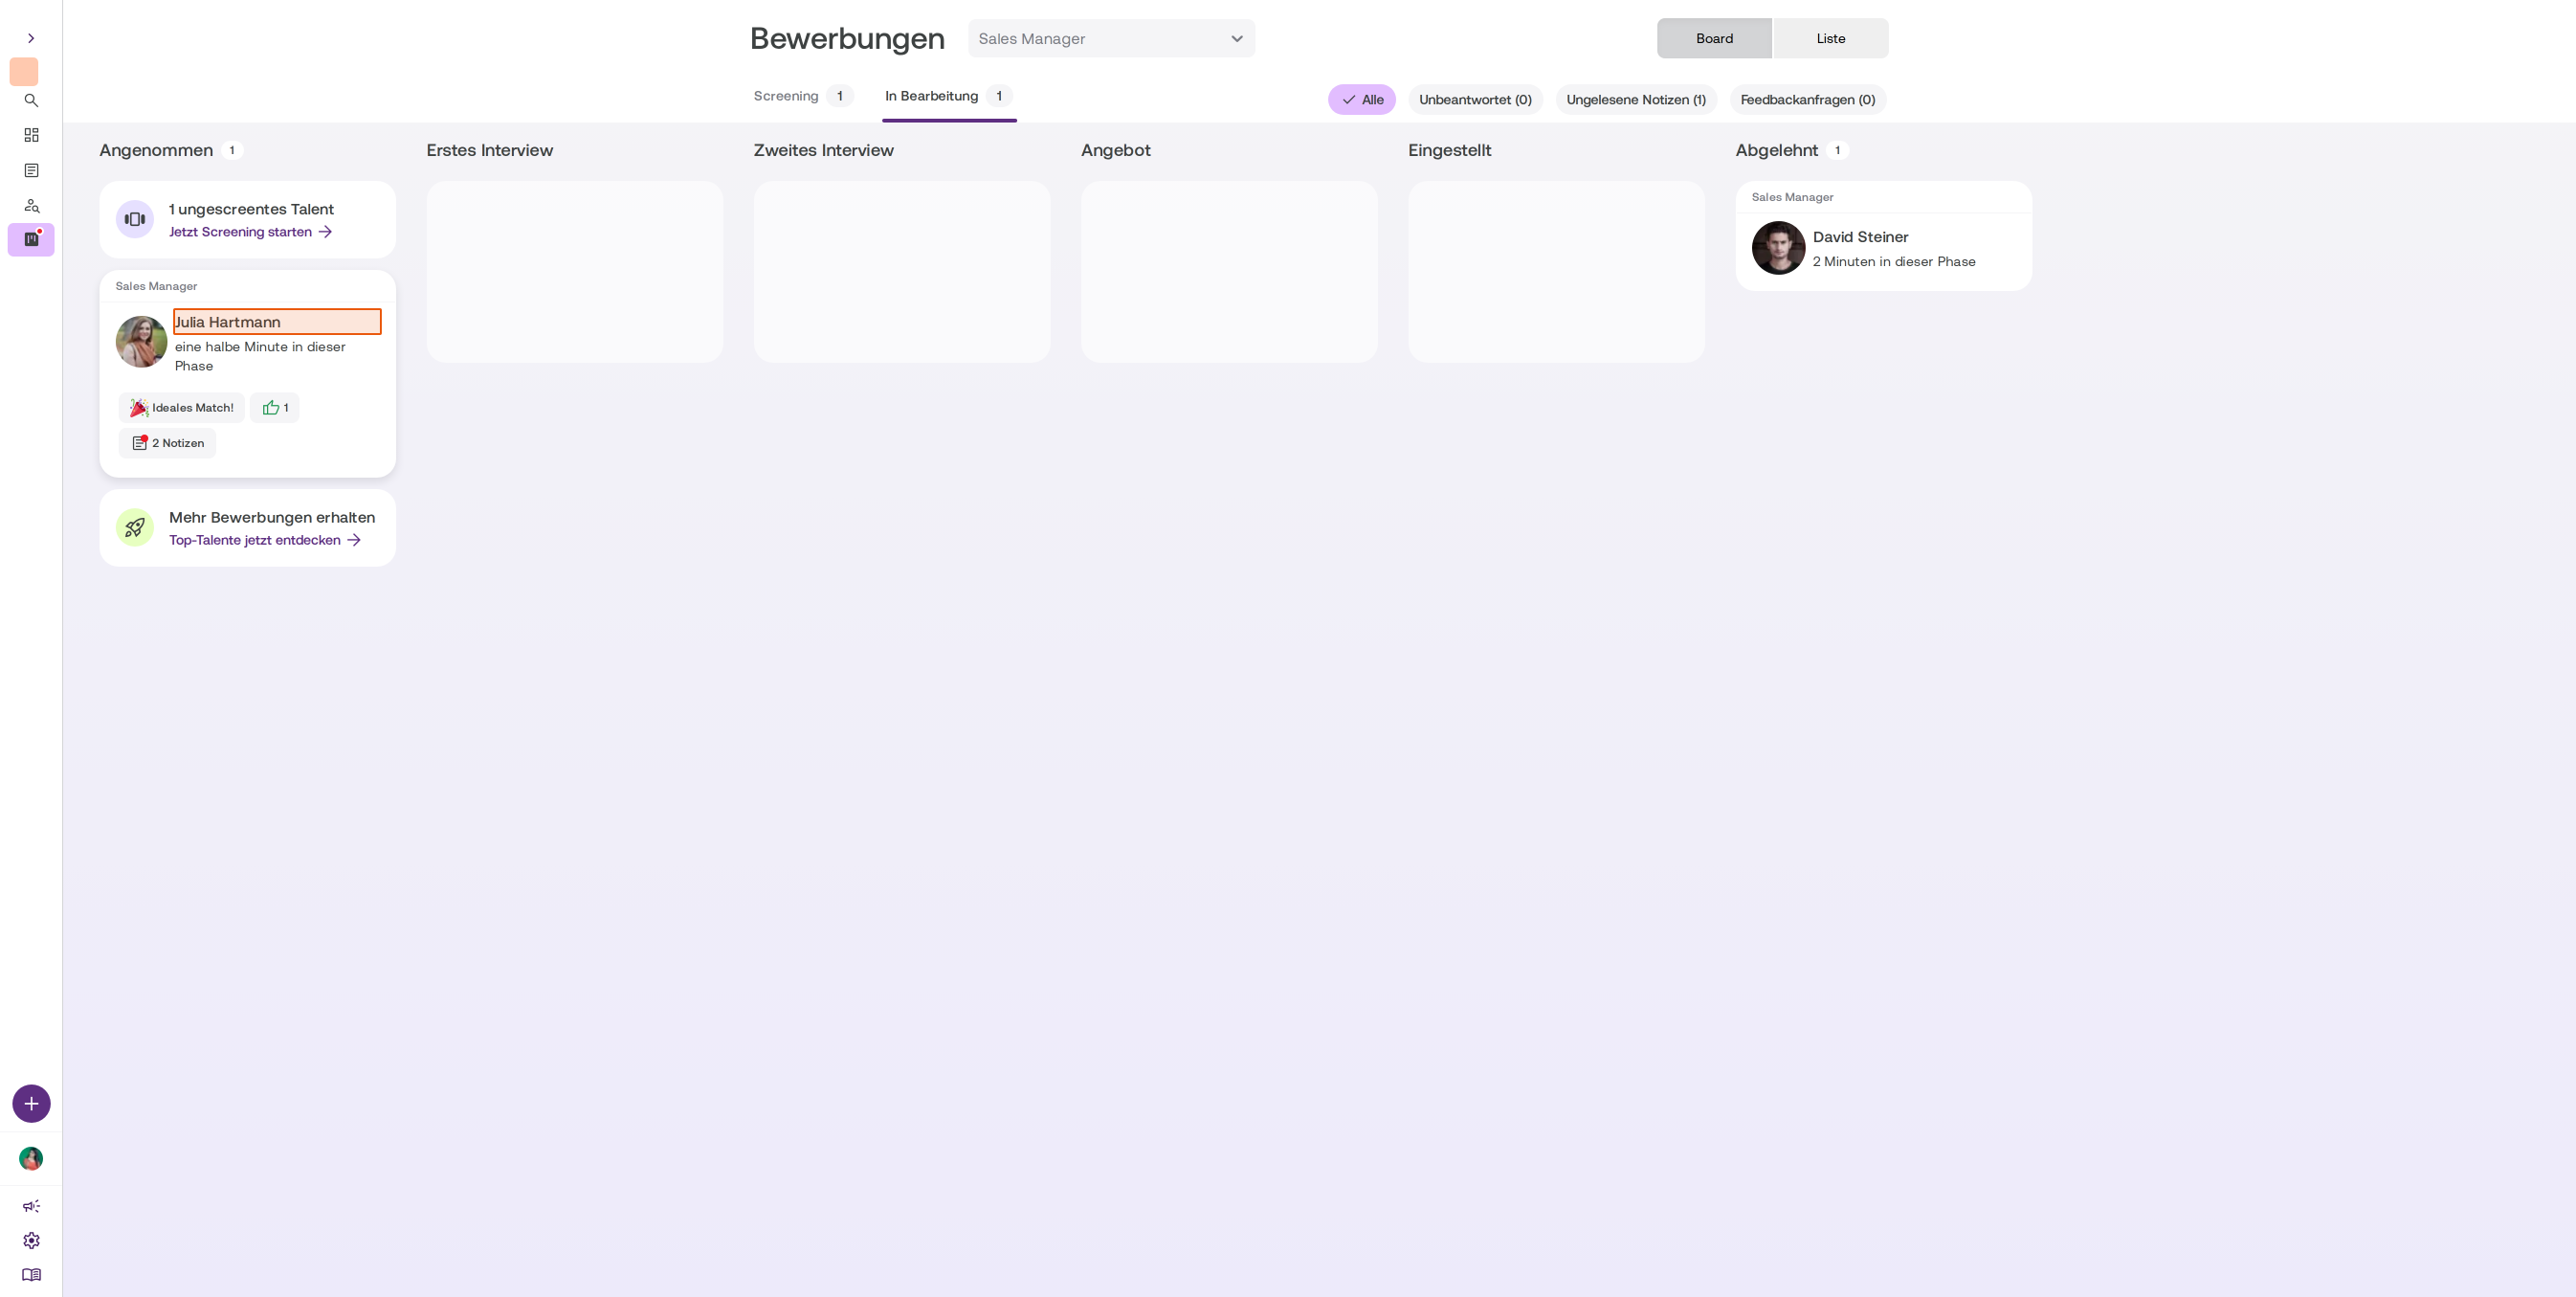
Go to the In Bearbeitung tab to see all the applications you’ve already accepted. -
Select an application
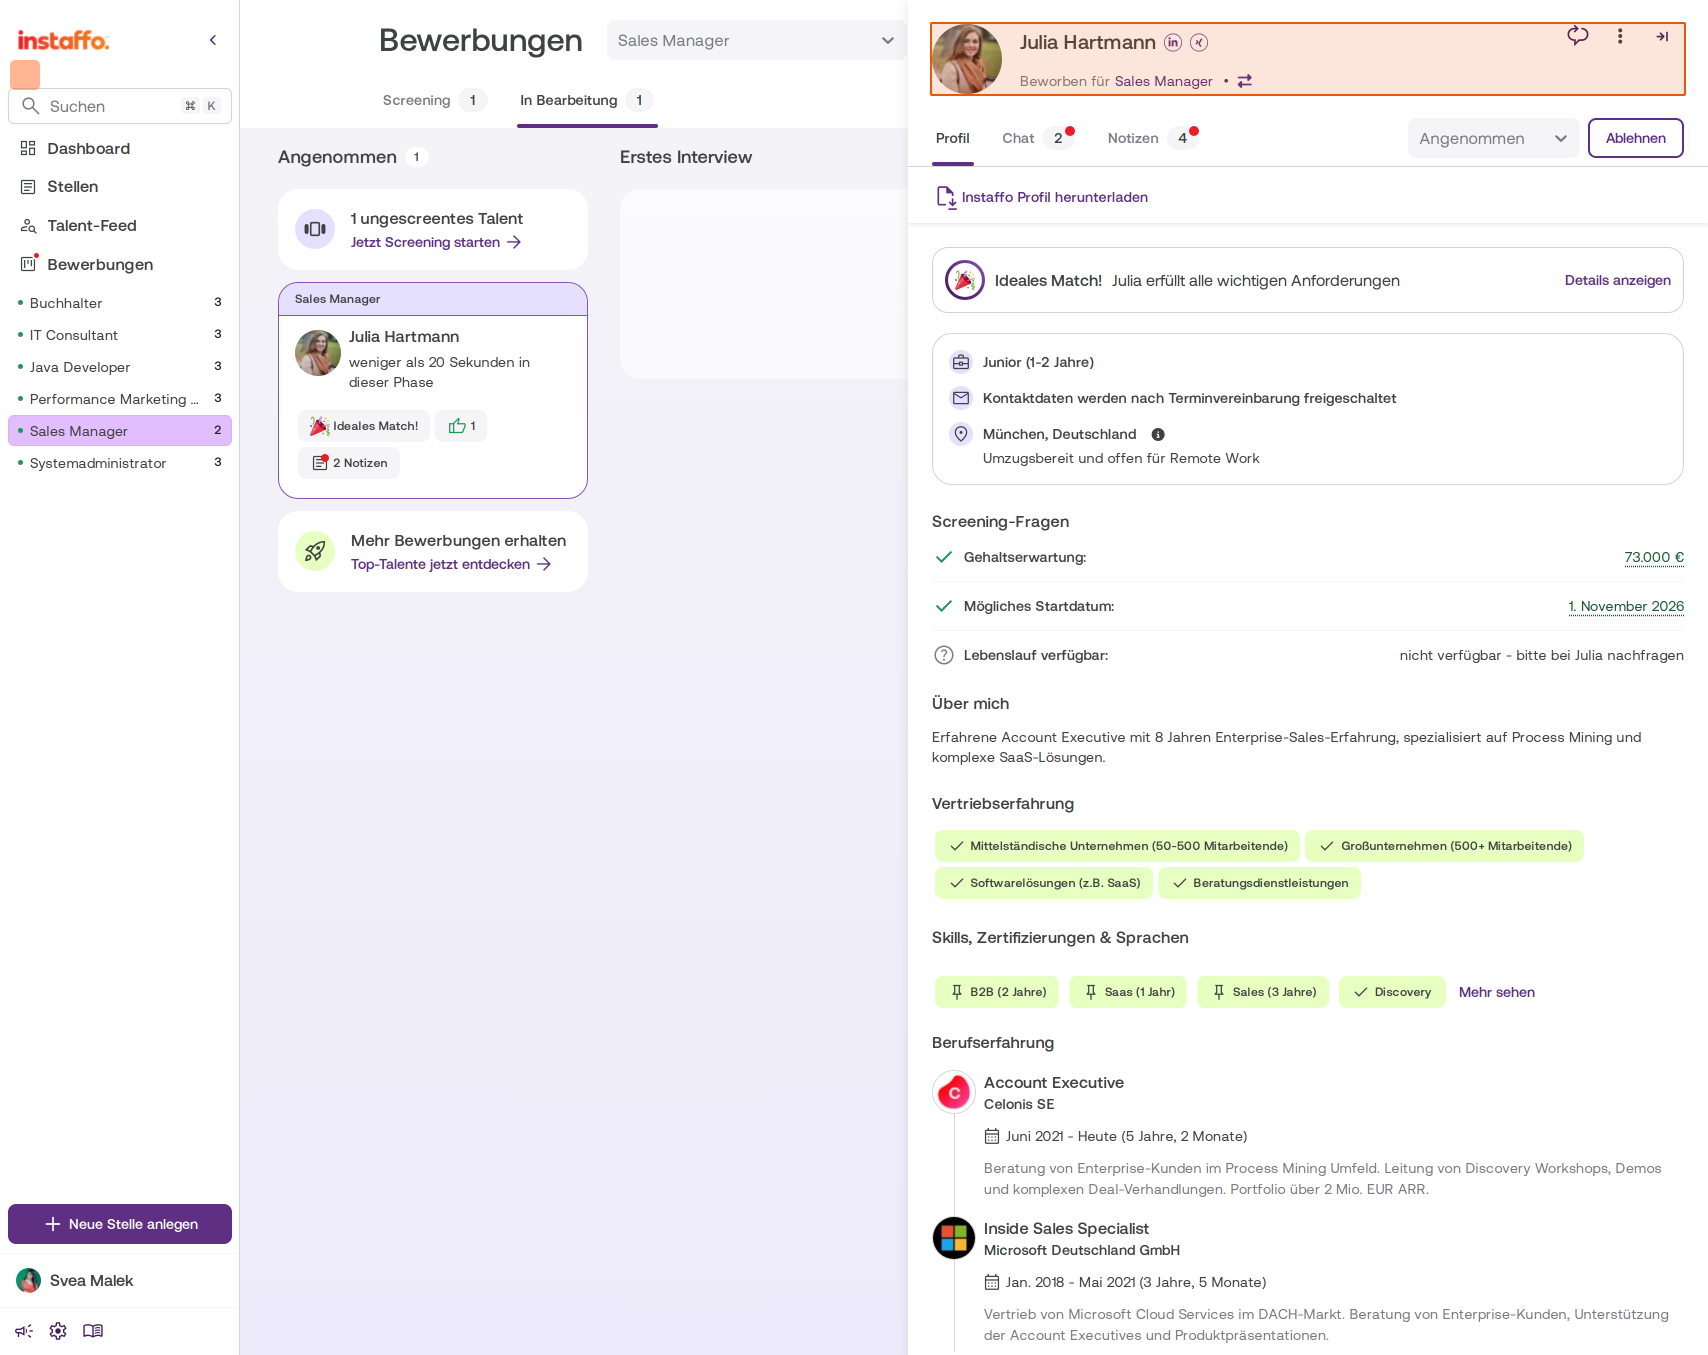
Click the application card for the candidate you want to reject to open their profile. -
Change the status to "Abgelehnt"
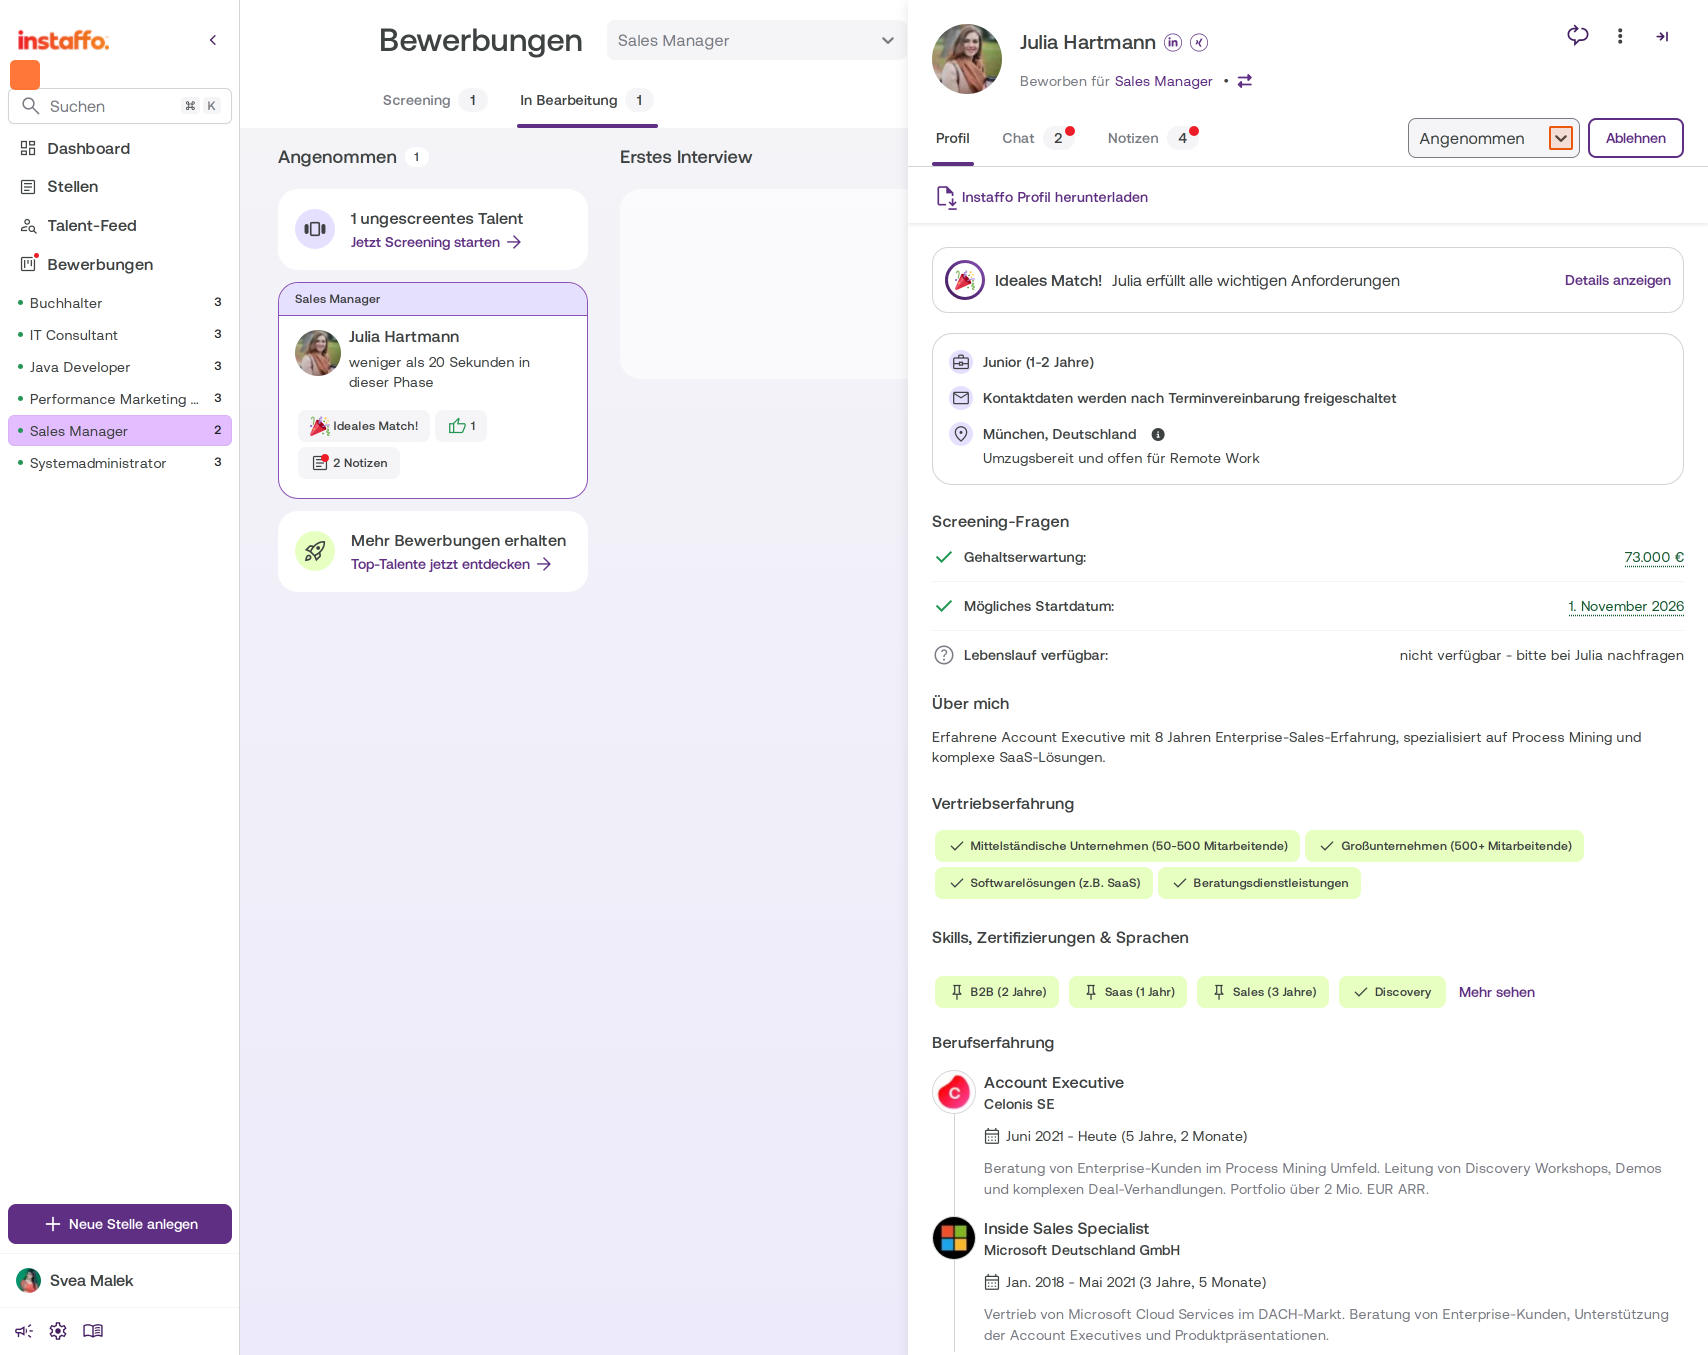
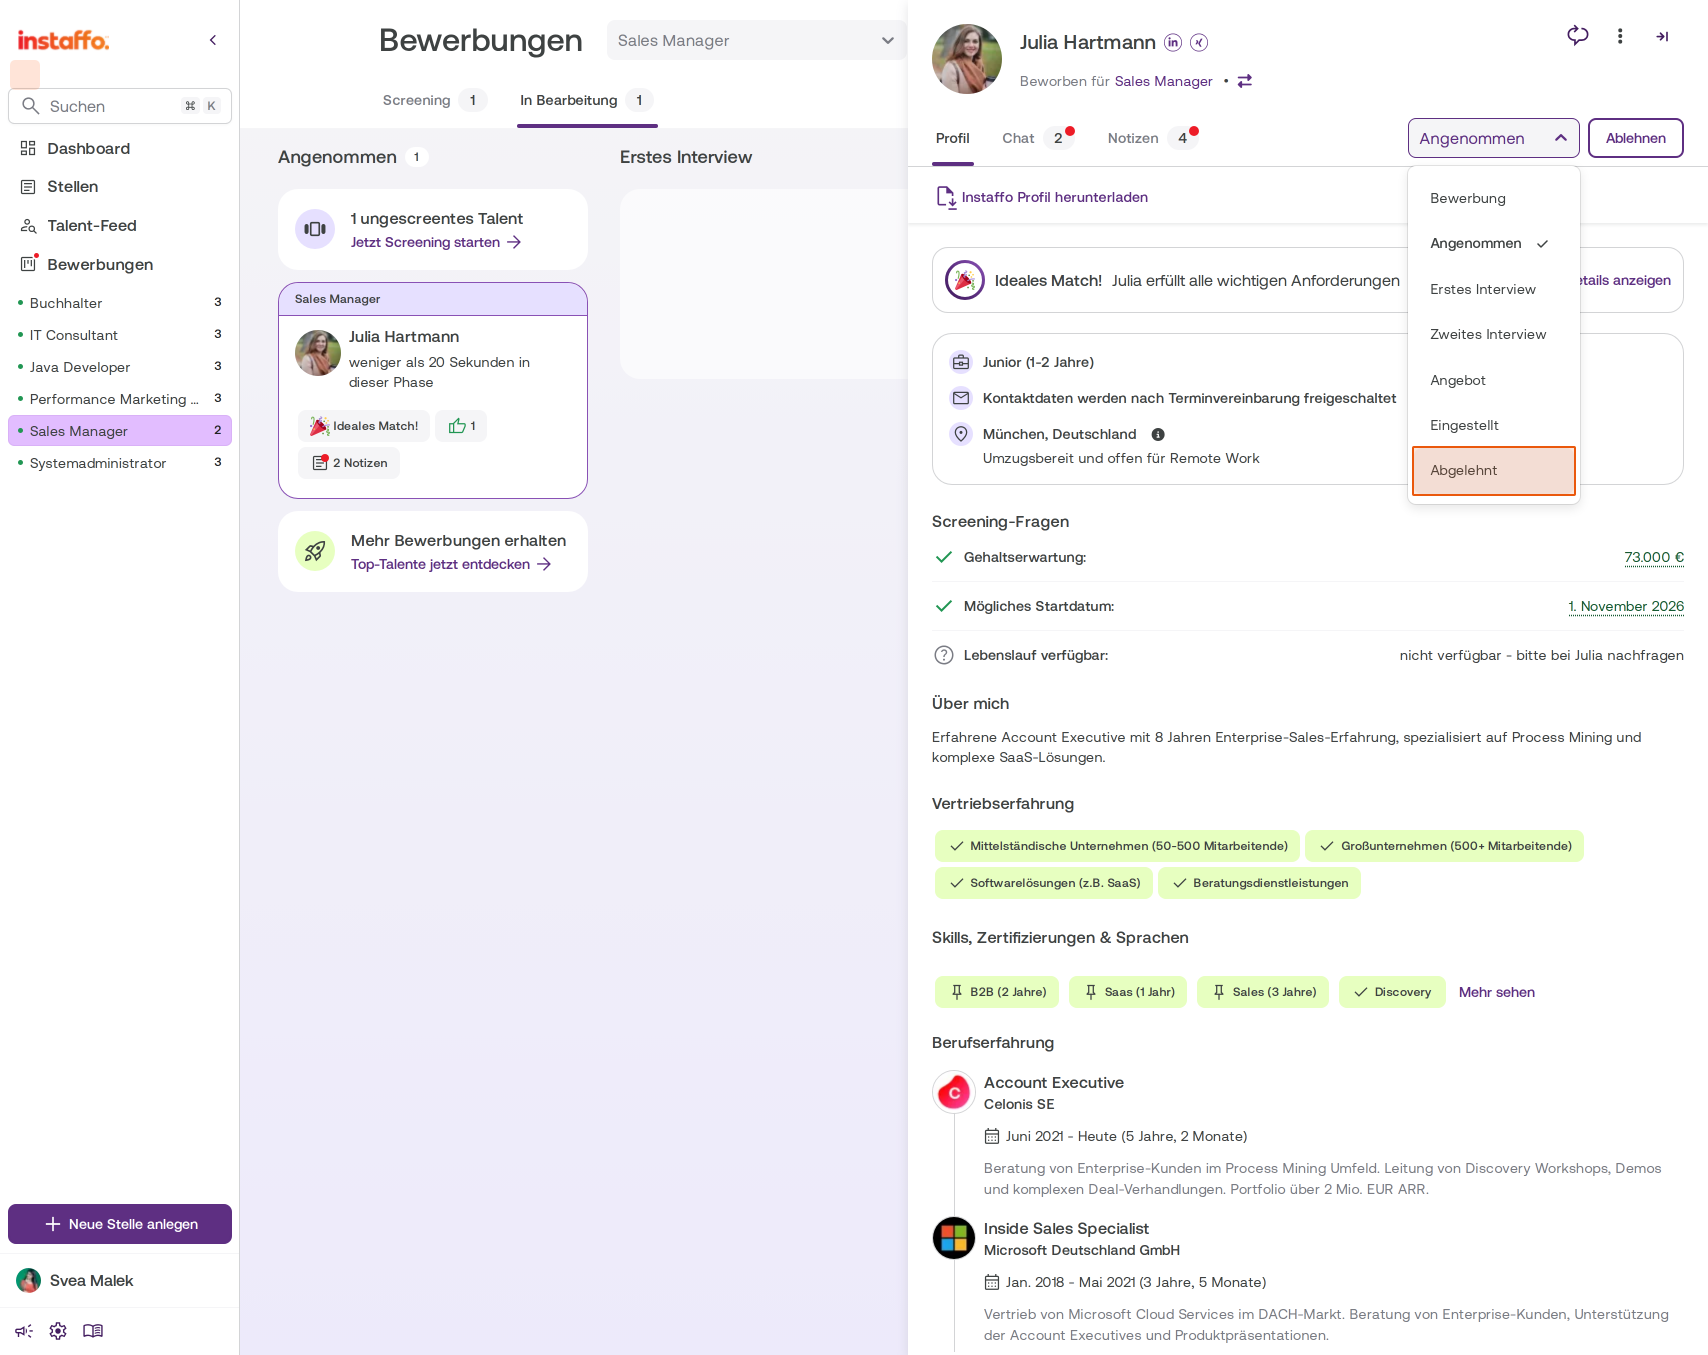
In the profile sidebar, you’ll find a status dropdown (e.g. Angenommen). Click it and select Abgelehnt from the list.
Configure a rejection message
-
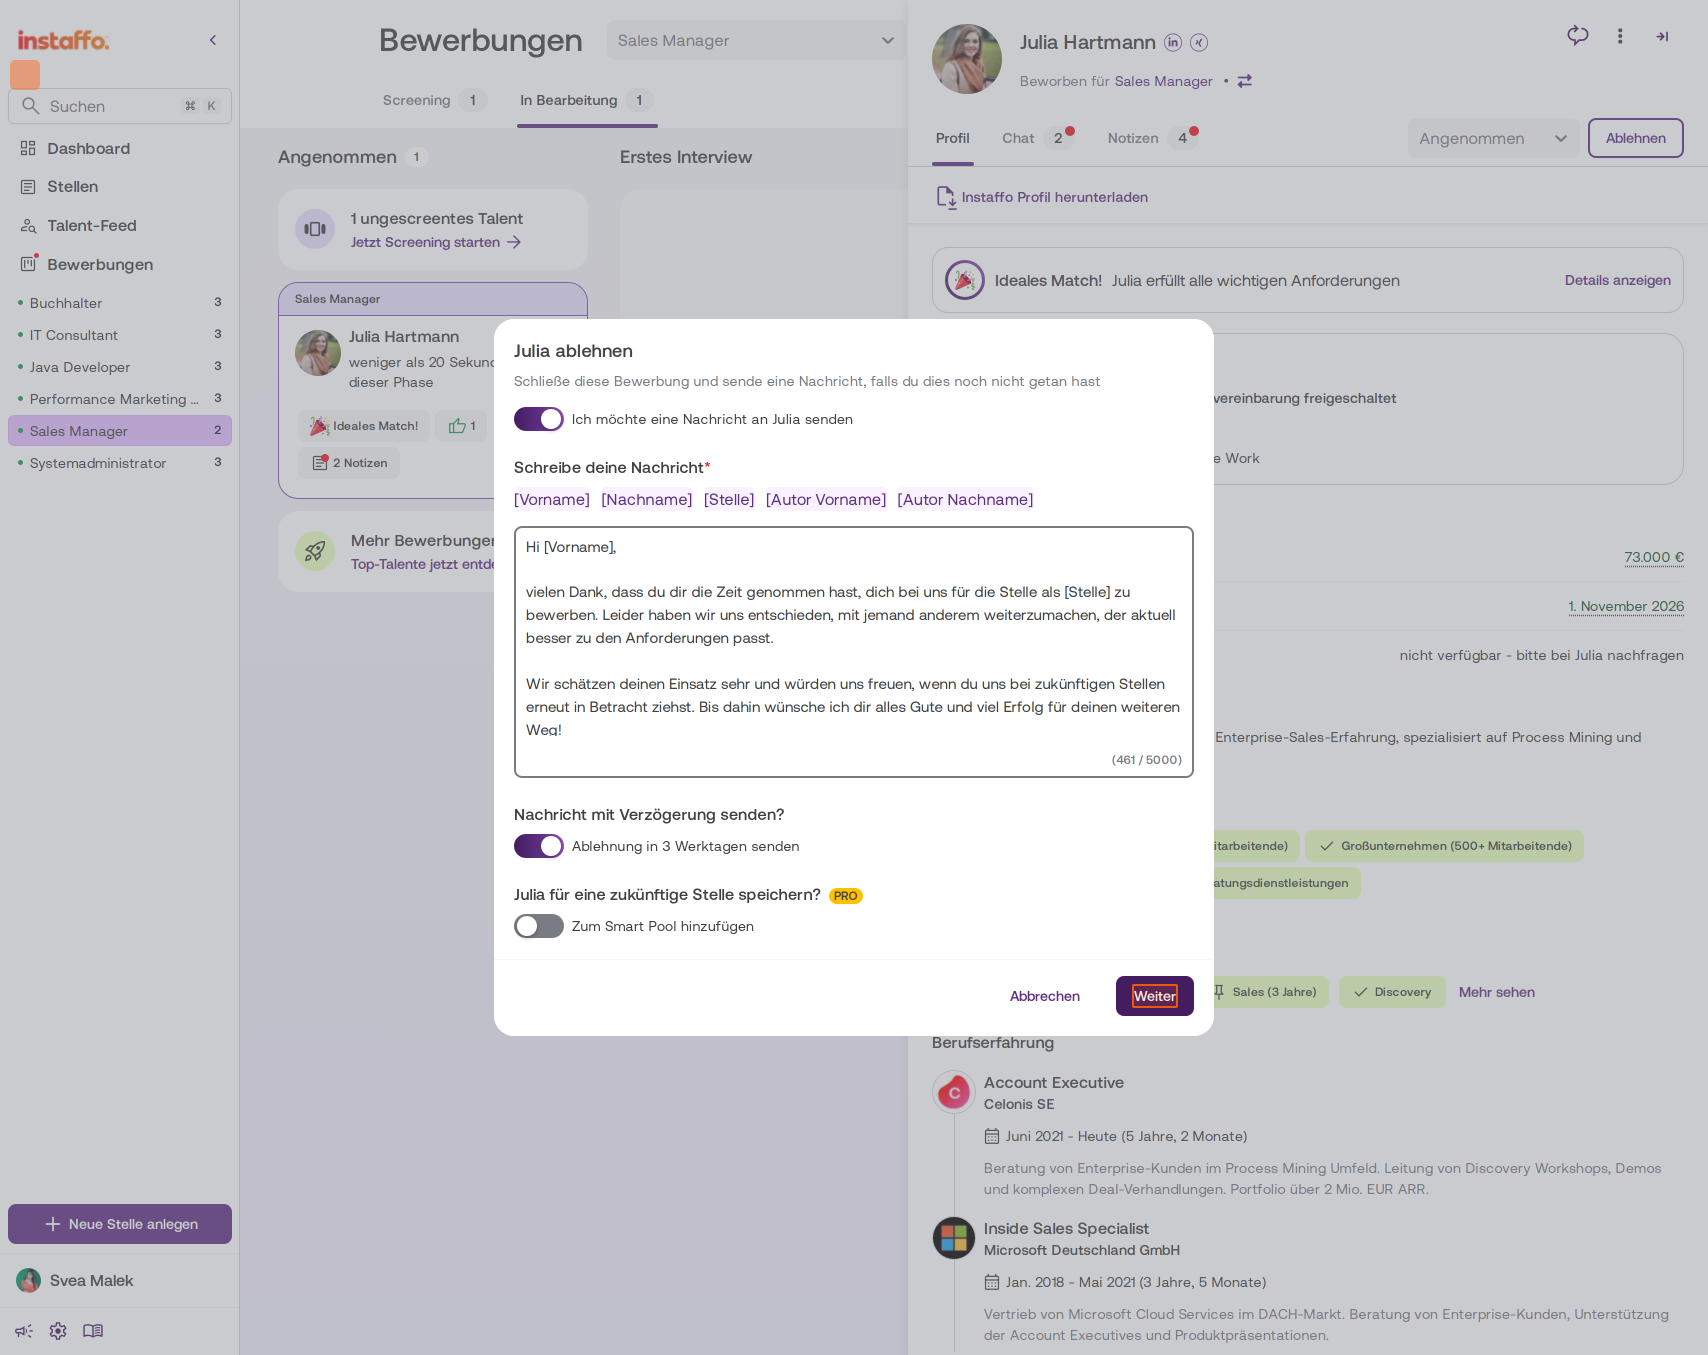
Set your message options
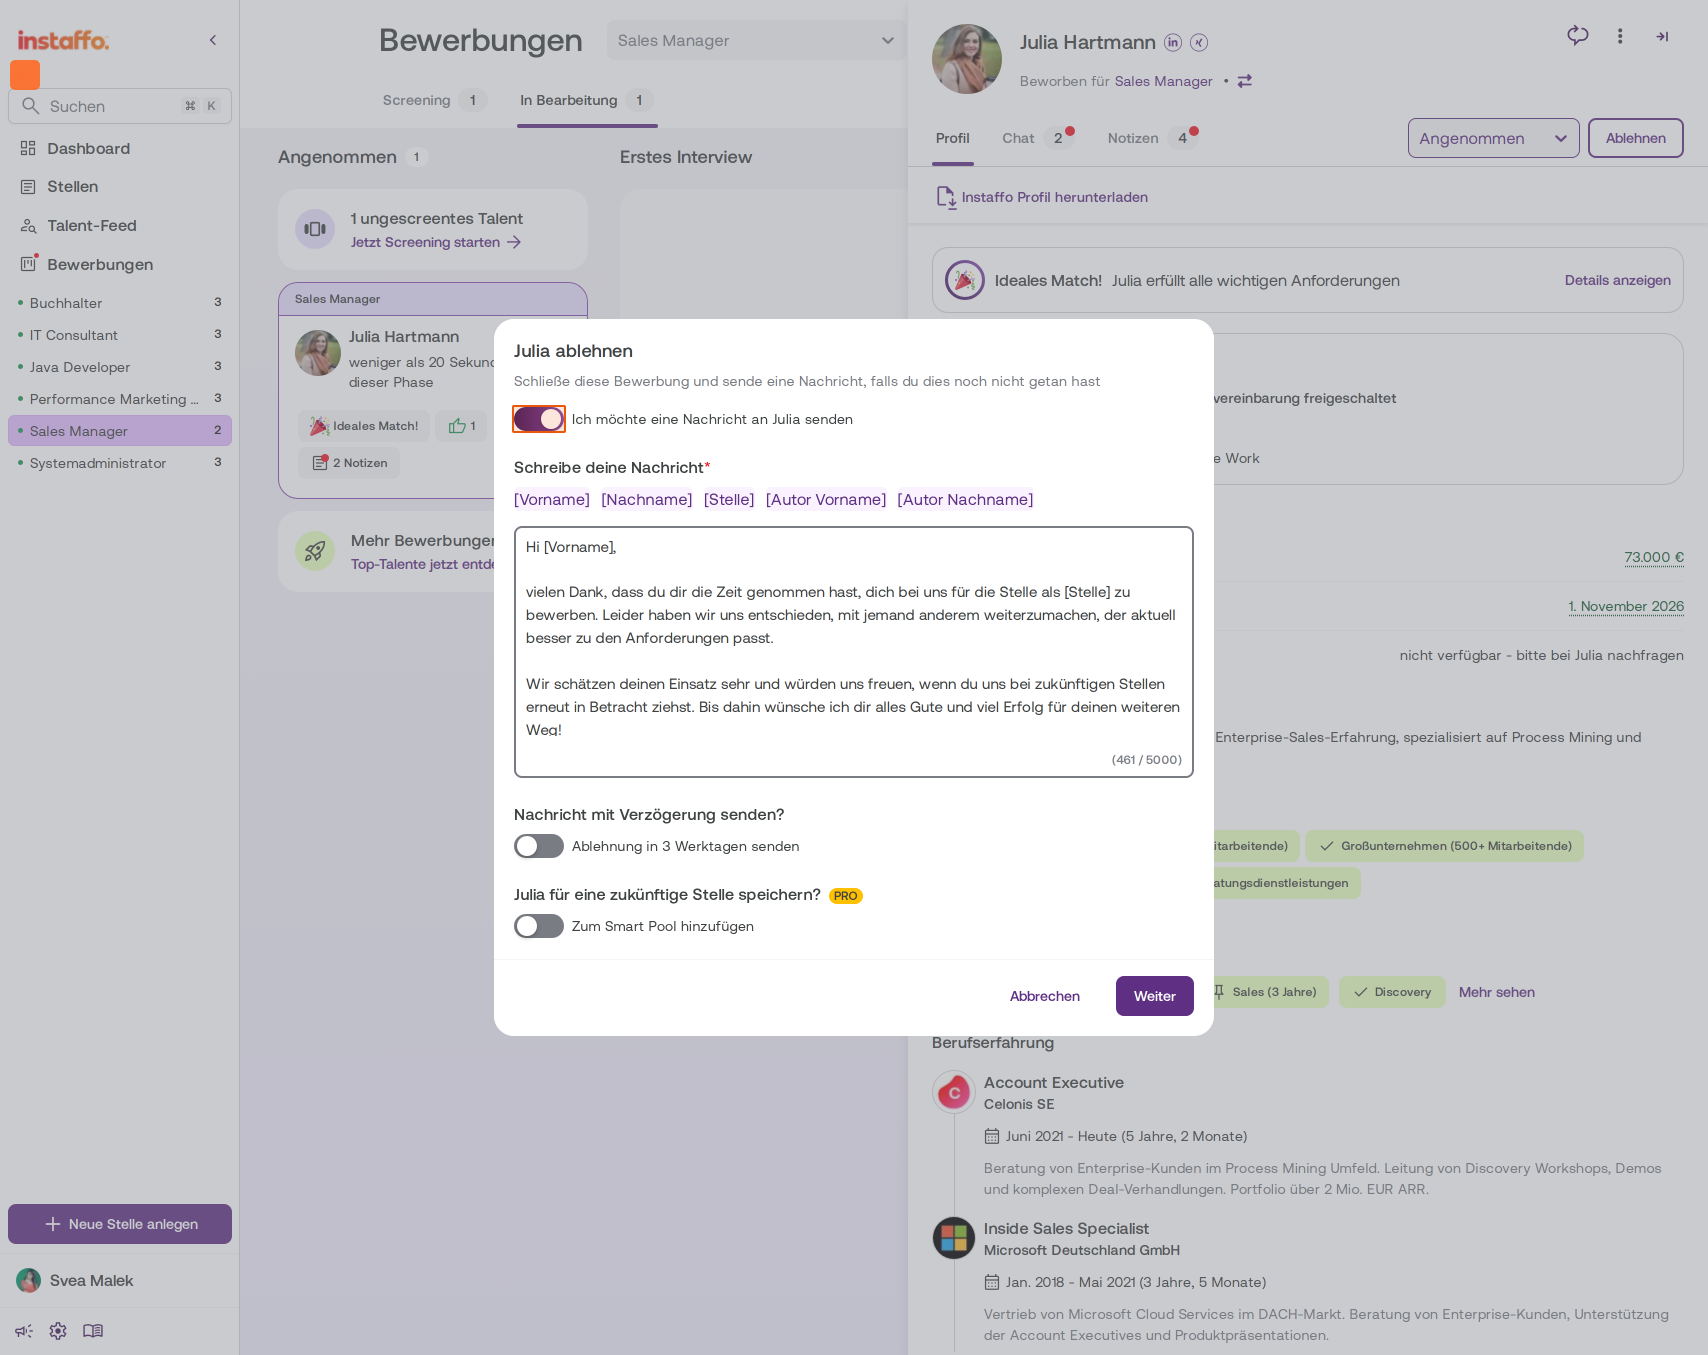
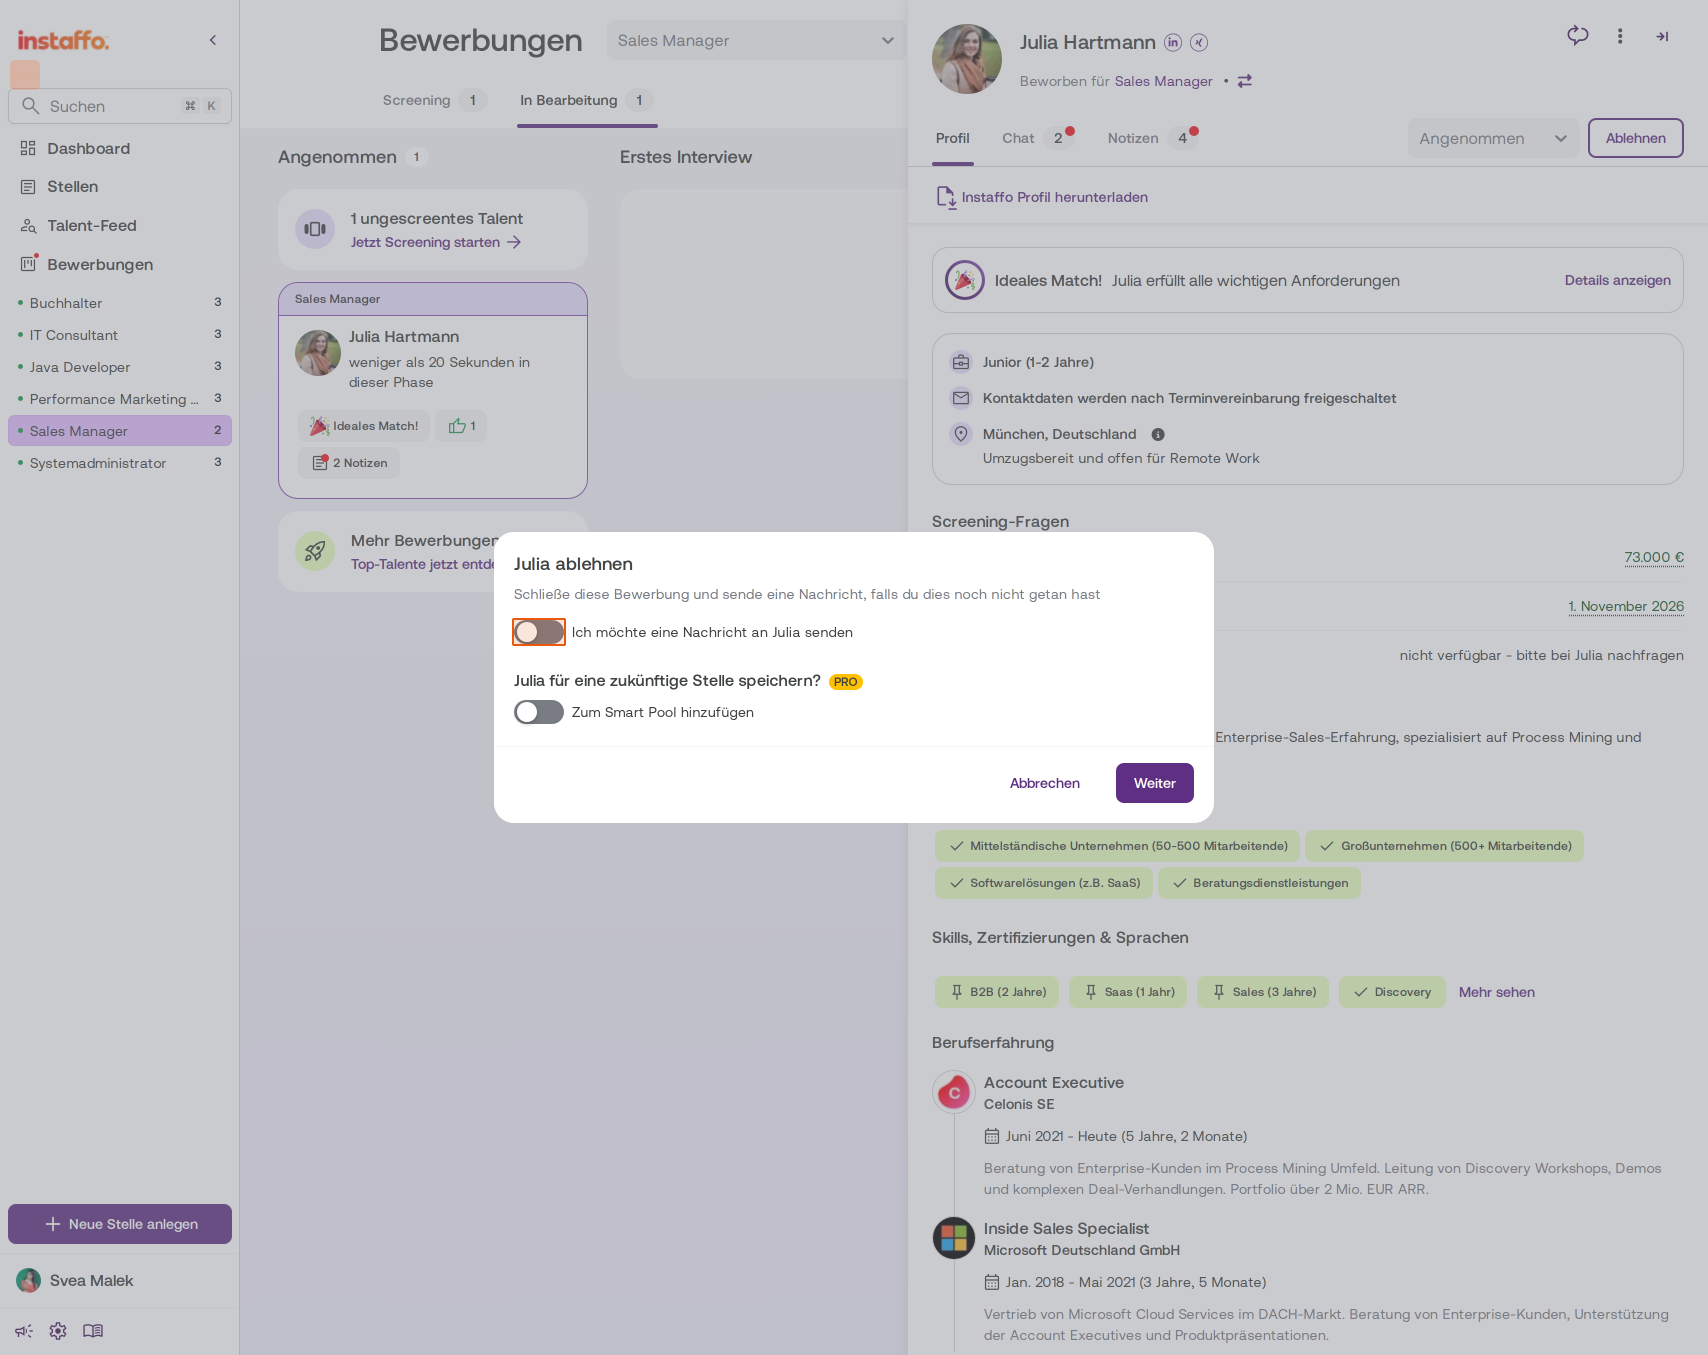
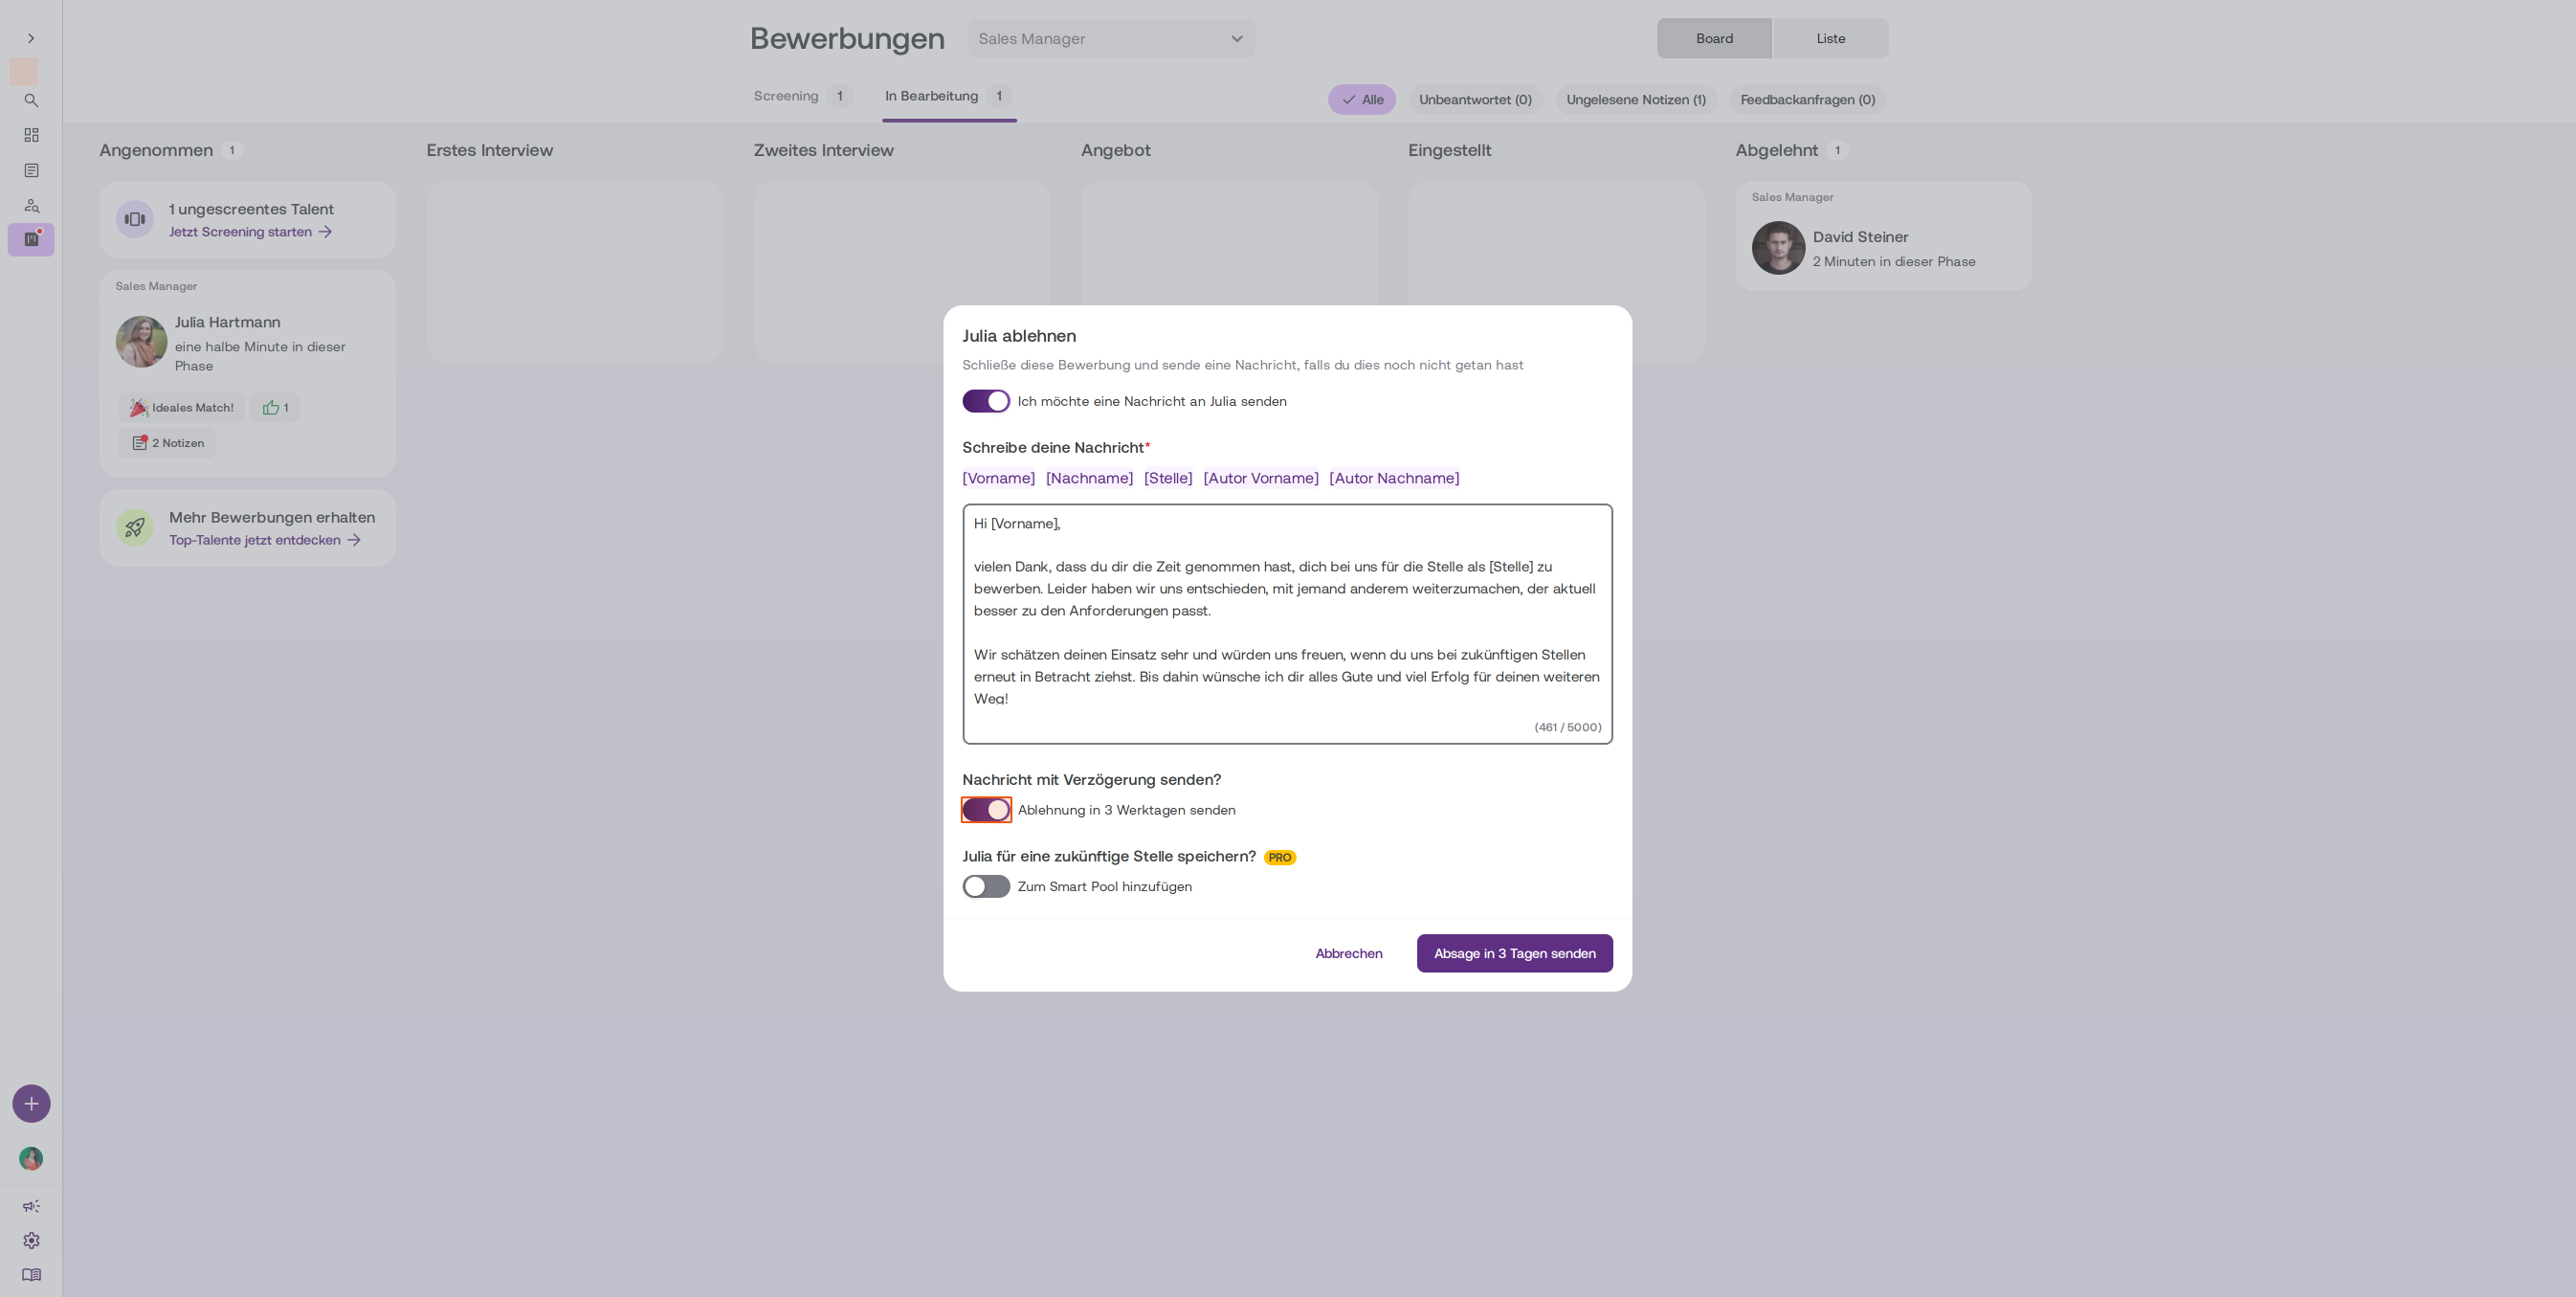
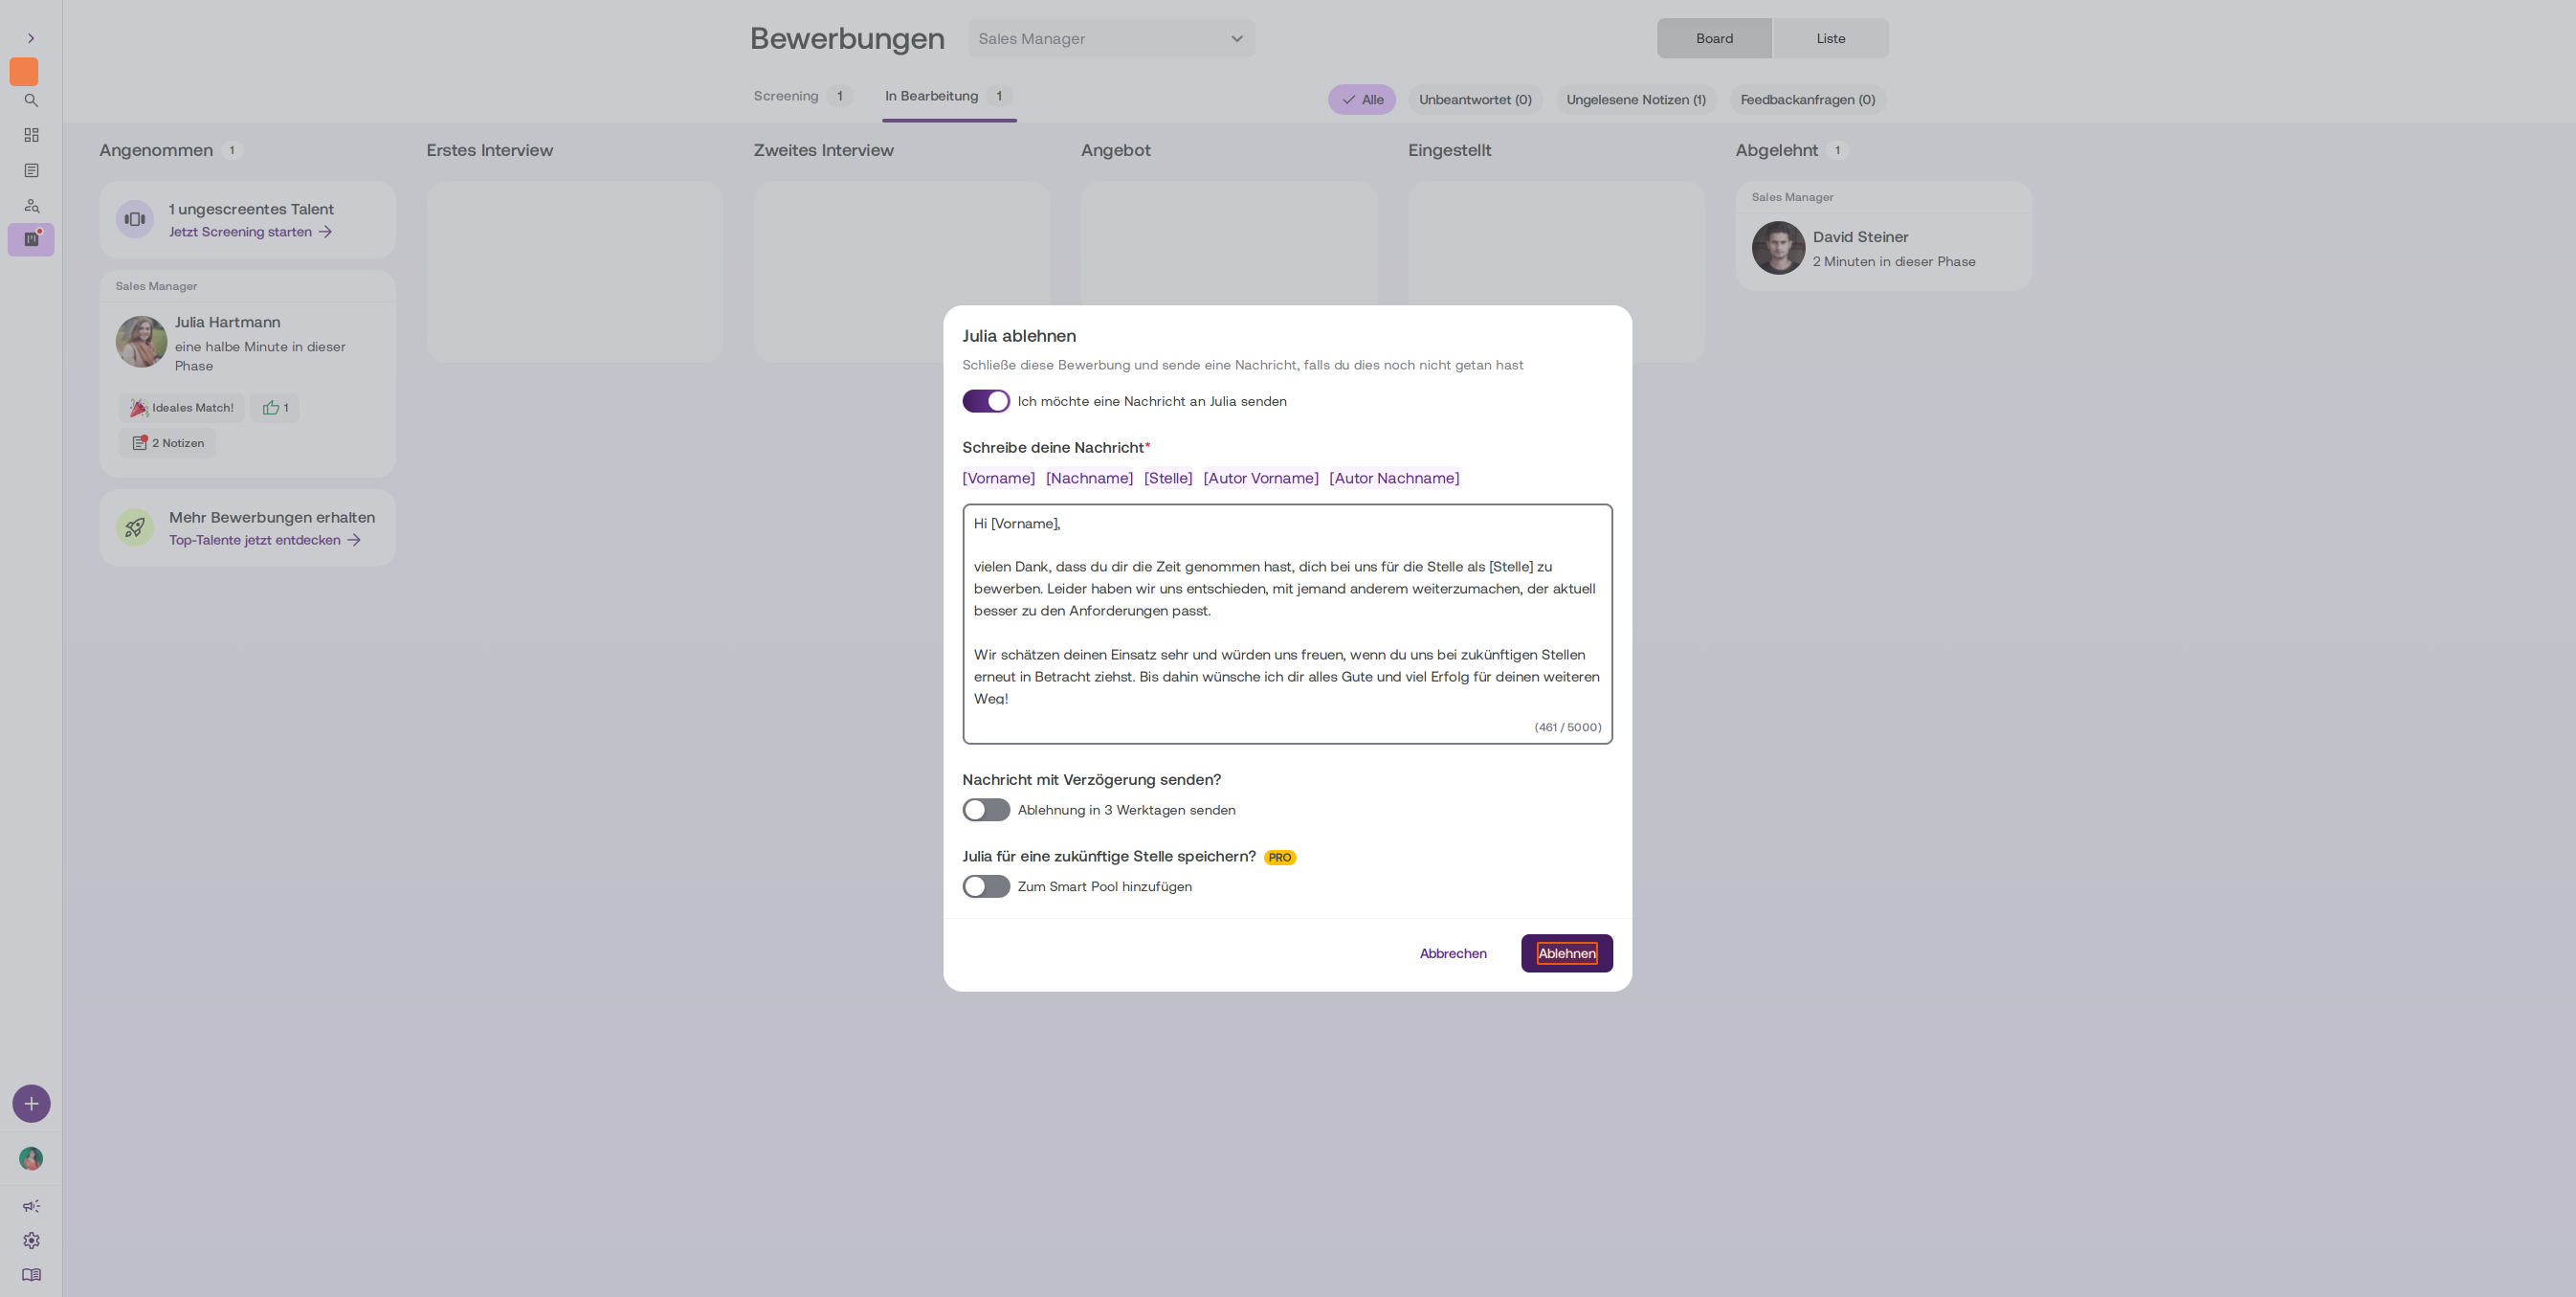
If the application is already in progress, you’ll be prompted to send a rejection message. In the dialog that appears, you have the following options:- Ich möchte eine Nachricht senden: Turn the toggle on or off to decide whether to send a message
- Standardnachricht verwenden: Use the pre-filled standard message or choose your own template
- Keine Nachricht senden: Turn the toggle off if you don’t want to send a message
-
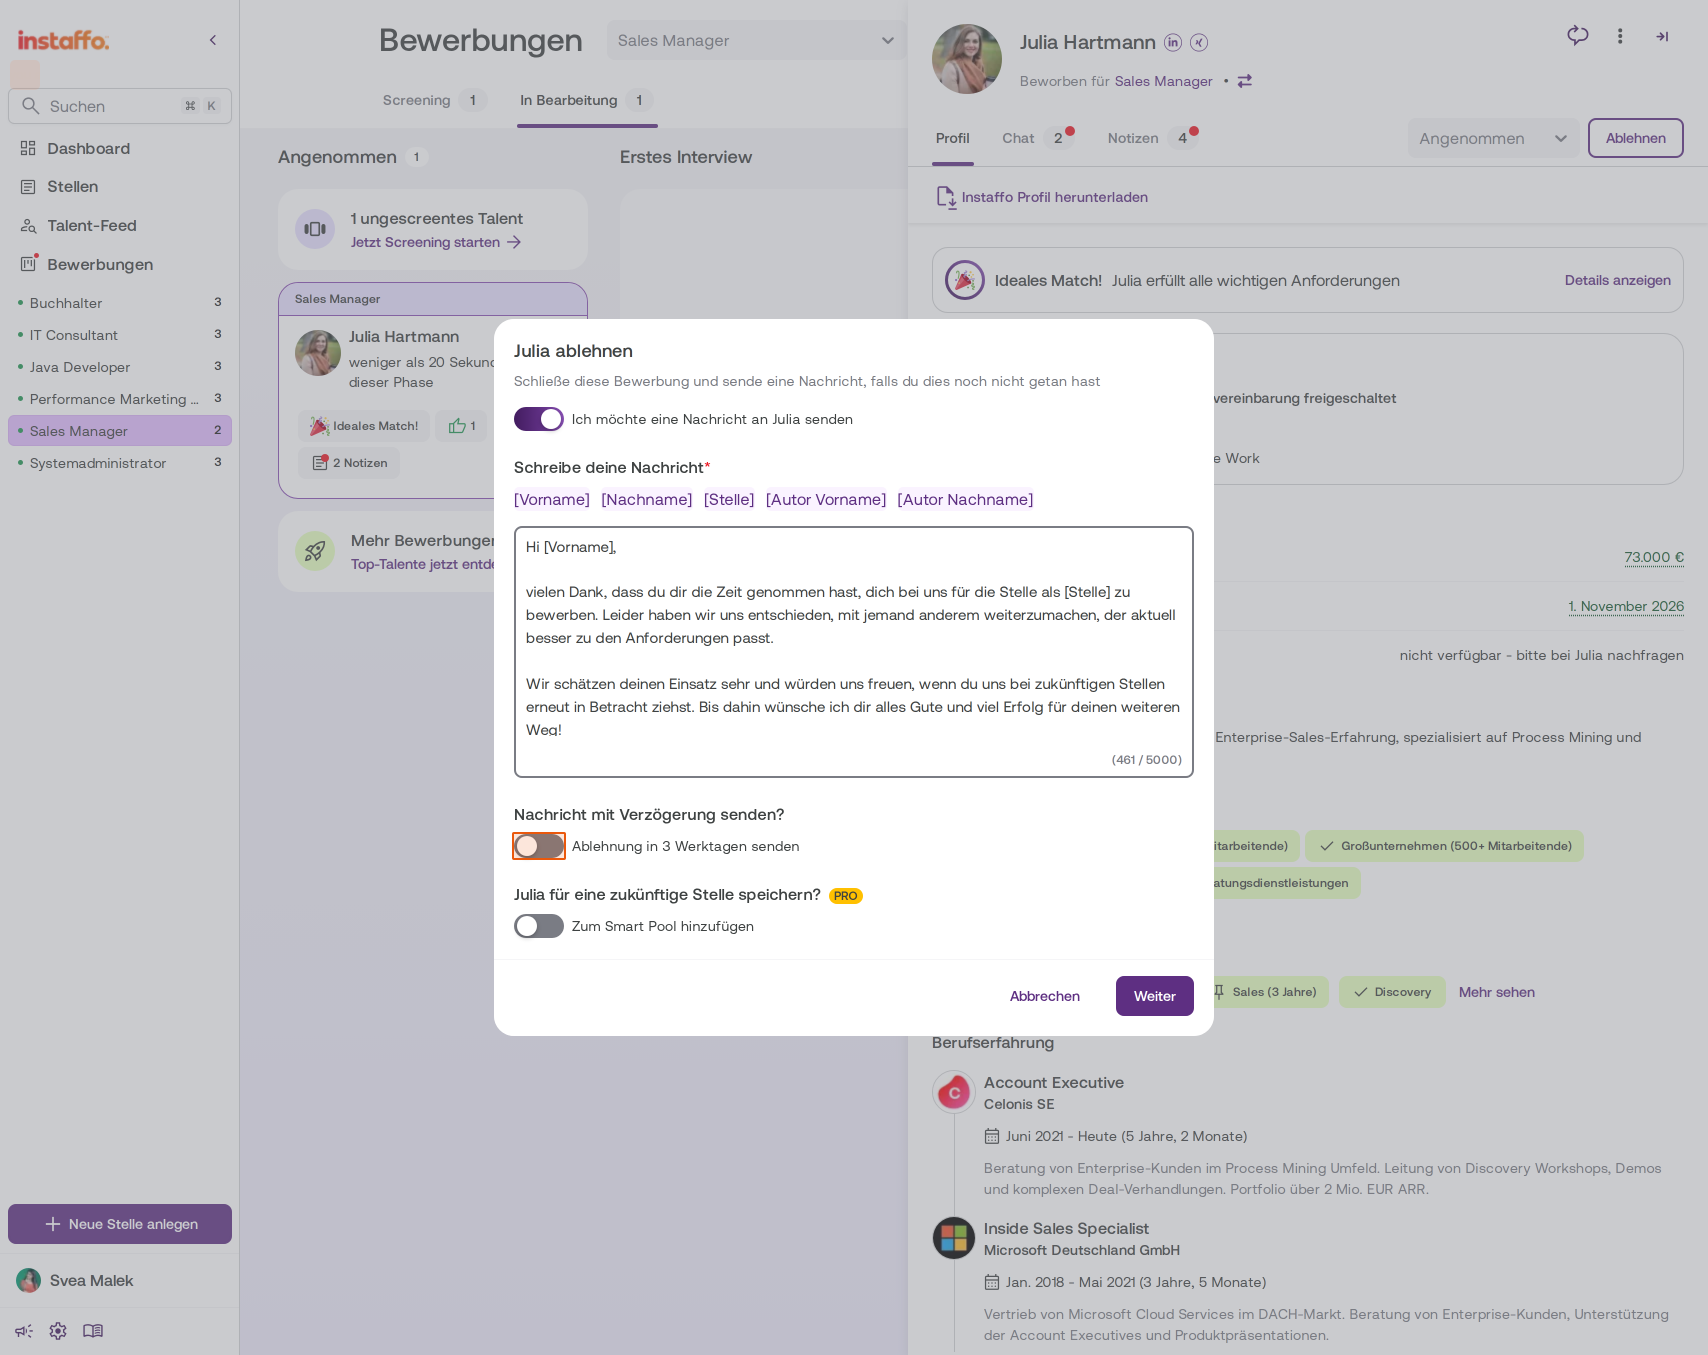
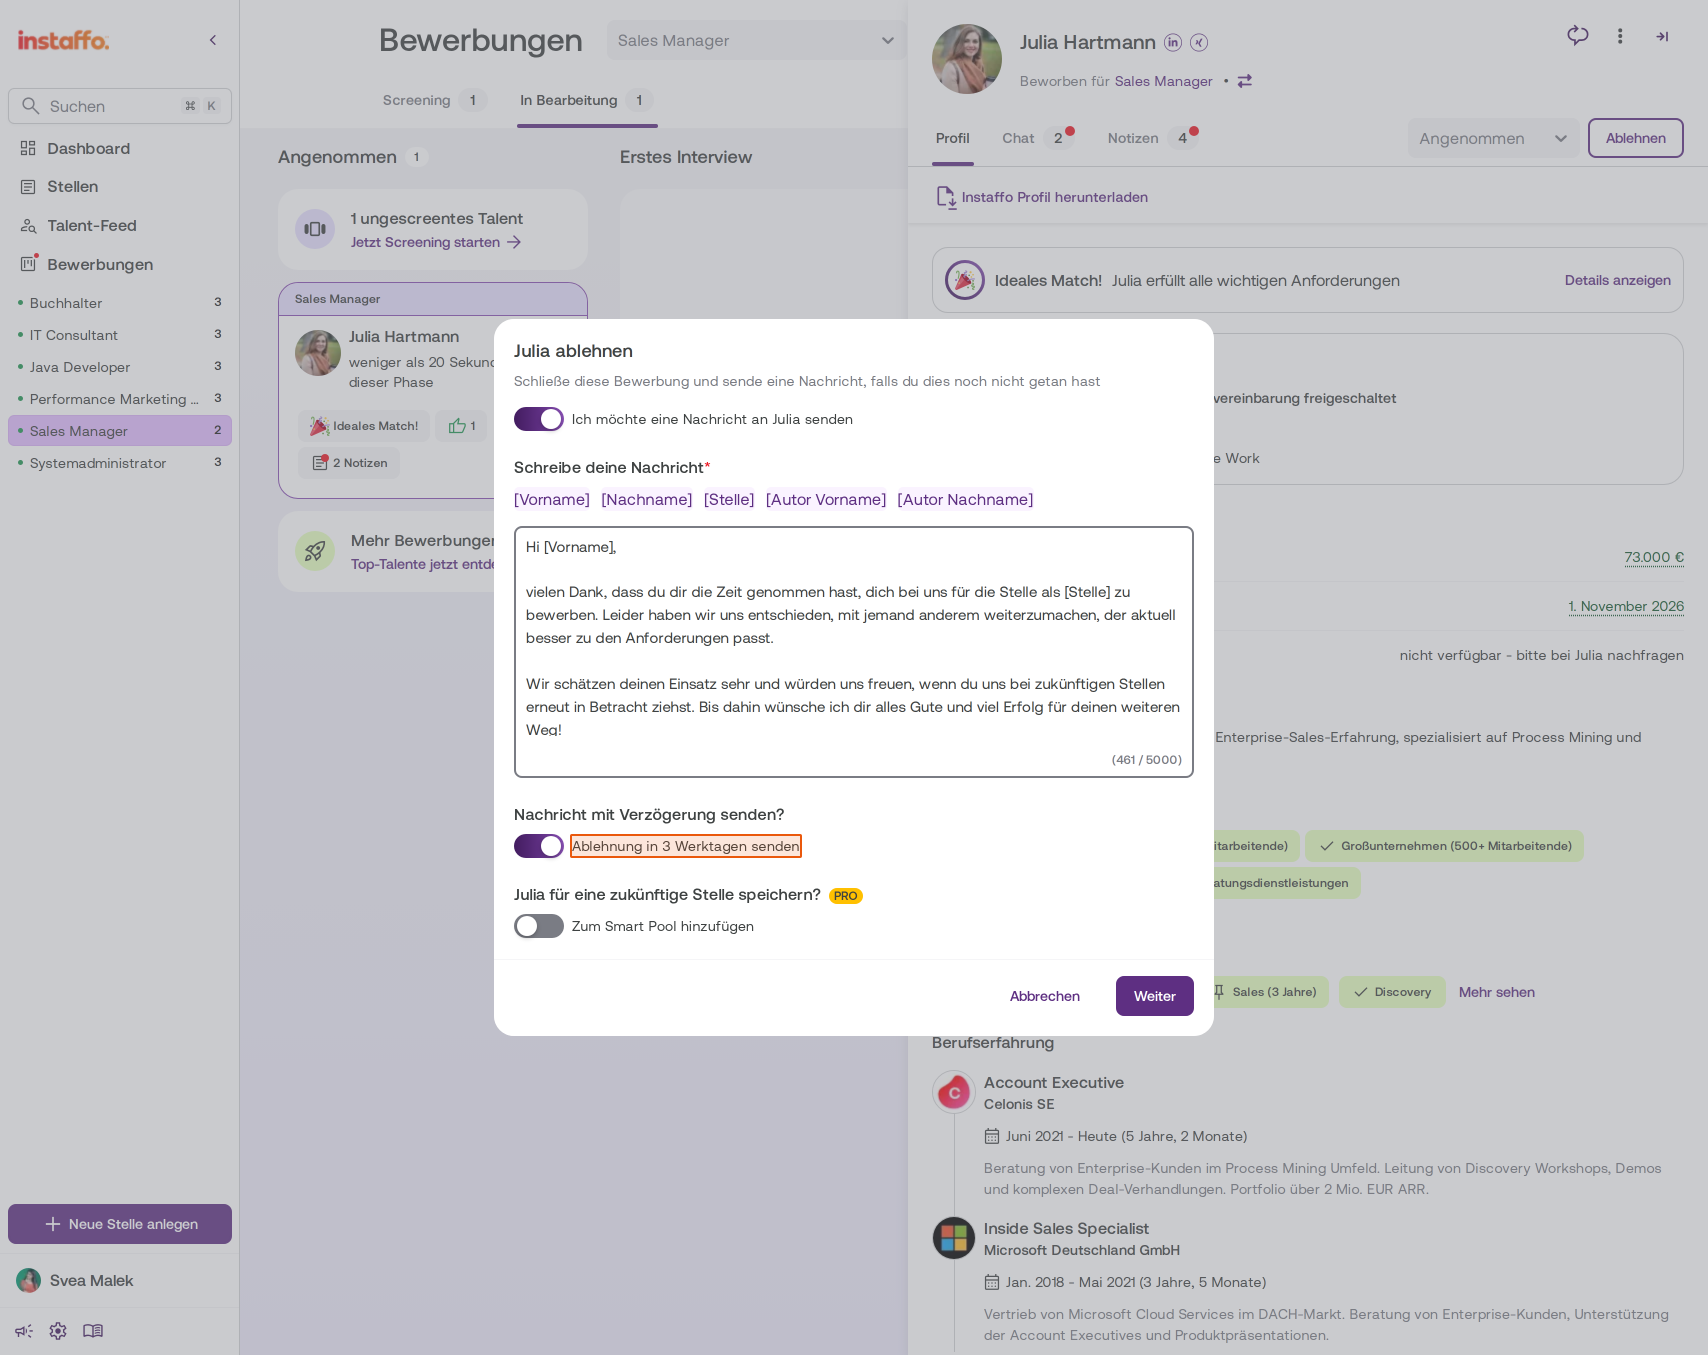
Schedule a delayed rejection (optional)
Turn on the Ablehnung in 3 Werktagen senden toggle if you want the rejection to be sent later. The settings you choose when rejecting an application will be saved for next time. -
Click "Weiter"
Click Weiter to continue to the next step. -
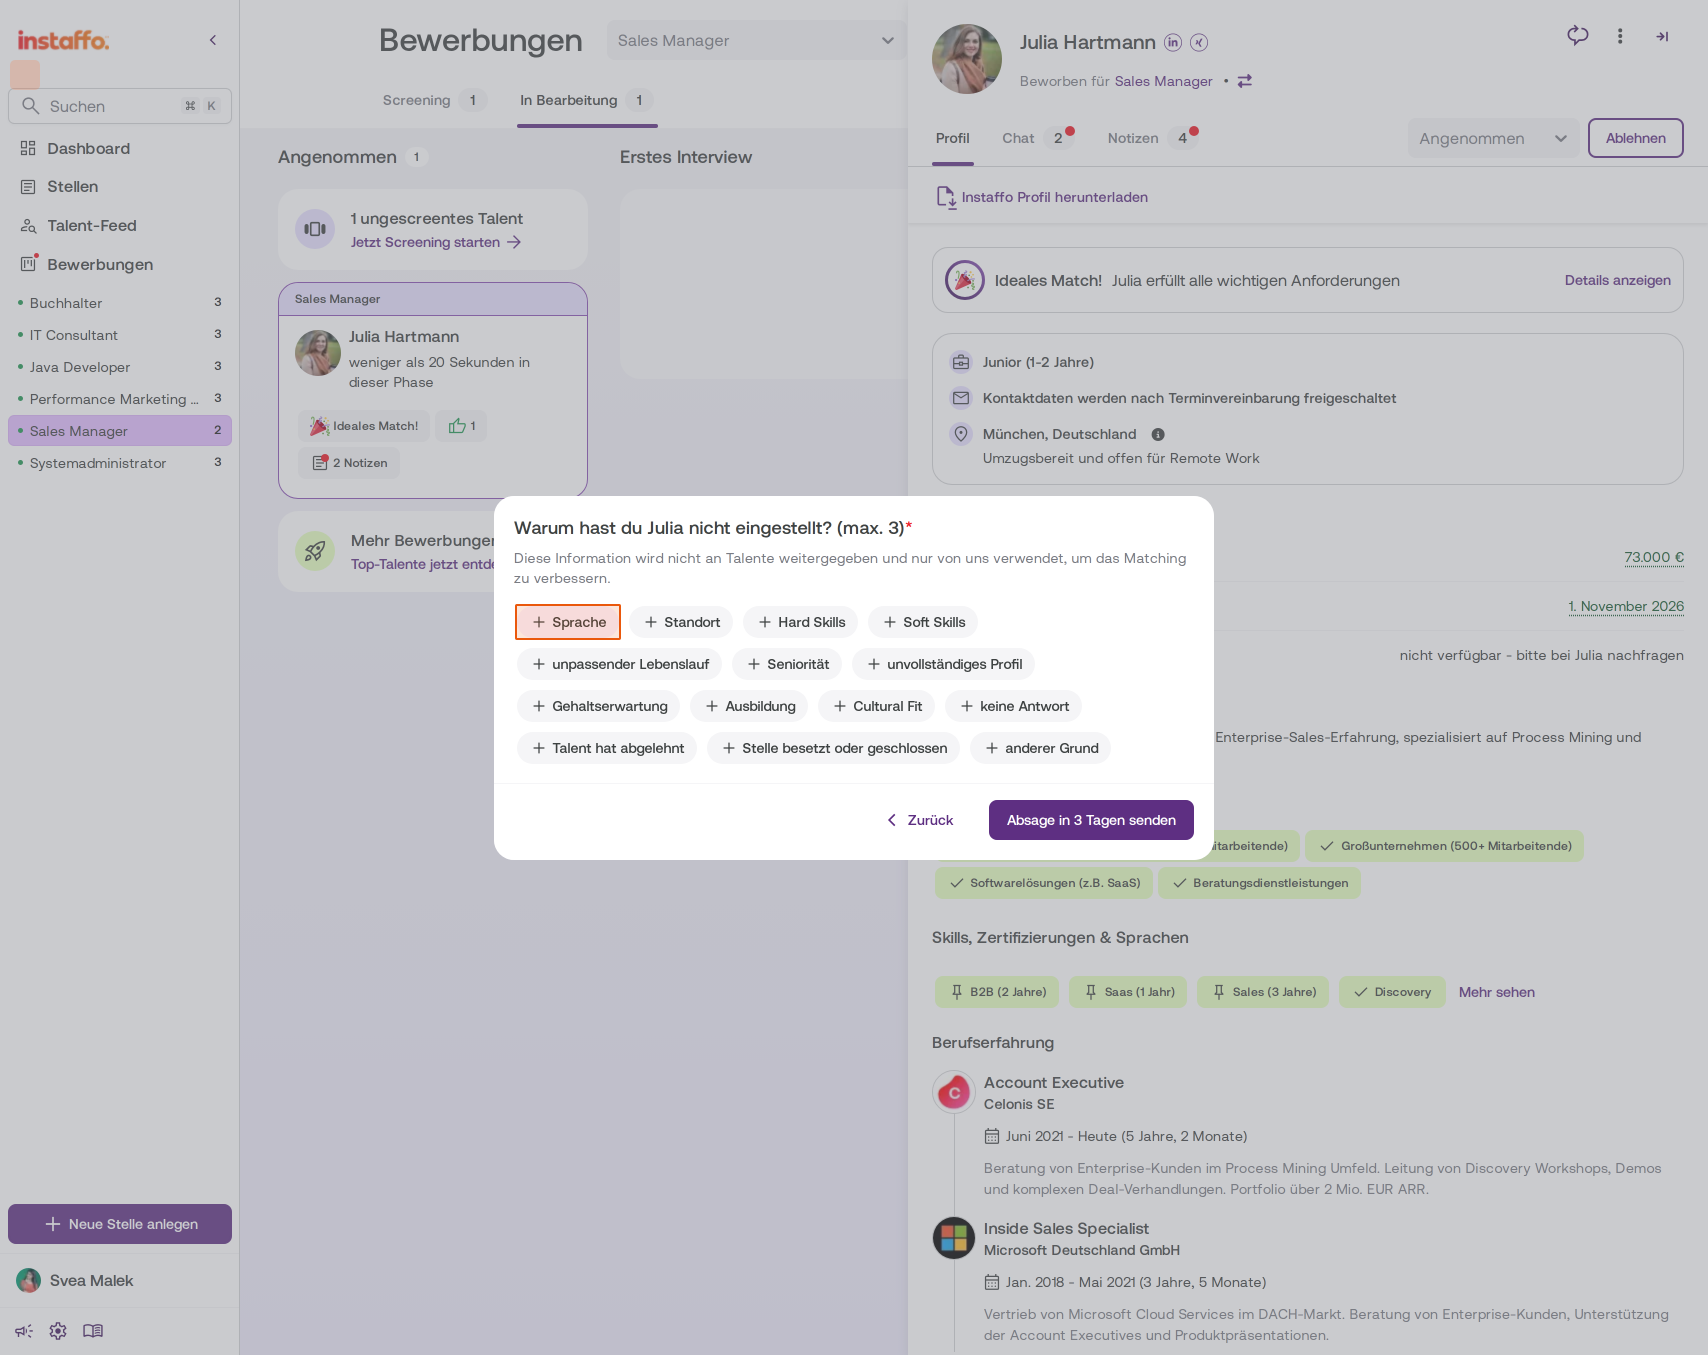
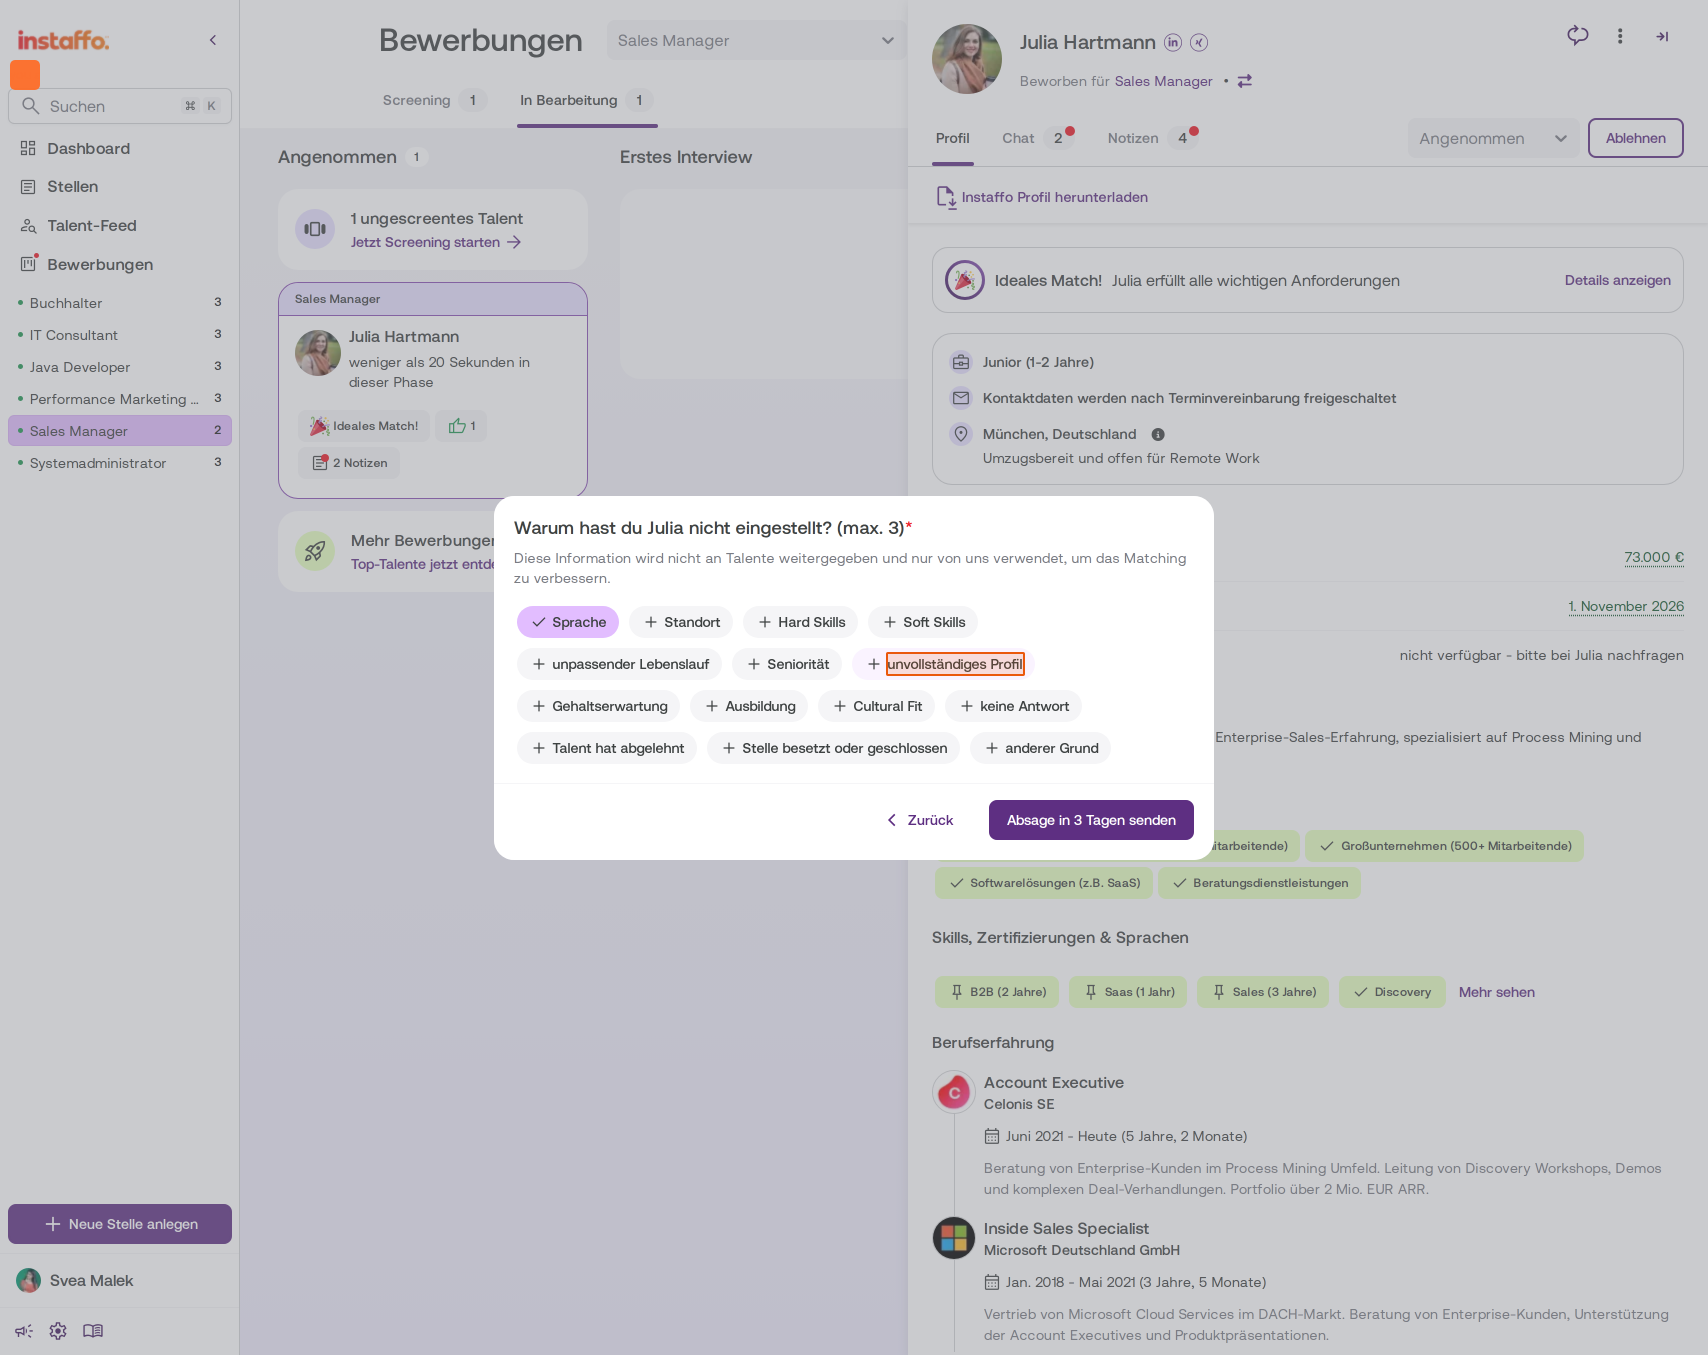
Provide reasons for rejecting the candidate
You’ll be asked why you didn’t hire the candidate. Select up to three reasons from the available options, such as Sprache, unvollständiges Profil, Hard Skills, Soft Skills, or others. This information won’t be shared with the candidate and is used only to improve matching.
-
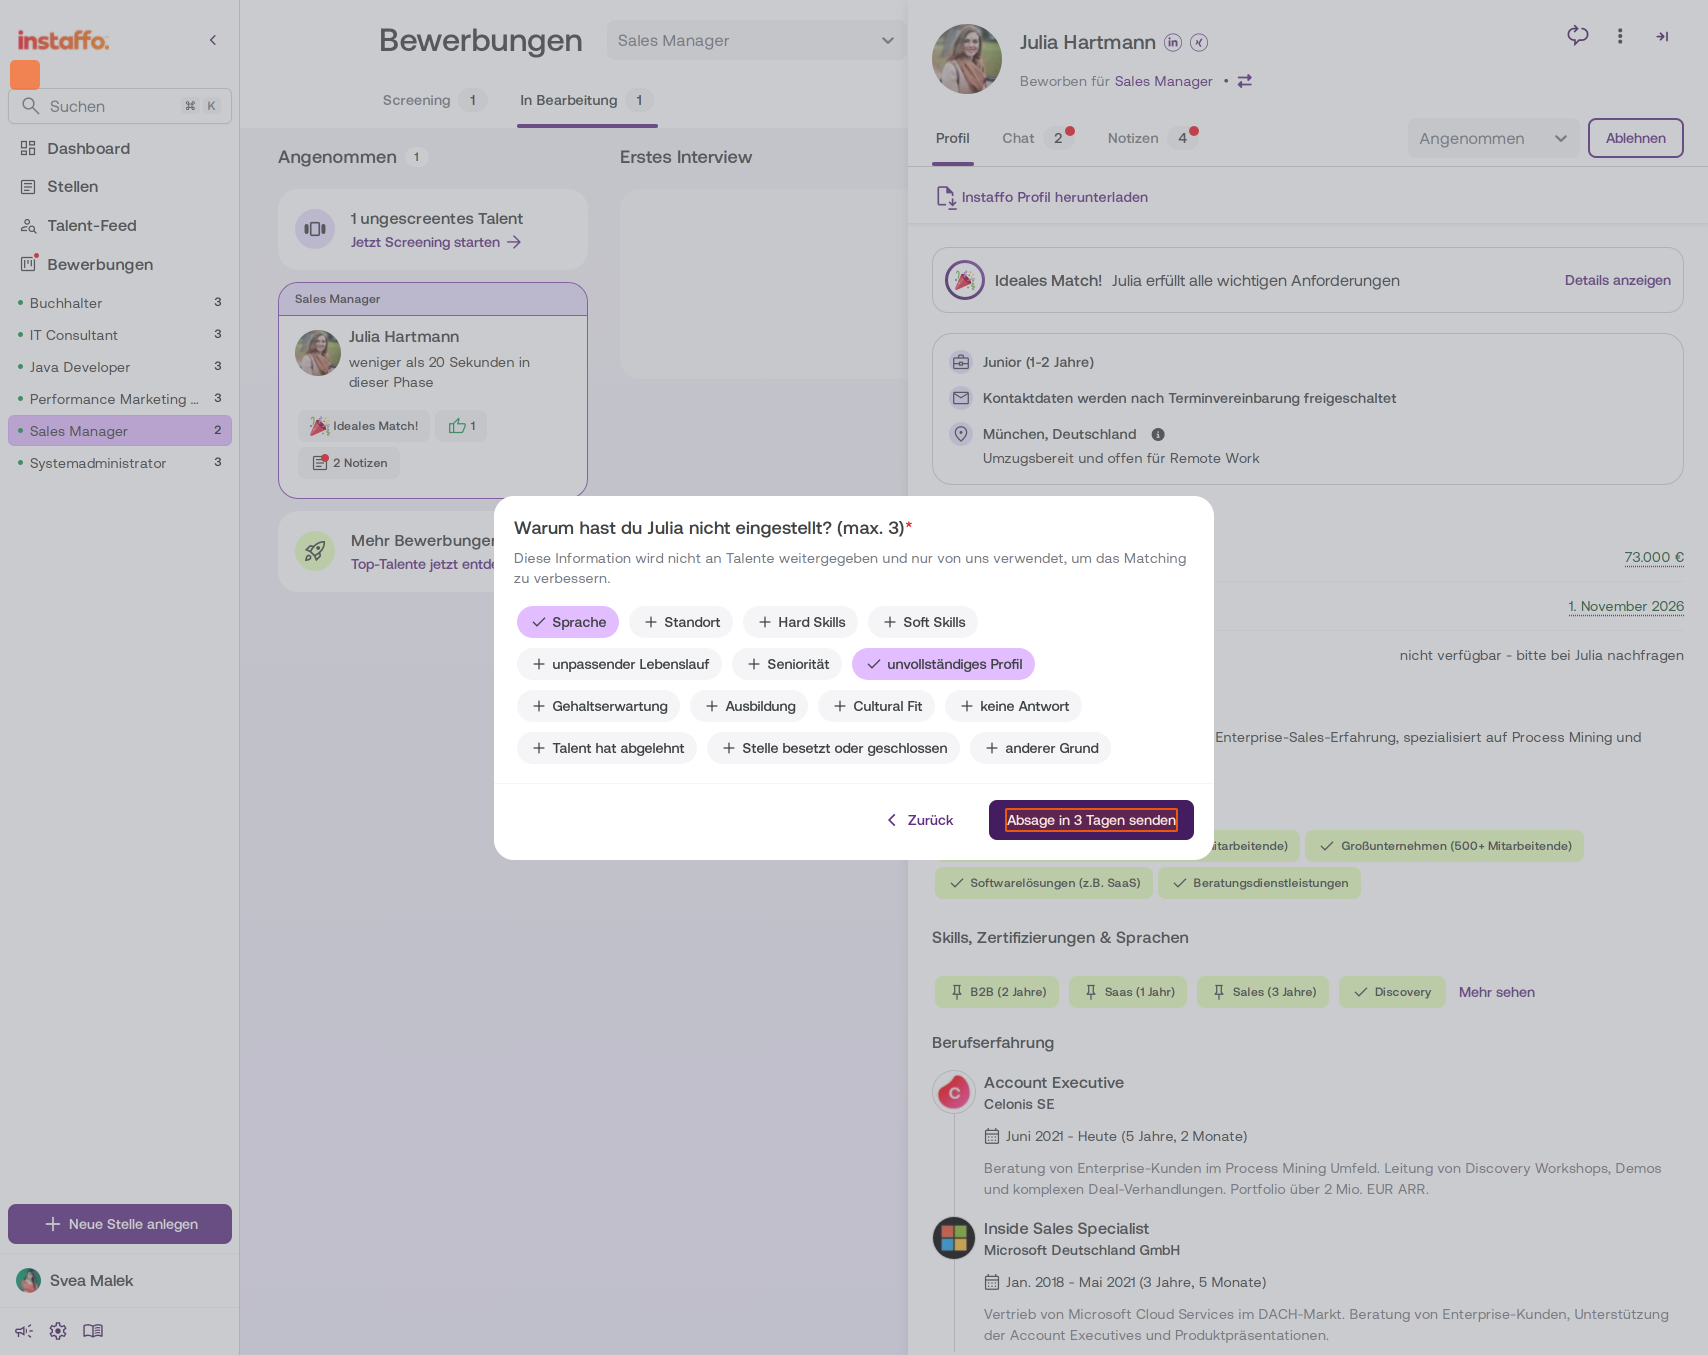
Confirm the rejection
Click Absage in 3 Tagen senden for a delayed rejection, or Ablehnen for an immediate rejection, to complete the process.
Withdraw a rejection
- Undo a scheduled rejection
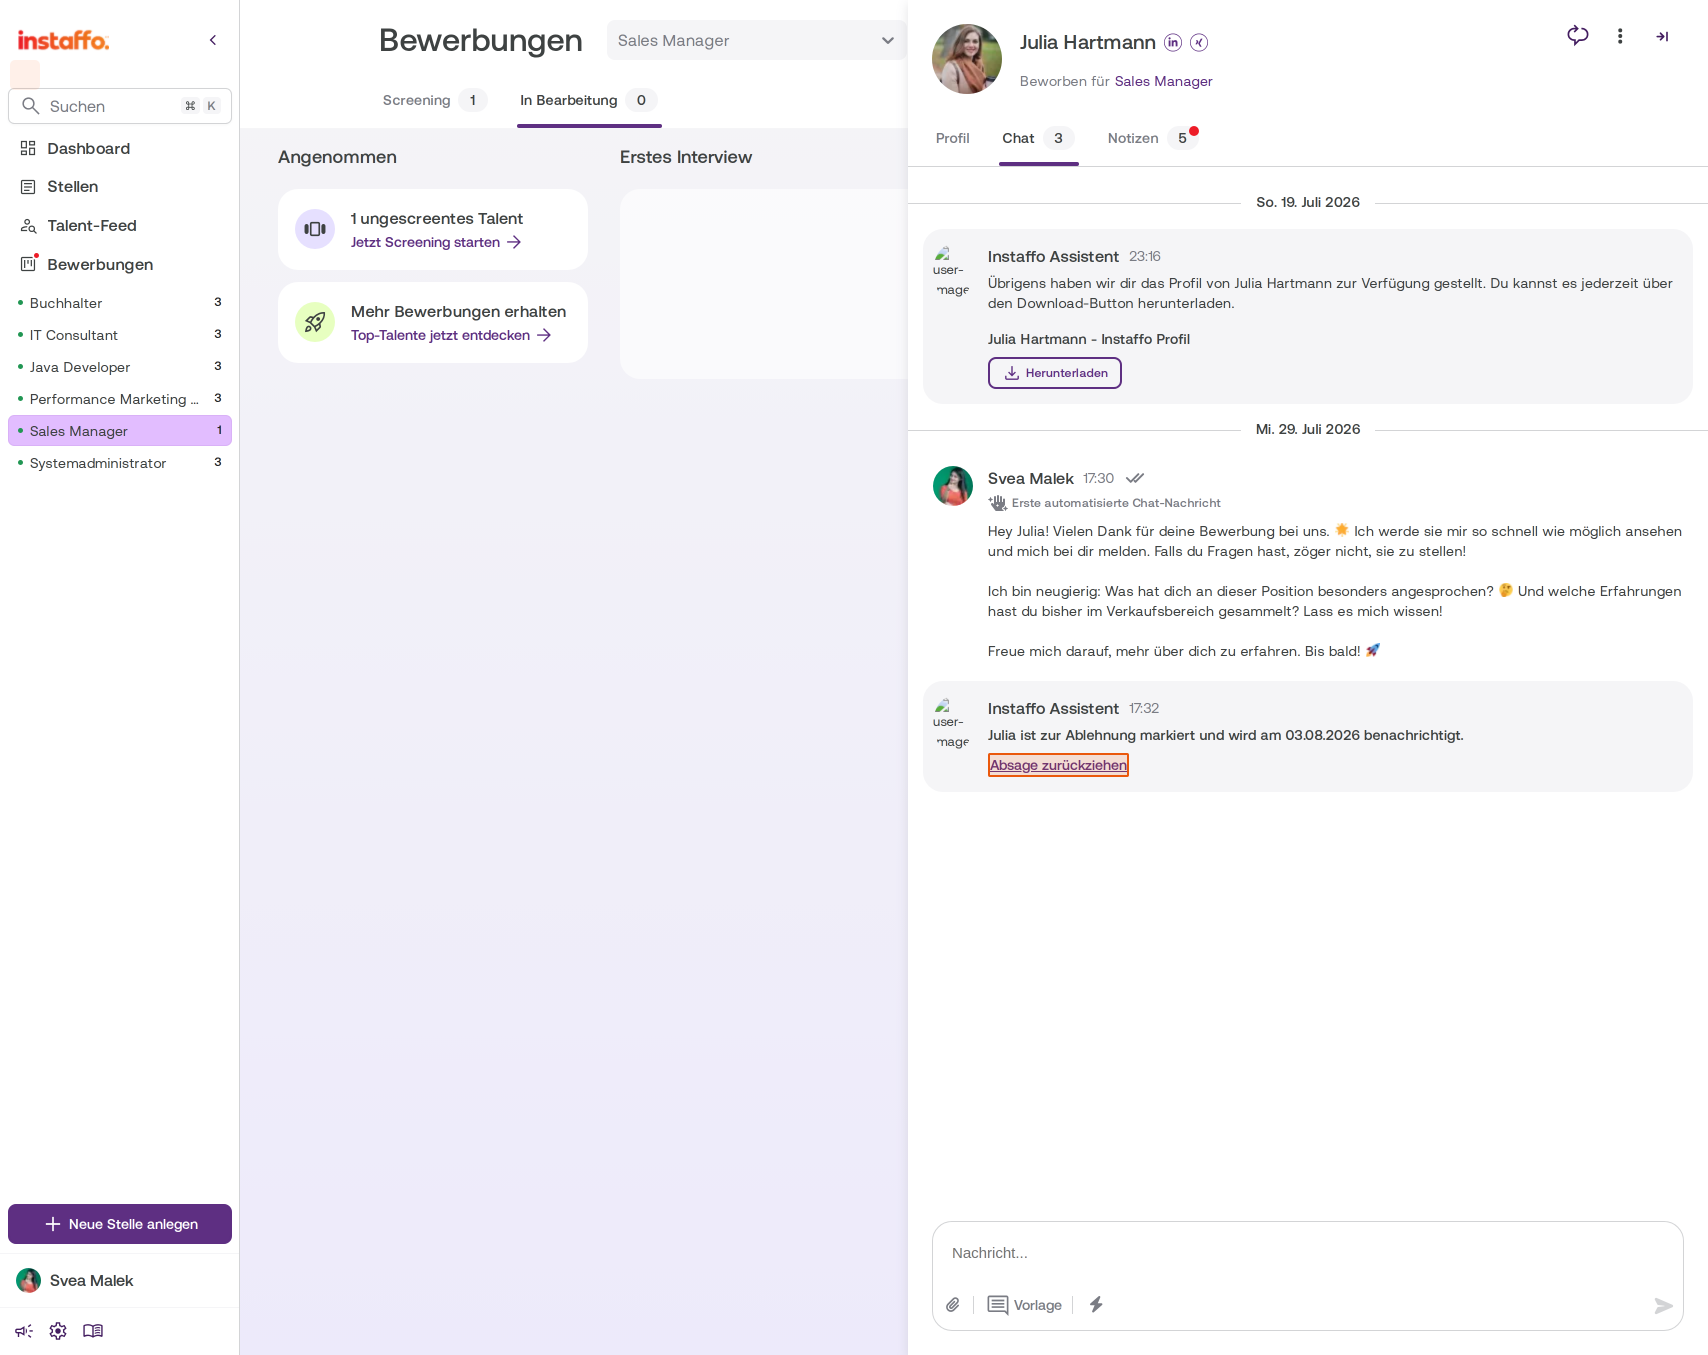
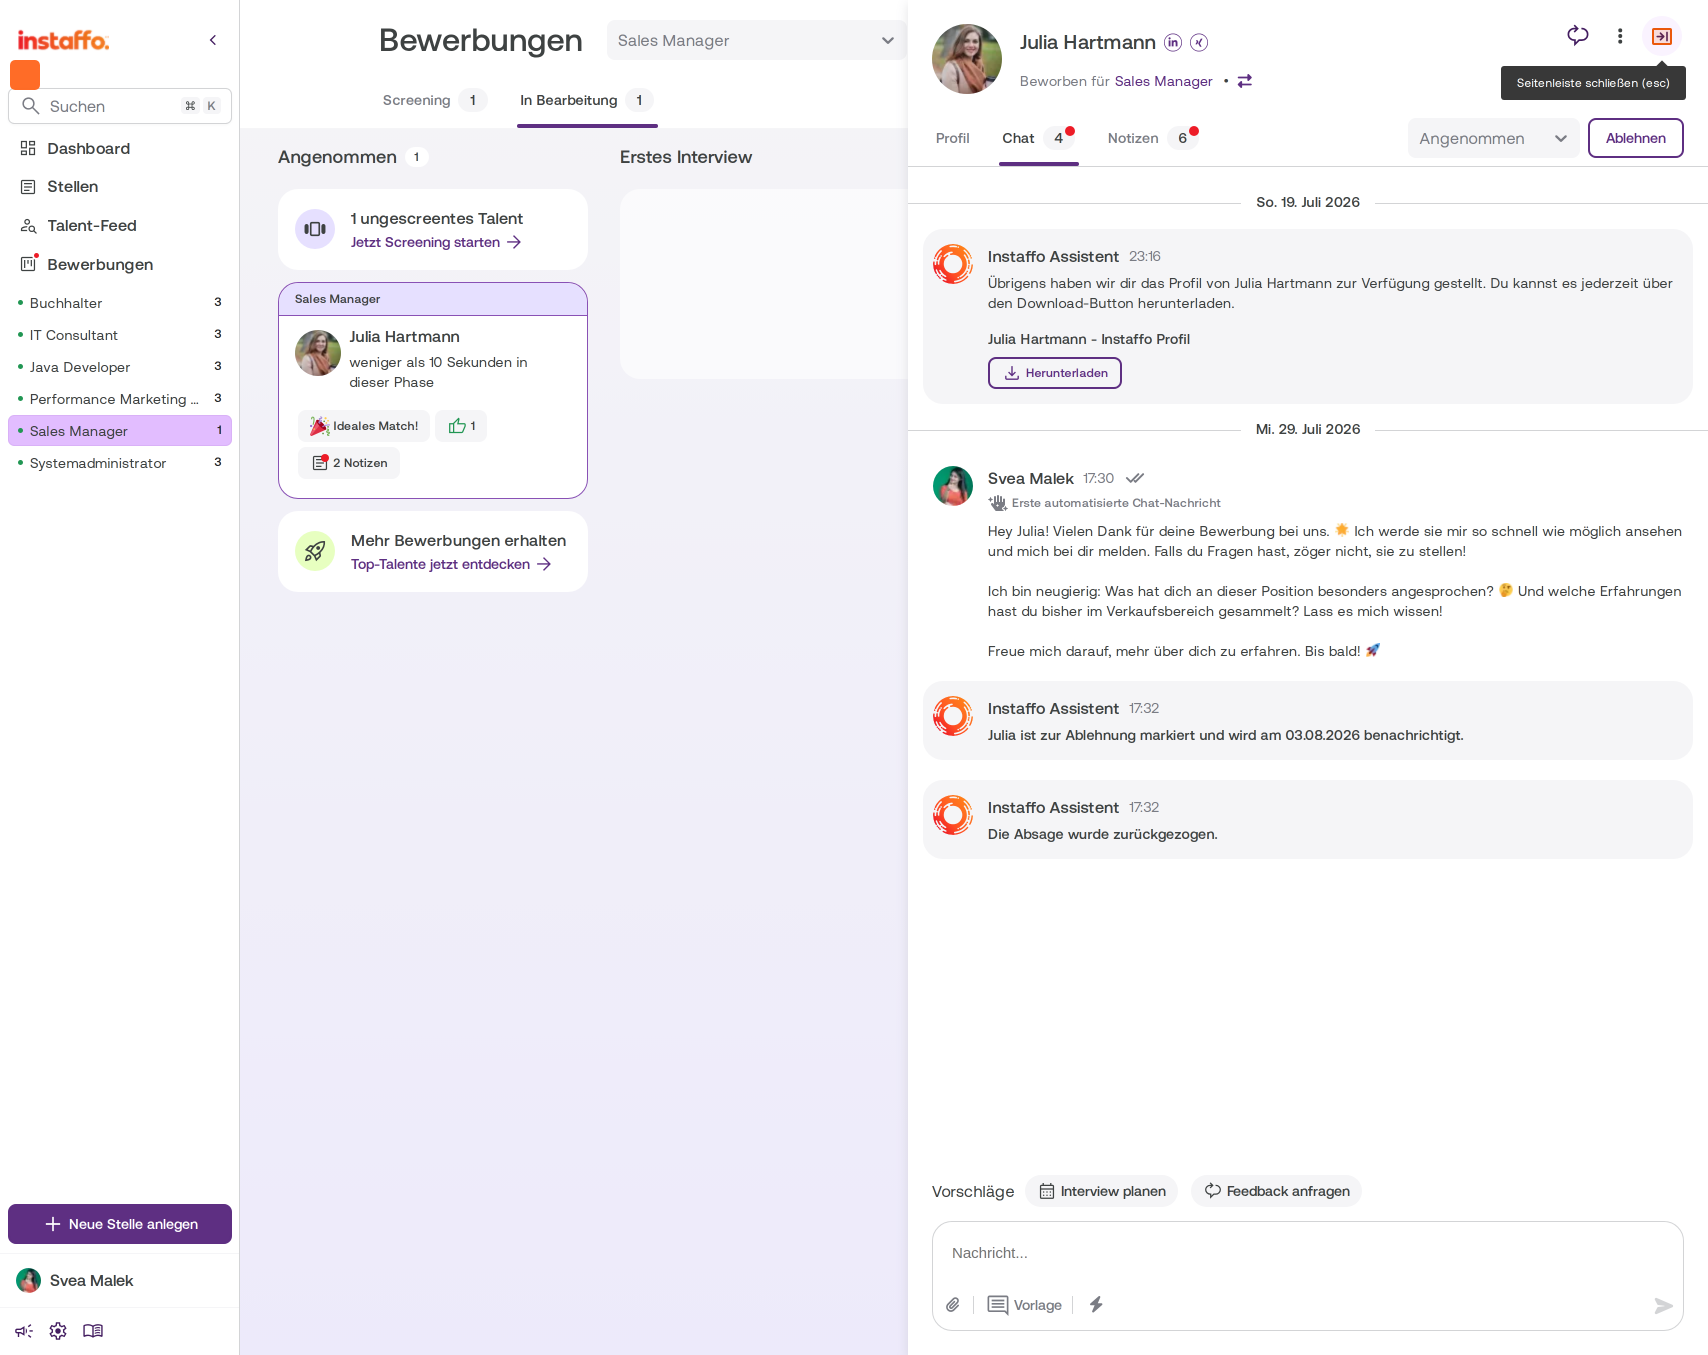
If you’ve scheduled a rejection, you can withdraw it before it’s sent. To do this, open the Chat tab in the candidate’s profile and click the Absage zurückziehen link in the system message. The candidate will then be moved back to their original stage.
Alternative: Reject an application using drag and drop
-
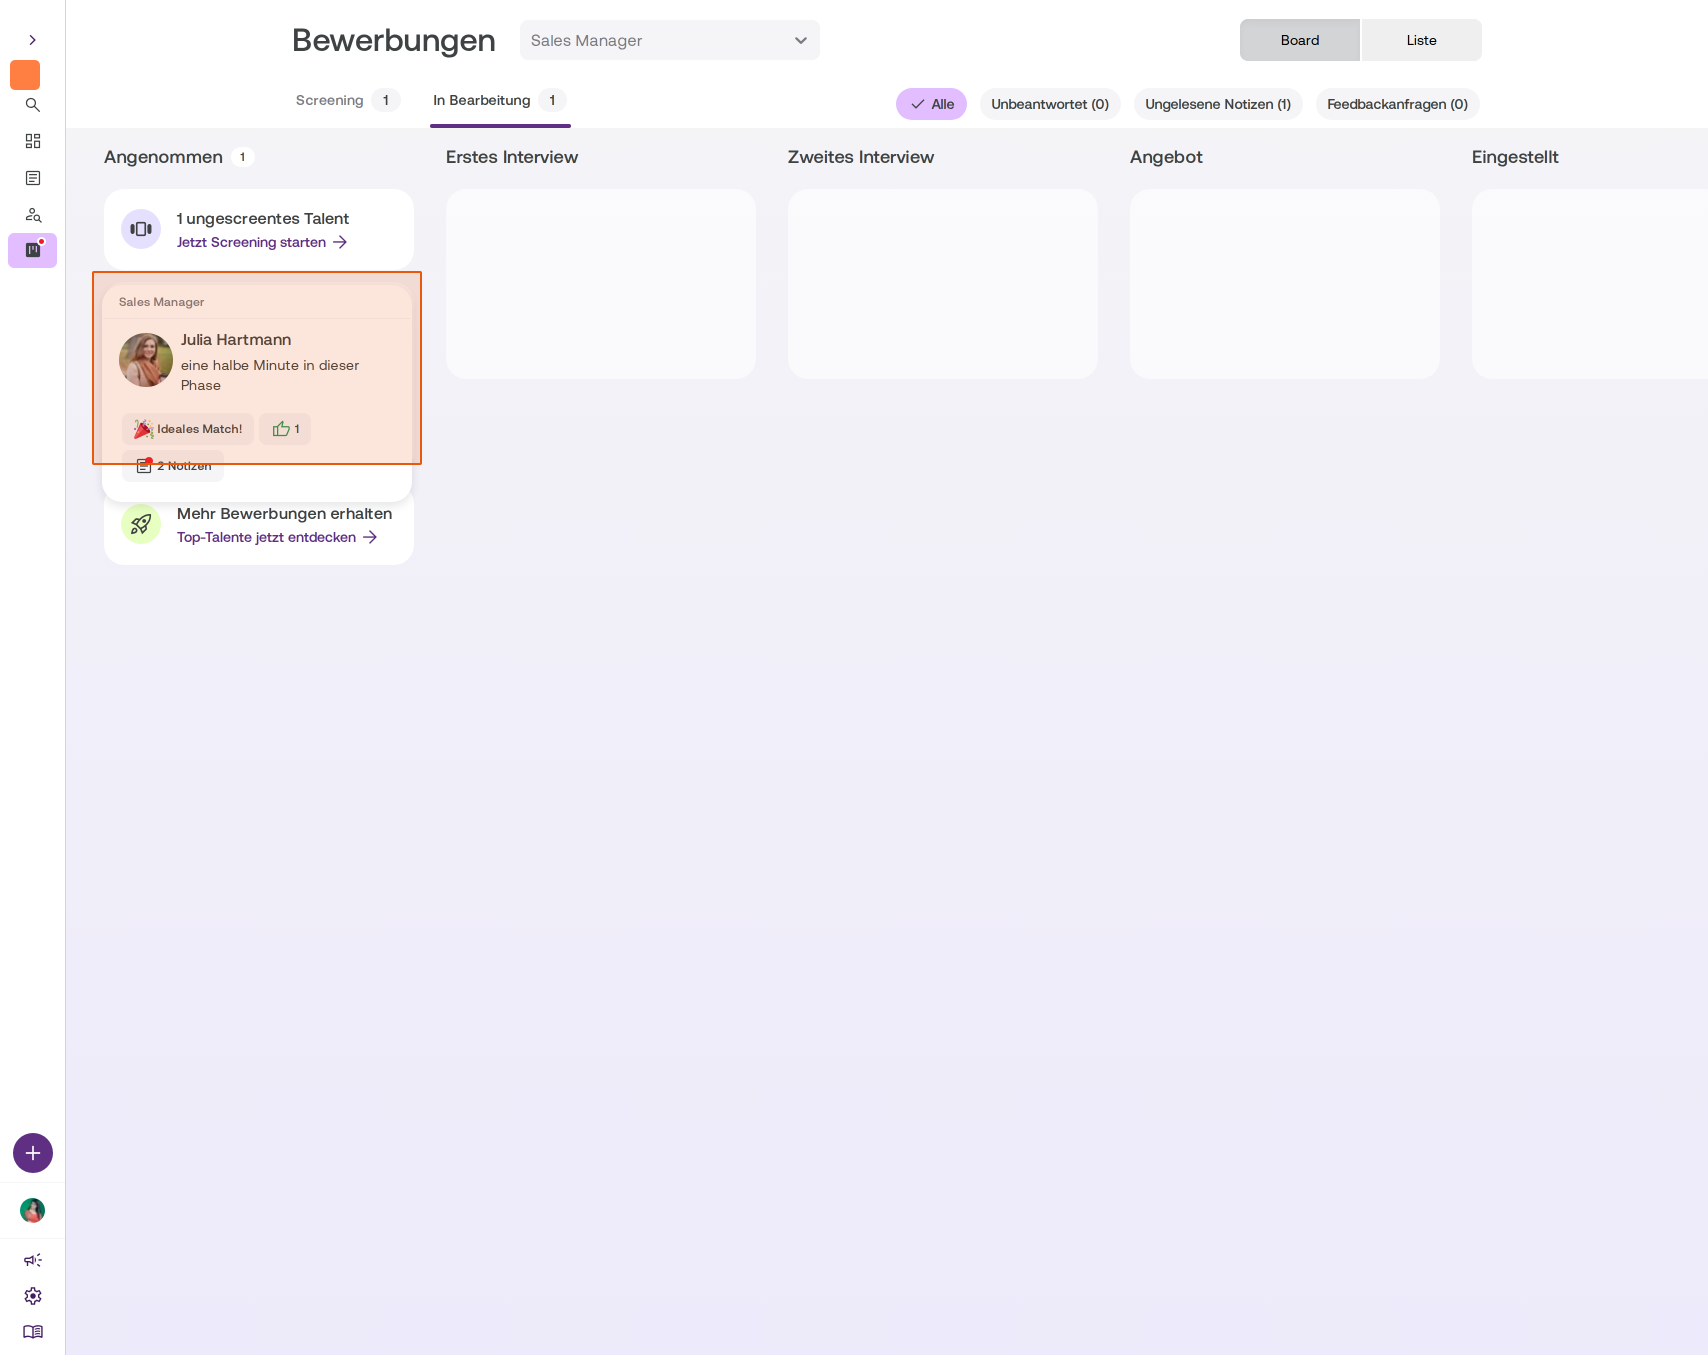
Move the application card
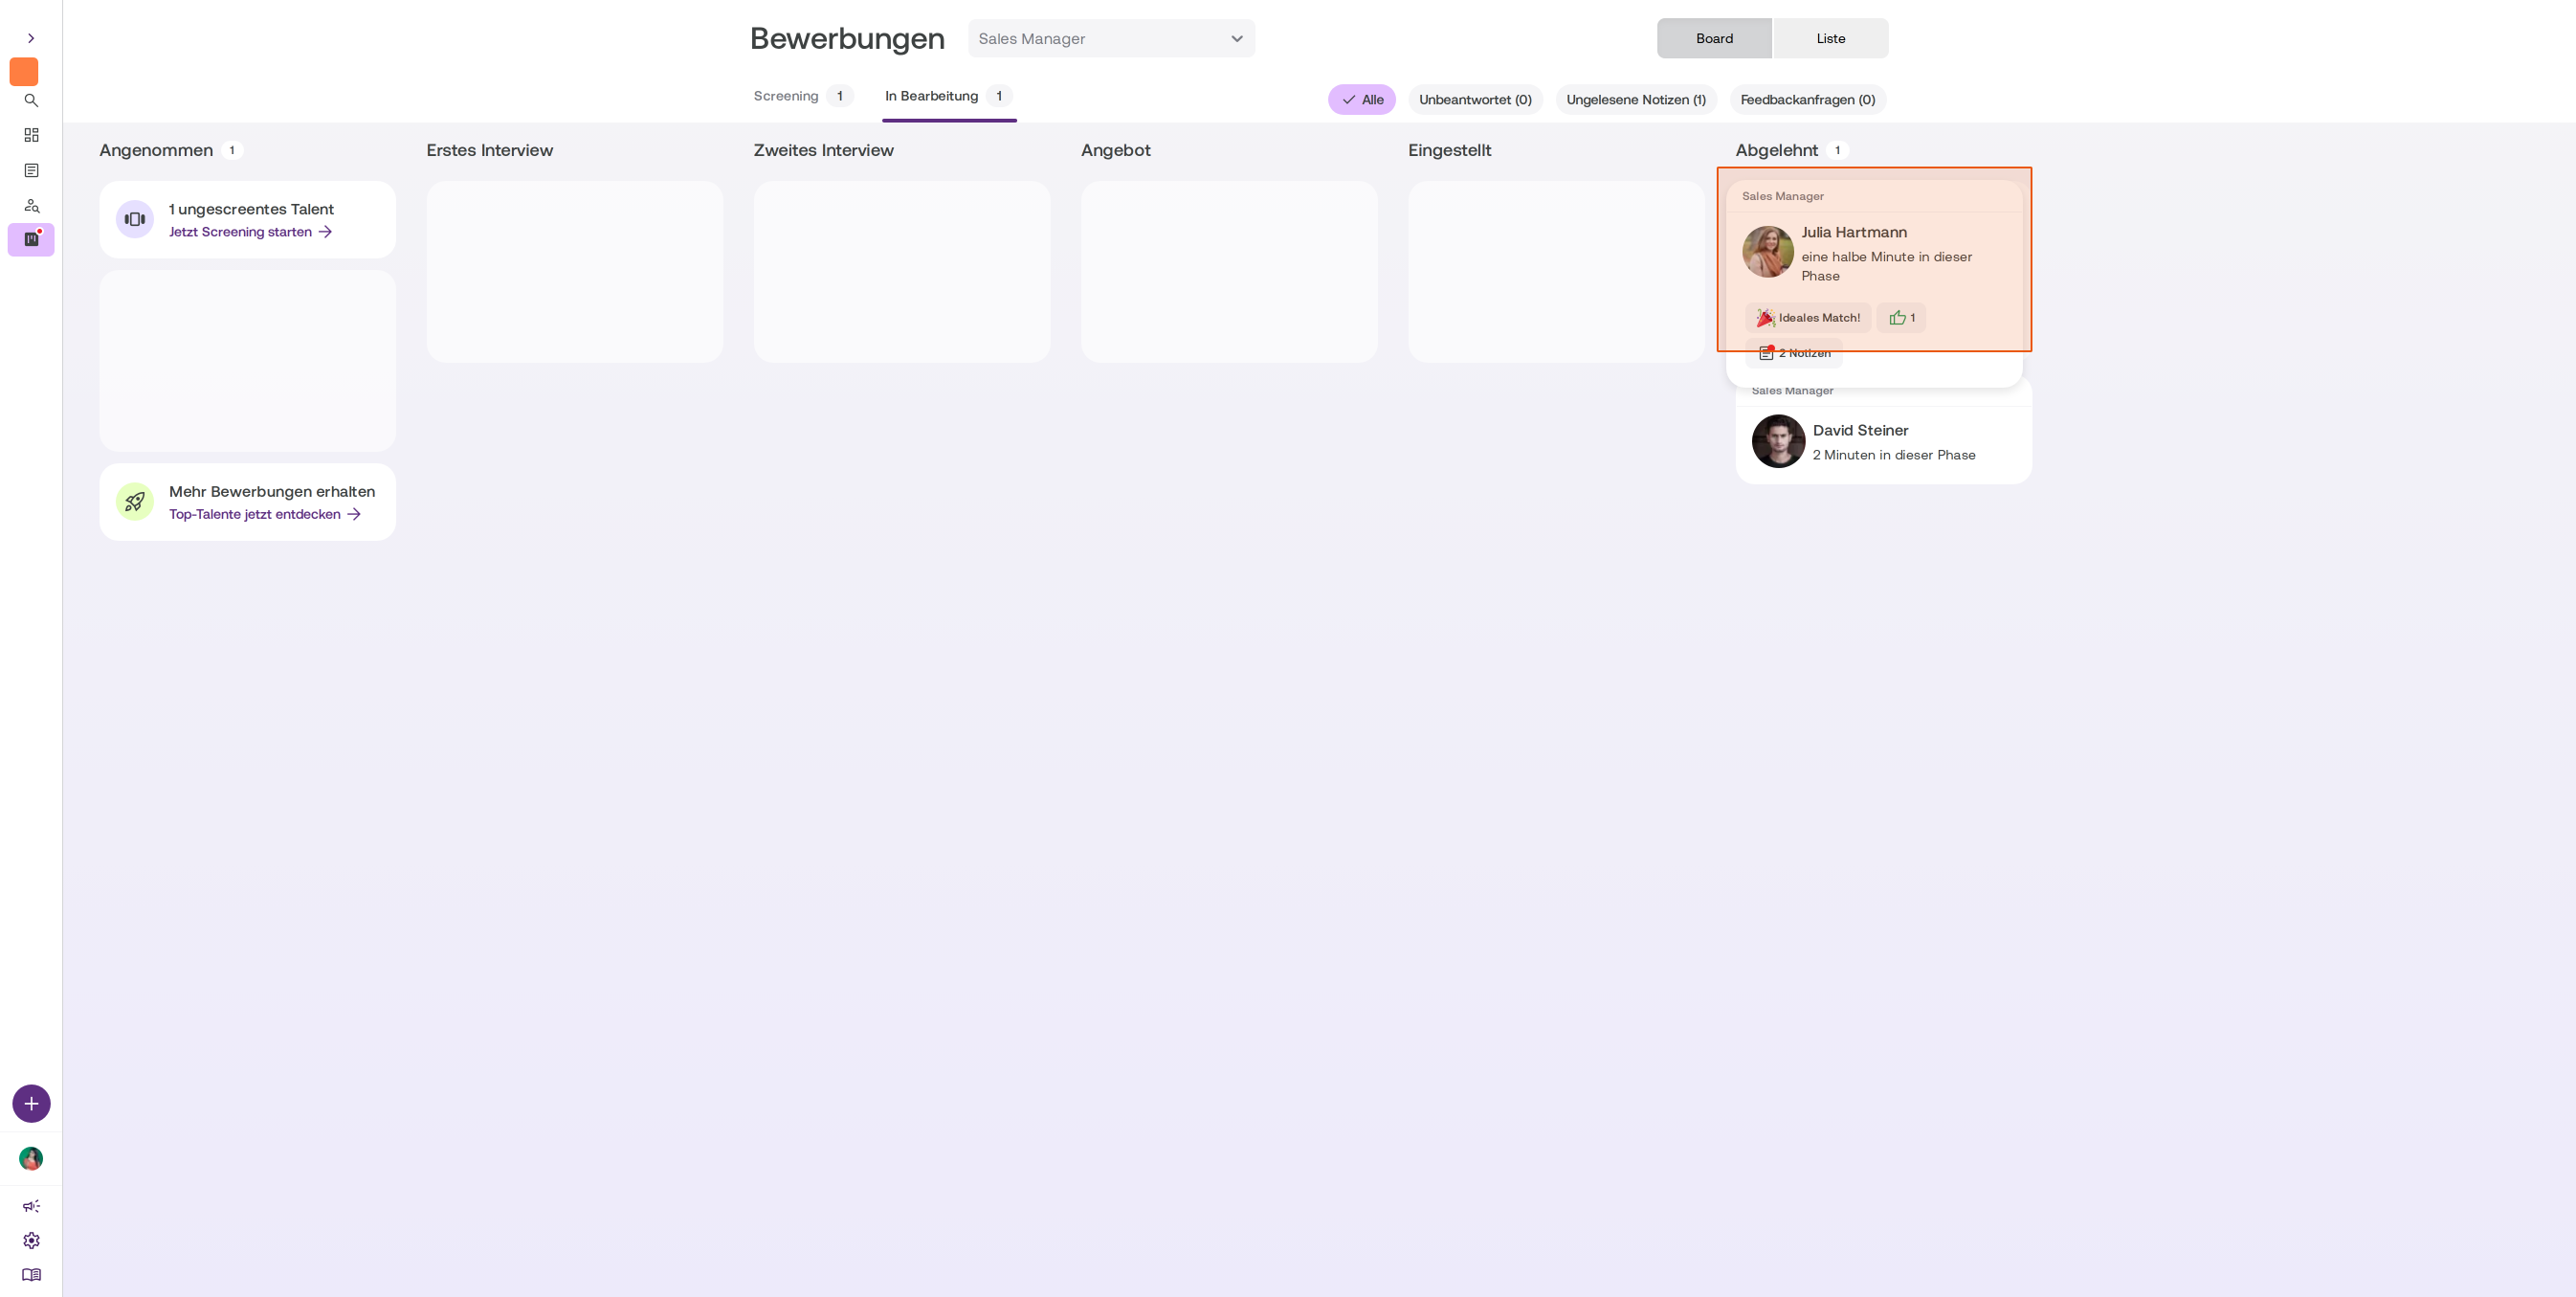
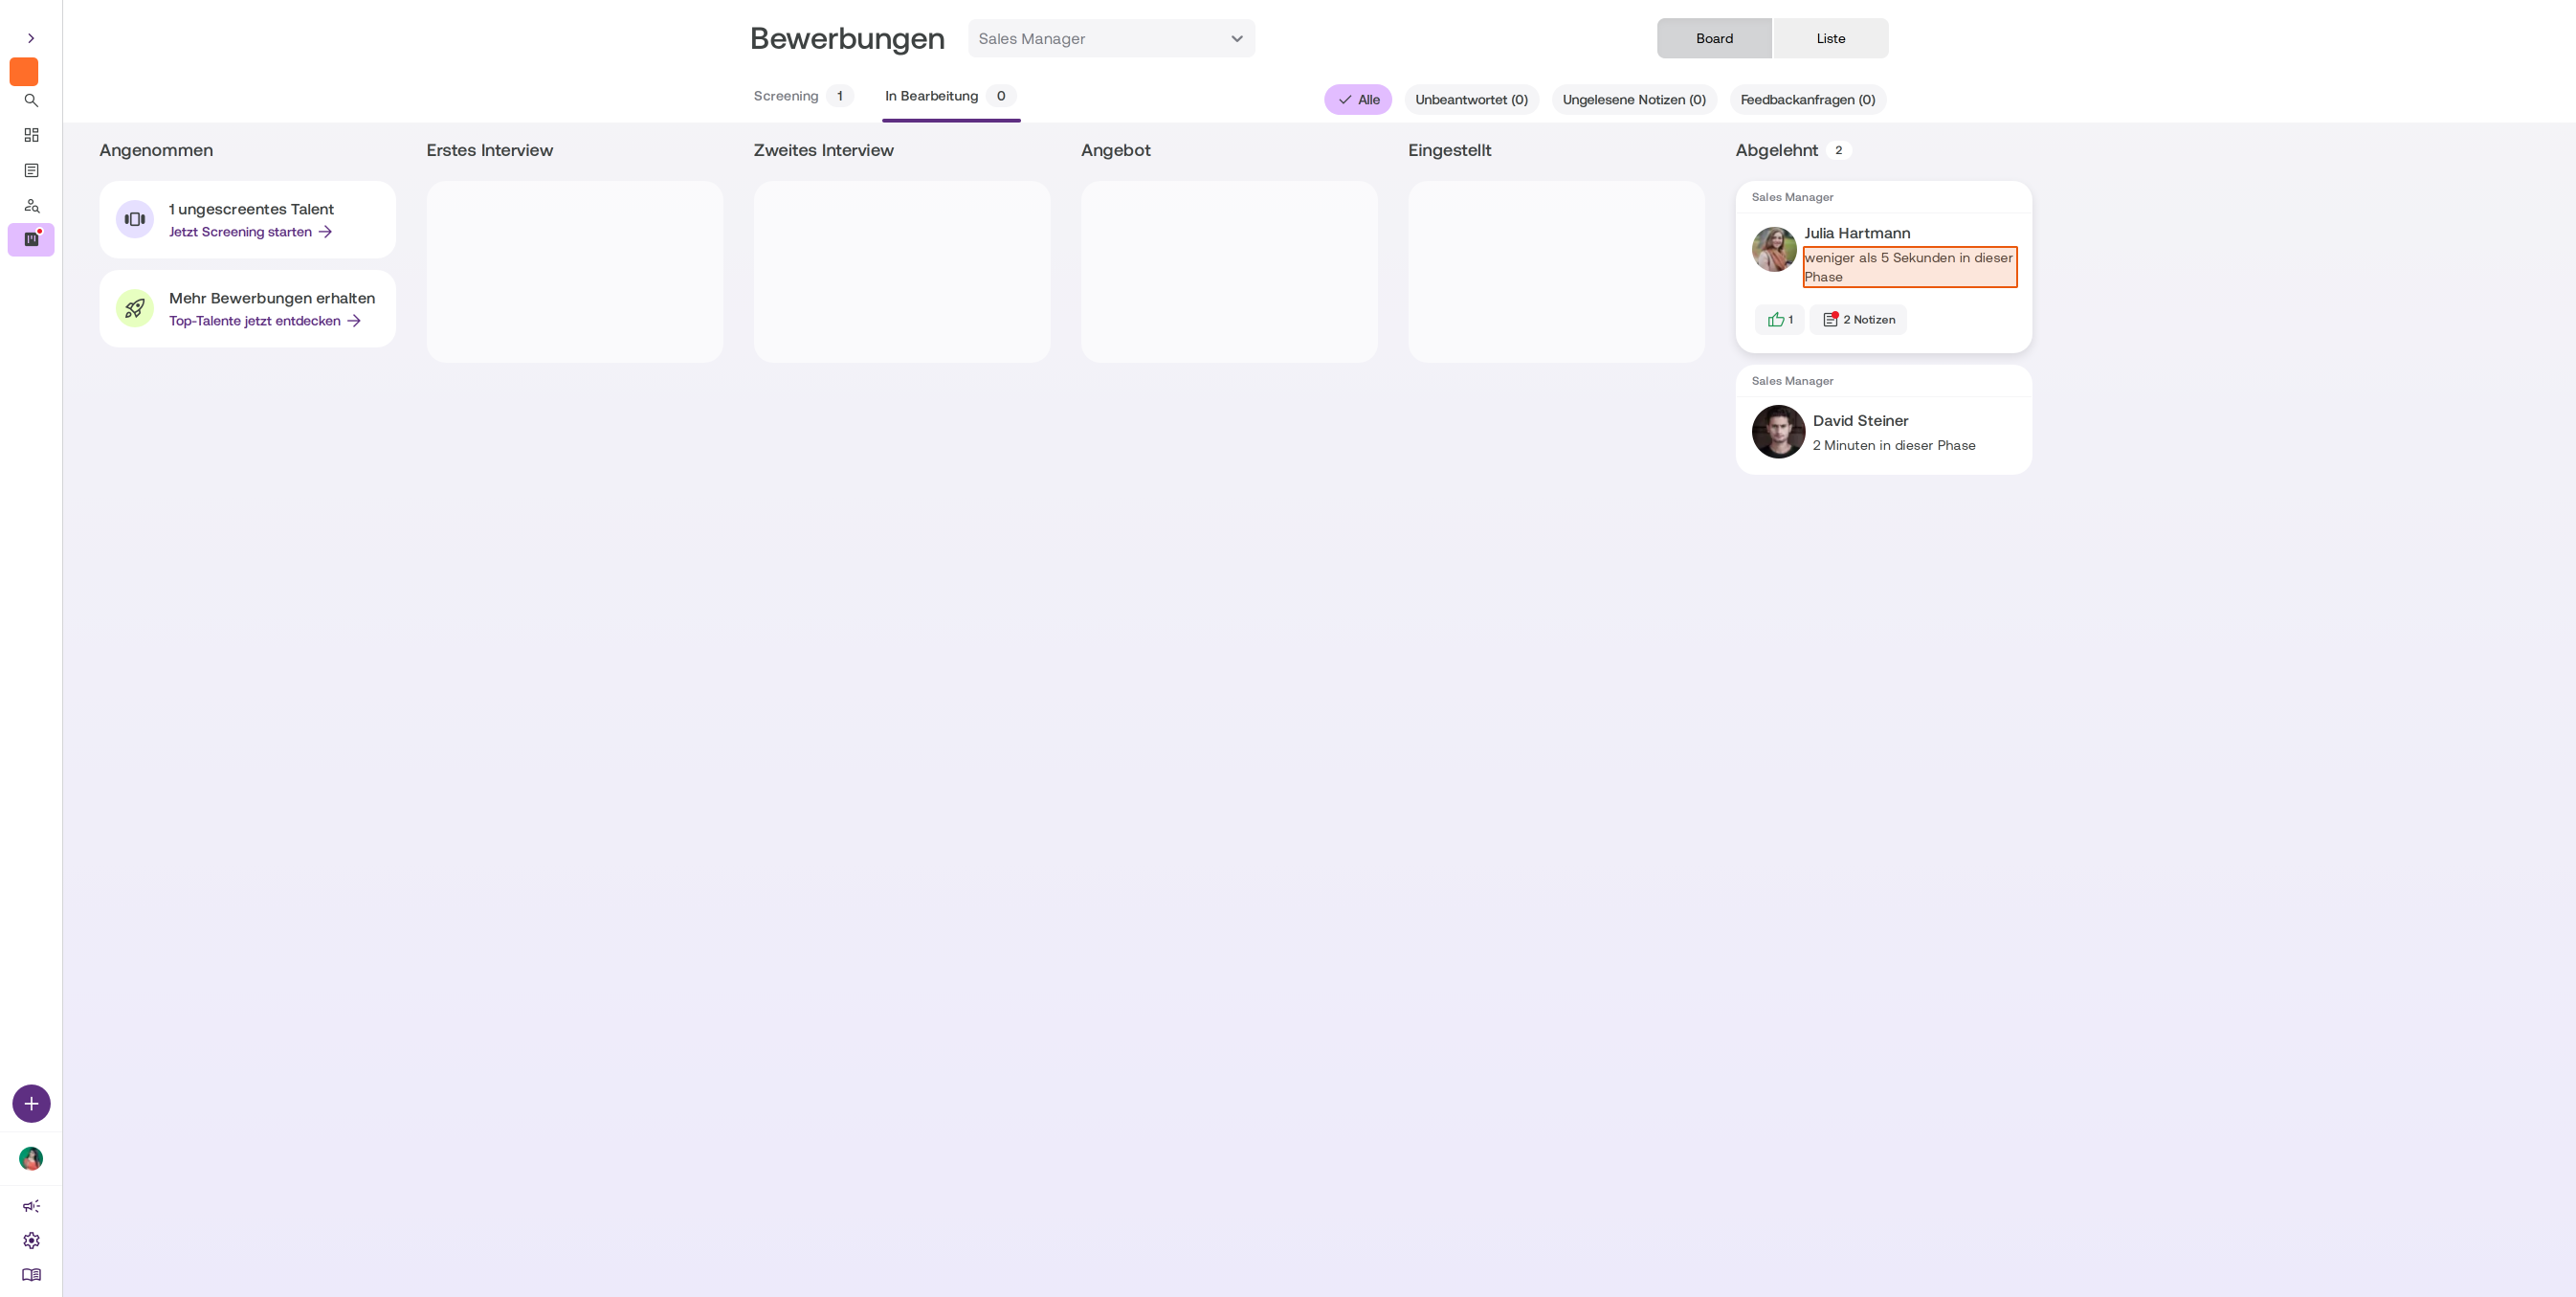
If your screen is large enough, you can also reject applications using drag and drop. Simply drag the application card from its current column to the Abgelehnt column. You’ll also be prompted to configure a rejection message.
Once you’ve completed these steps, the application will be rejected and the candidate will be notified according to your settings. The application card will now appear in the Abgelehnt column of your application board.
 Powered by happysupport.ai