
How to Create a Job Posting Manually on Instaffo
Create a job posting manually on Instaffo by entering the job title, category, roles, work mode, and requirements, then publish to start recruiting
In this article, you'll learn how to create a new job posting manually on Instaffo. We'll walk you through the entire process, from entering the job title to configuring requirements and skills and publishing your posting.
You'll save time by using pre-built job postings. These are already pre-filled for you. If your job isn't listed there, we recommend filling out the posting automatically. Learn more

Creating a New Job Posting
-
Start Creating a Job Posting
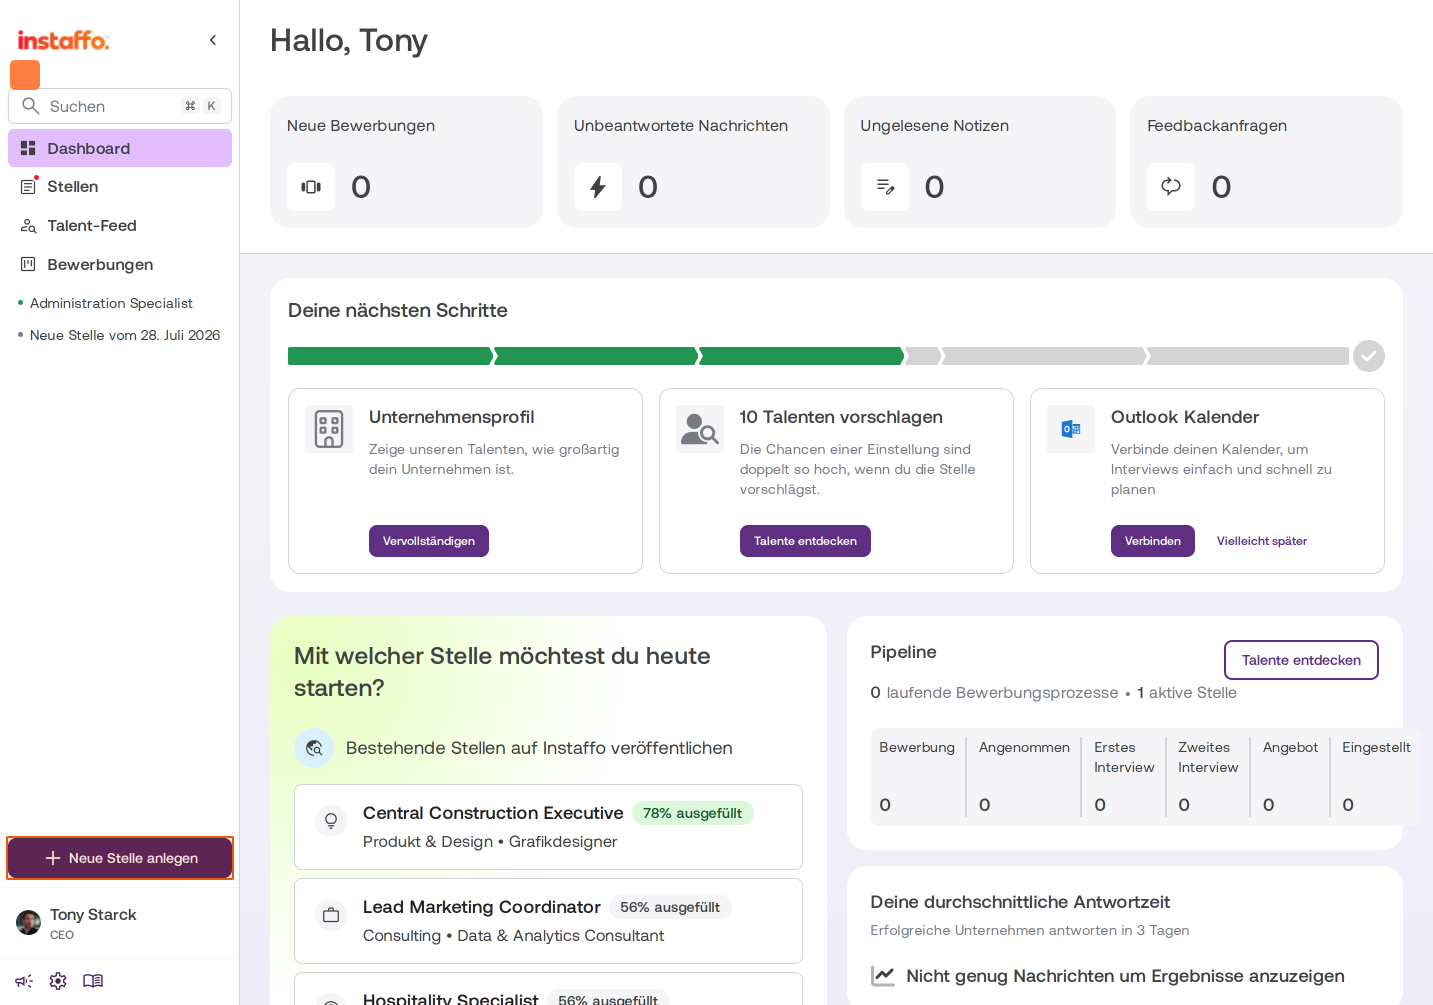
Click the Create New Job Posting button in the sidebar to begin the creation process. You can create new job postings on Instaffo anytime. -
Choose Your Creation Method
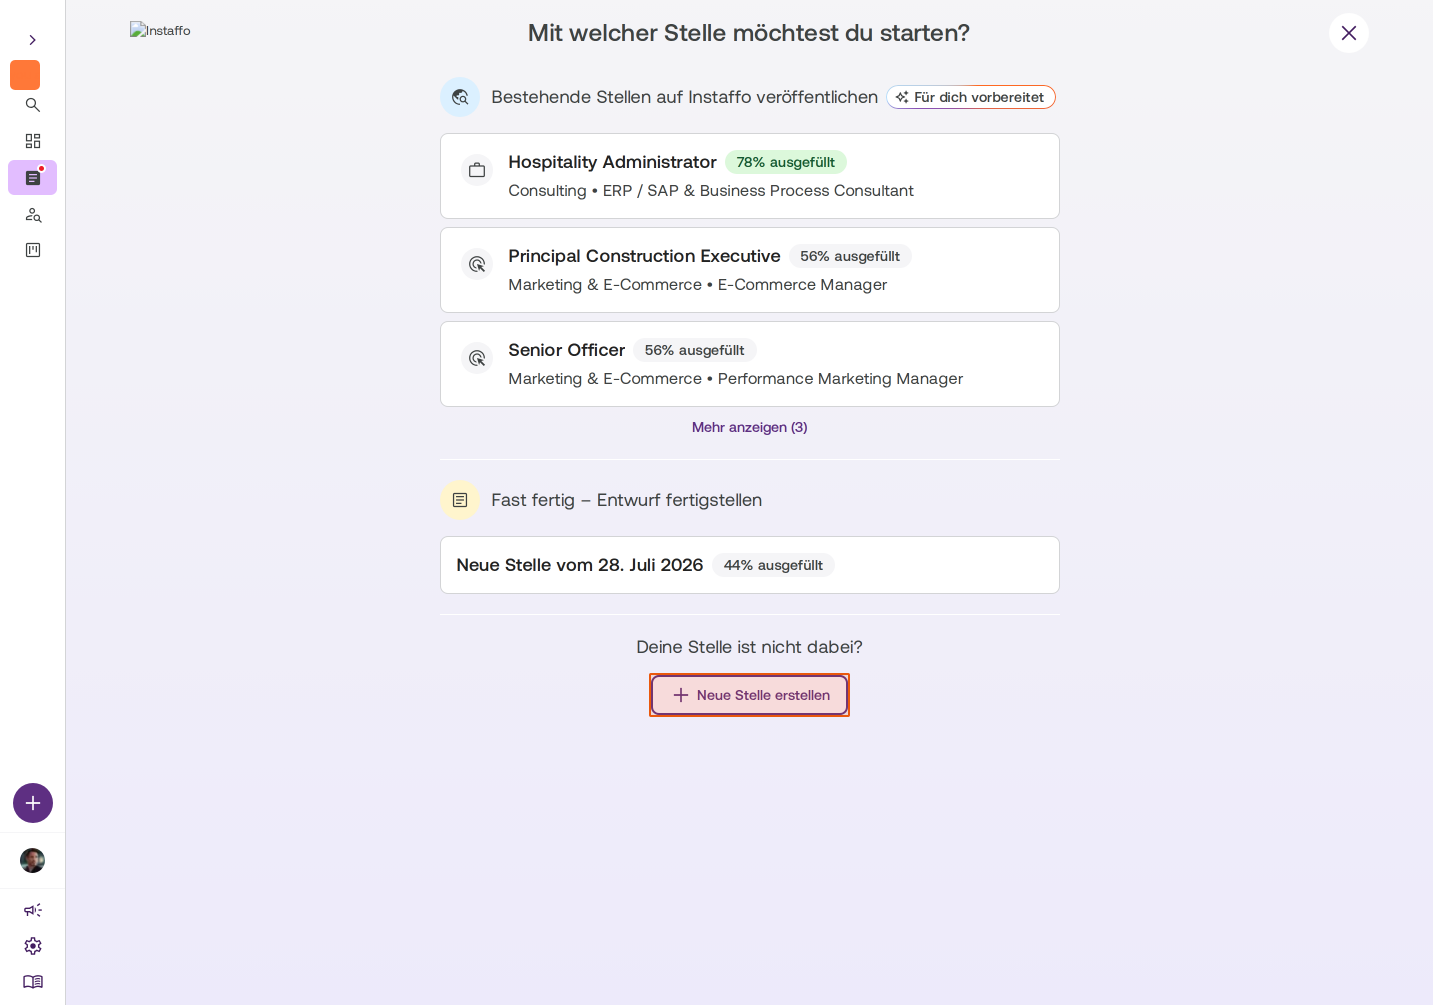
You'll now see an overview of pre-built job postings that are already partially filled in. If you want to create a completely new posting that's not listed here, click Create New Job Posting.
-
Select Manual Creation
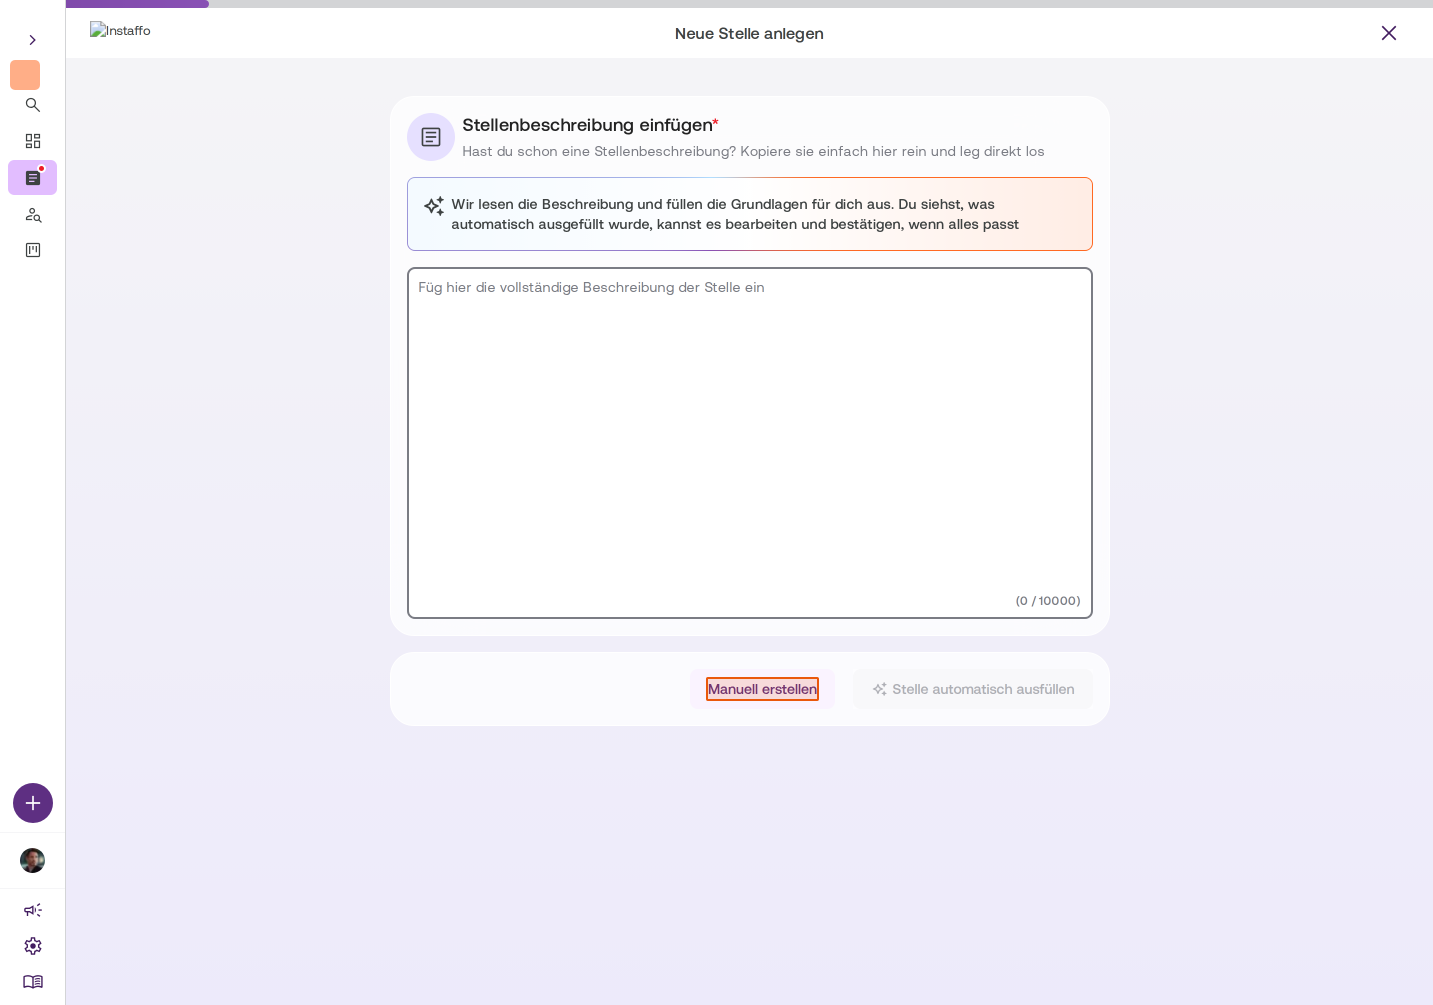
You have two options:- Fill Out Job Posting Automatically (recommended): If you have a job description, you can paste it and the information will be extracted automatically. This makes the creation process much easier.
- Create Manually: You'll need to enter all the information yourself.
Click Create Manually to continue. In both cases, it's helpful to have the job description on hand.
Basic Job Information
-
Enter Job Title
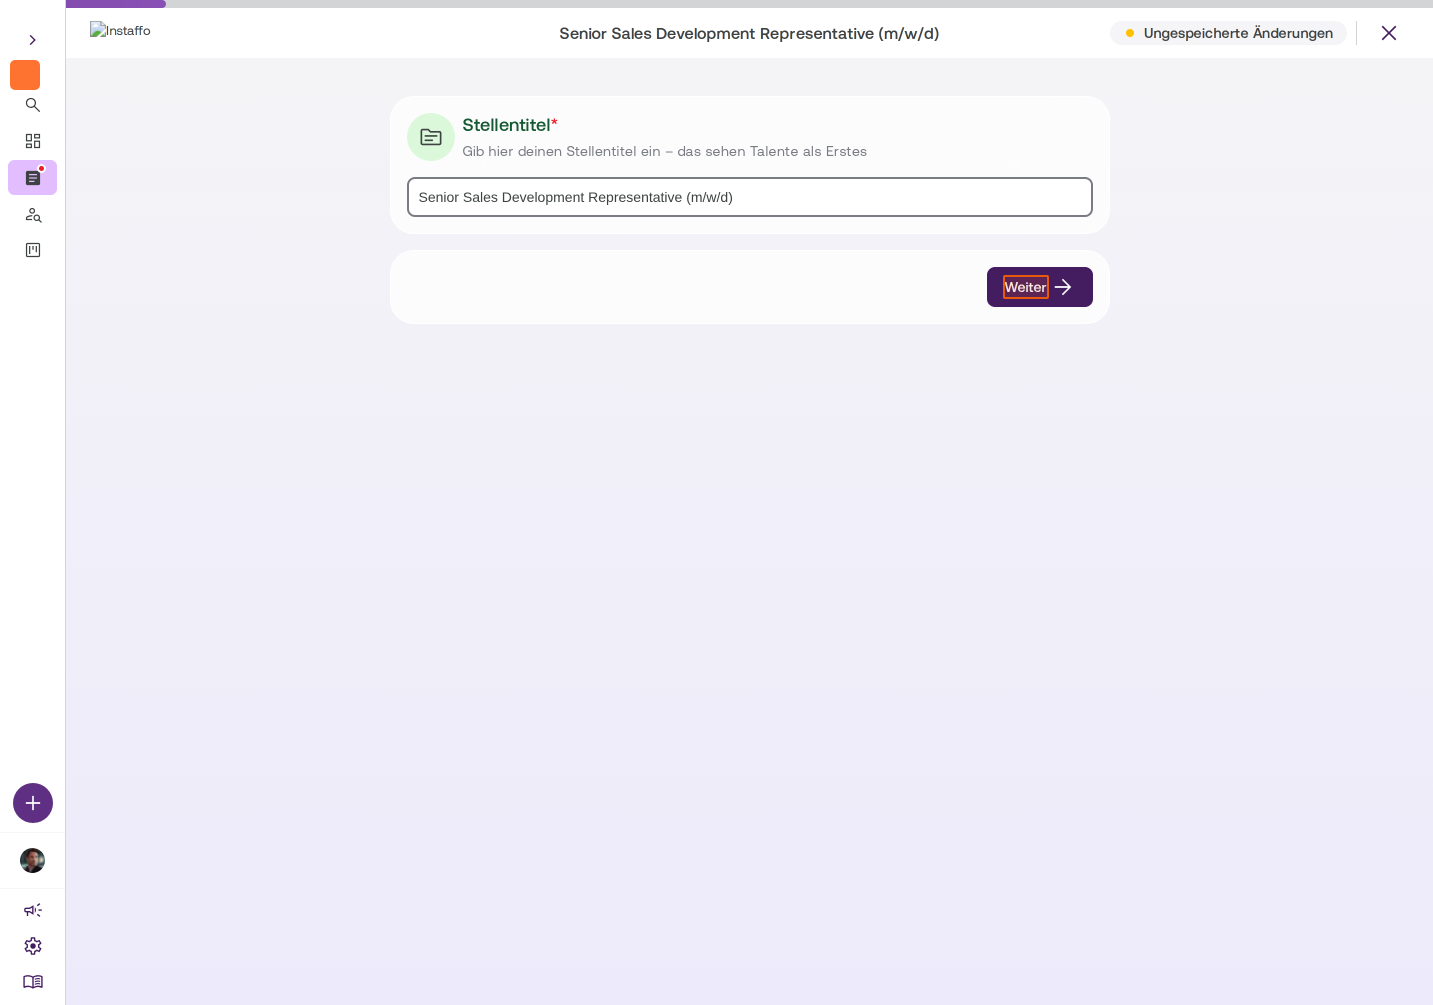
Enter the title of the job, for example "Senior Sales Development Representative". This title is the first thing candidates will see. Then click Next. -
Select Category and Job Roles
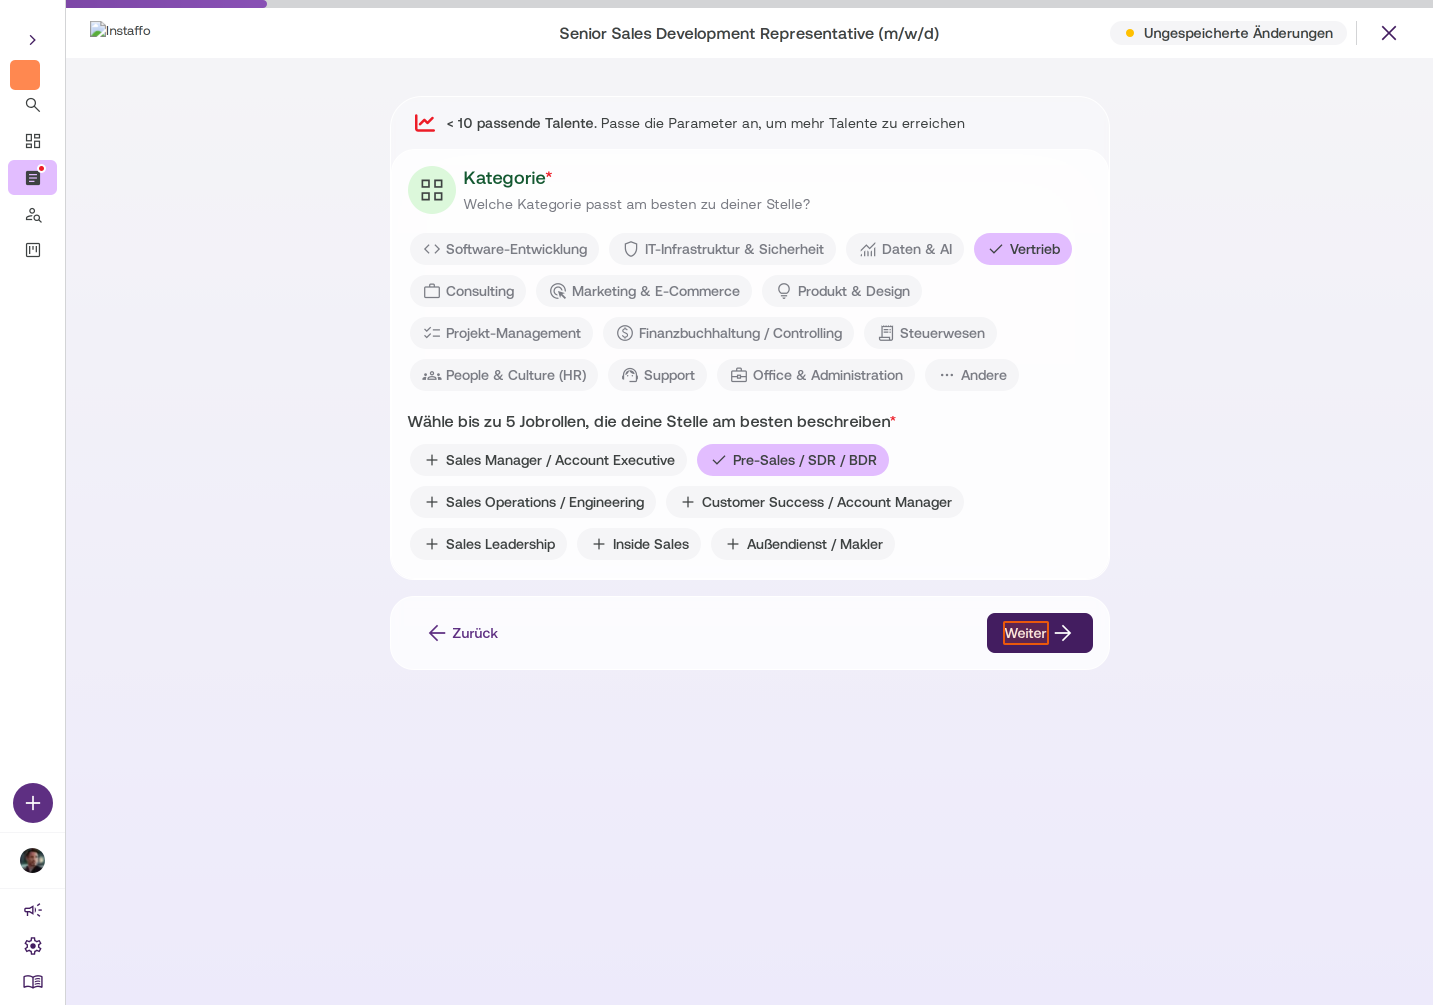
Choose the appropriate category for the job (for example, "Sales") and up to 5 job roles that best describe the position (for example, "Pre-Sales / SDR / BDR"). Click Next. -
Set Work Mode
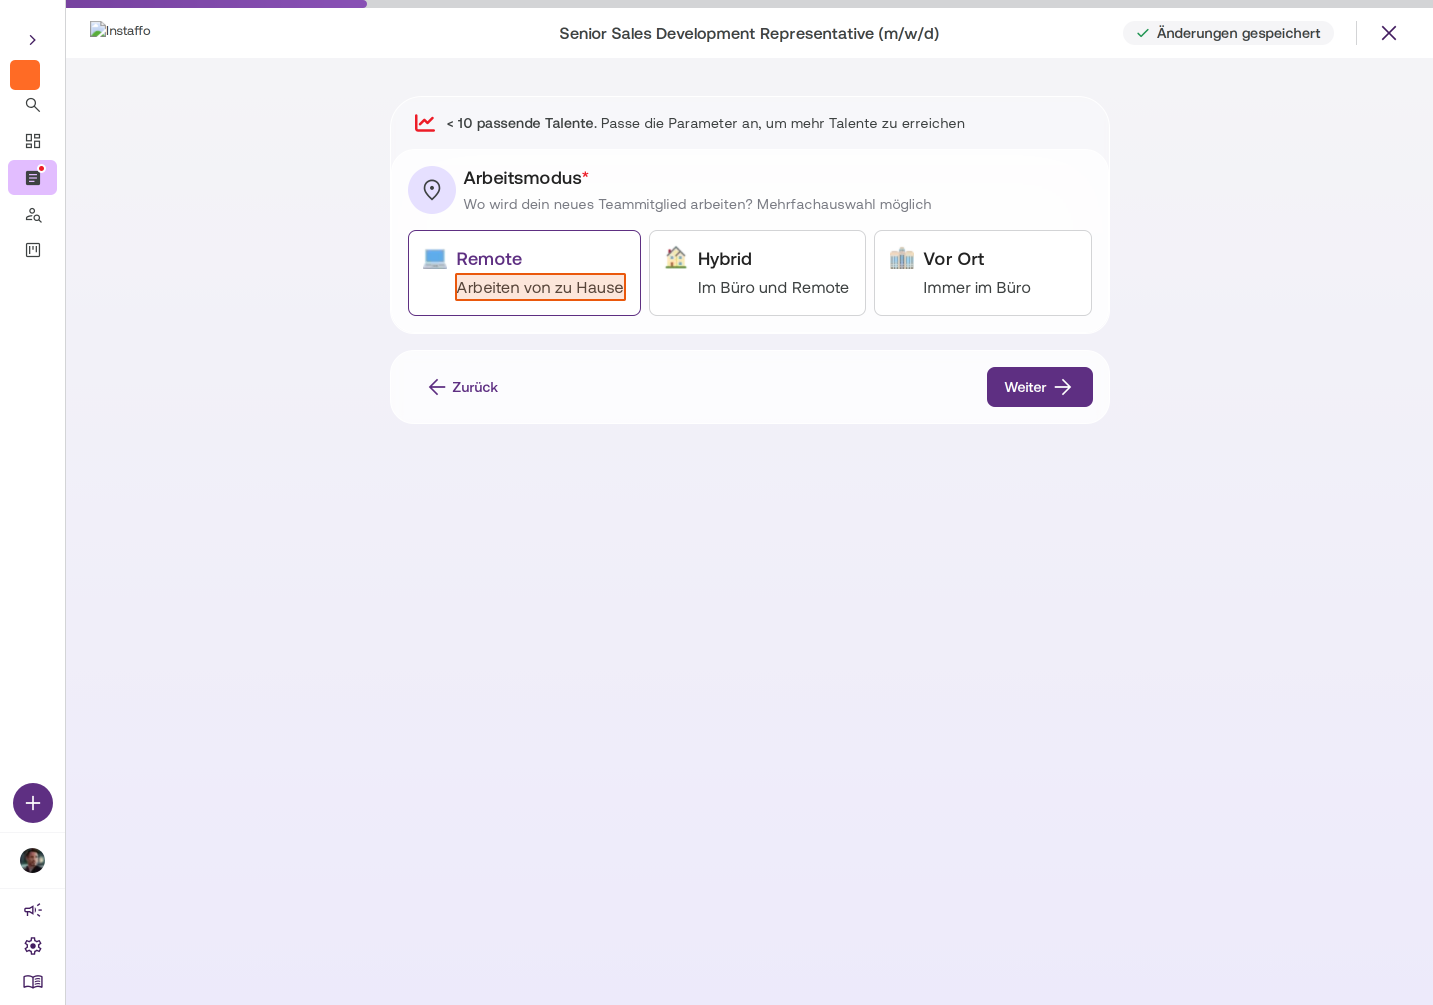
Choose where the new team member will work. You can select between Remote, Hybrid, and On-site. Multiple selections are possible. -
Define Office Presence
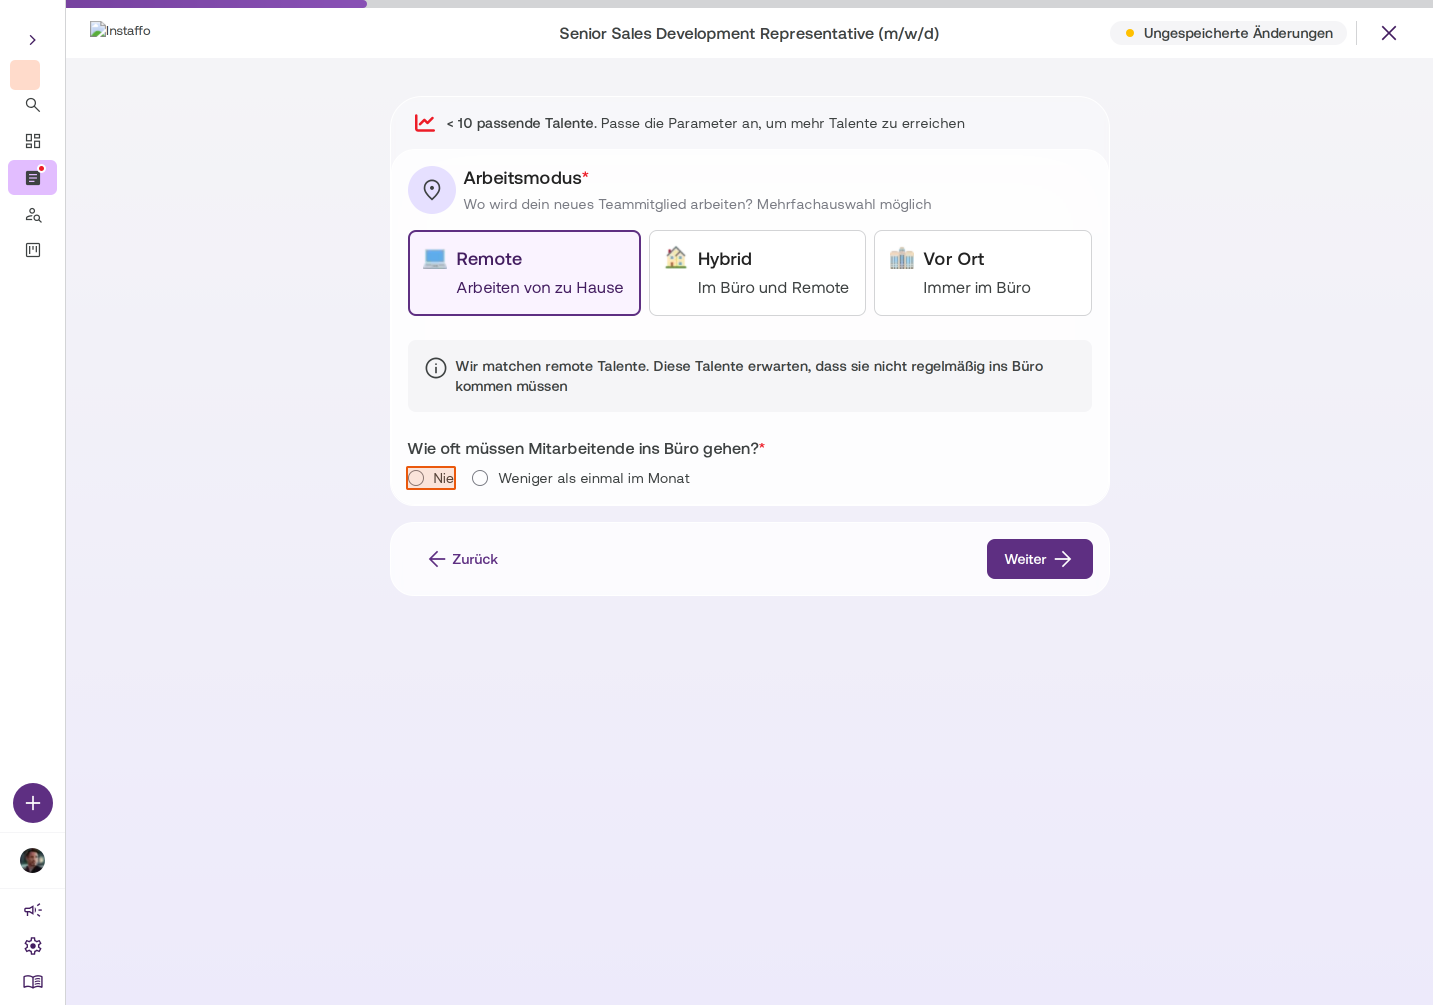
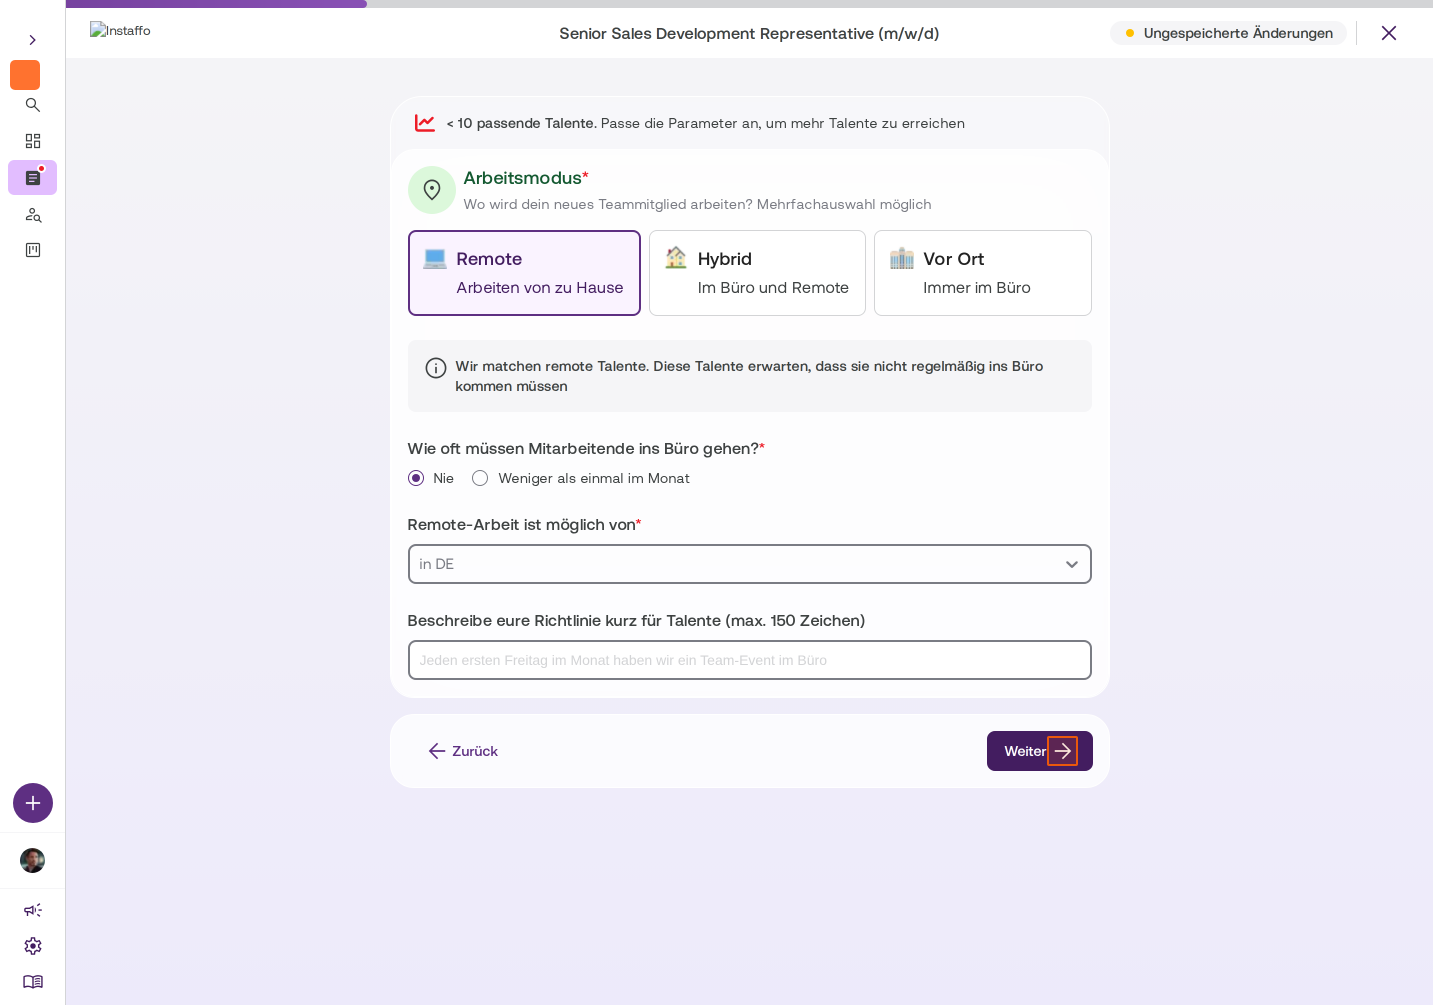
If you selected Remote, specify how often employees need to come into the office. For example, choose Never if candidates never need to come in. You can also specify where remote work is possible from (for example, "in DE"). Click Next. -
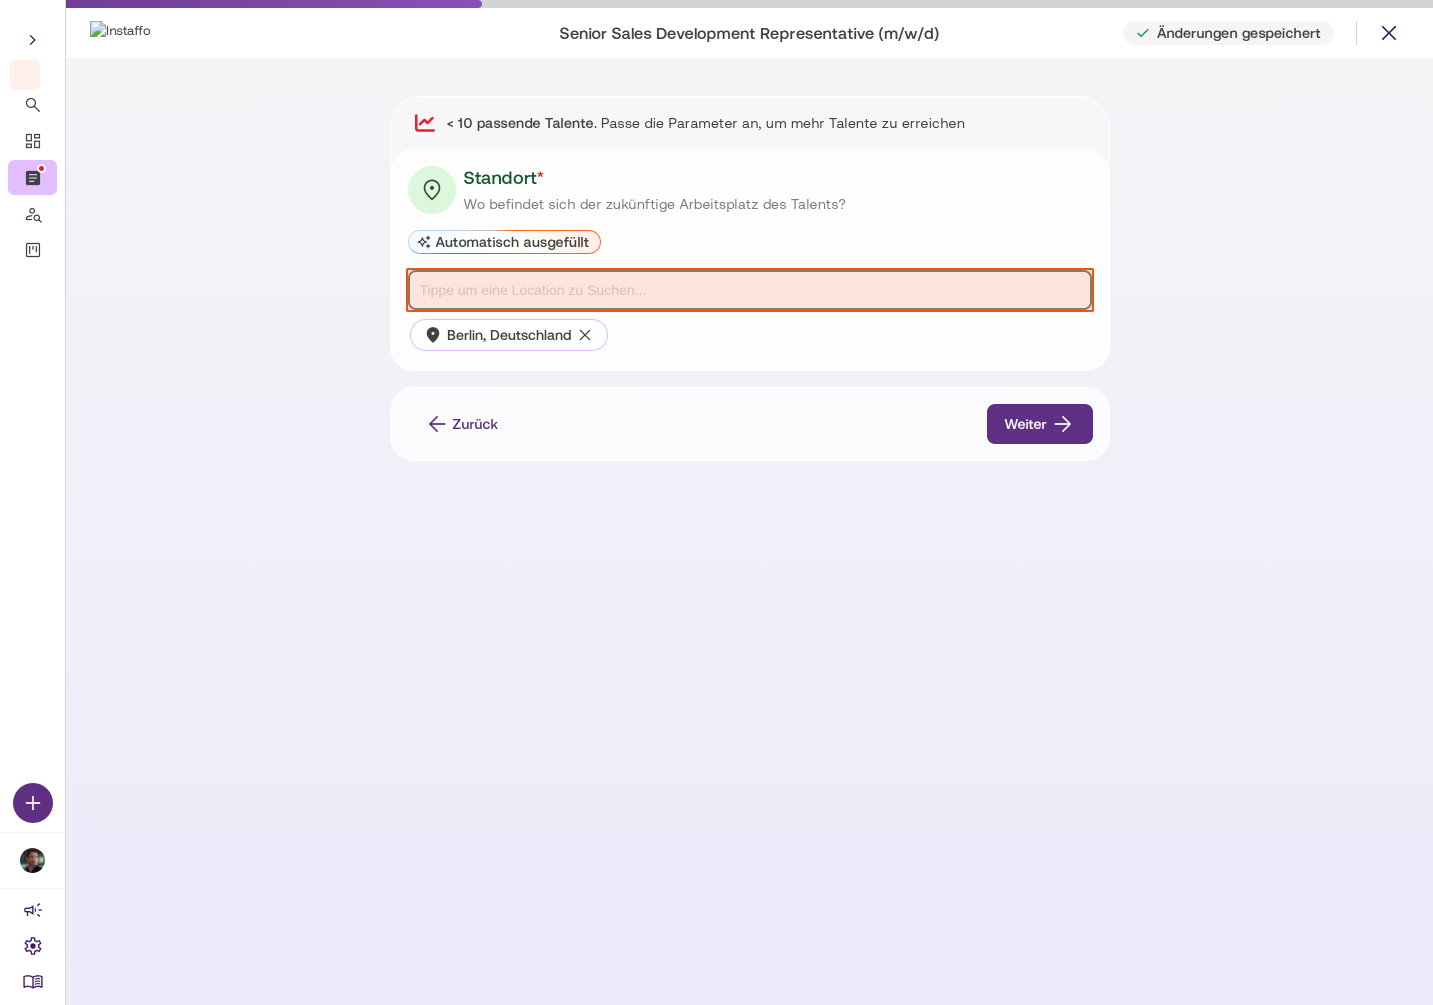
Enter Location
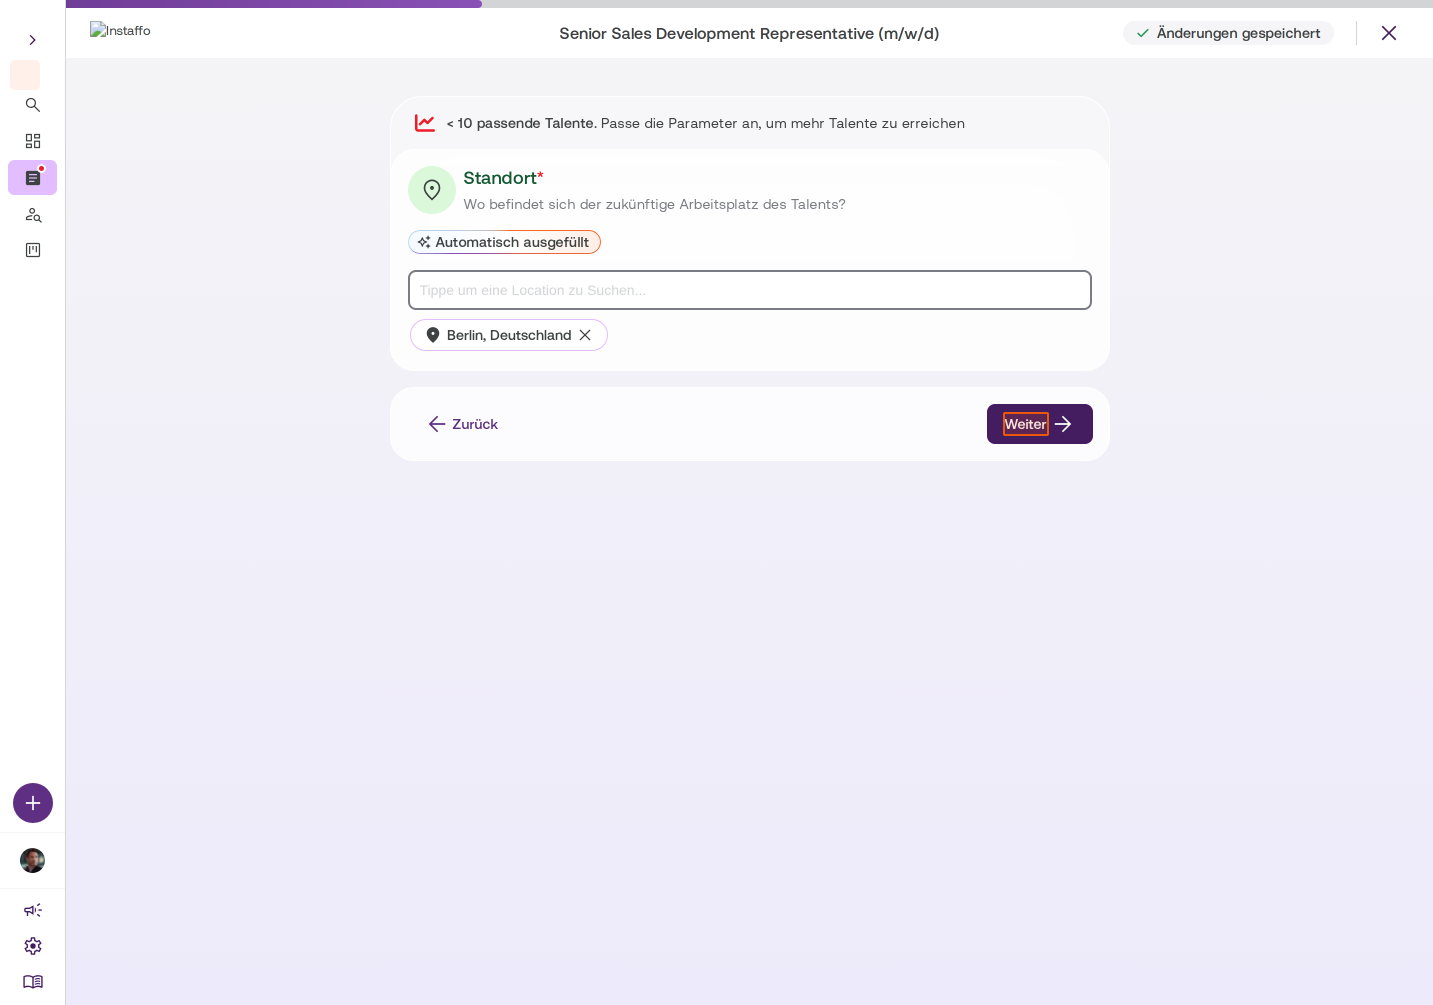
The location will be filled in automatically. You can adjust it if needed by typing in the search field. Click Next. -
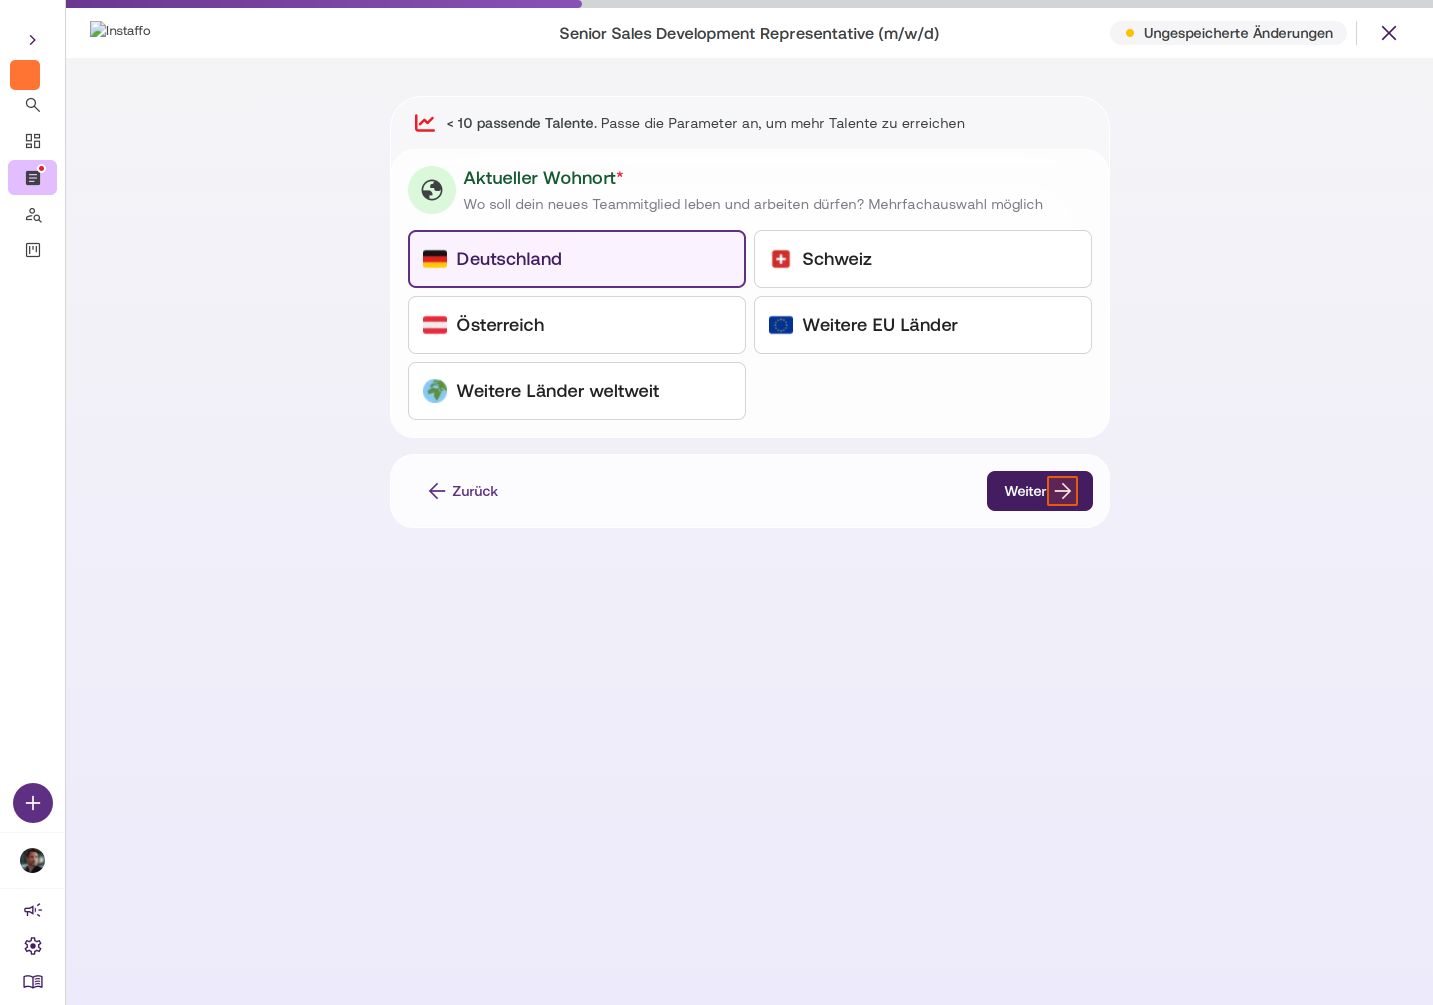
Set Candidate's Current Location
Choose where the new team member can live and work. You can select multiple countries, for example Germany. Click Next. -
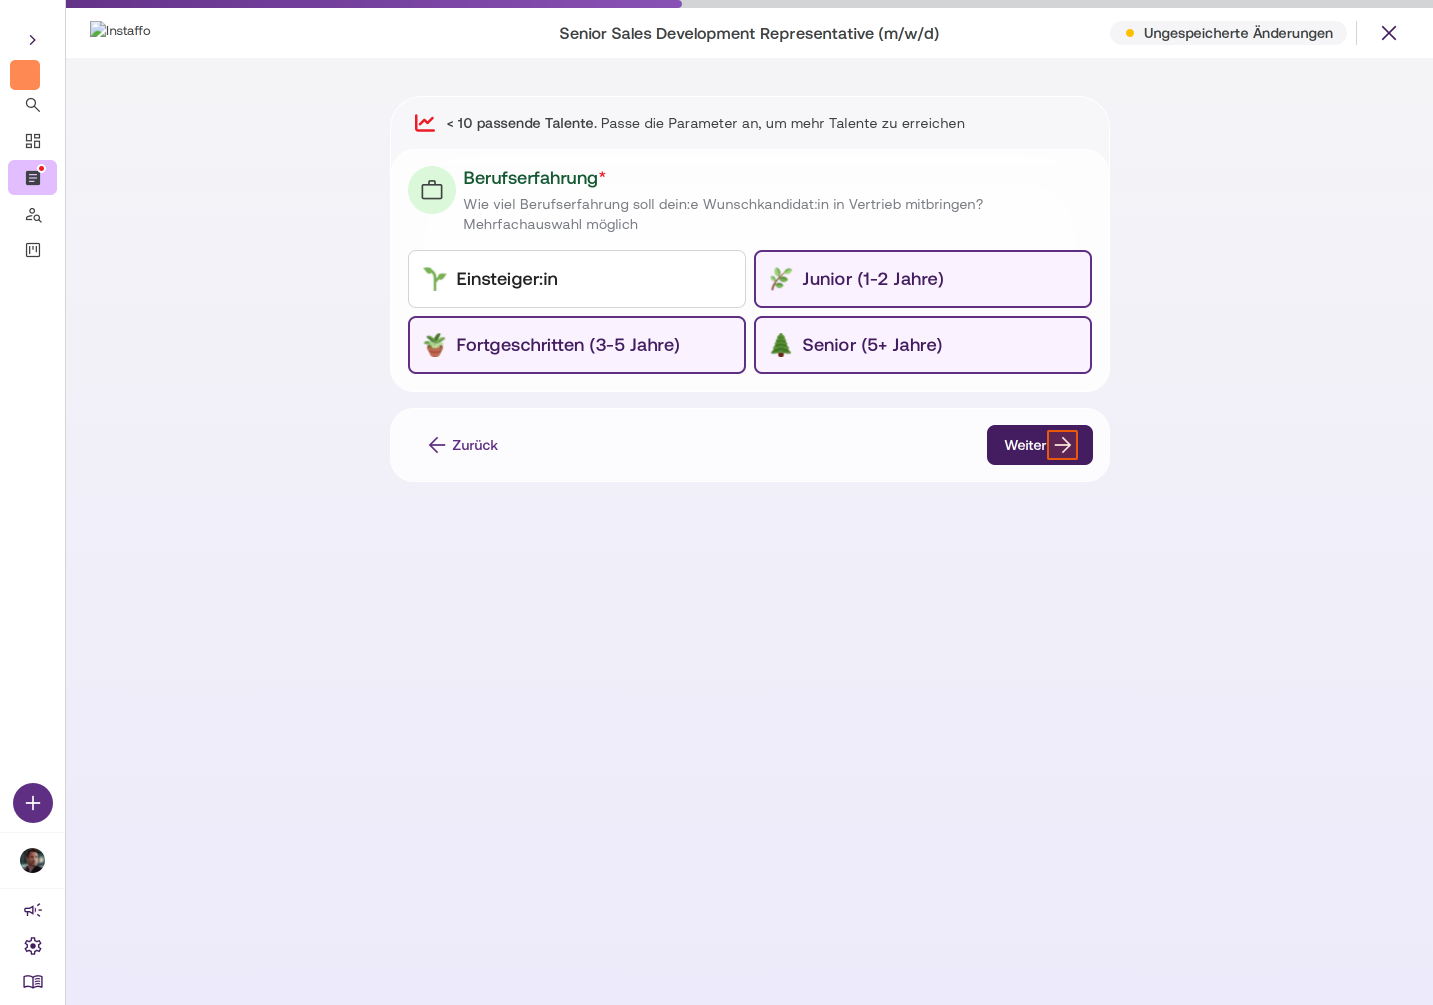
Select Professional Experience
Specify how much professional experience you want candidates to have. You can choose from "Entry-level", "Junior (1-2 years)", "Intermediate (3-5 years)", and "Senior (5+ years)". Multiple selections are possible. Click Next. -
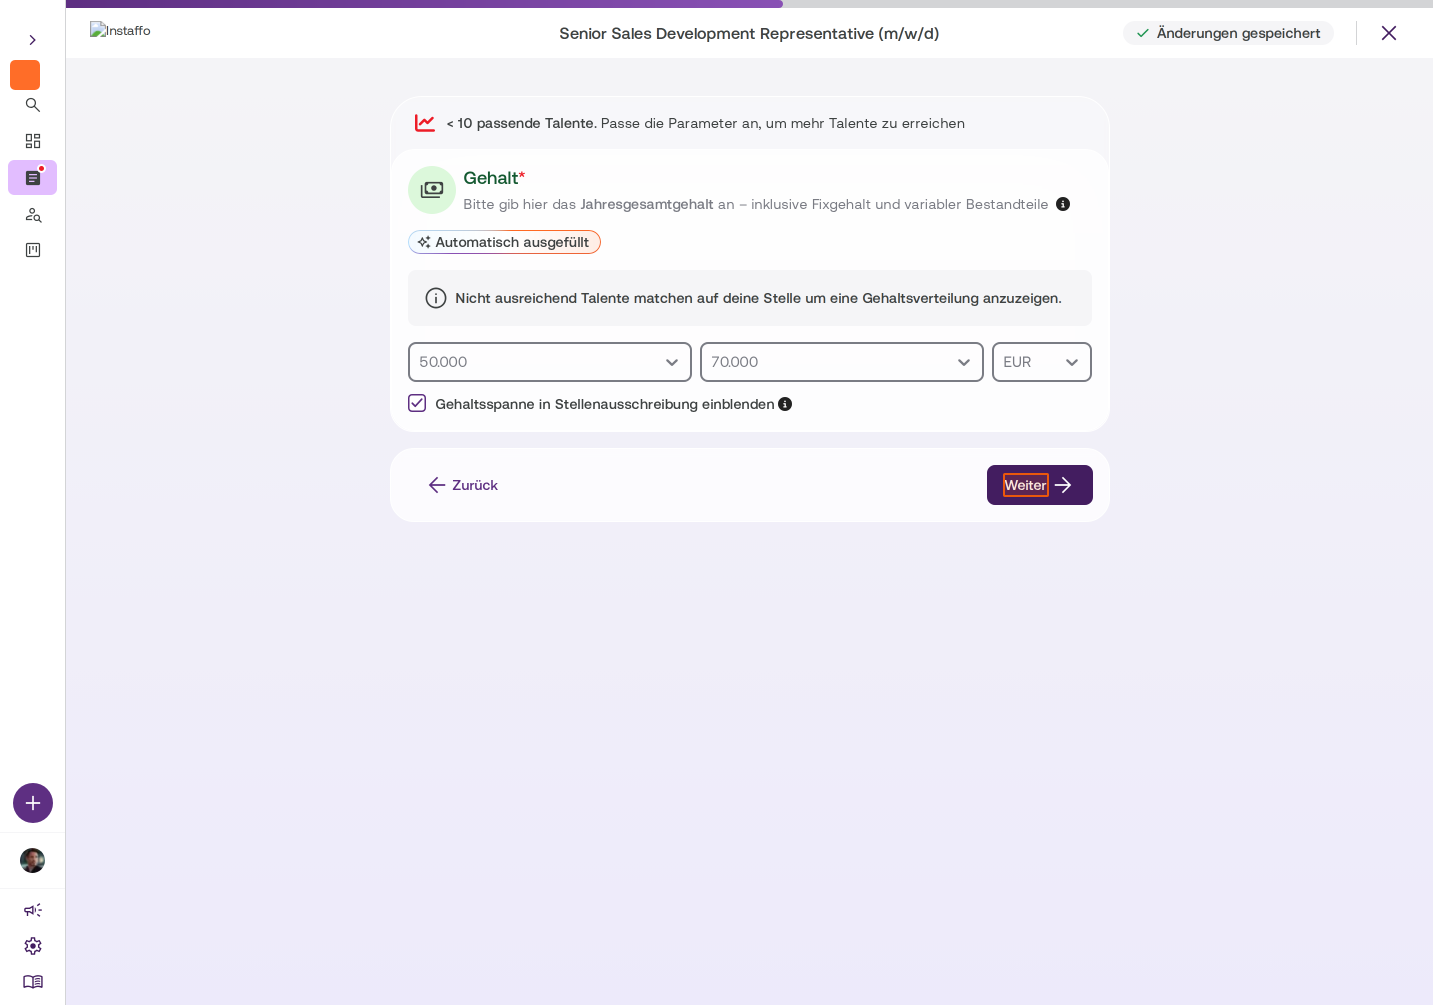
Enter Salary
Enter the annual total salary including fixed and variable components. The salary range will be filled in automatically. You can adjust the values if needed. Enable the option to display the salary range in the job posting. Click Next.
Configure Skills
-
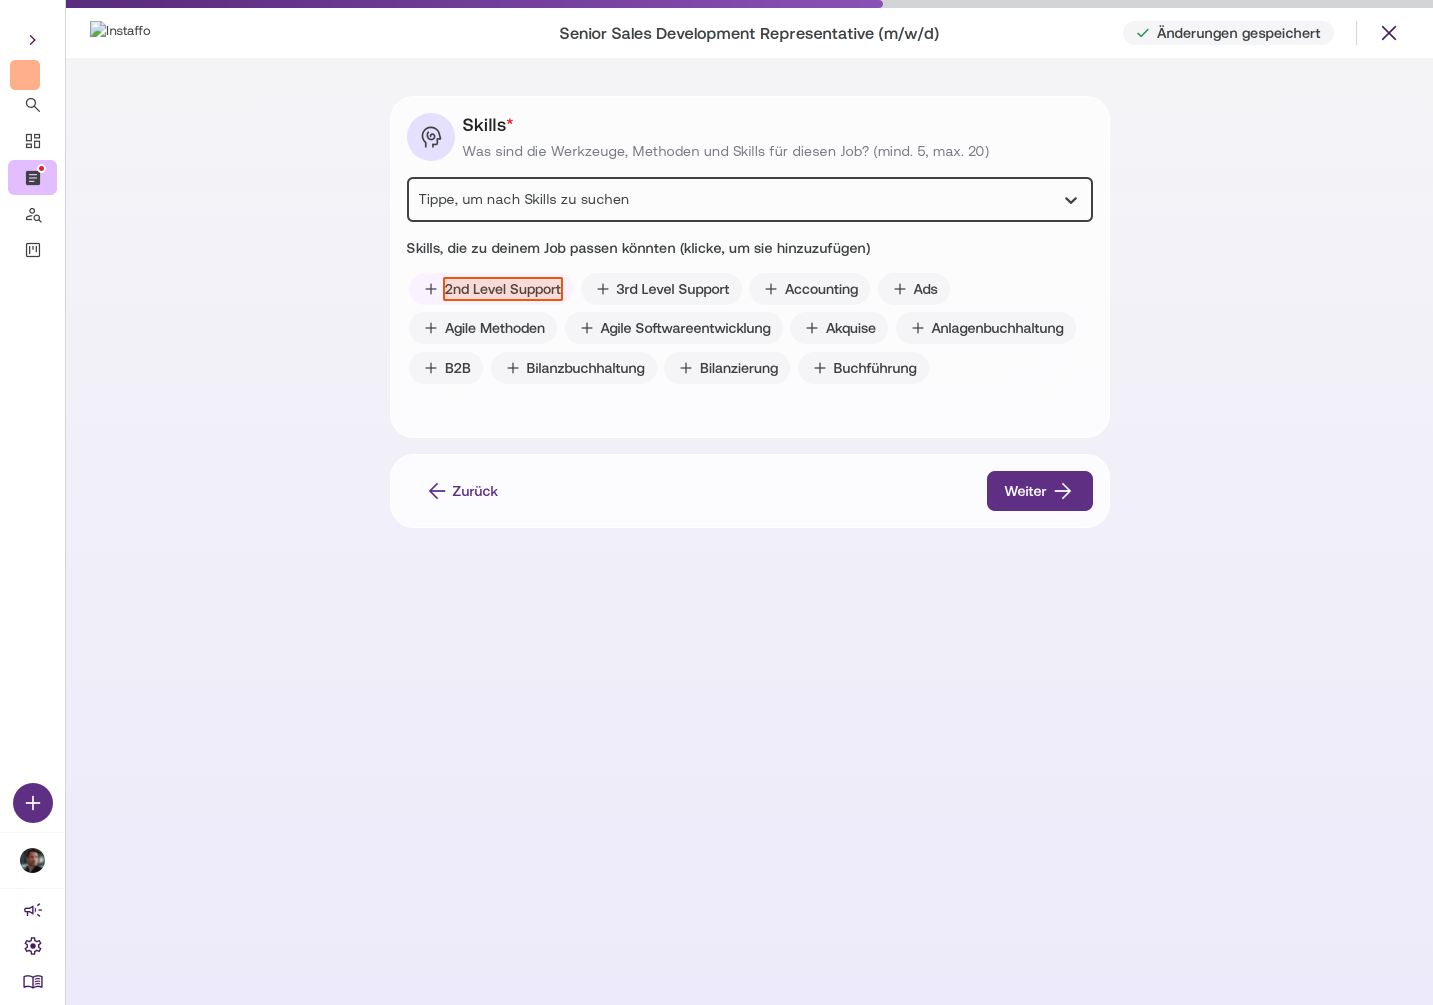
Add Skills
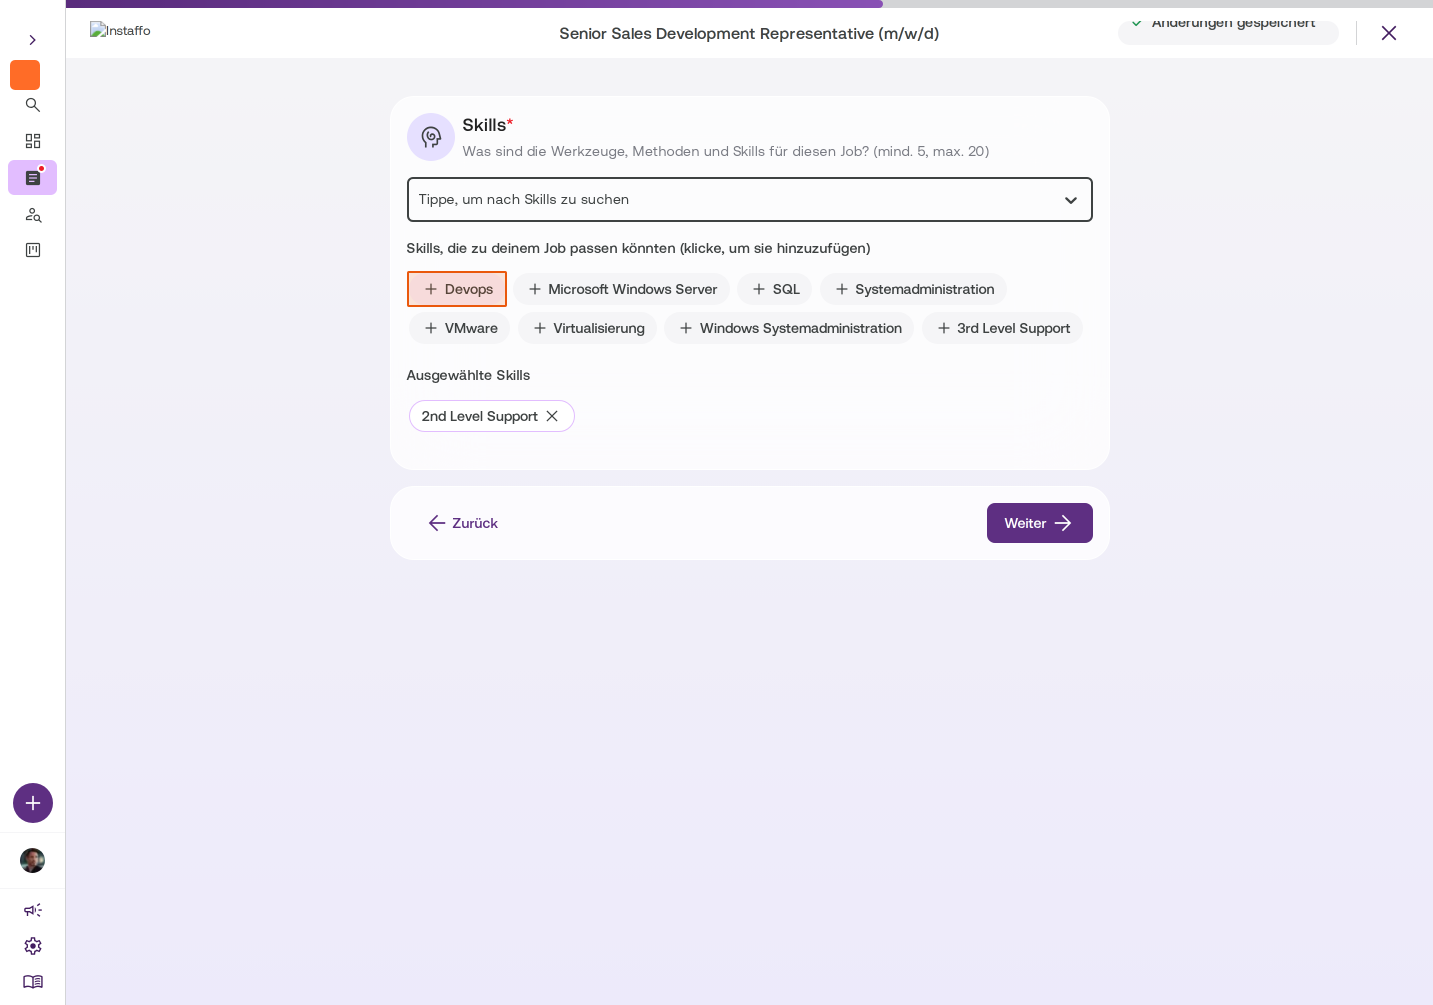
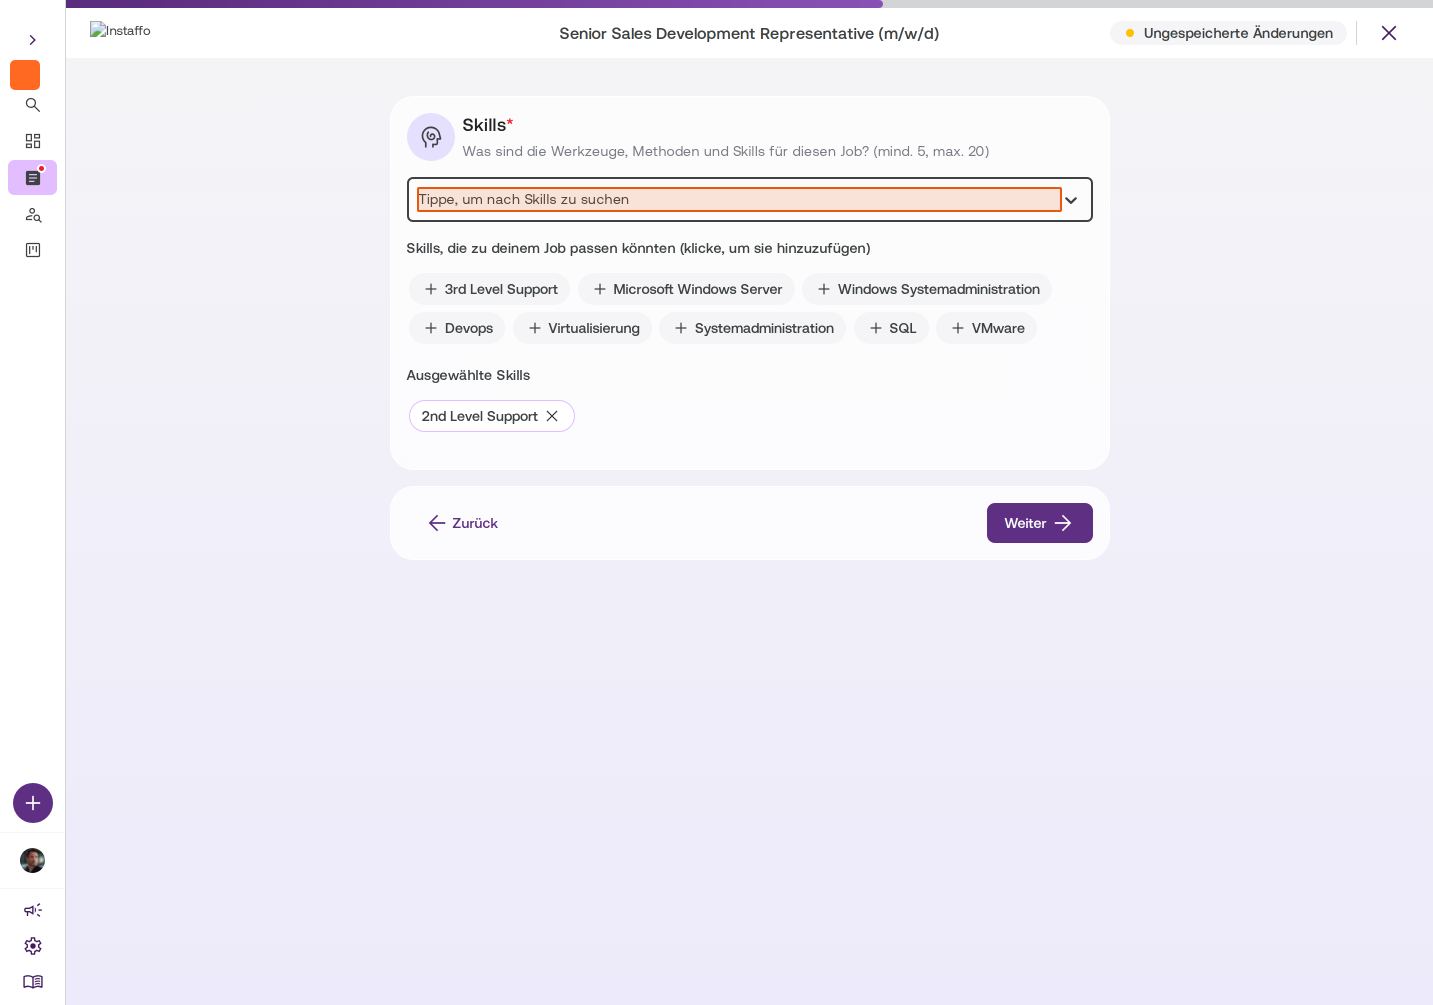
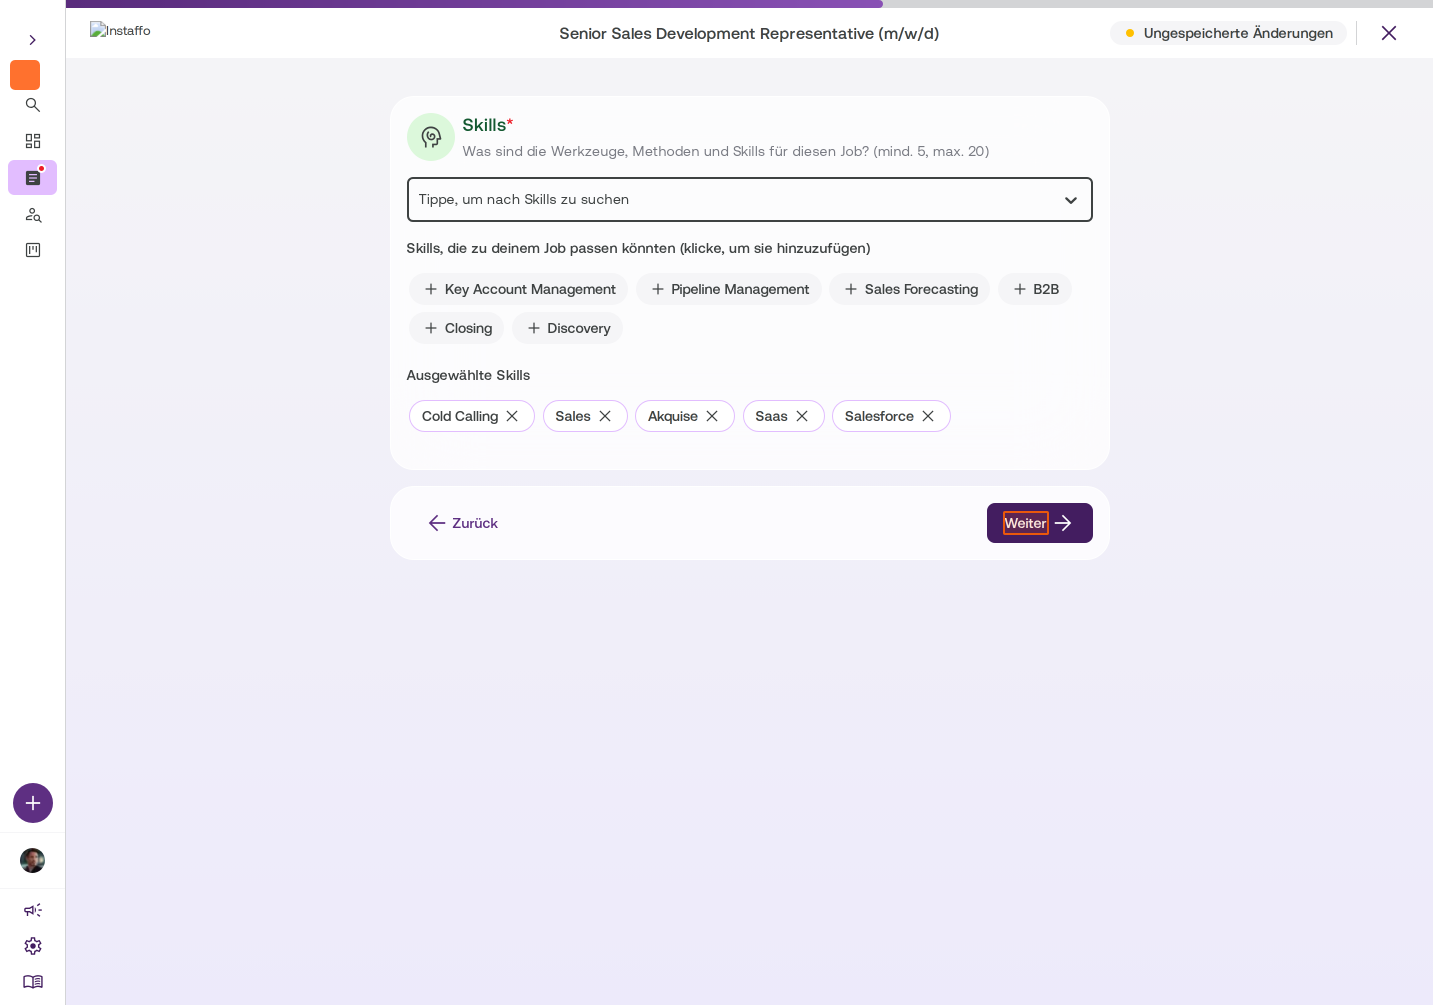
Select the tools, methods, and skills for this job (minimum 5, maximum 20).If you used "Fill Out Job Posting Automatically", matching skills will be pre-filled automatically. Only skills that exactly match the Instaffo skill taxonomy are included. Unrecognized terms are removed without notice. If no skills match, the field remains empty. Review the suggestions and adjust them if needed before proceeding.
You can:
- Click on suggested skills to add them
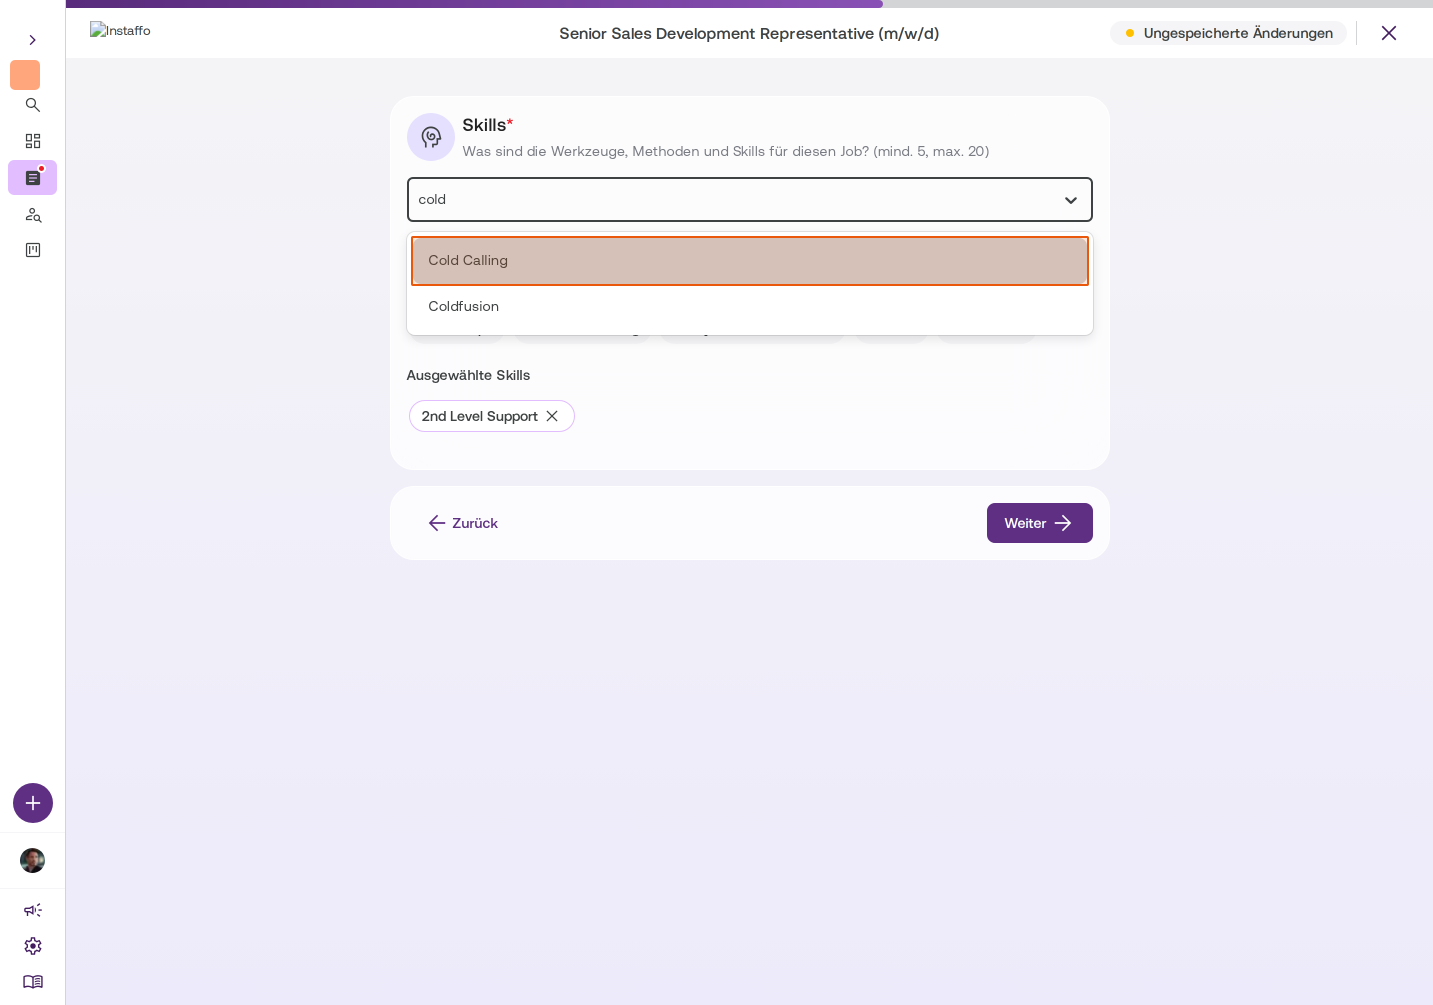
- Search for specific skills in the search field (for example, "Cold Calling")
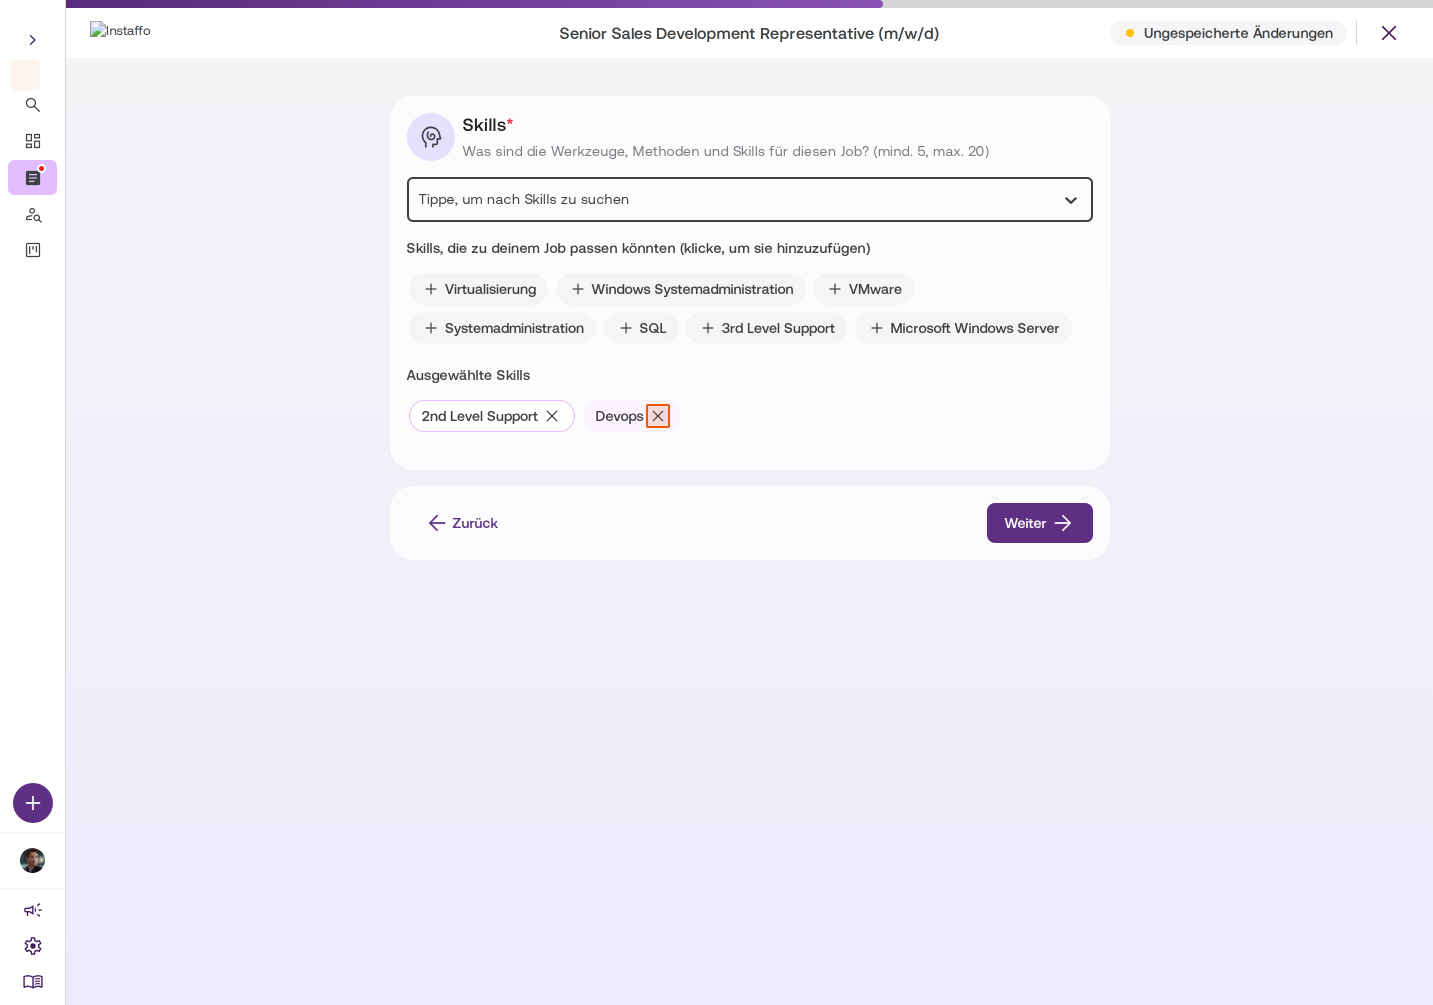
- Remove already added skills by clicking the X symbol
Click Next once you've selected at least 5 skills.
-
Set Languages
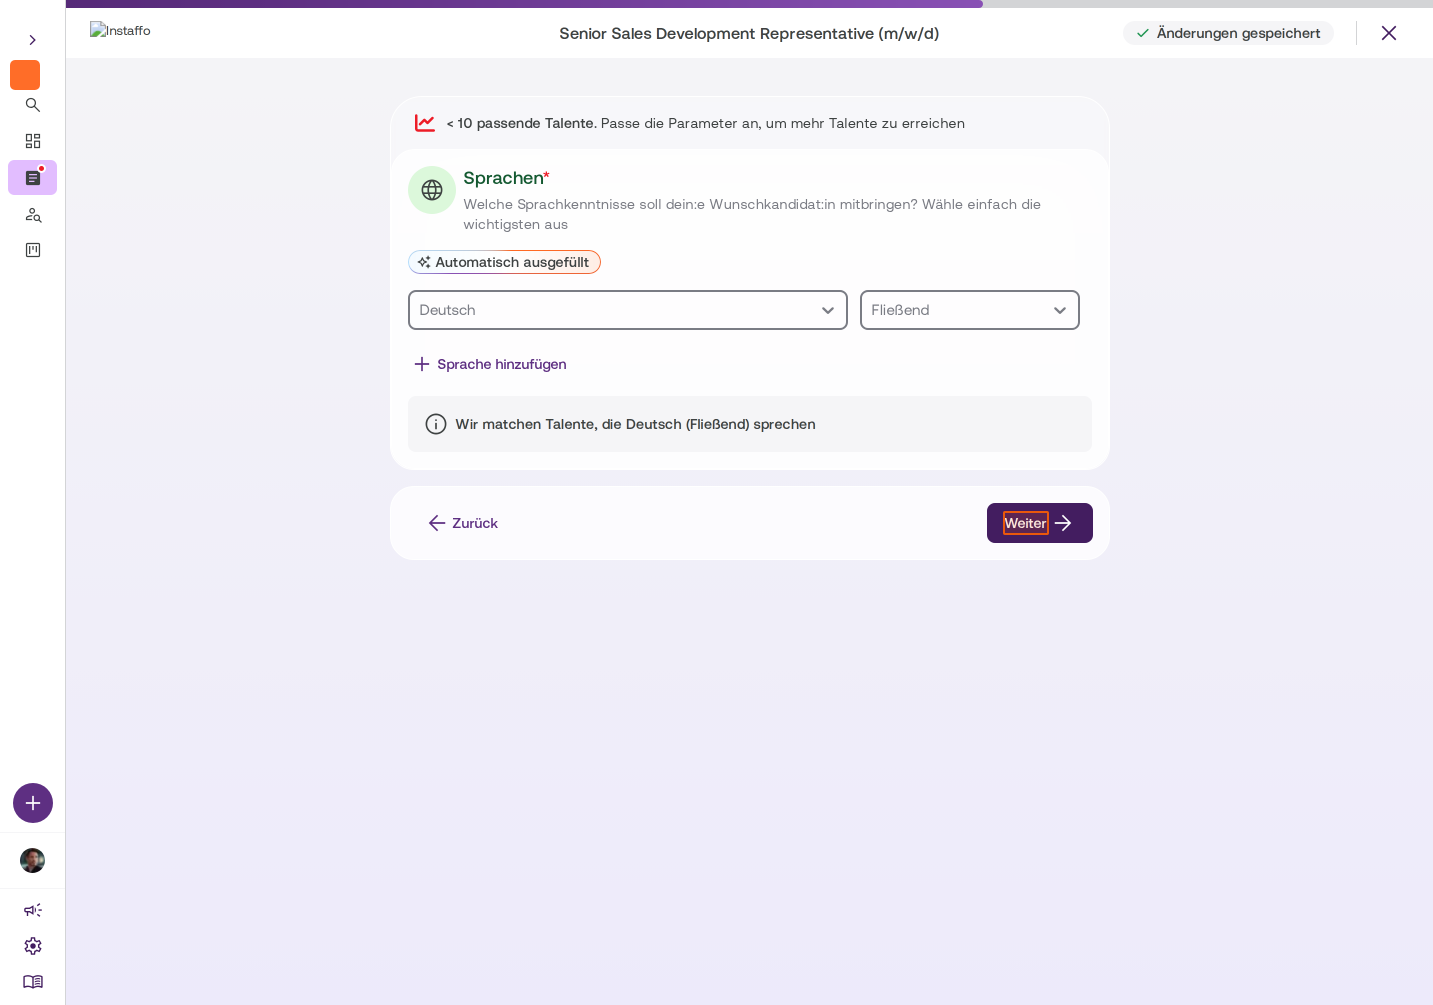
Language requirements will be filled in automatically. You'll see the selected language and the required level (for example, "English - Fluent"). You can add more languages if needed. Click Next.
Write Job Description
-
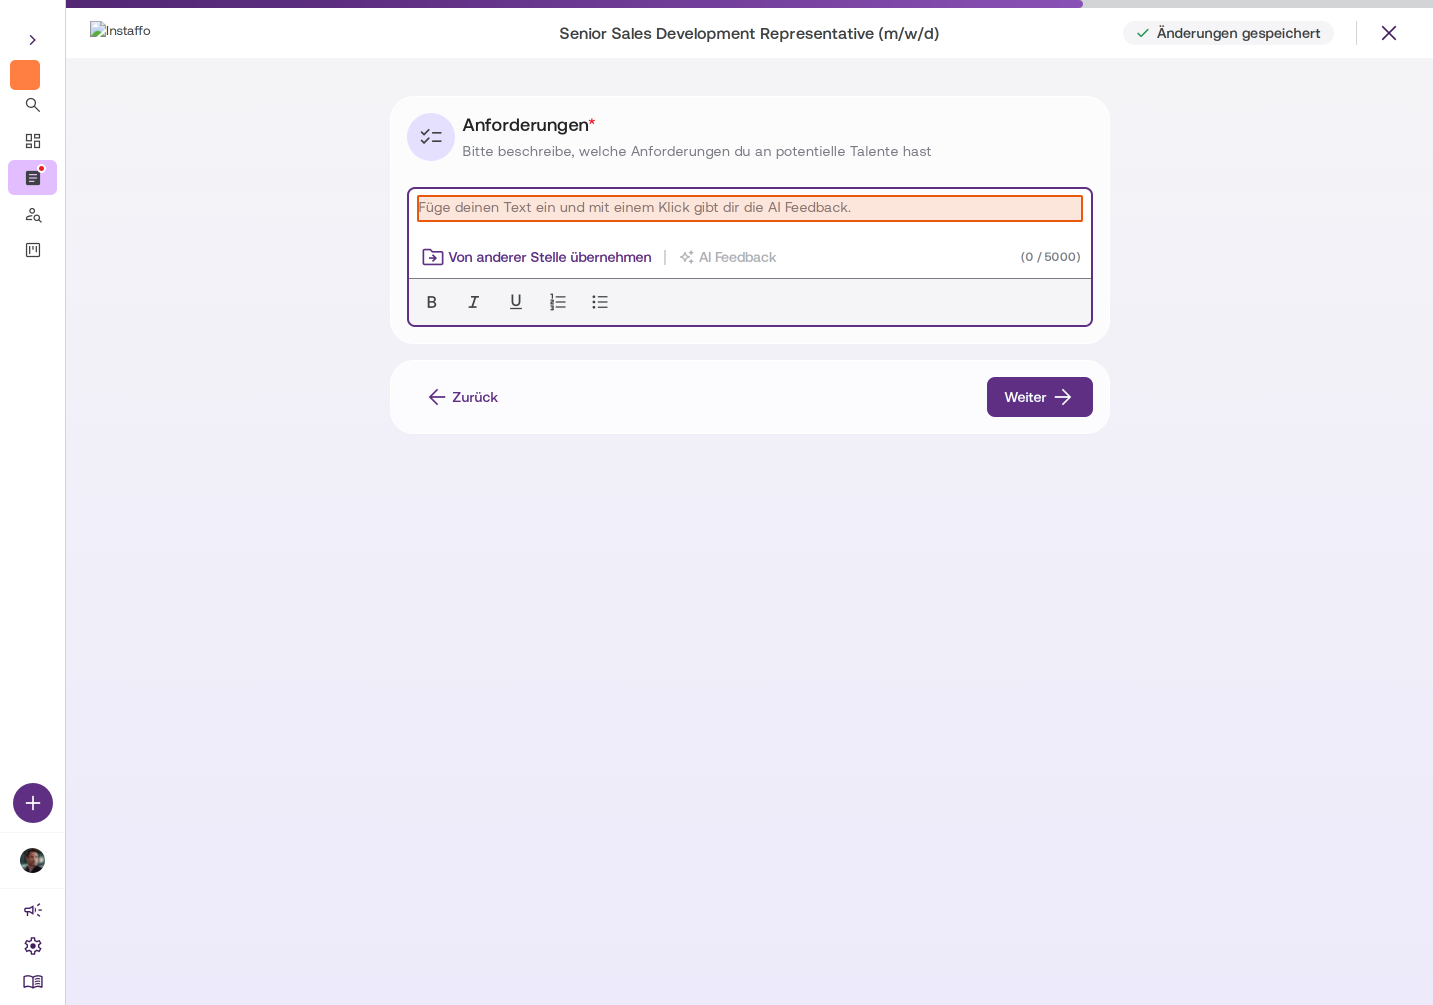
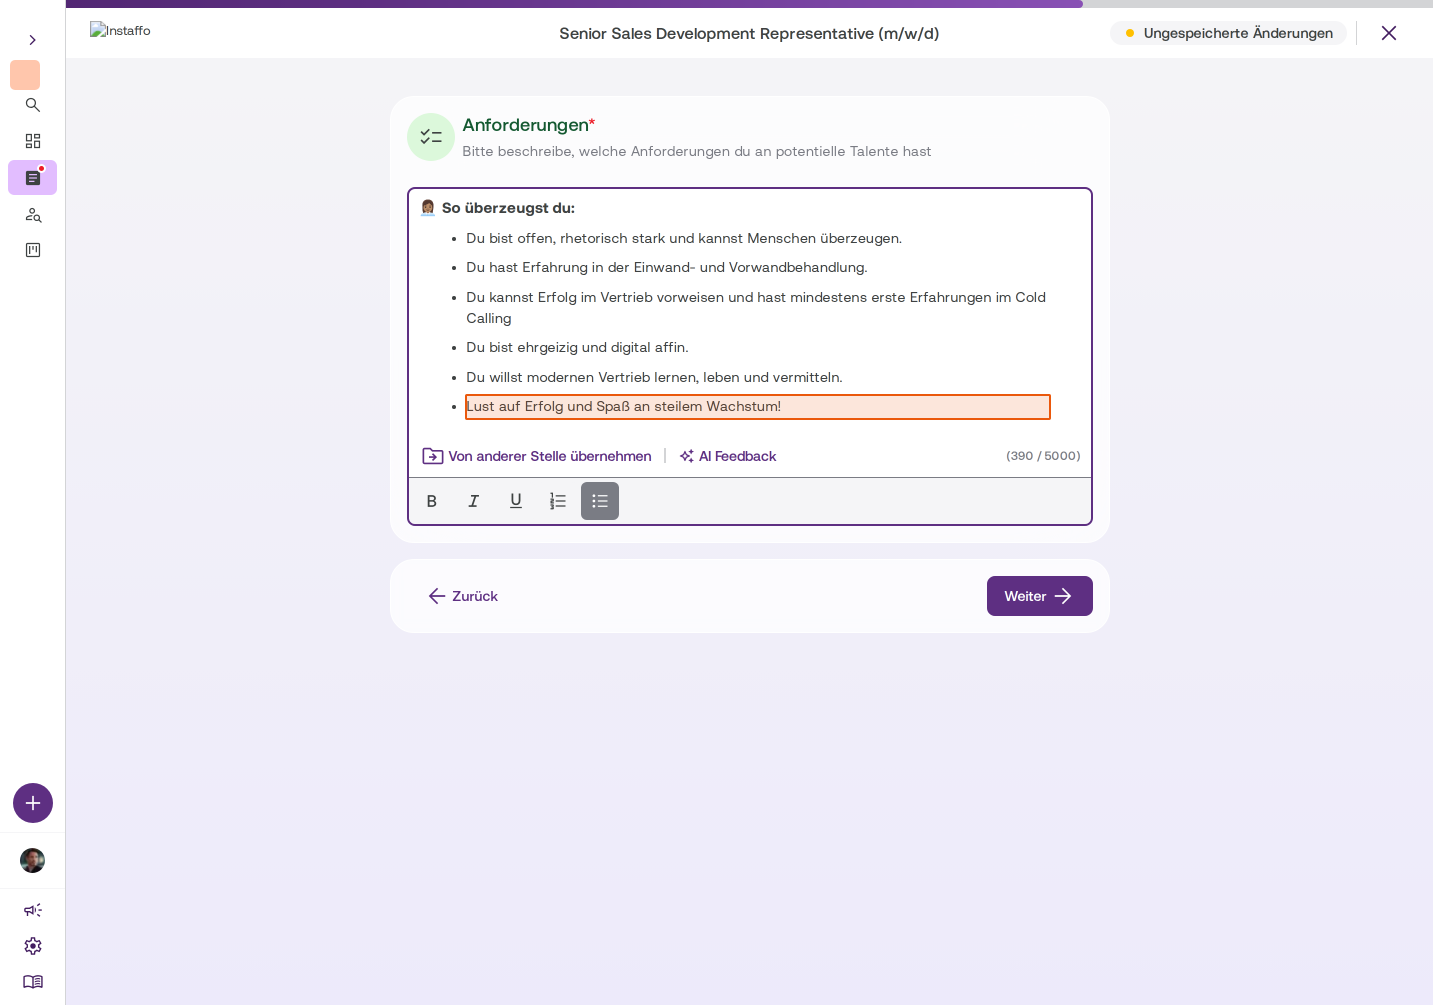
Describe Requirements
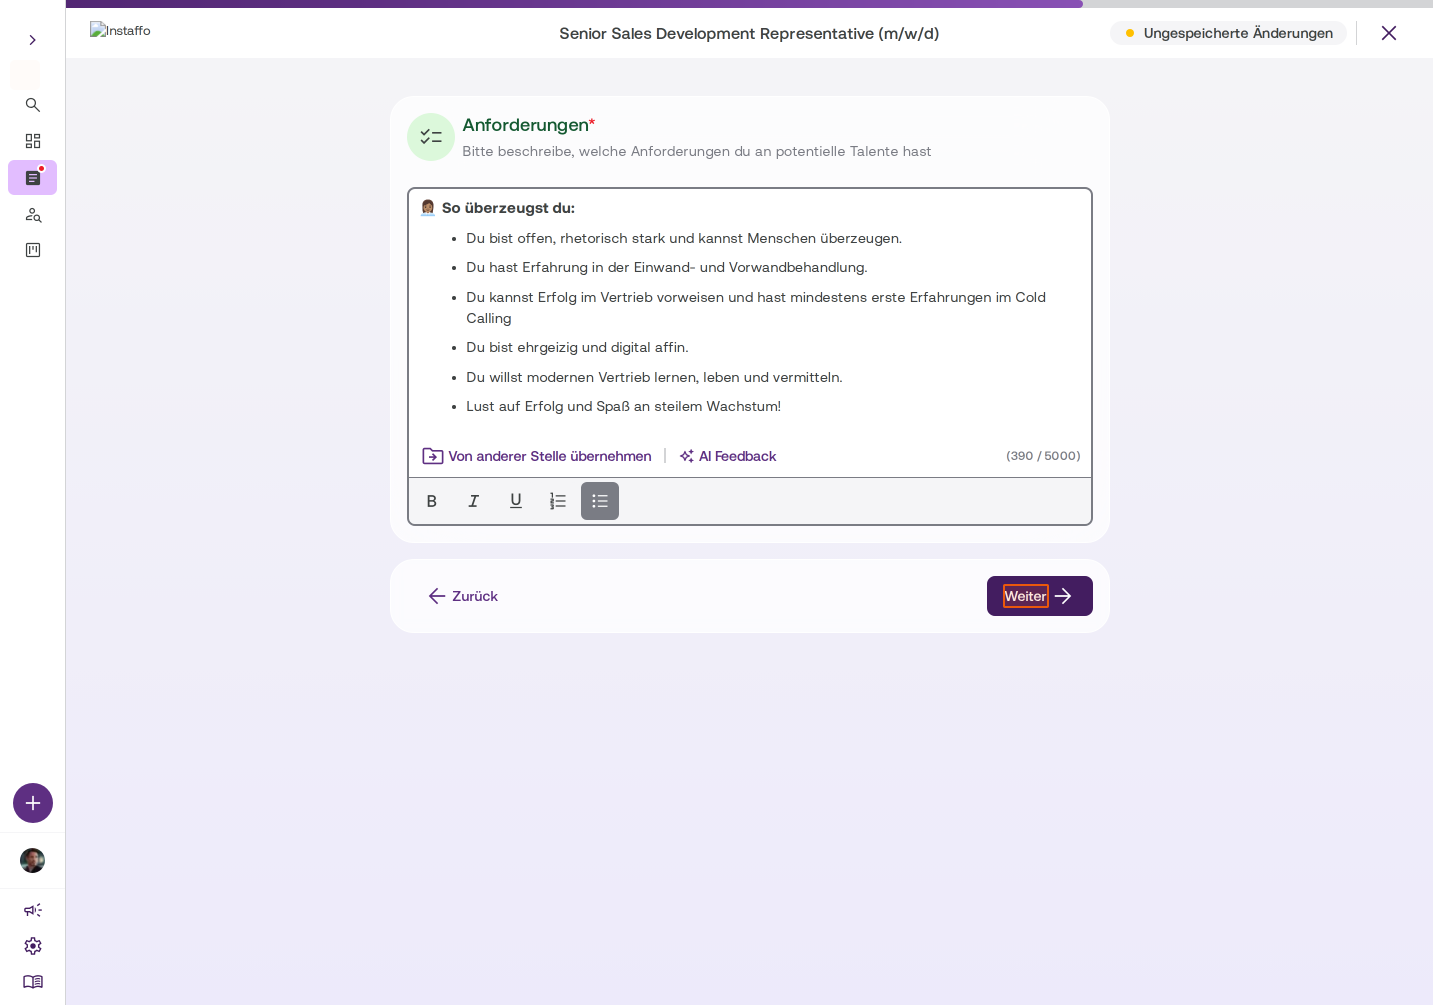
Describe what requirements you have for potential candidates. You'll need to fill in the text yourself. Use the text field and formatting options (bold, italic, lists). Click Next. -
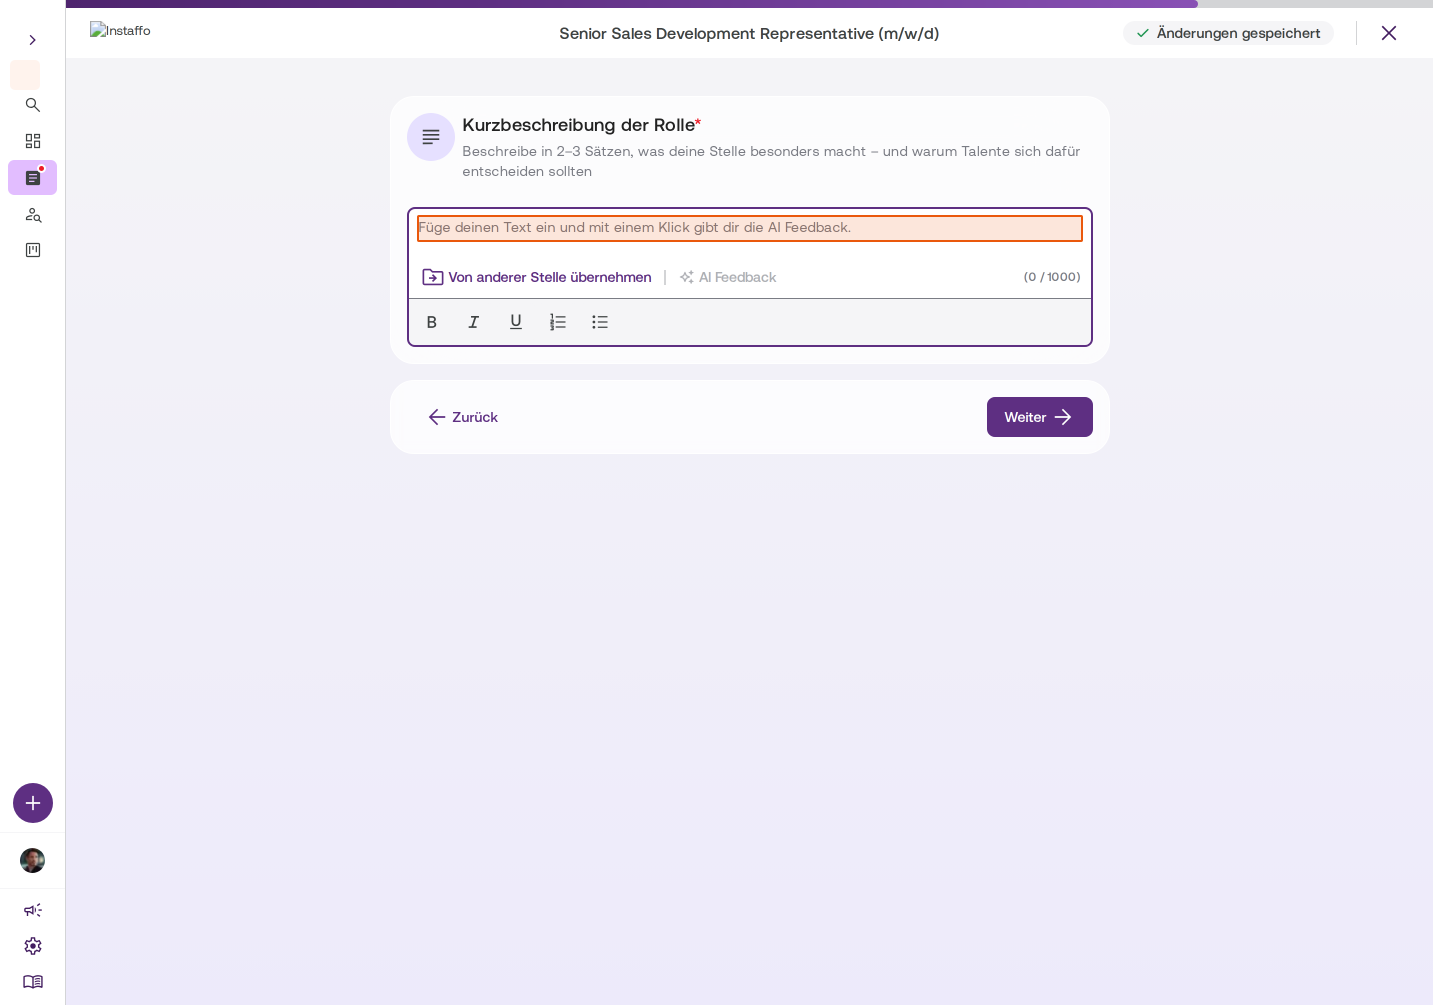
Write a Brief Job Description
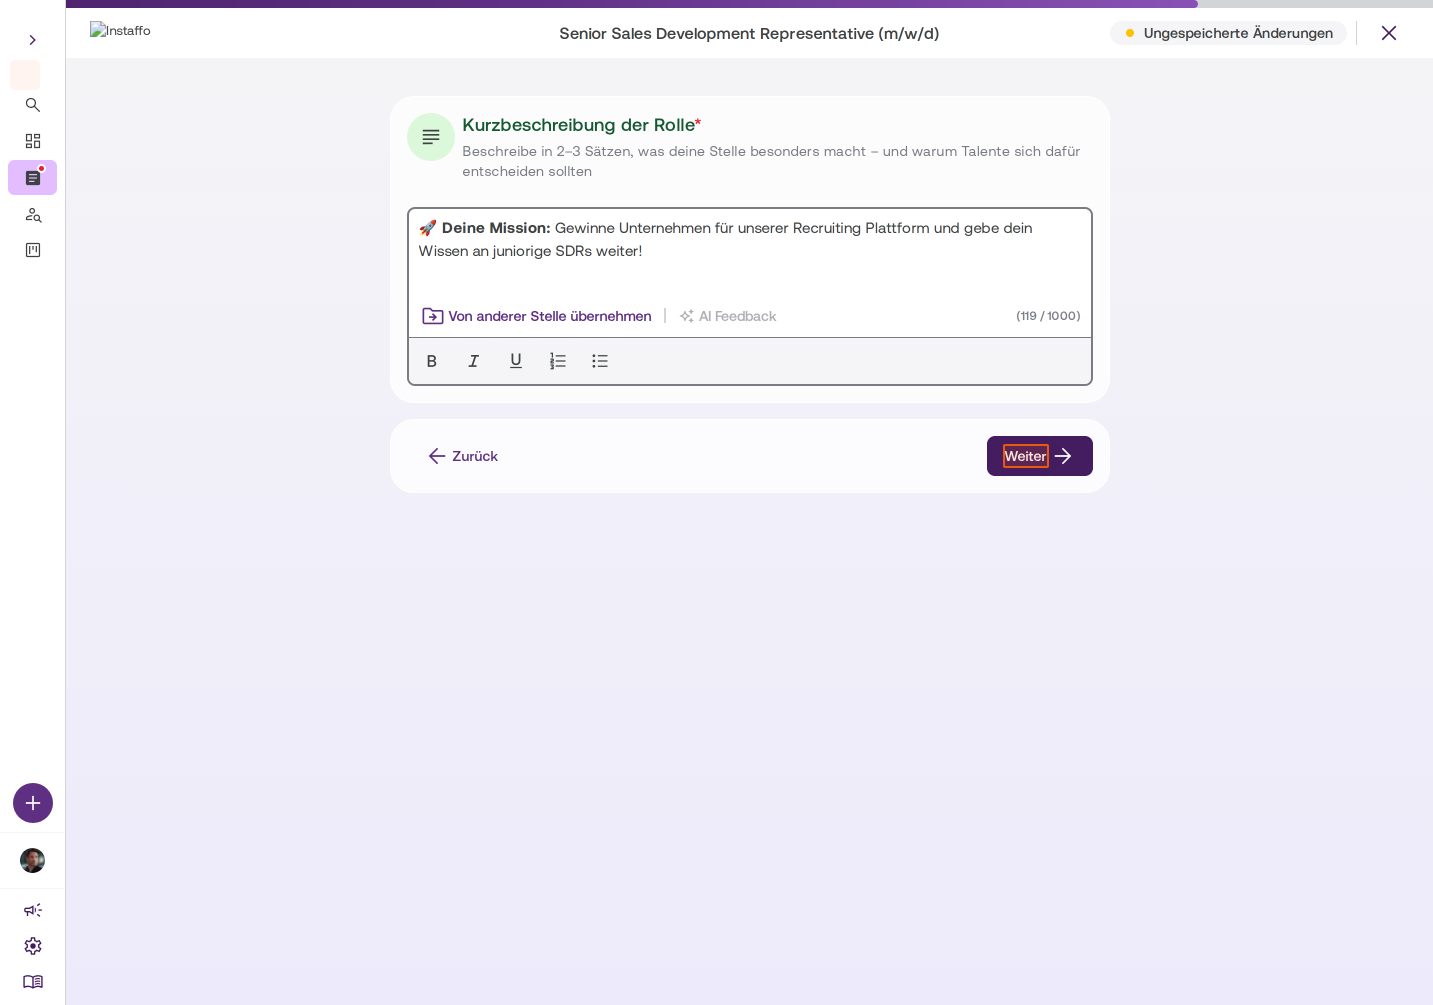
Describe in 2-3 sentences what makes this position special and why candidates should apply for it. Click Next. -
Enter Job Details
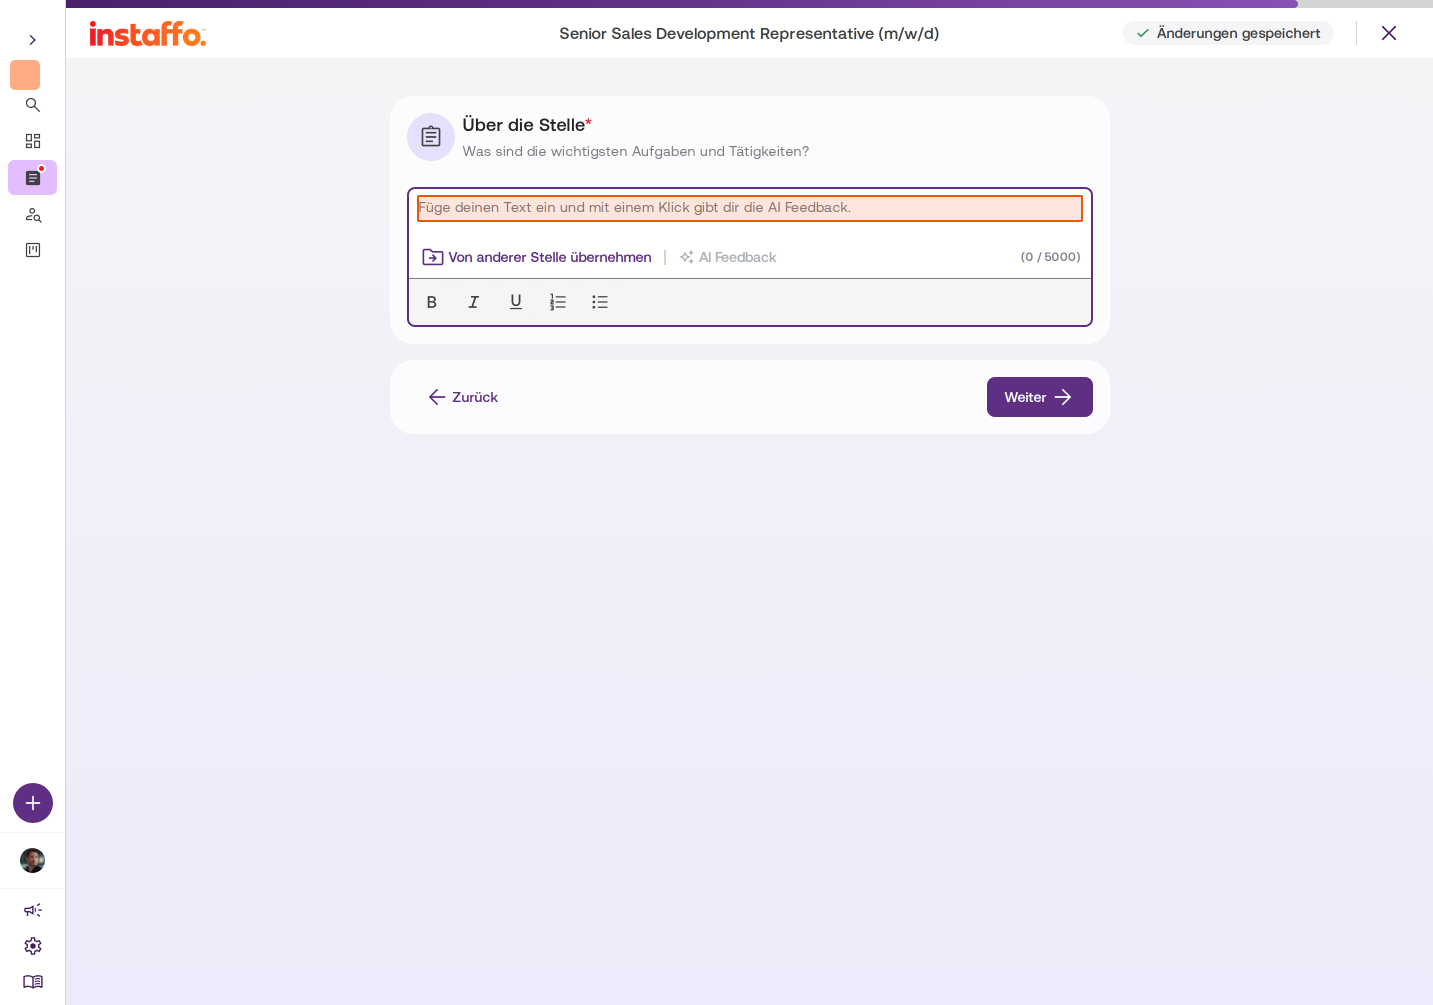
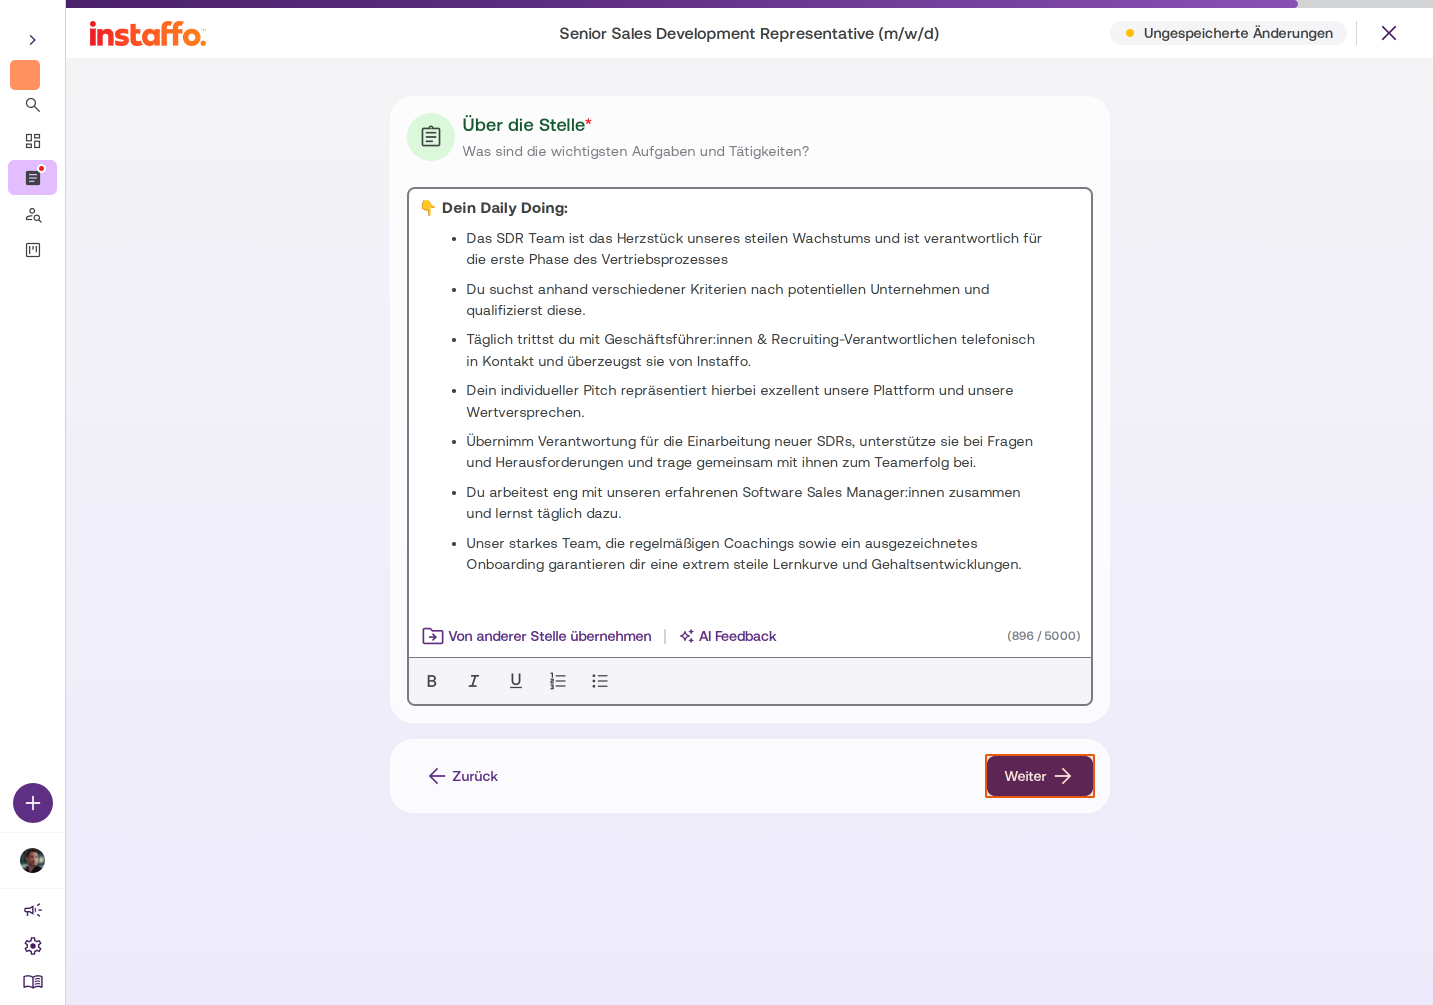
Describe the main tasks and responsibilities of the position. Click Next. -
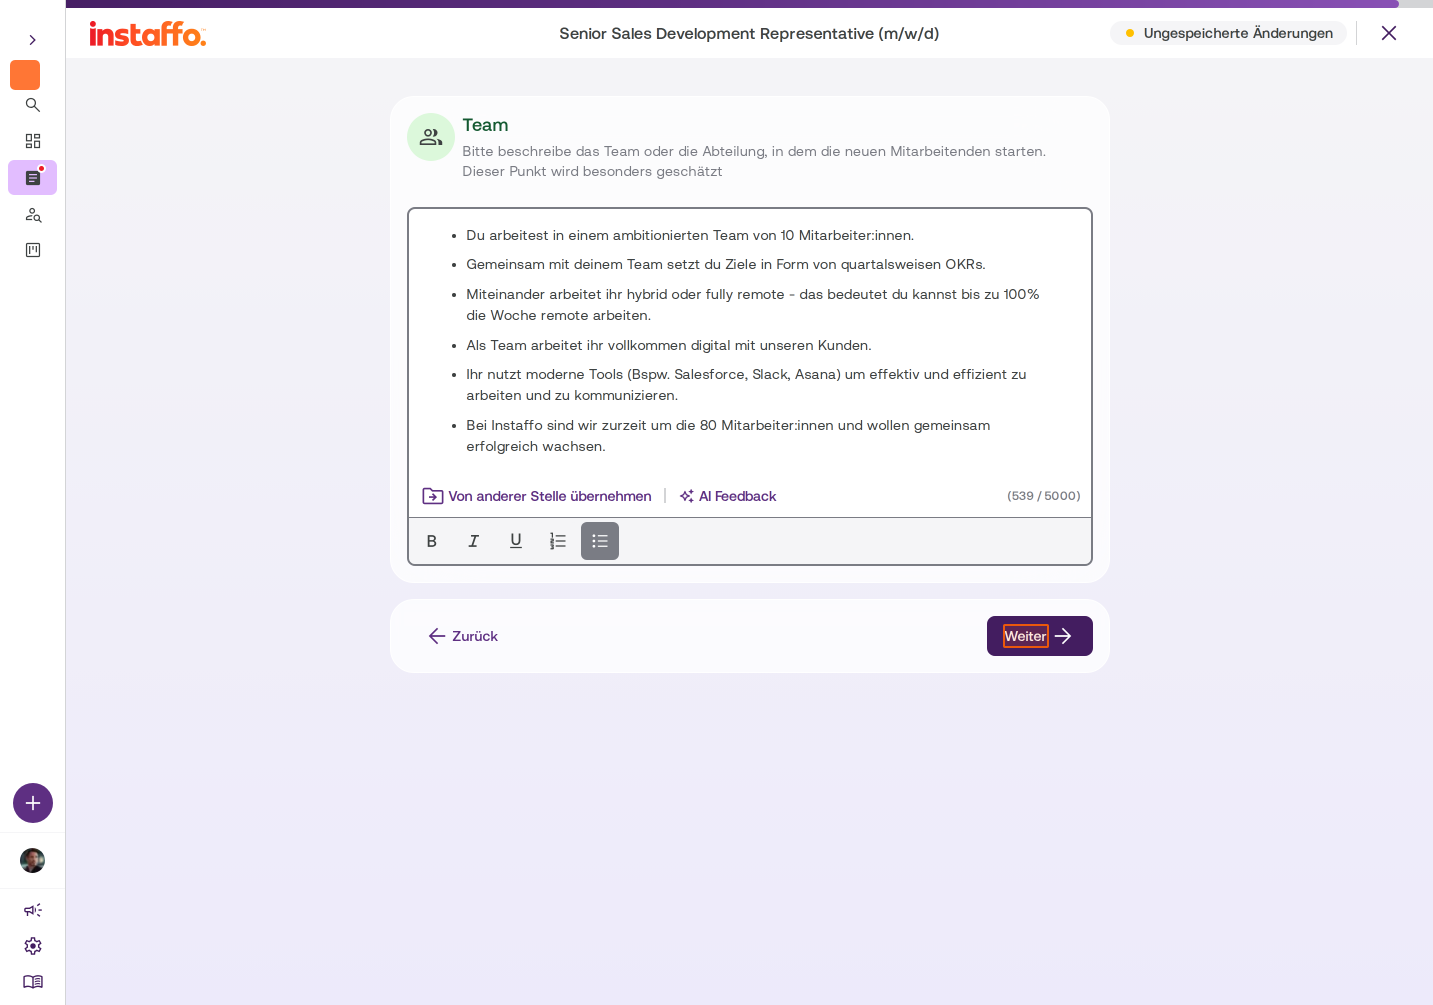
Describe the Team
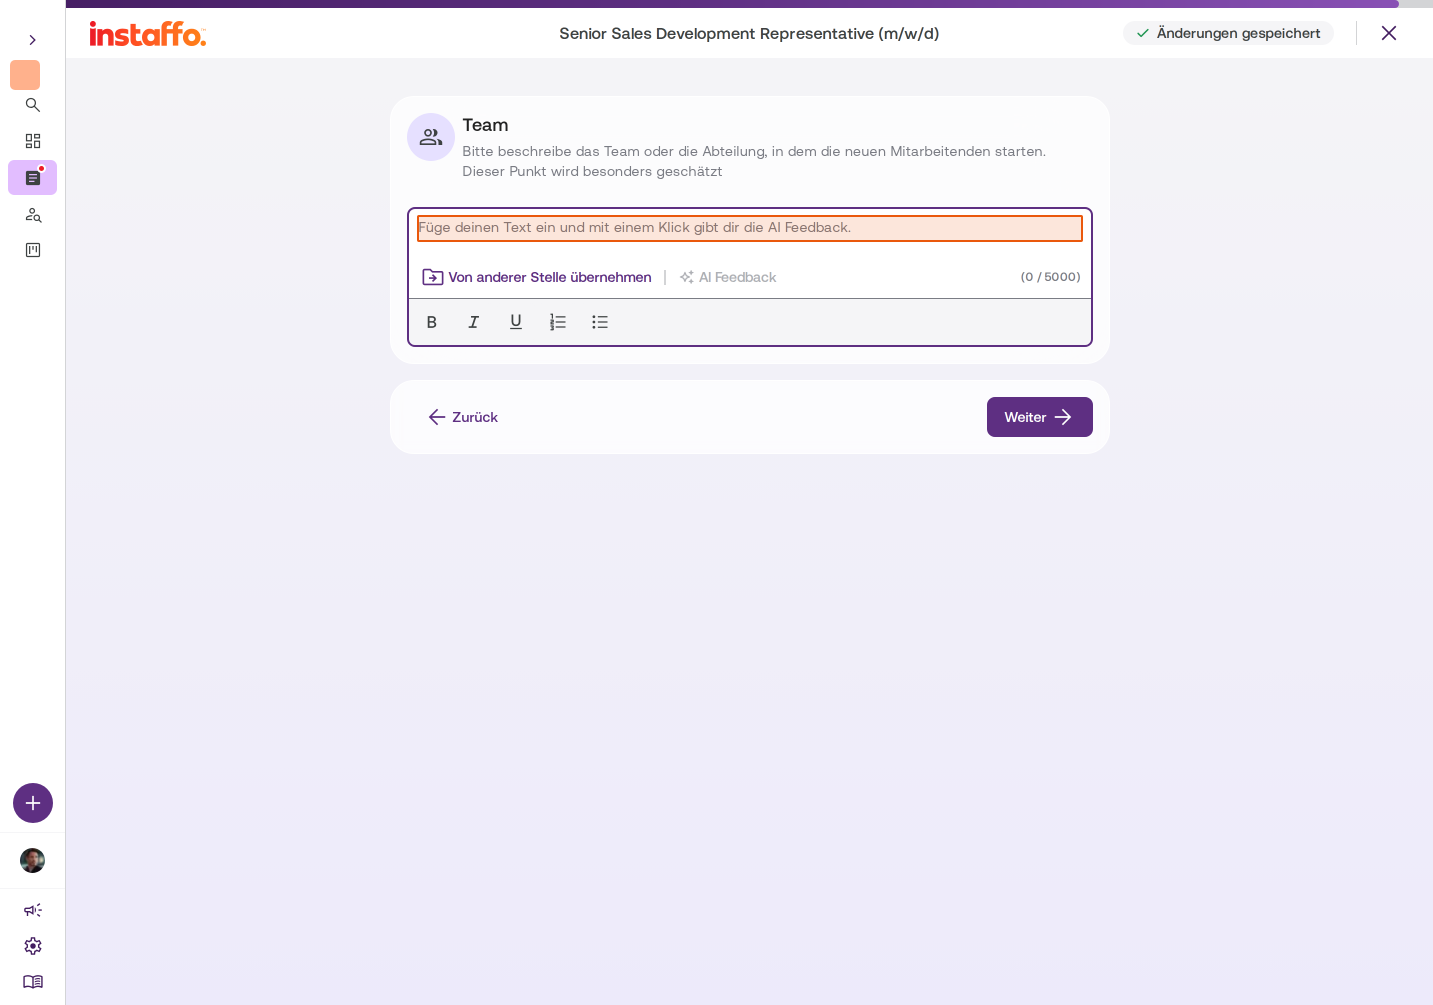
Describe the team or department where new employees will start. Click Next. -
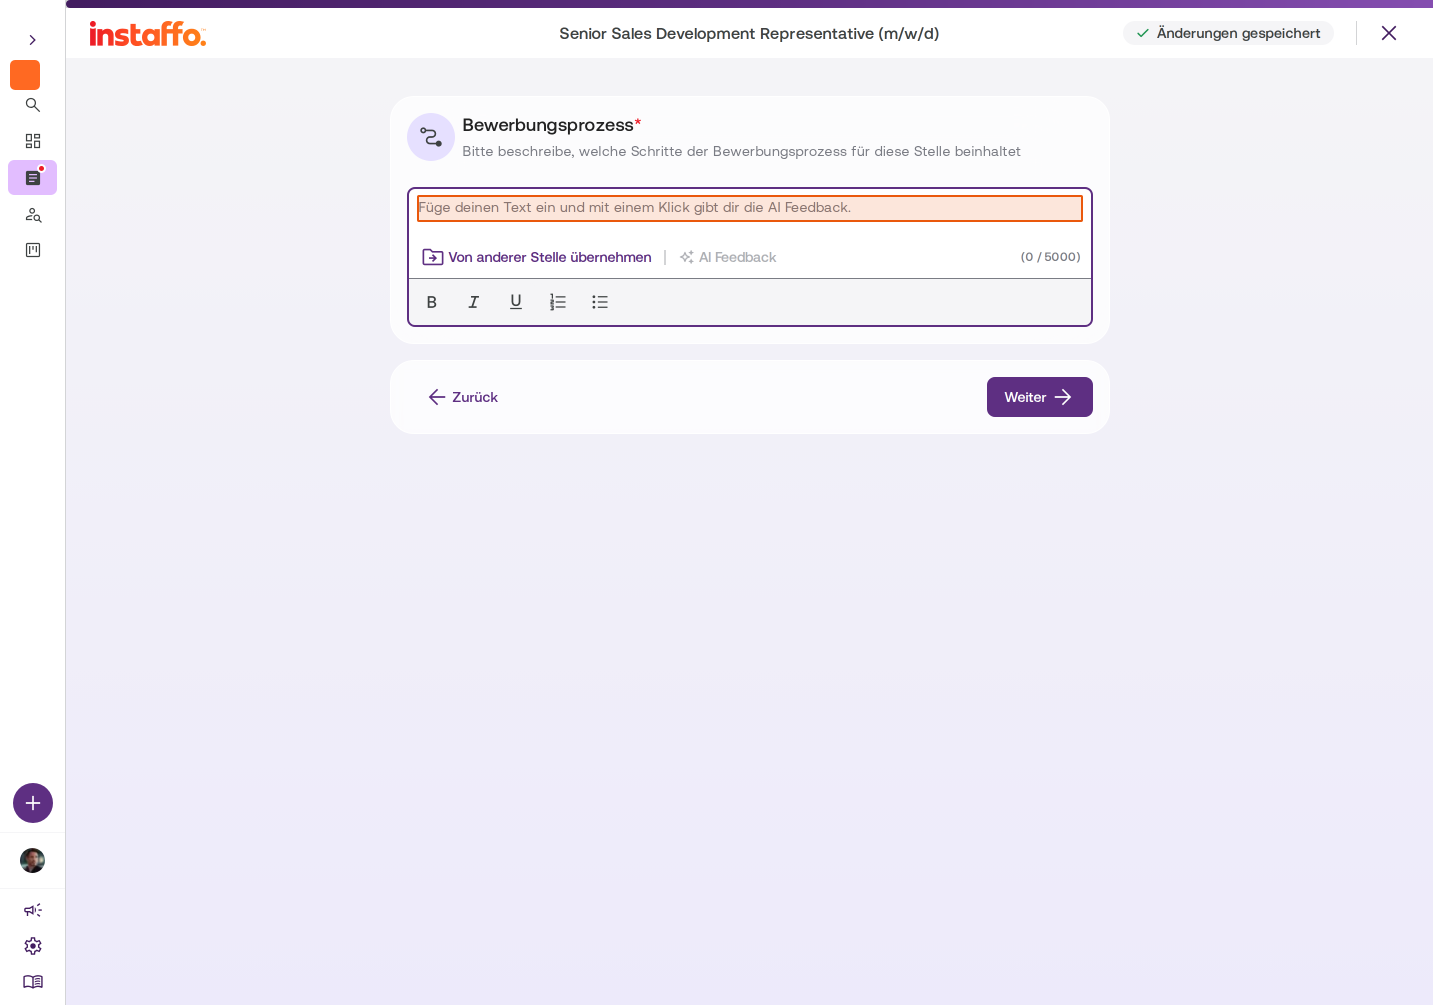
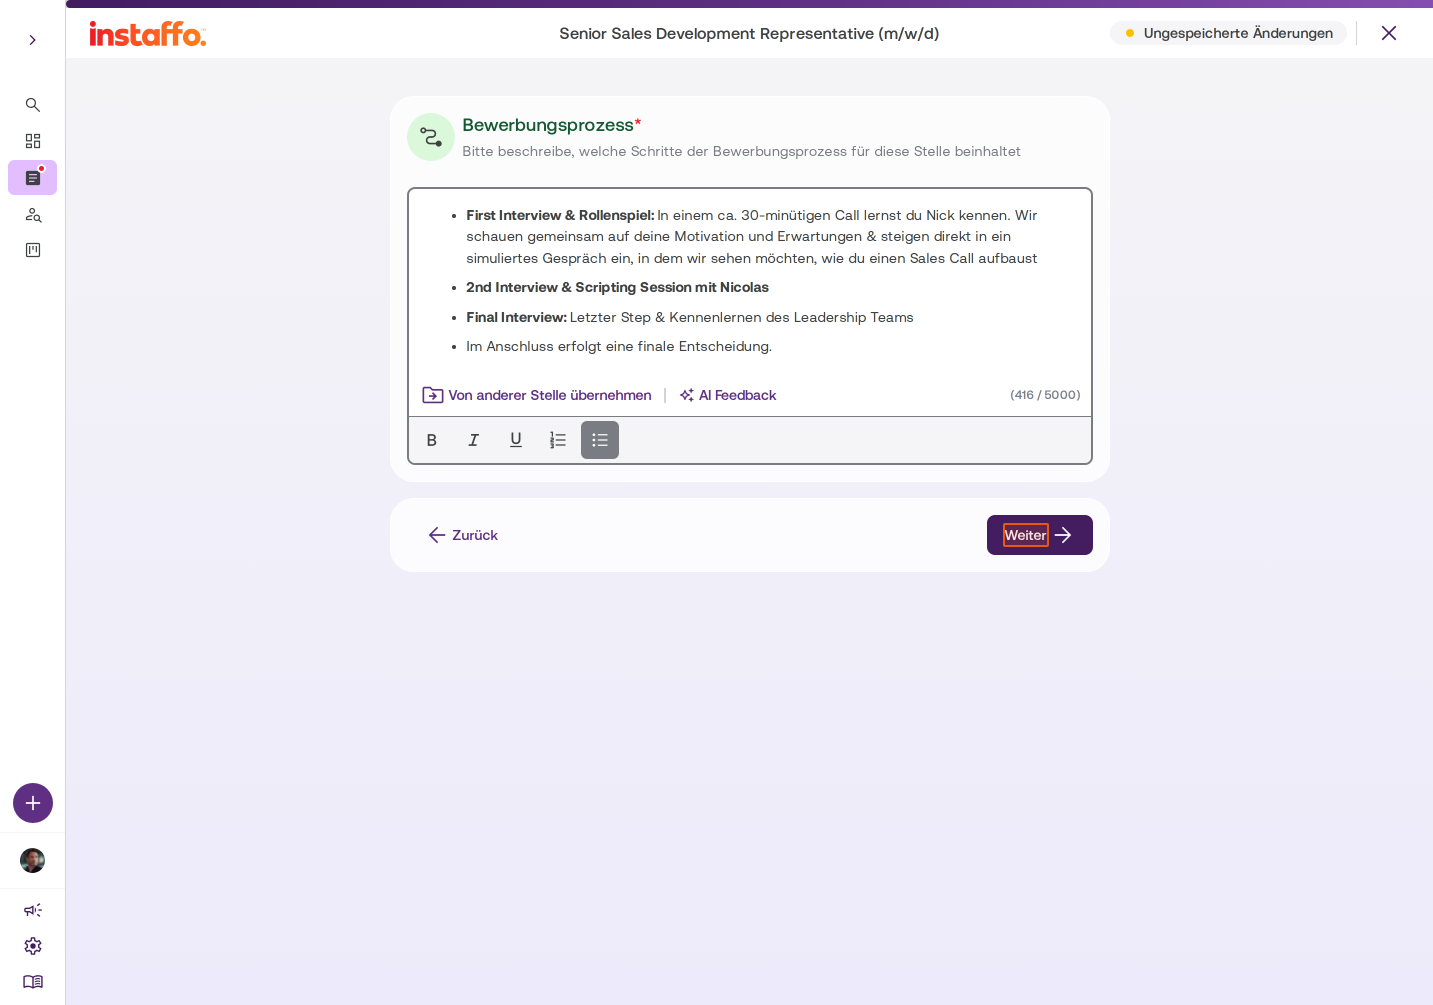
Explain the Application Process
Describe what steps are involved in the application process for this job (for example, First Interview, Second Interview, Final Interview). Click Next.
Set Up Talent Check
-
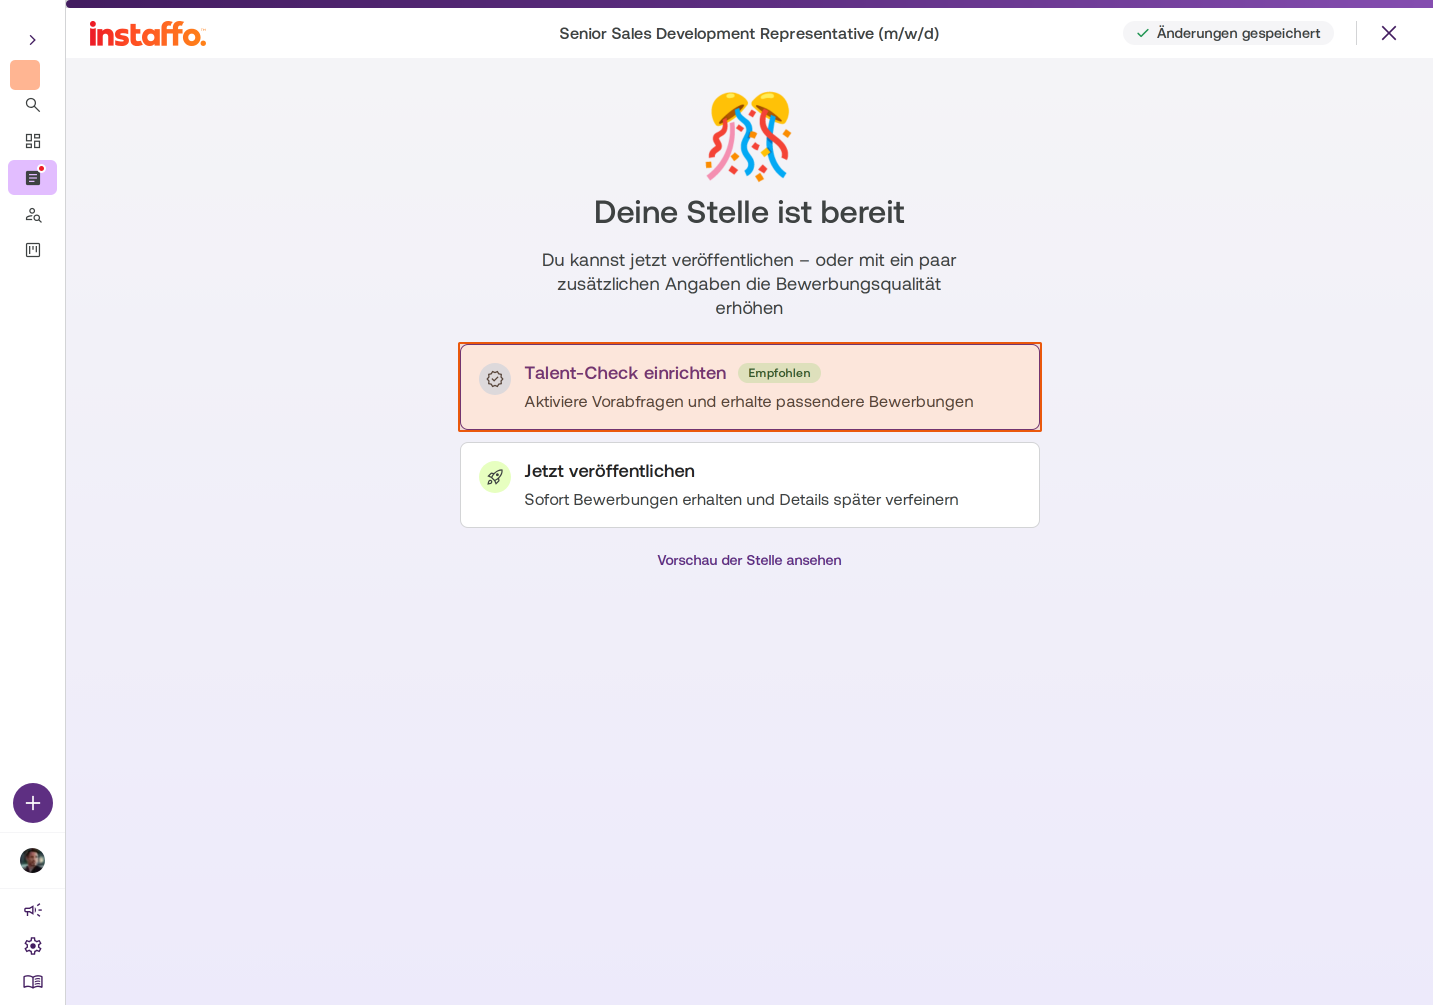
Choose Talent Check Option
After completing the basic configuration, you'll see the message "Your job posting is ready". Select Set Up Talent Check (recommended) to activate pre-screening questions and receive better-matched applications. -
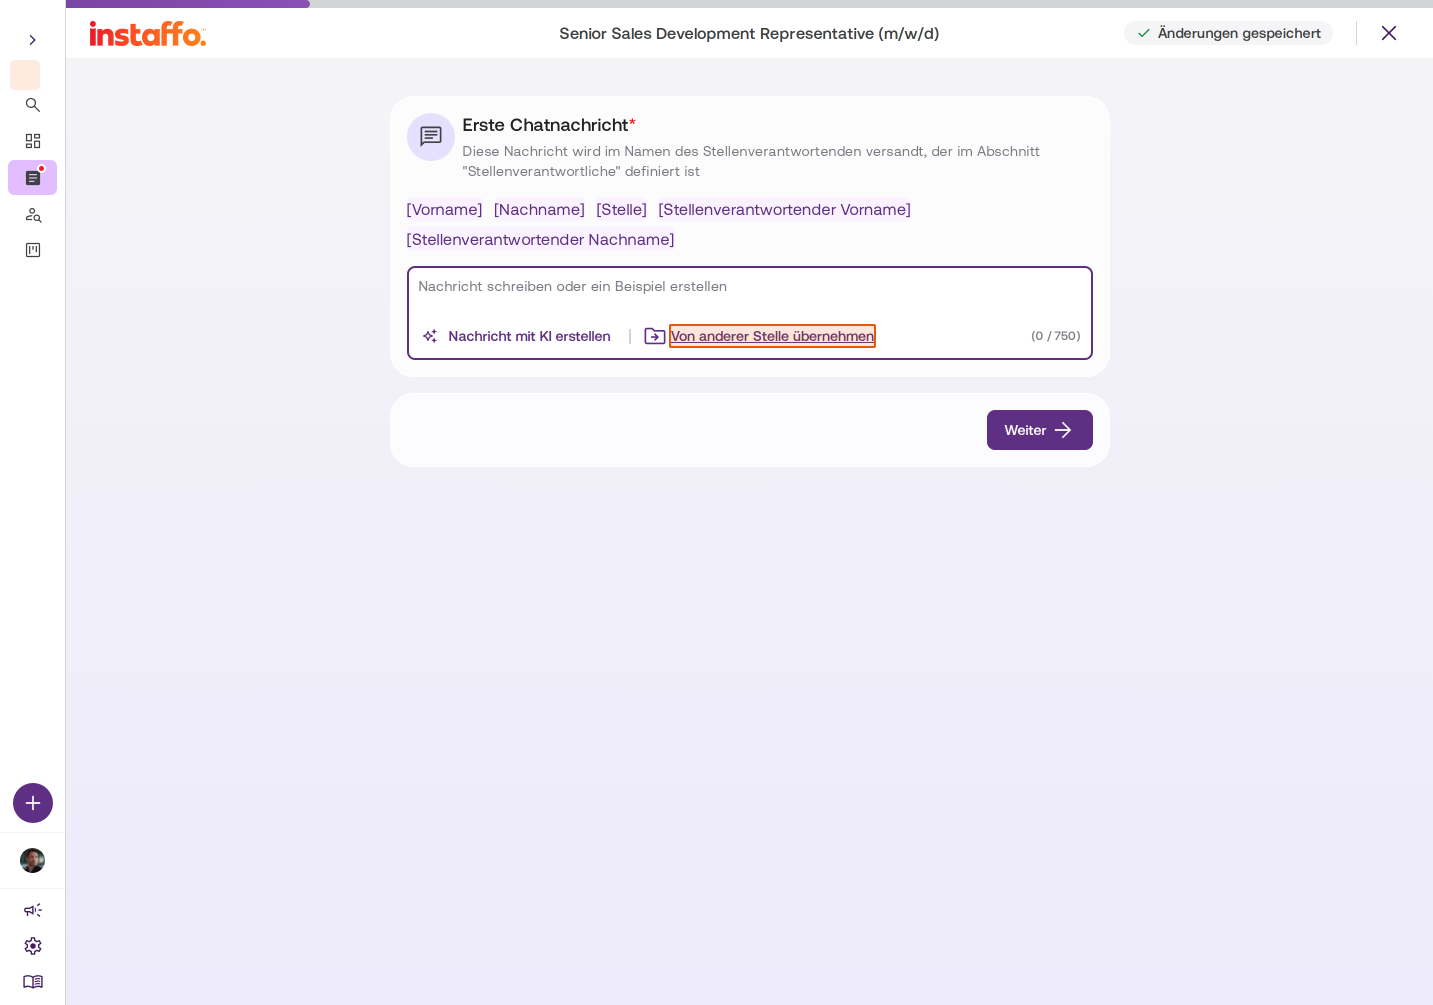
Configure First Chat Message
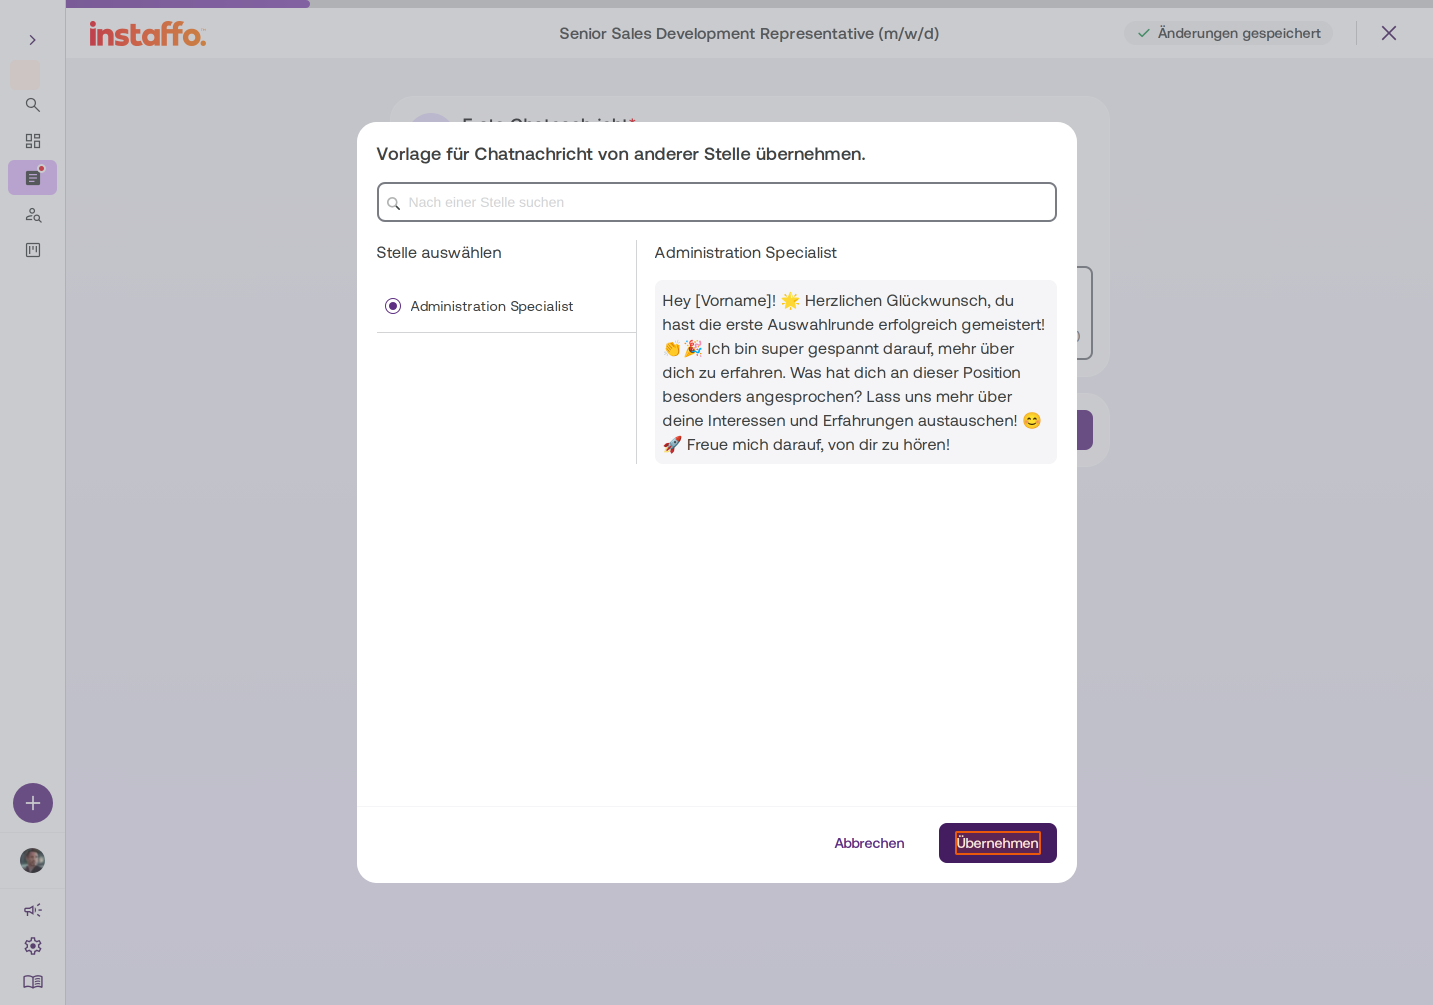
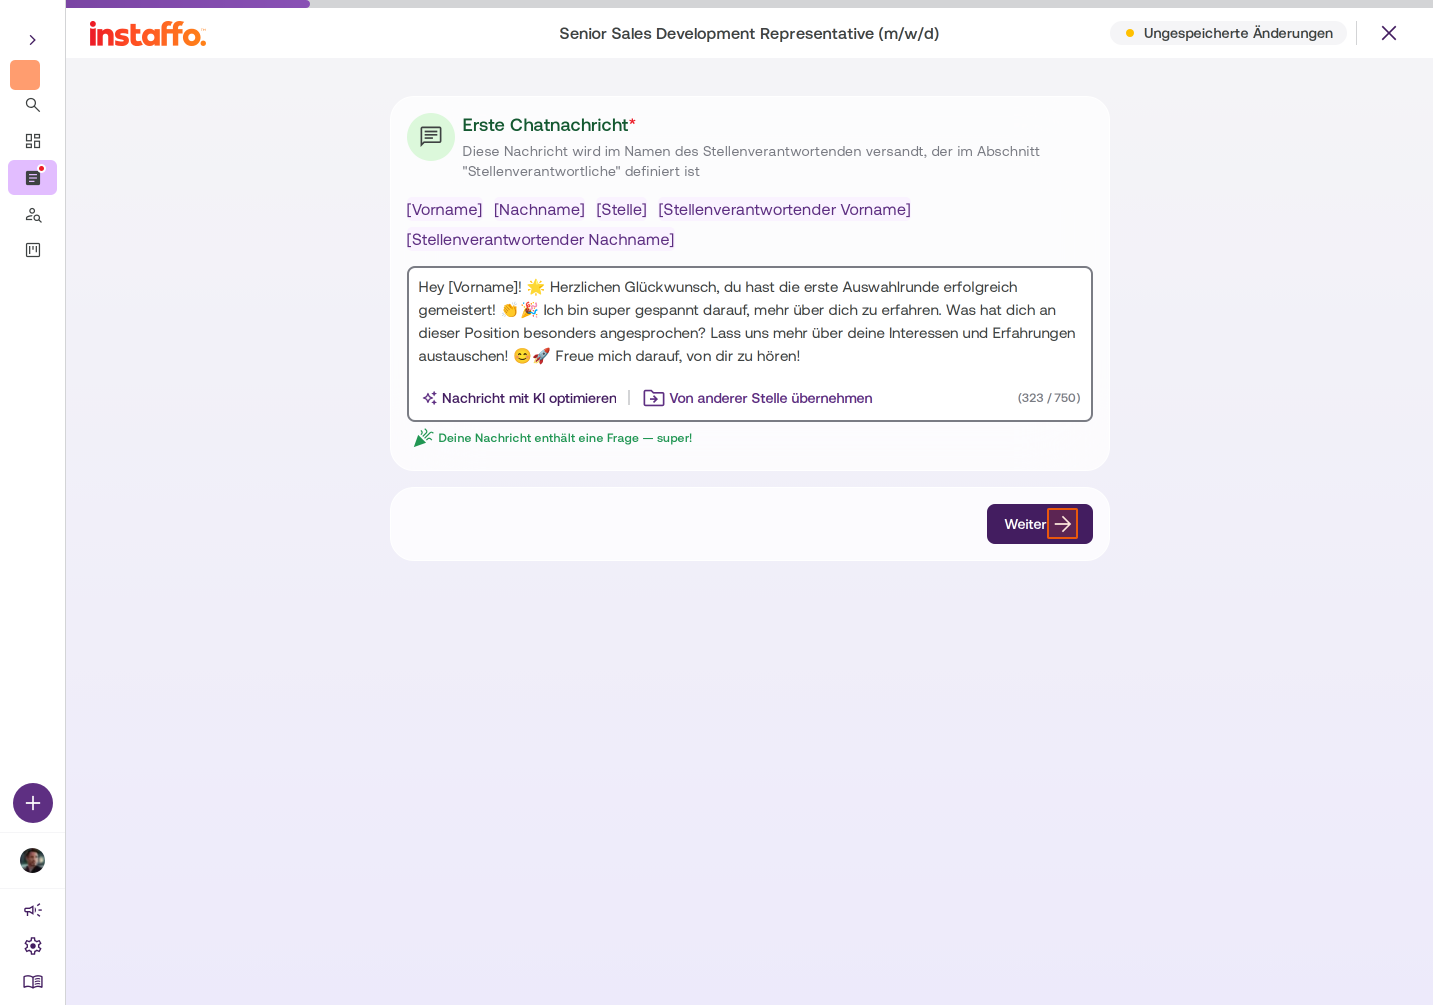
This message will be sent to candidates on behalf of the Hiring Manager. You can:- Adopt a message from another job posting by clicking Use from Another Job Posting
- Write your own message
Select an existing job posting and click Use. Then click Next.
-
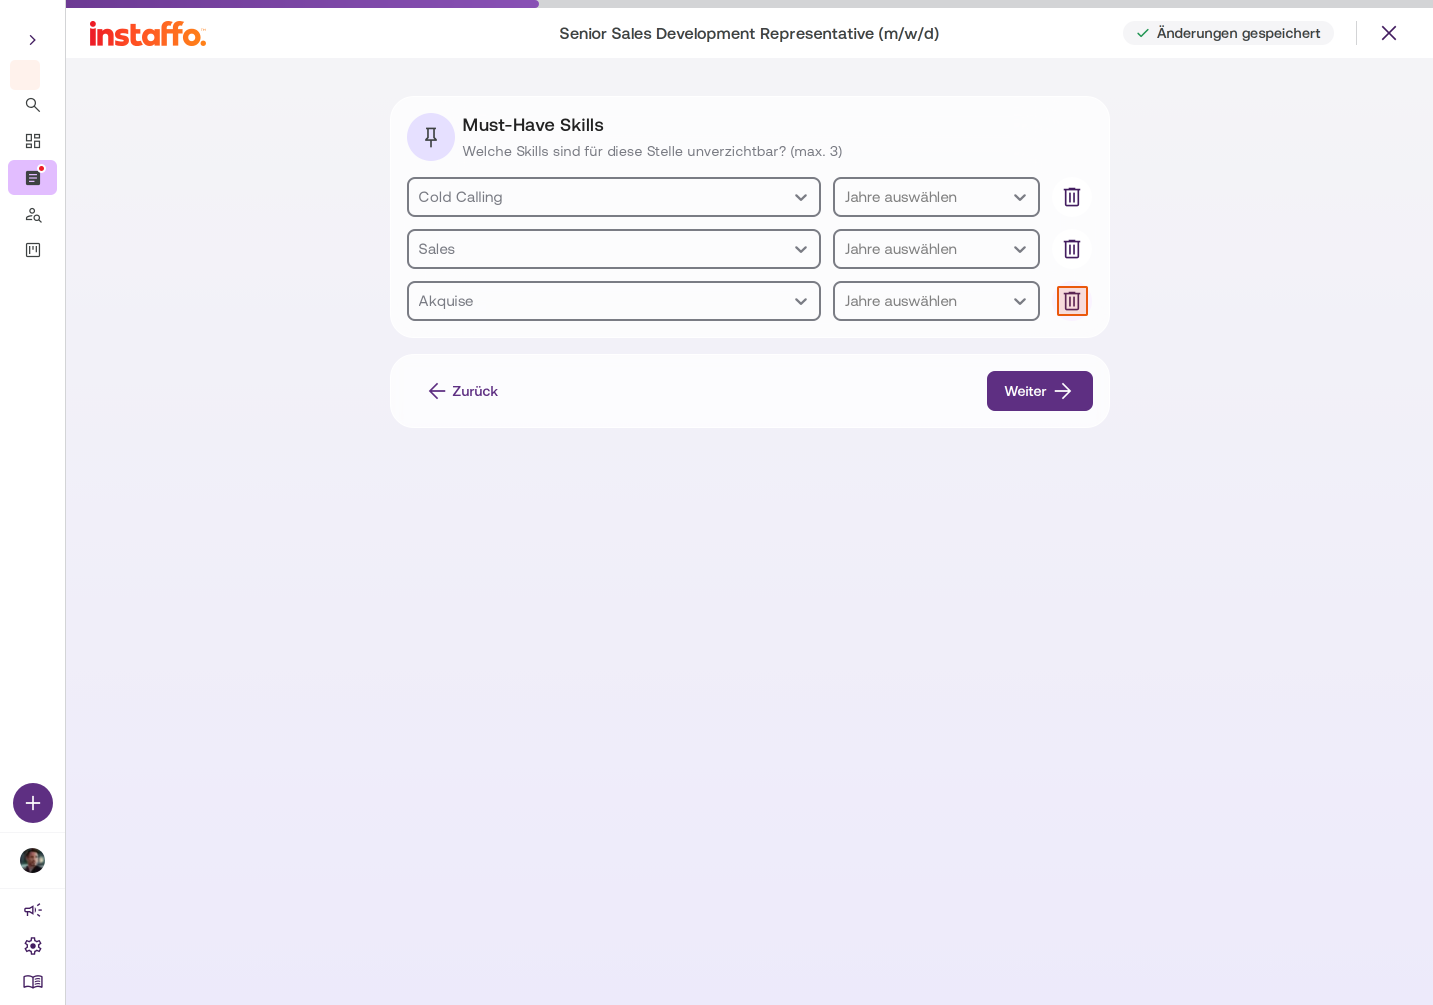
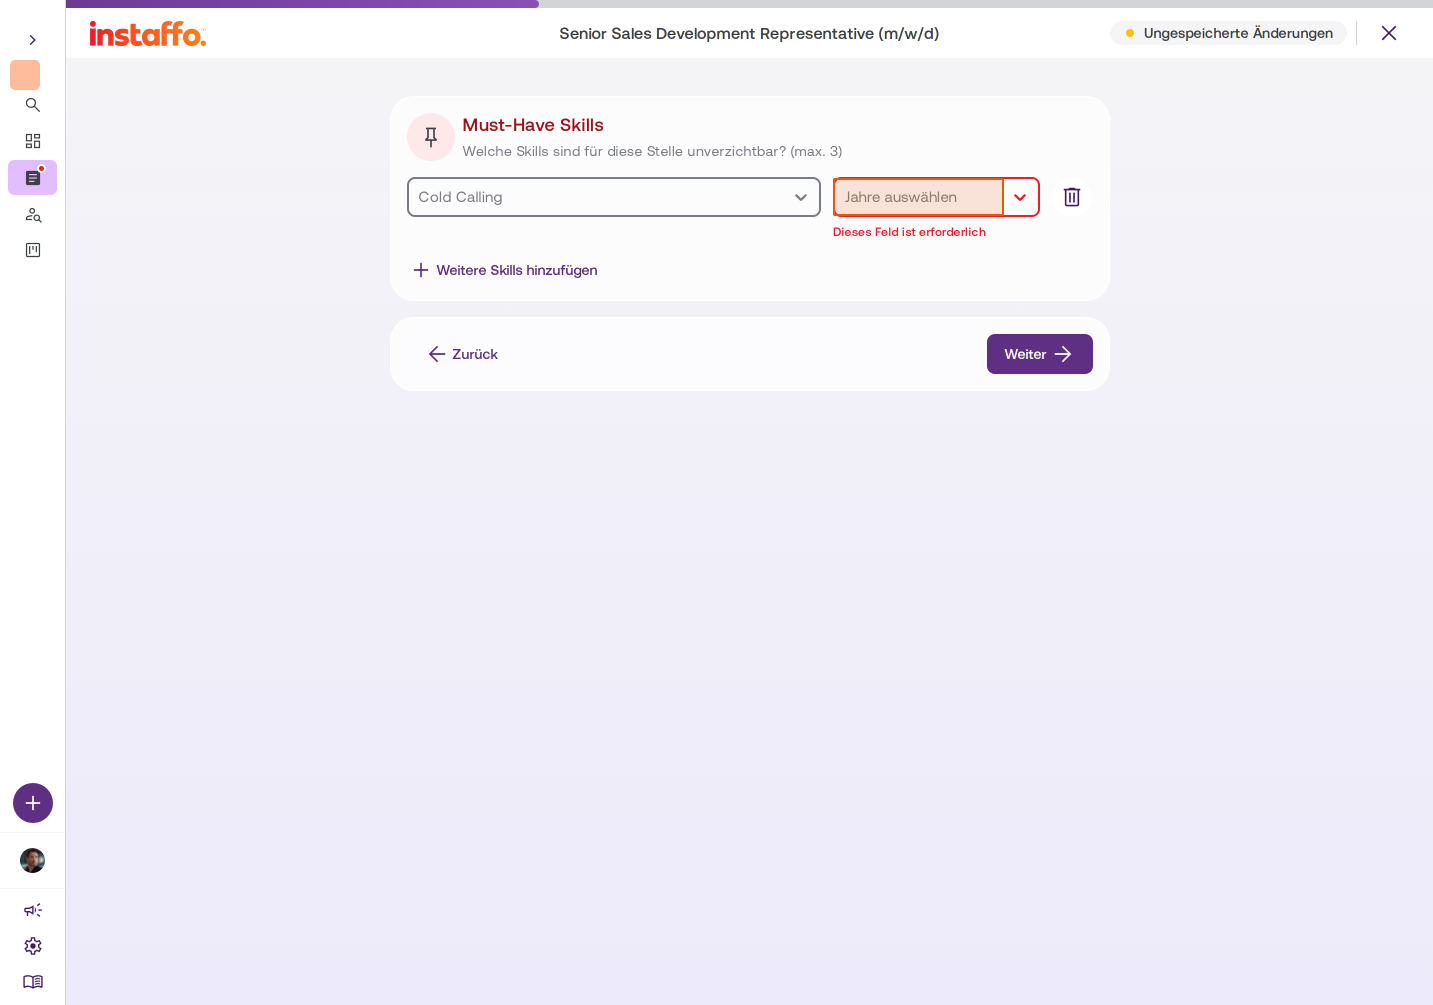
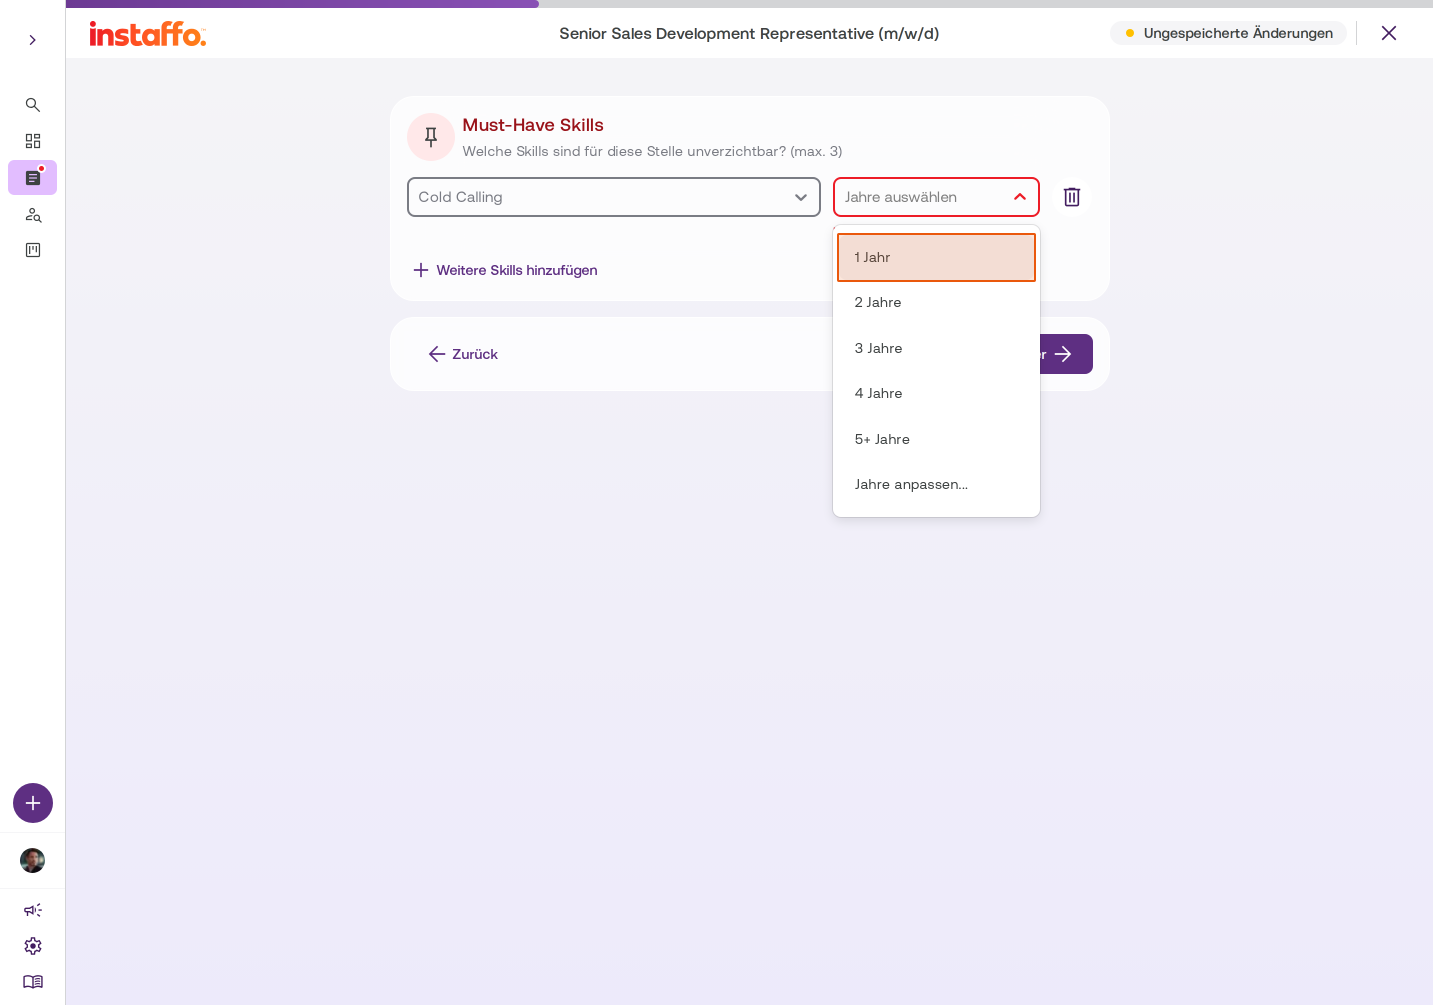
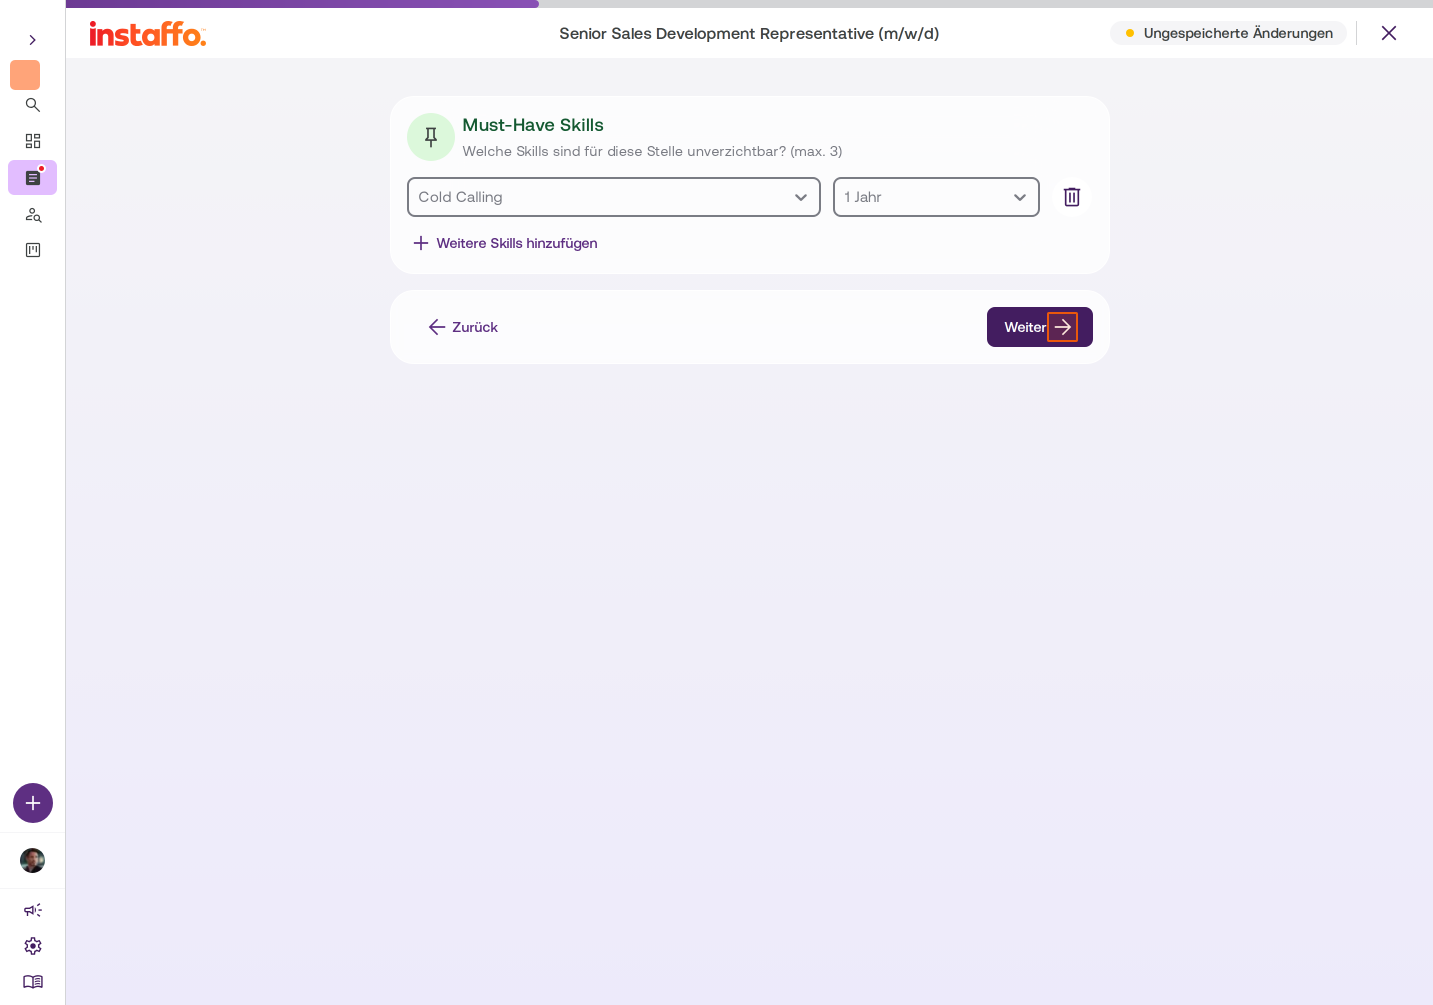
Define Must-Have Skills
Specify which skills are essential for this job (maximum 3). Choose the required experience duration for each skill (for example, "1 year"). Click Next.
Additional Requirements for Sales Positions
-
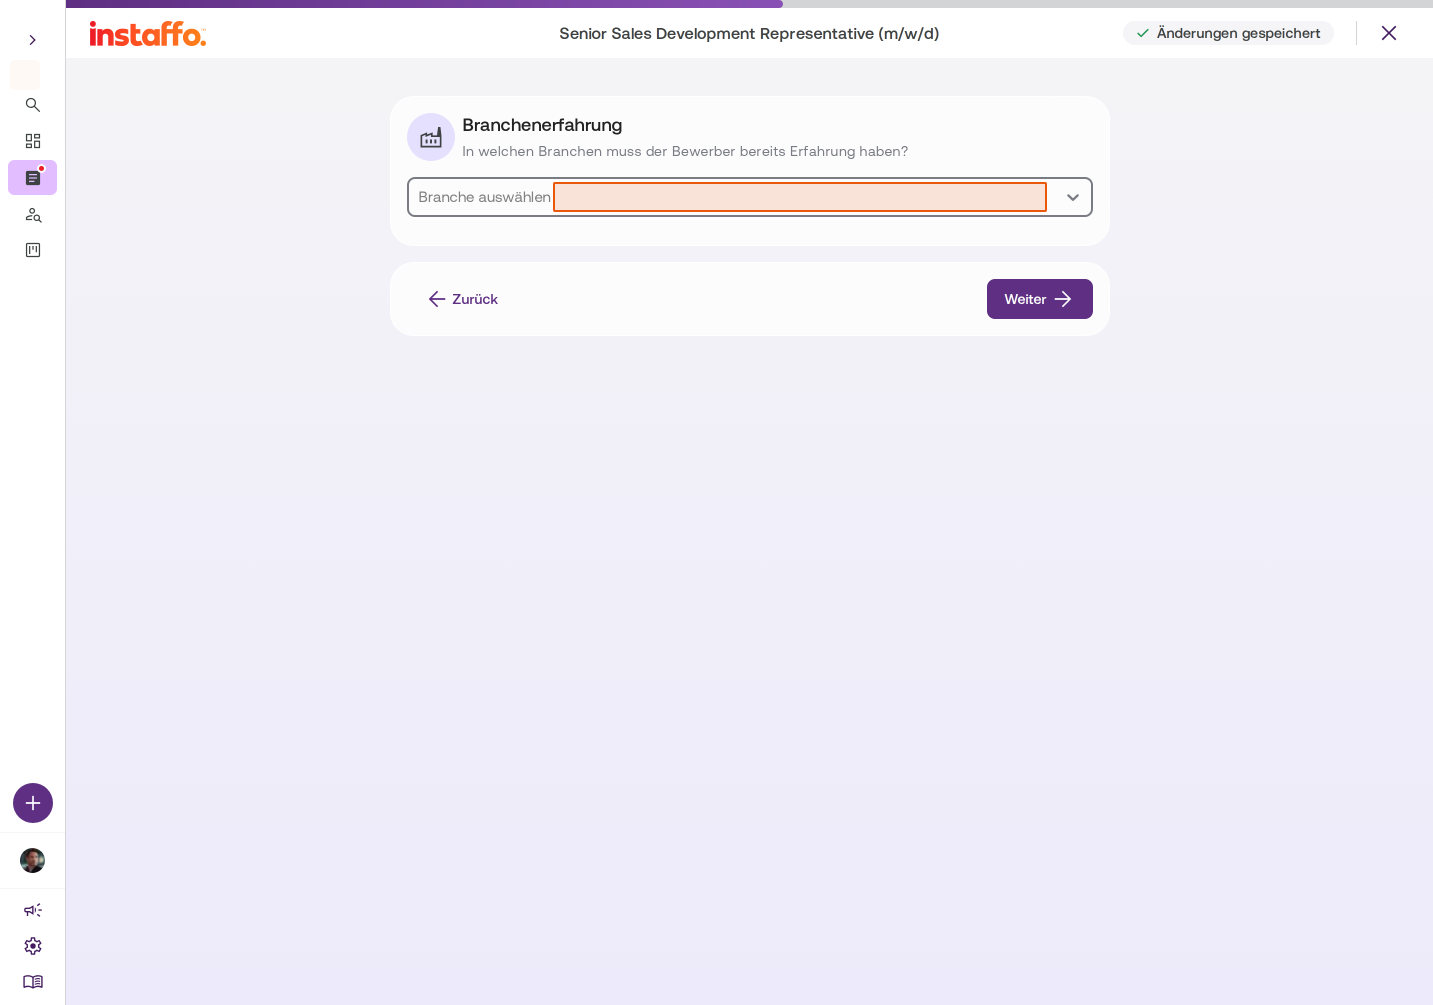
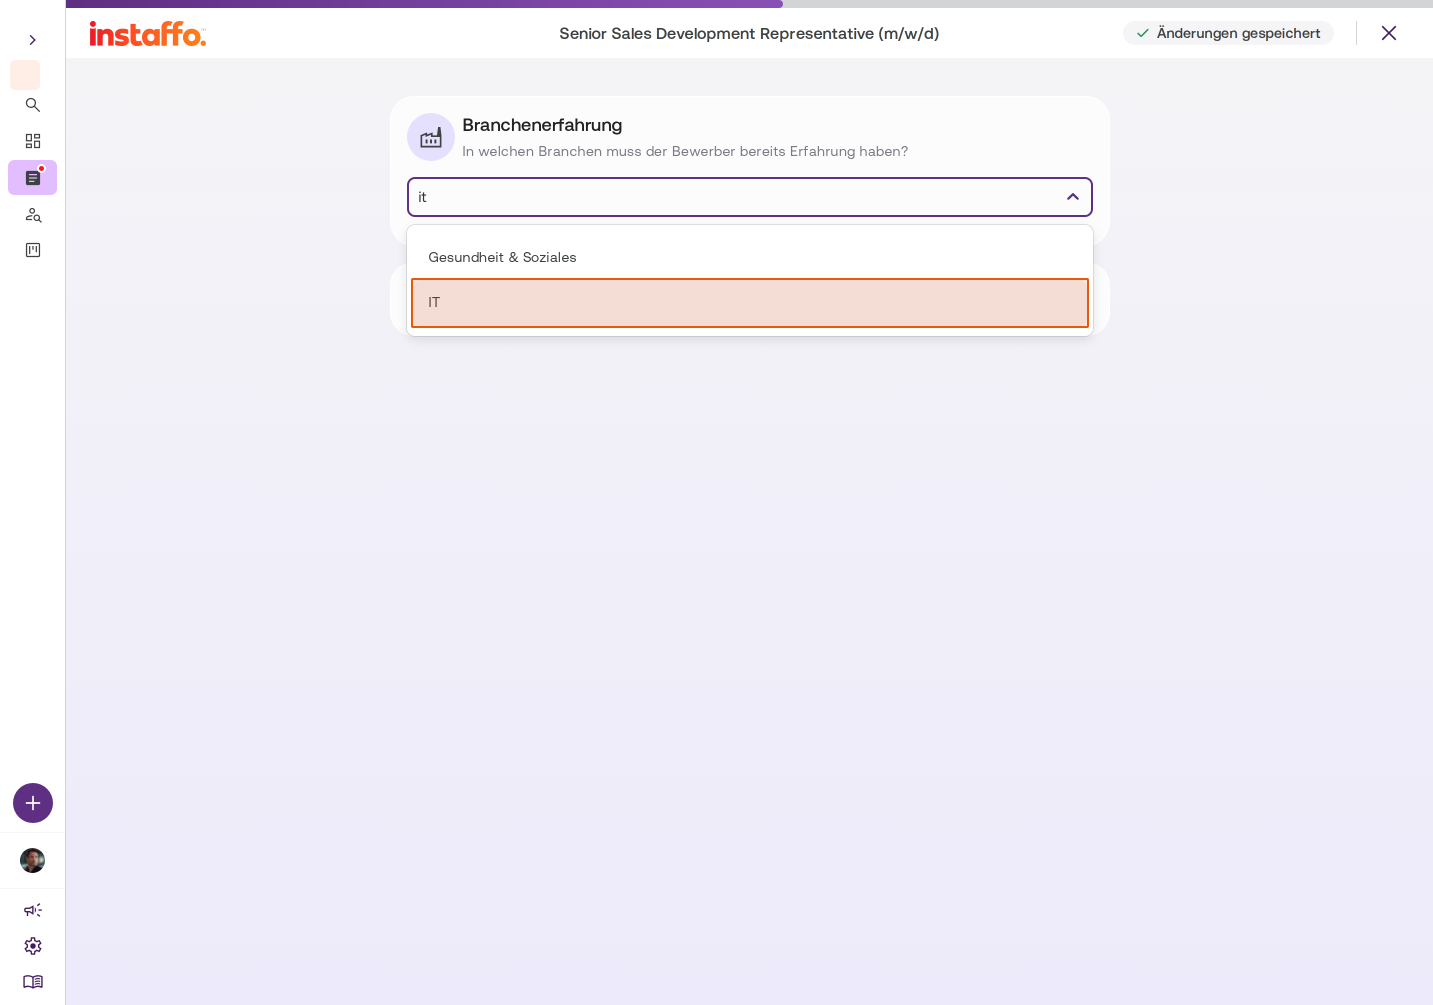
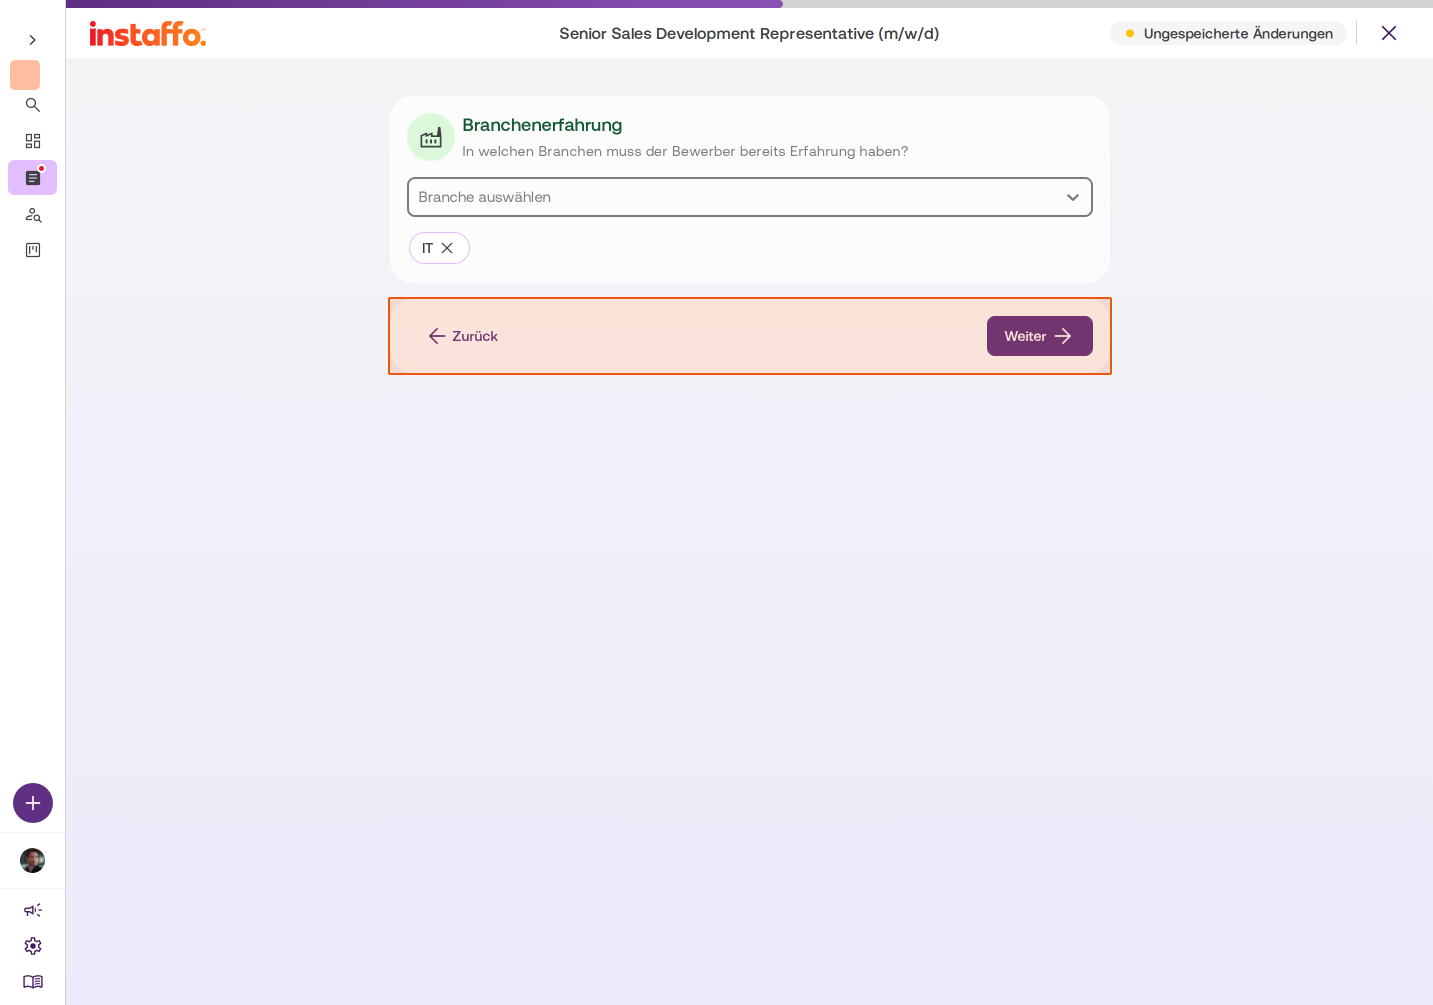
Specify Industry Experience
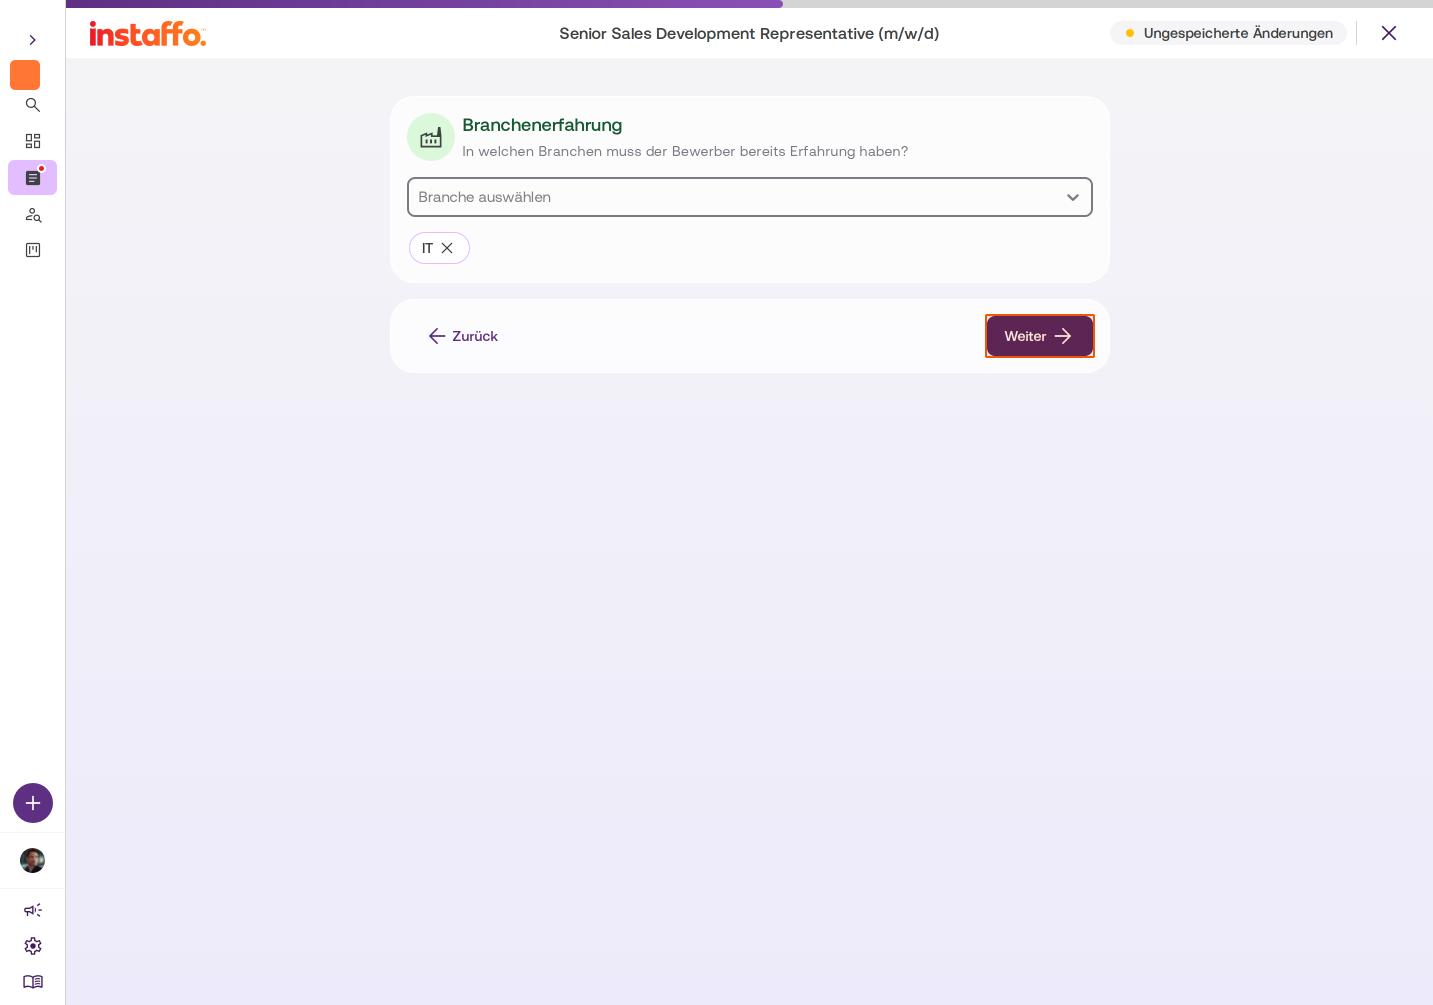
Indicate which industries the candidate must have experience in (for example, "IT"). Click Next. -
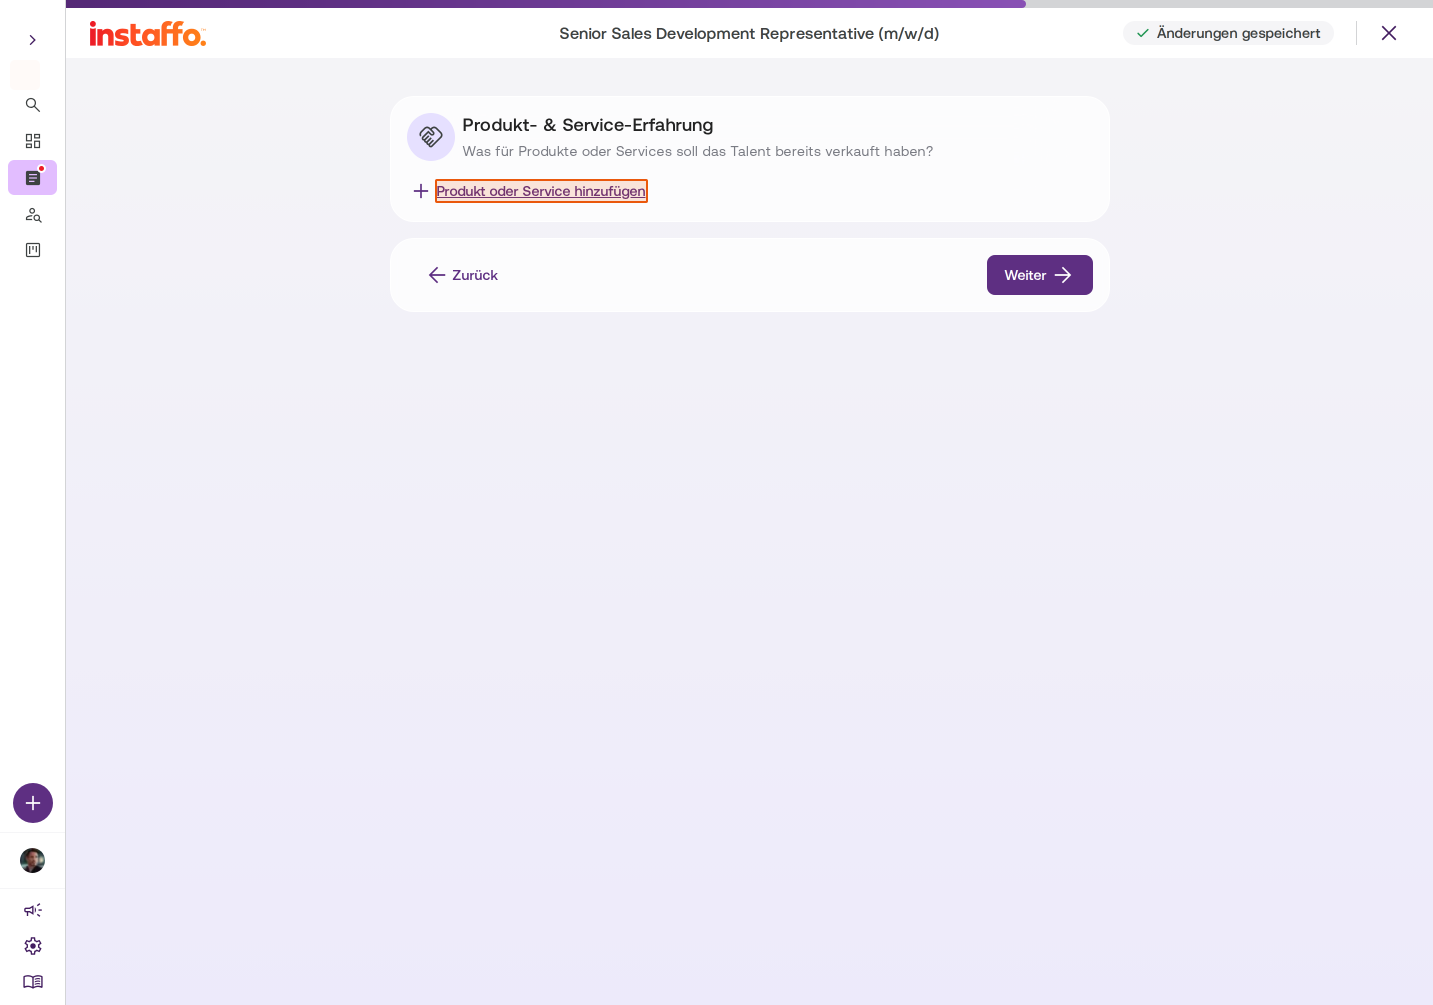
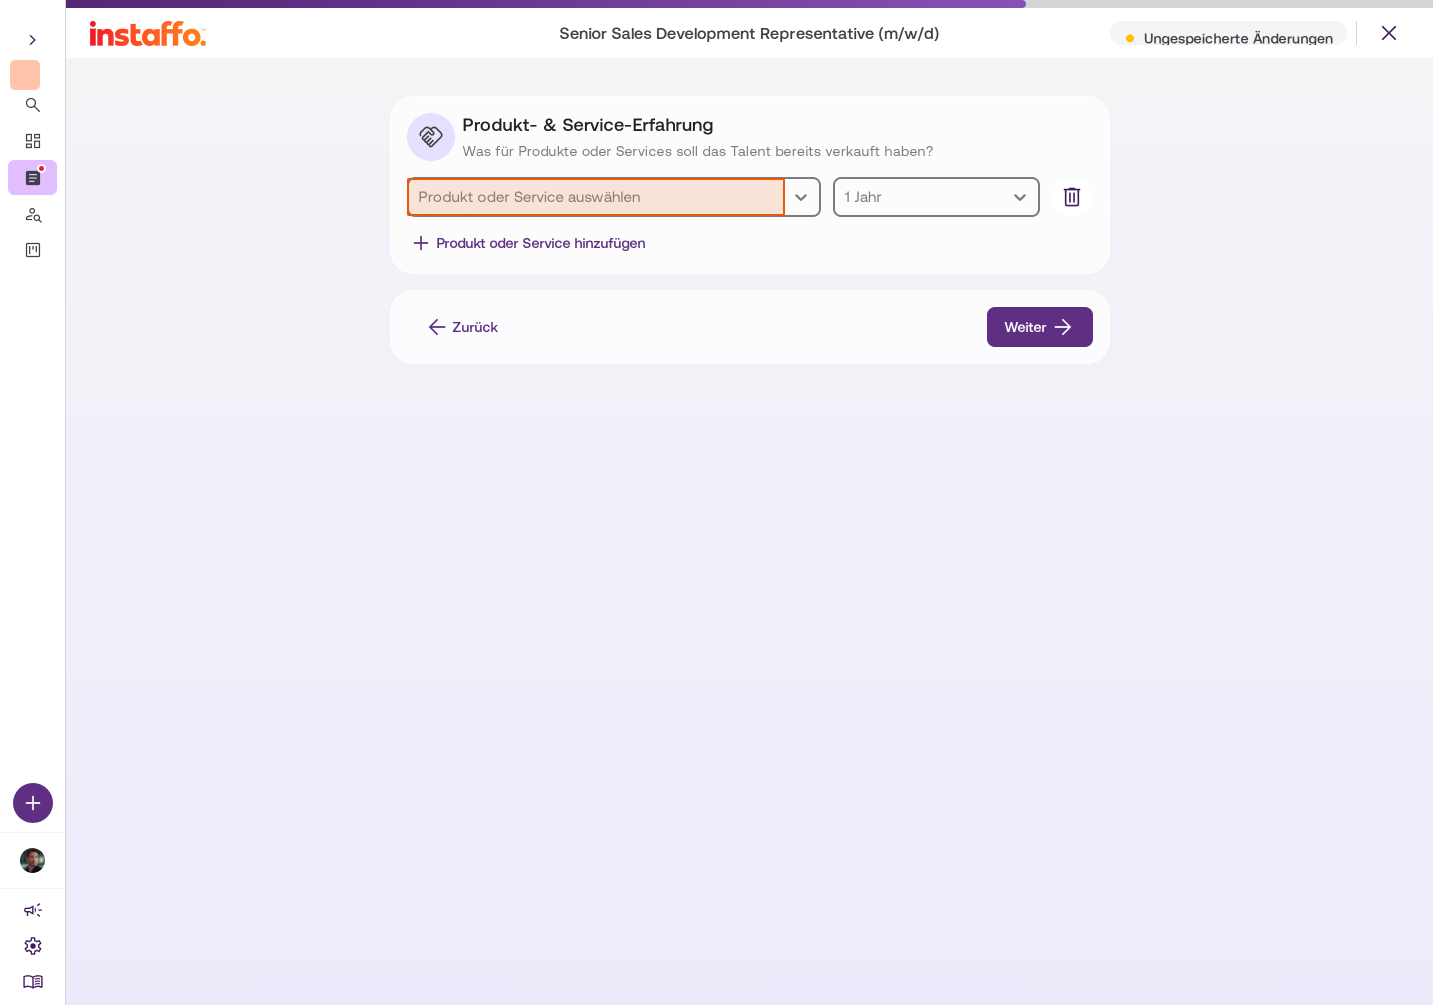
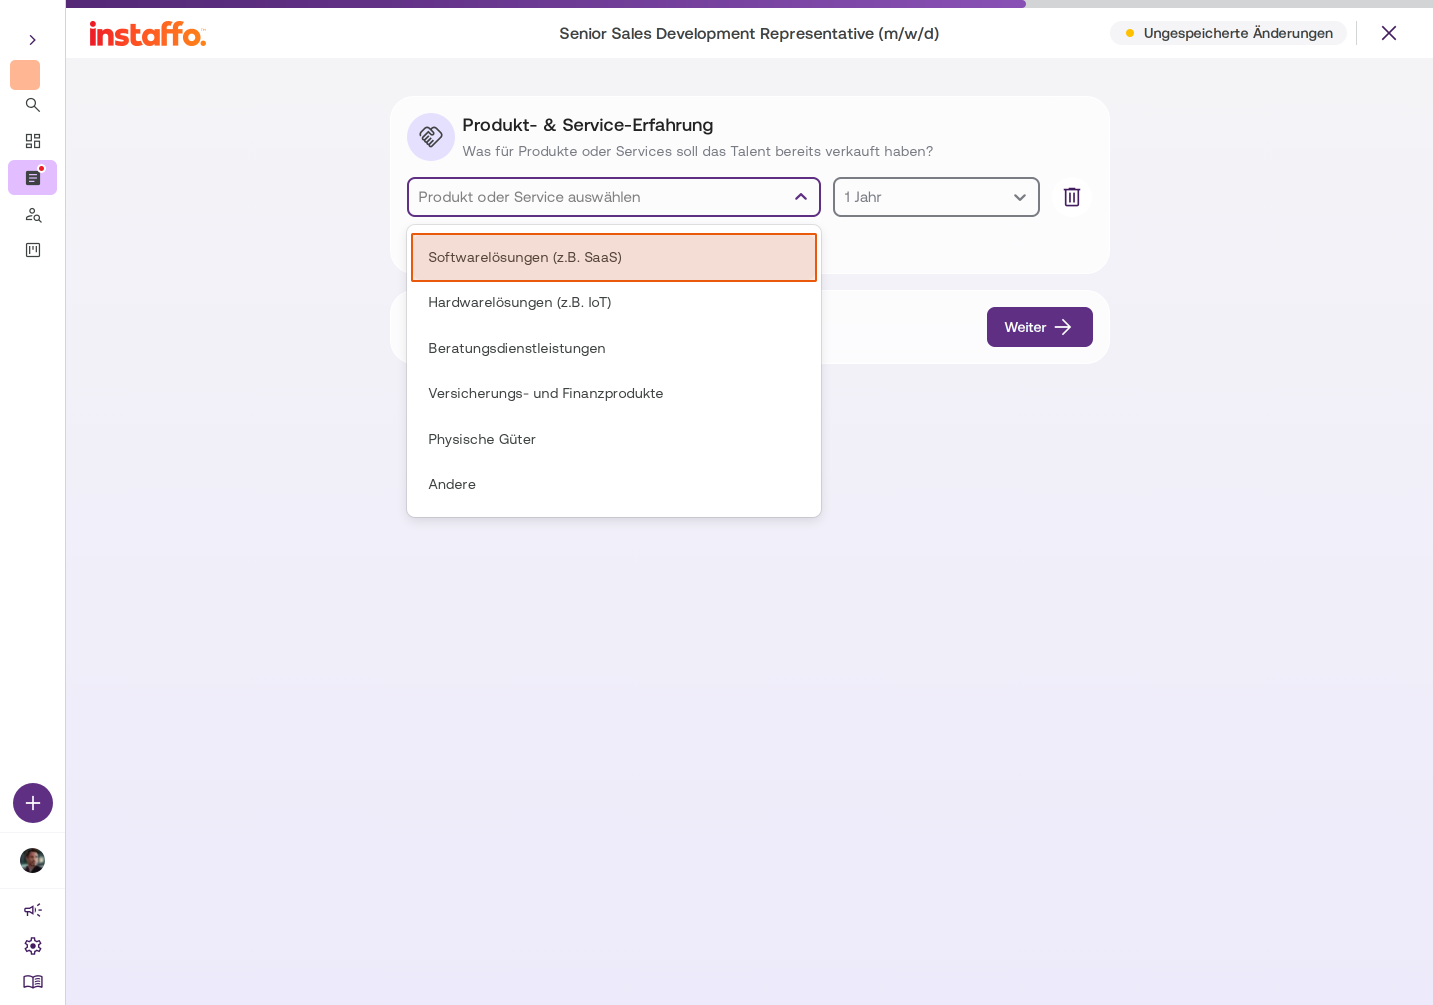
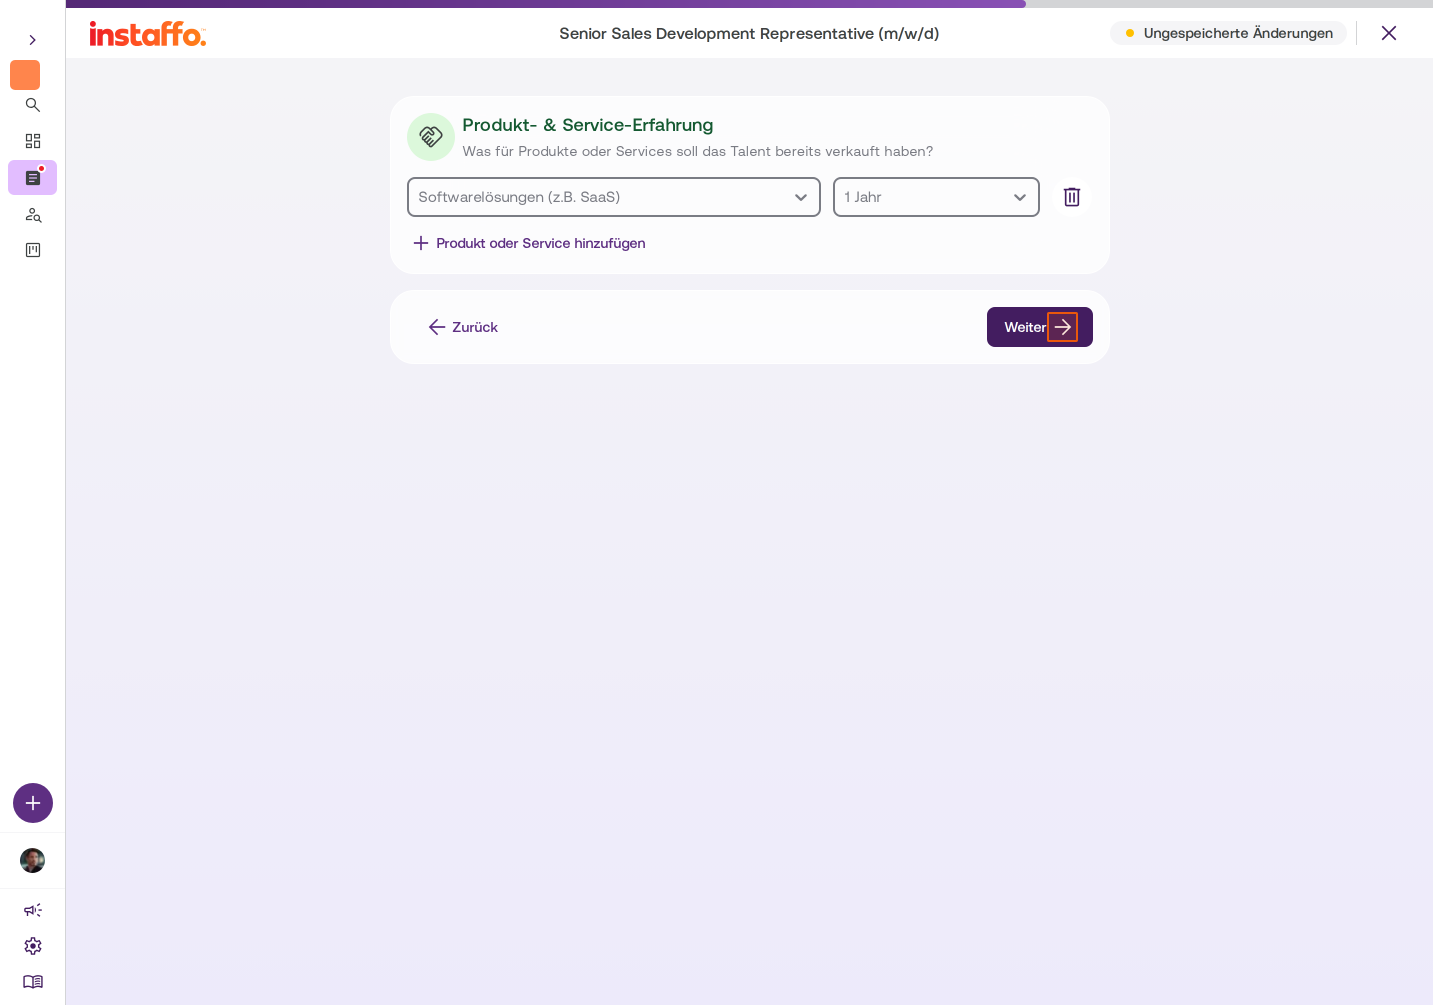
Set Product & Service Experience
For sales positions, you can additionally specify which products or services the candidate should have sold before. Click Add Product or Service, select a category (for example, "Software Solutions (e.g., SaaS)") and the experience duration. Click Next. -
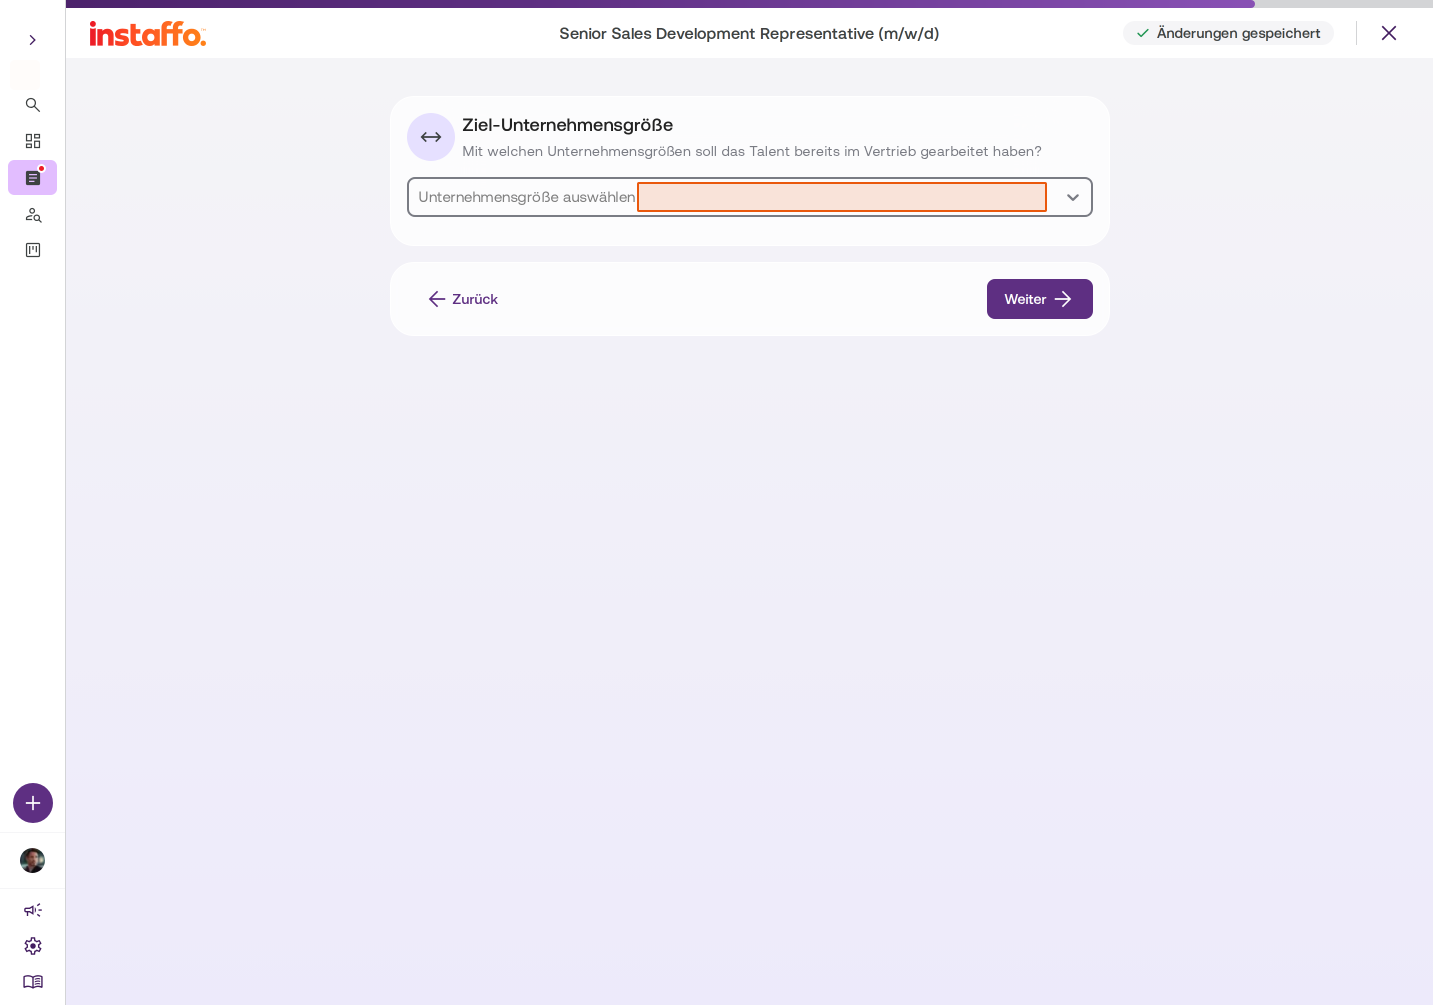
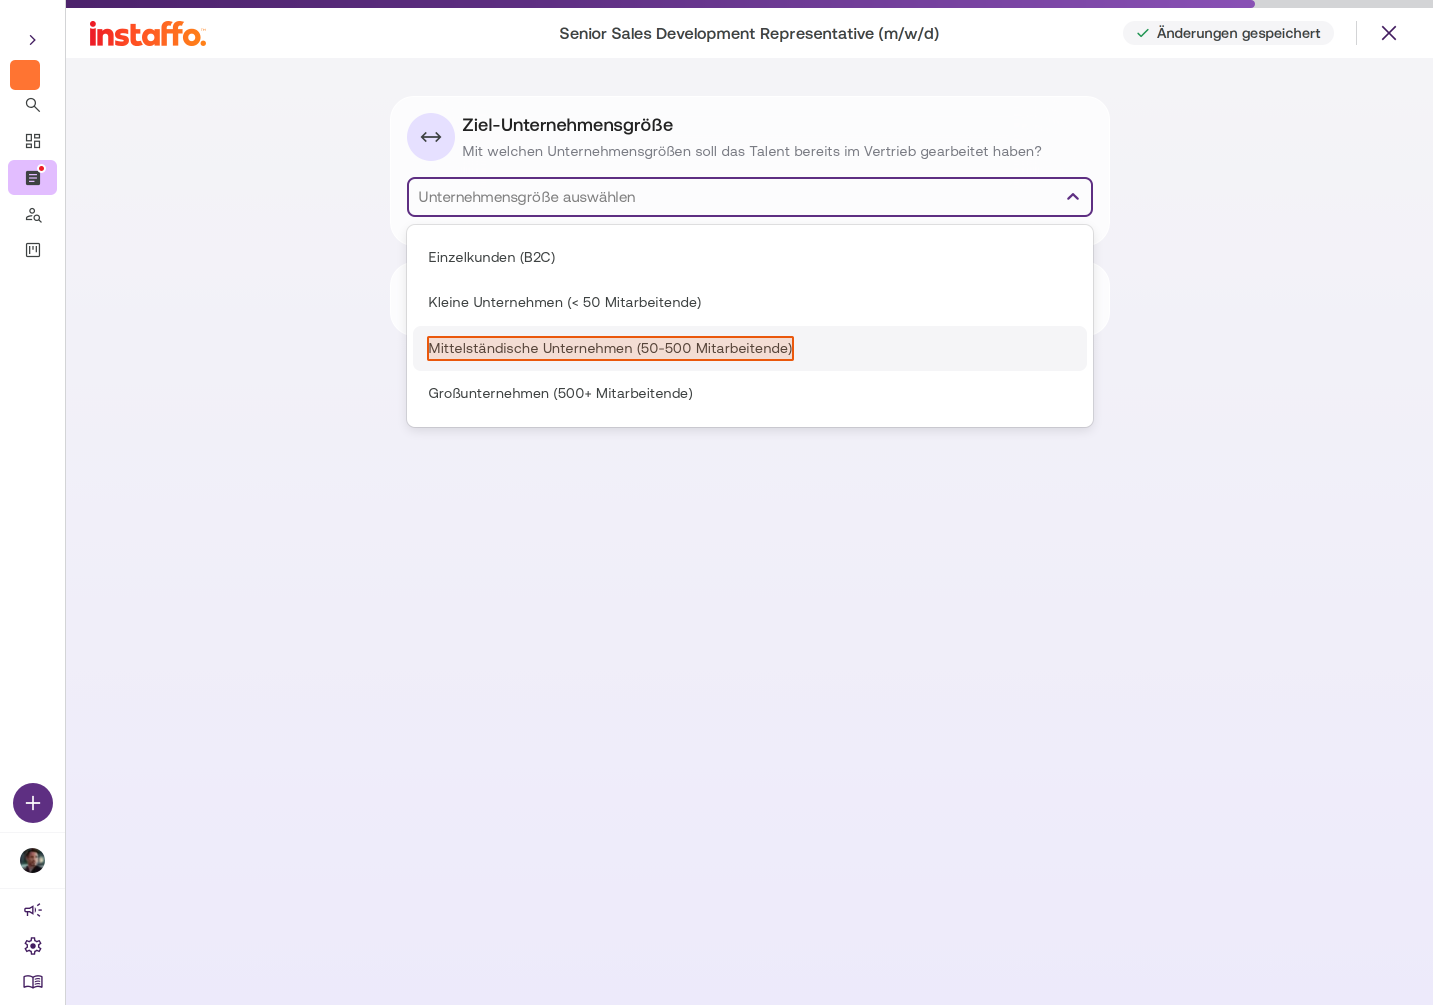
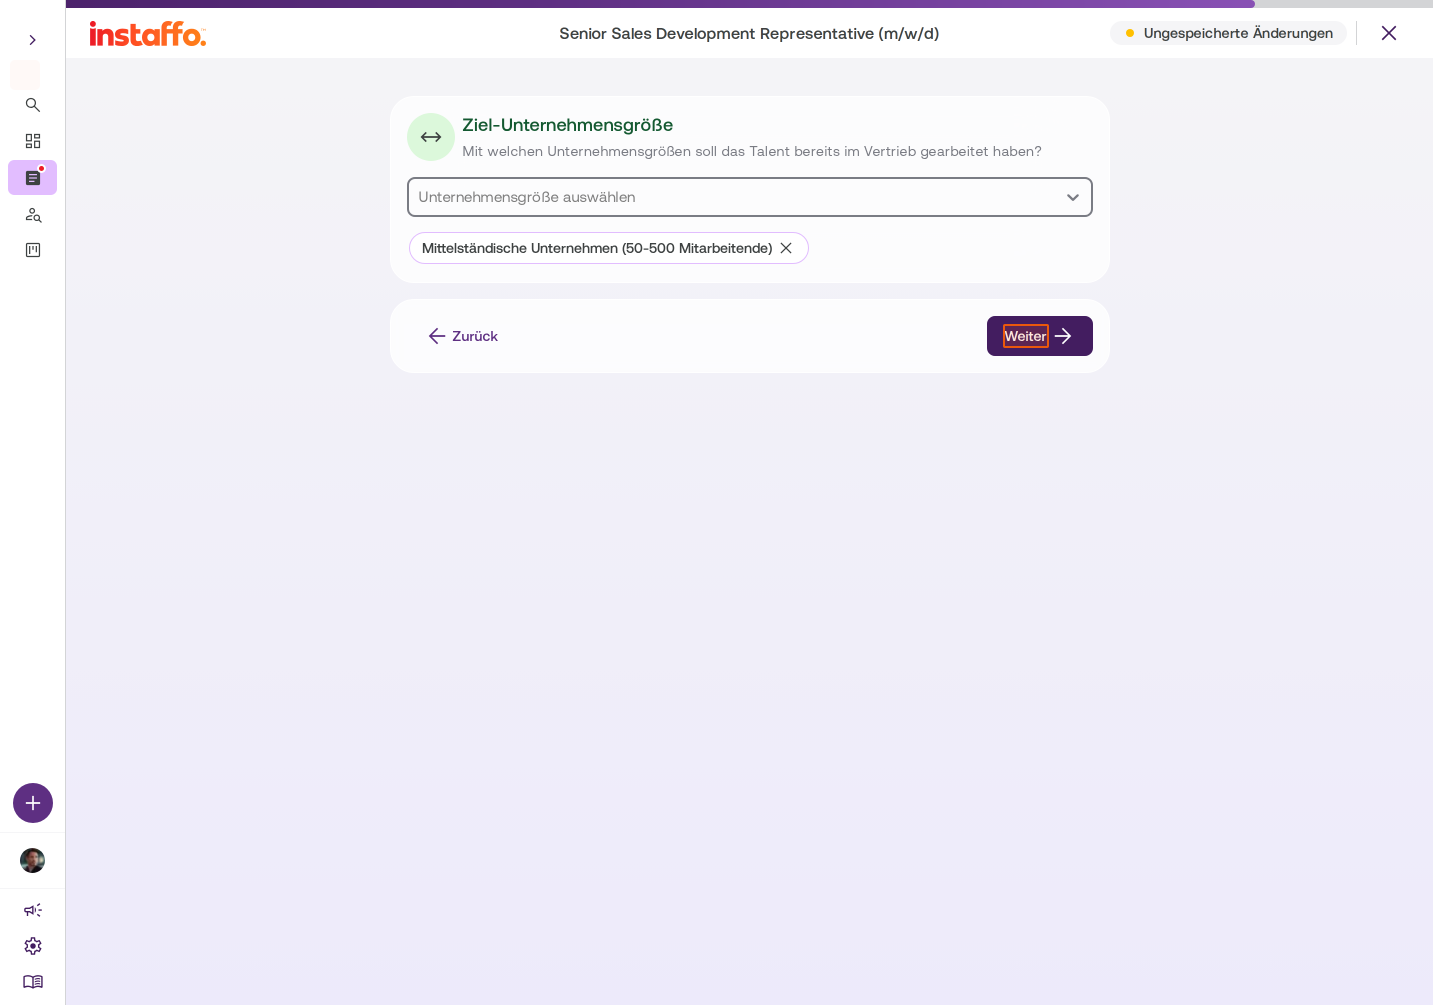
Choose Target Company Size
Specify what company sizes the candidate should have already worked with in sales (for example, "Mid-size Companies (50-500 employees)"). Click Next.
Screening Questions and Publishing
-
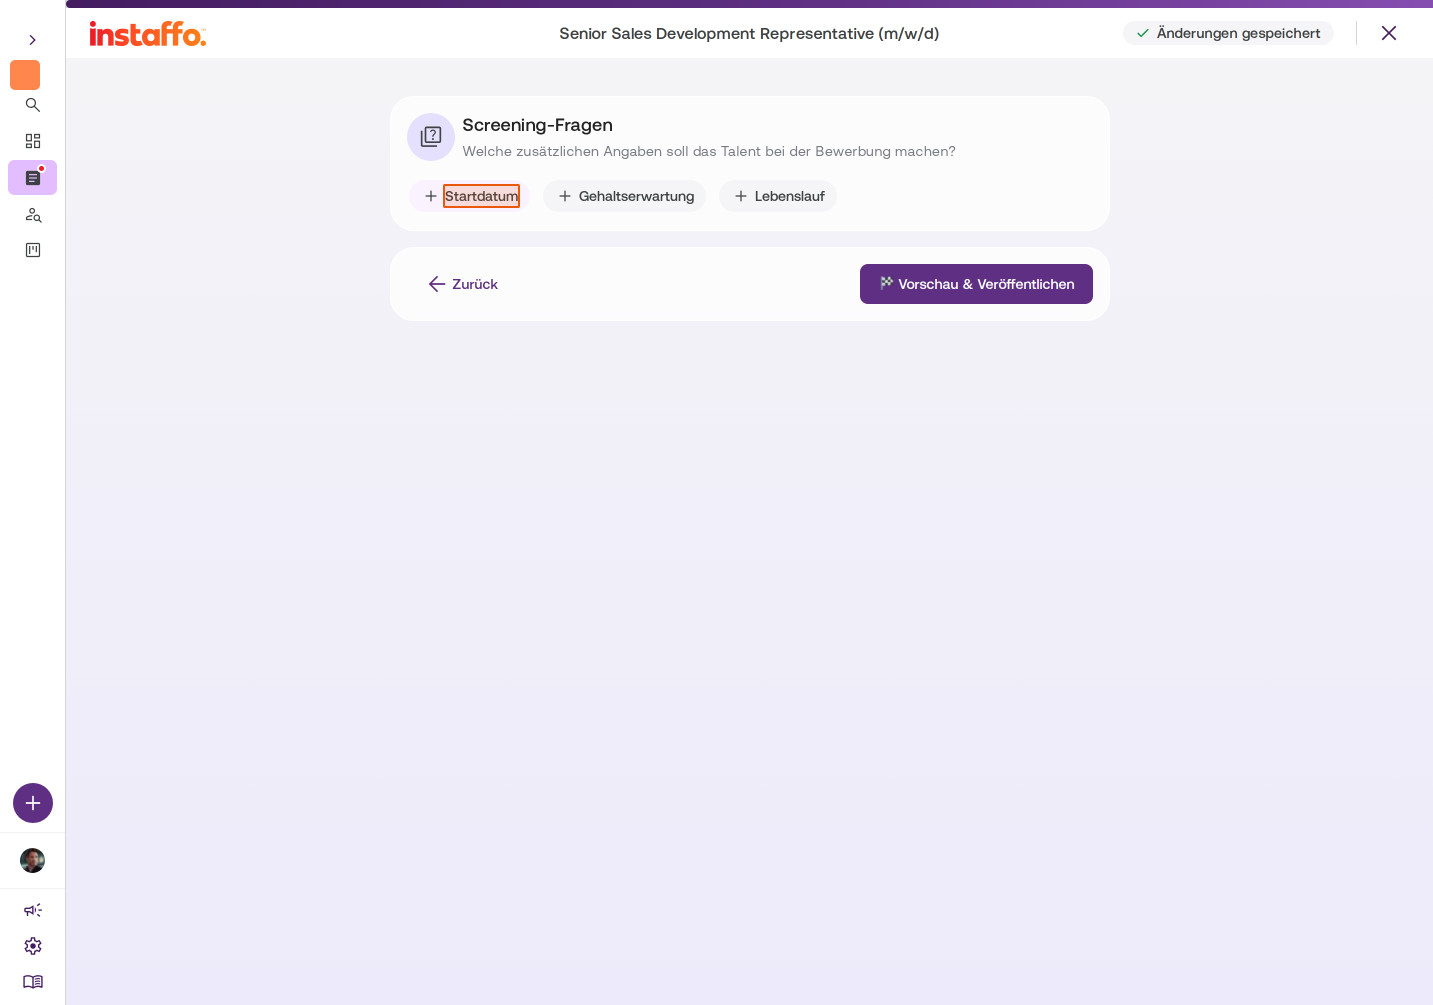
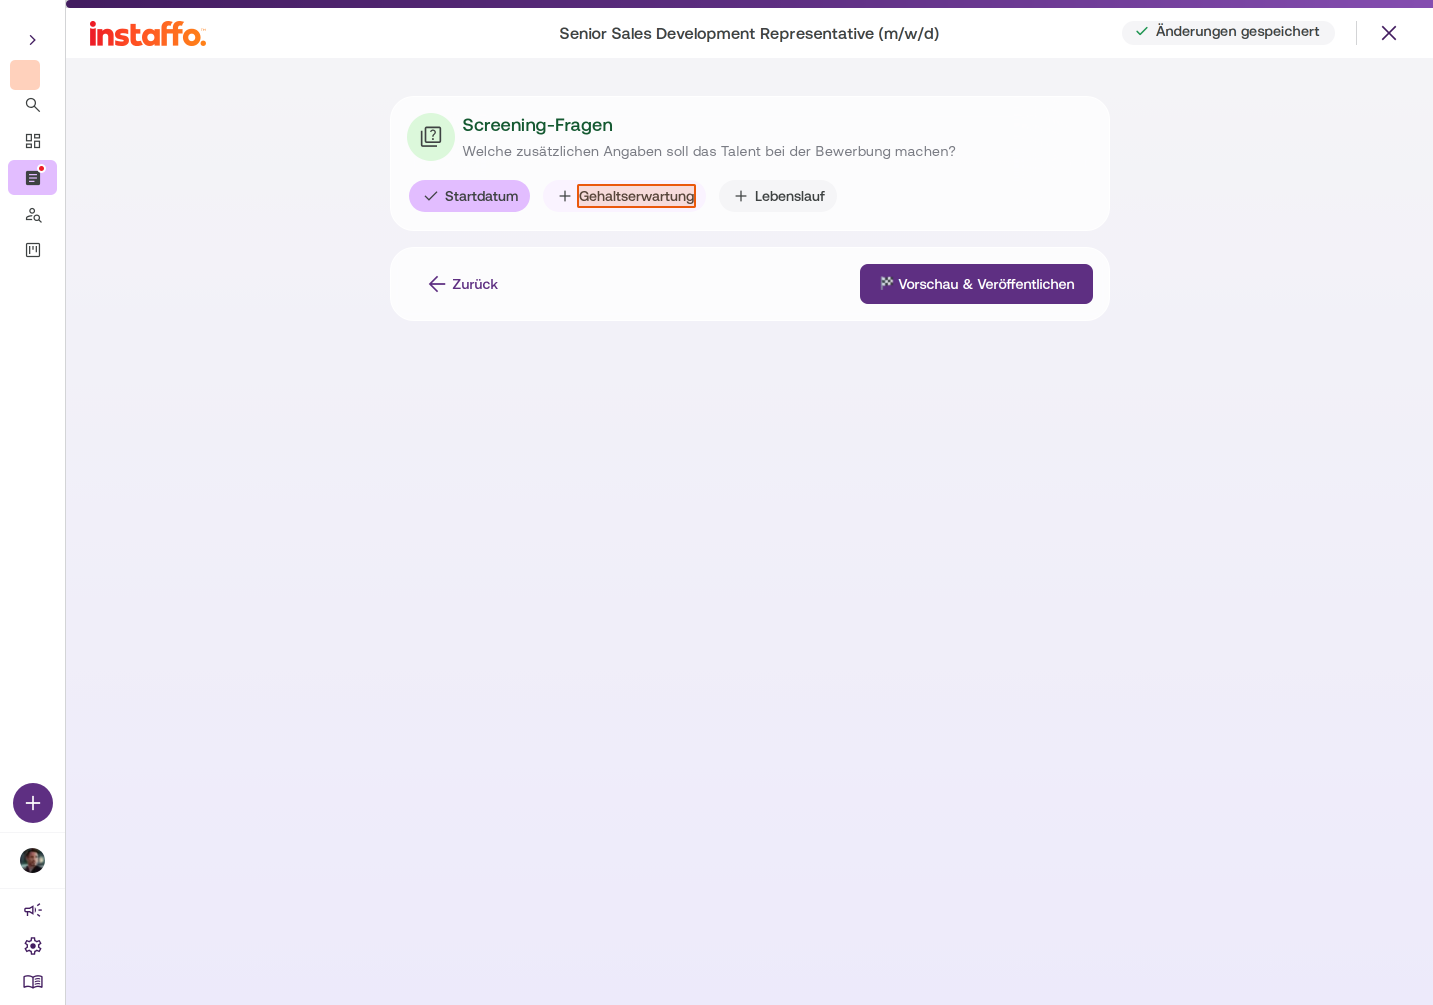
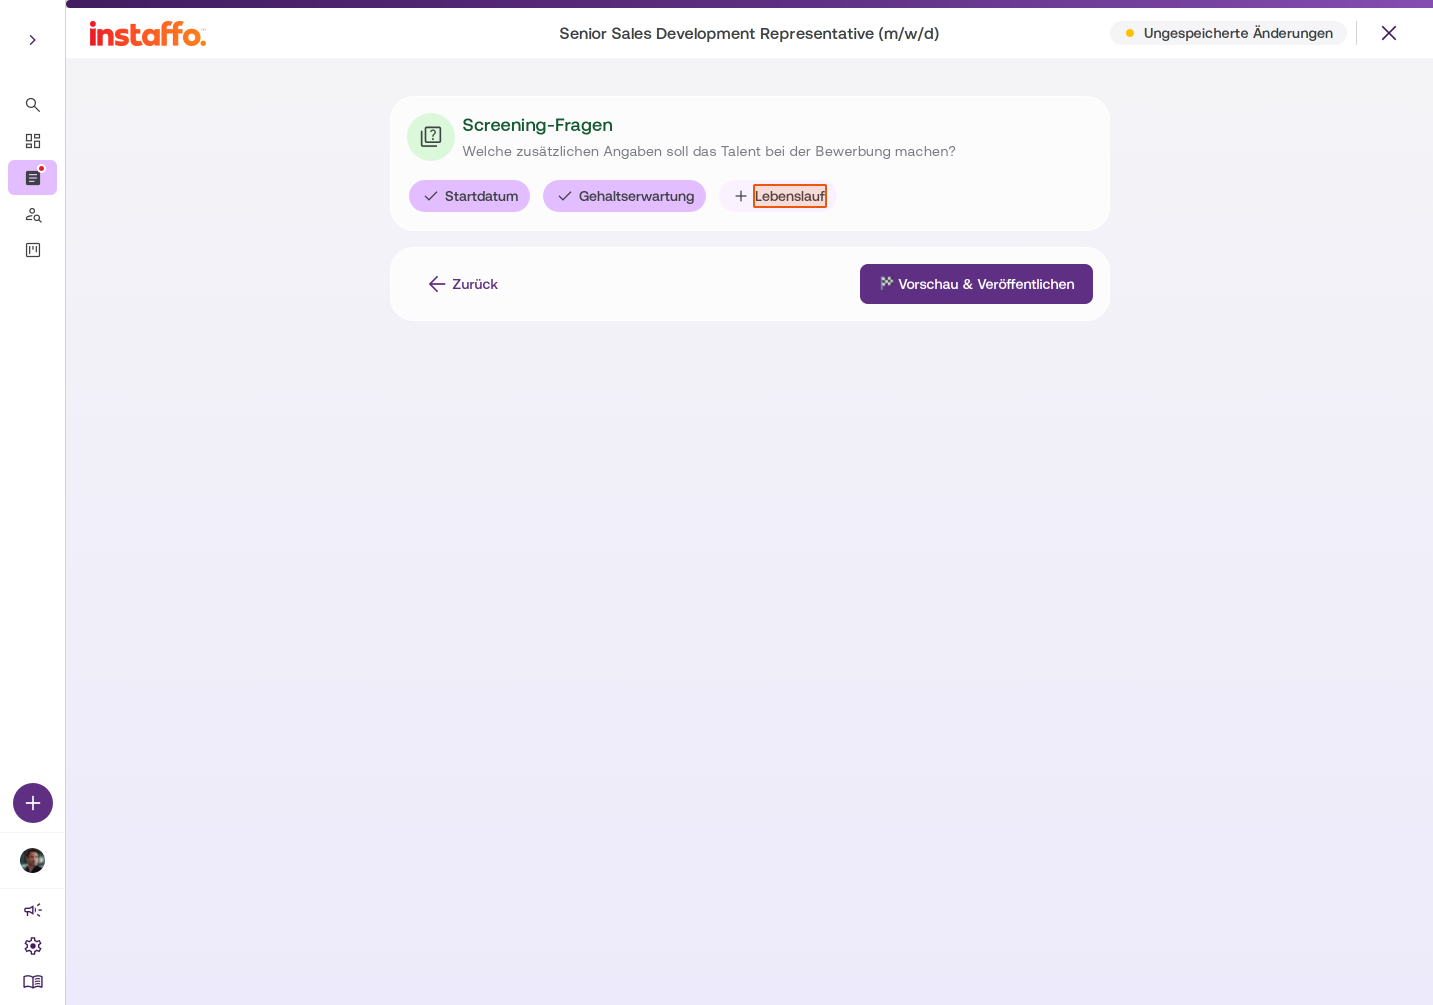
Enable Screening Questions
Choose what additional information the candidate should provide when applying:- Start Date
- Salary Expectations
- Resume
Check the options you want.
-
Publish Job Posting
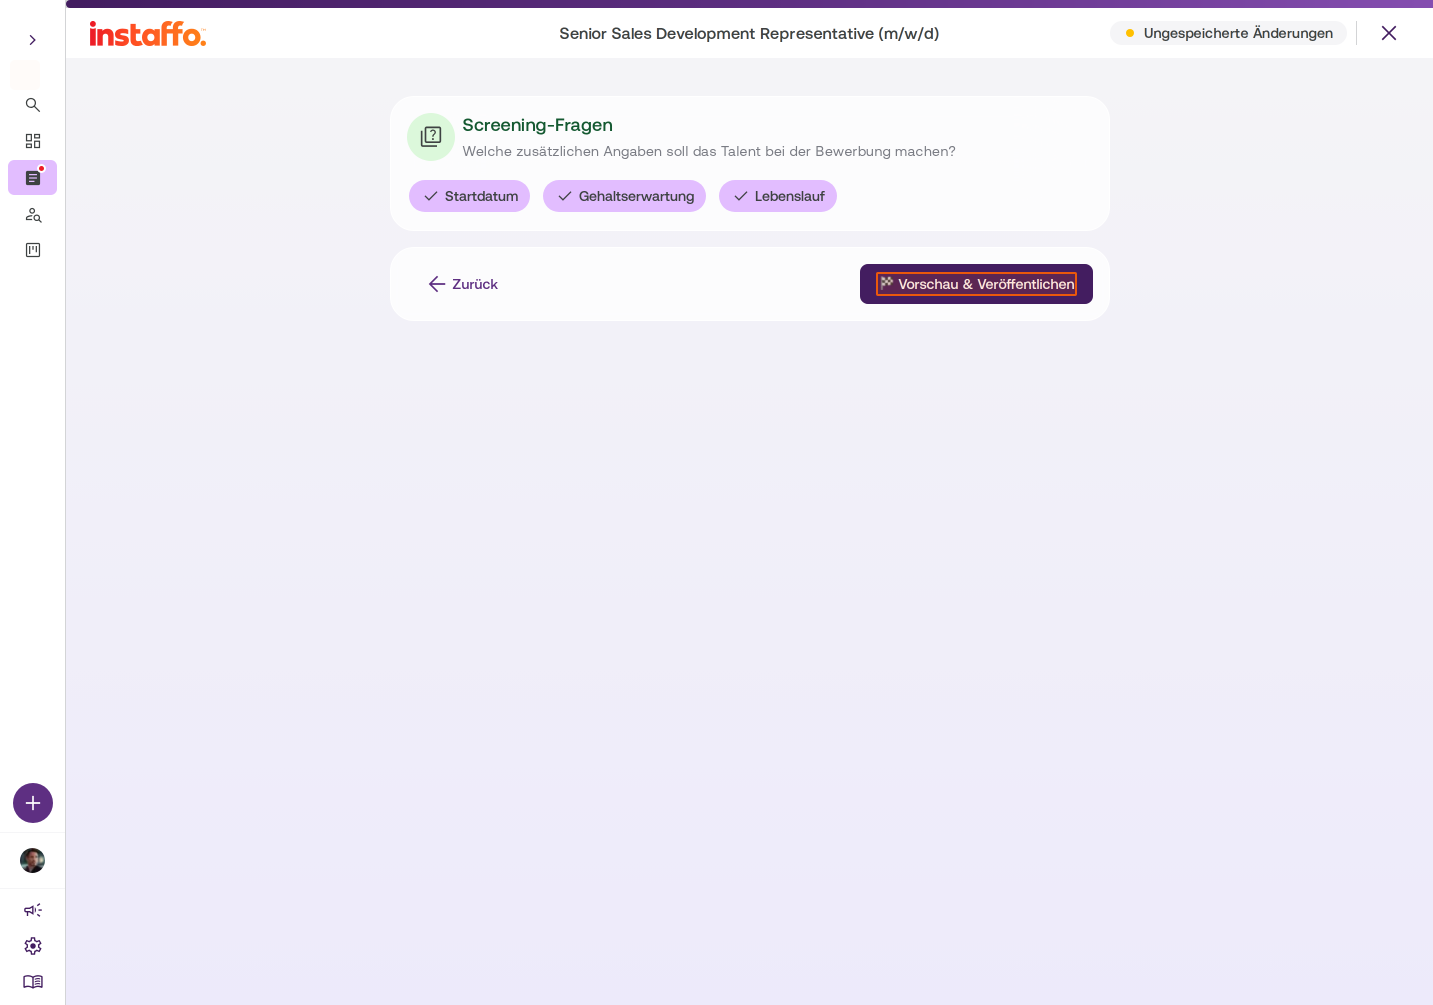
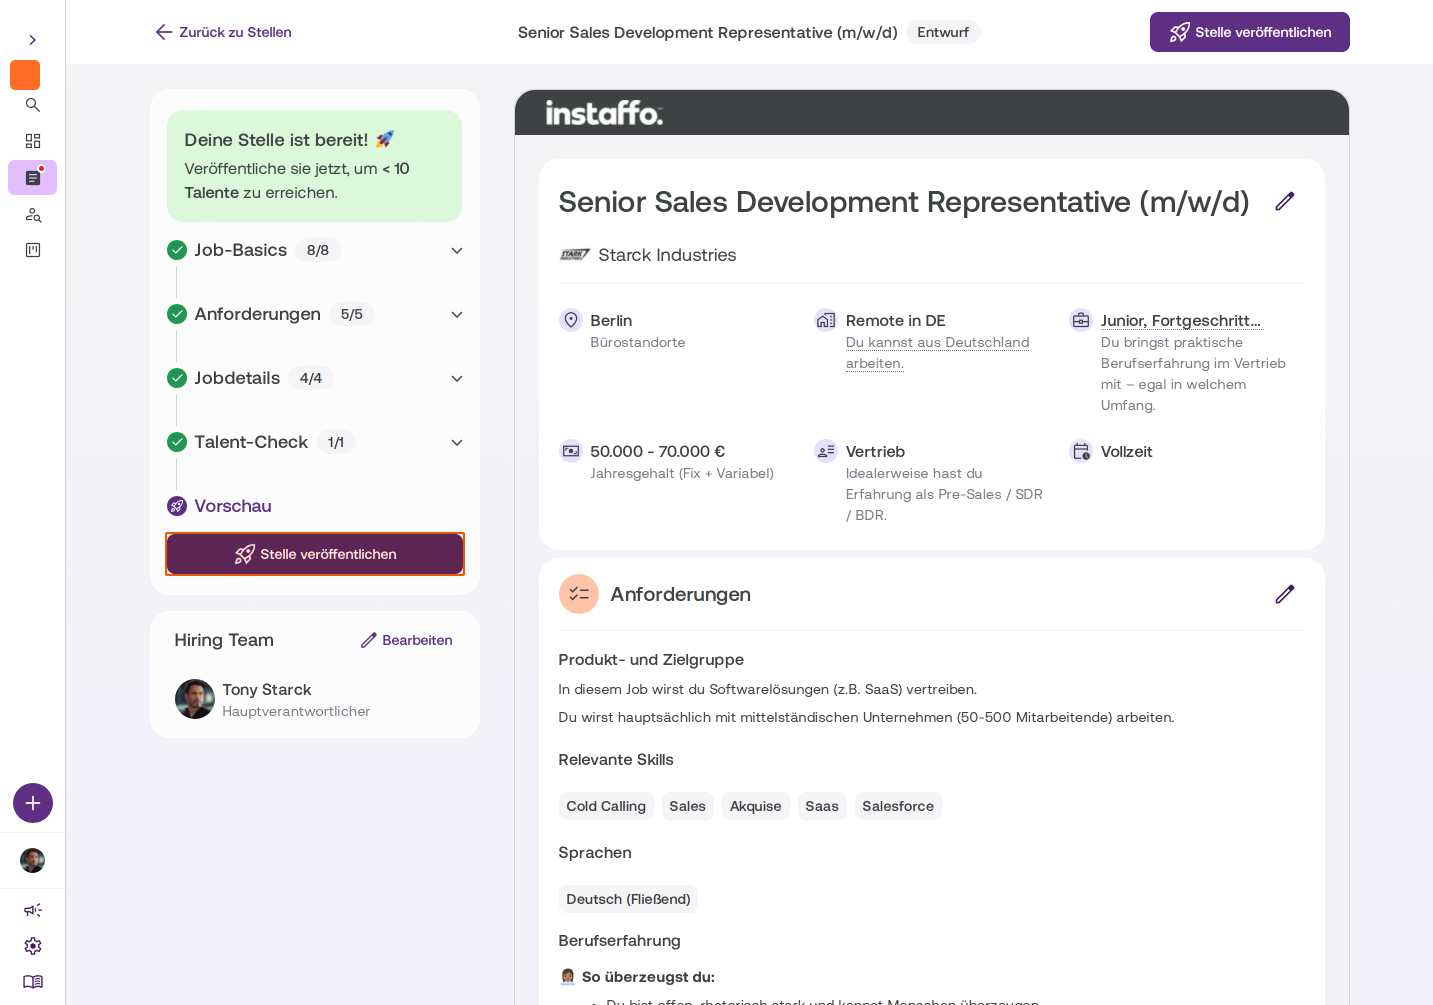
Click Preview & Publish to see a preview of your job posting. The posting is now ready to be published. Finally, click Publish Job Posting to go live.
Your job posting is now published and candidates can apply. You can find the posting in your dashboard under "Jobs" and can edit it anytime.
 Powered by happysupport.ai