
How can I enable screening questions?
Enable screening questions with Talent Check by defining must-have skills and industry experience to improve application quality from qualified candidates
In this article, you'll learn how to set up Talent Check for your job posting. Talent Check lets you enable pre-screening questions, define must-have skills, and configure additional screening questions so you get more relevant applications from qualified talents.

Setting up Talent Check
- Select Talent Check
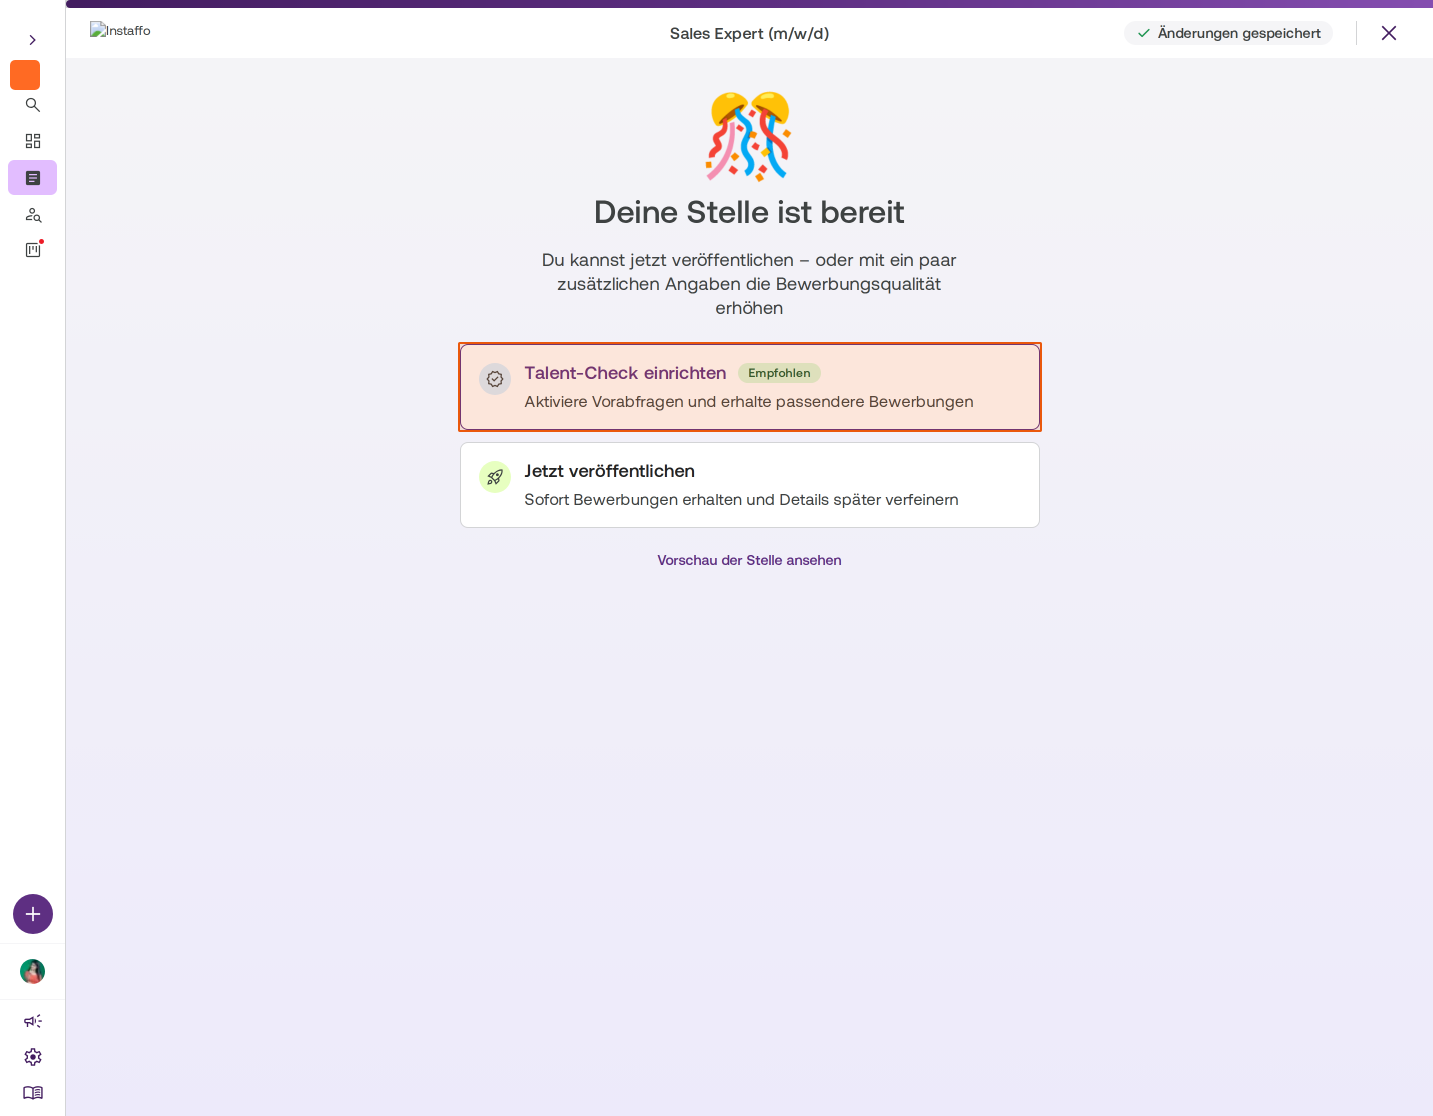
After you've created your job posting, you'll see a selection with two options. Click on the Set up Talent Check card (with the green "Recommended" badge) to enable pre-screening questions and improve application quality. You can adjust these settings later in the Job Cockpit as well.
Configure your initial chat message
-
Create a chat message
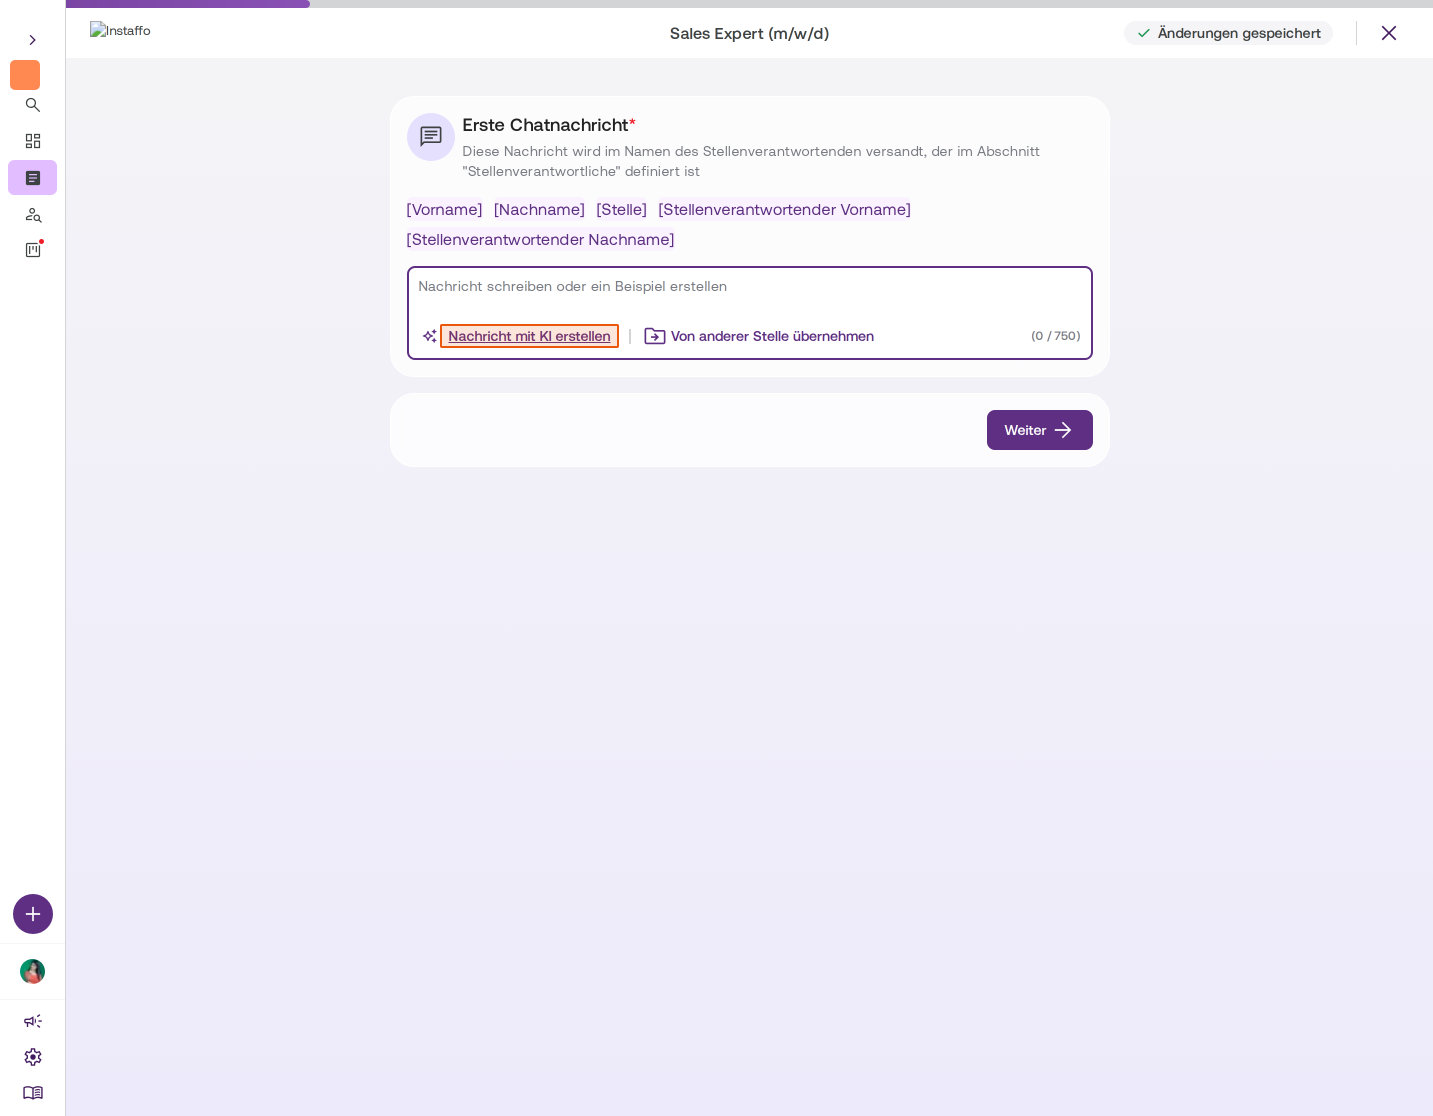
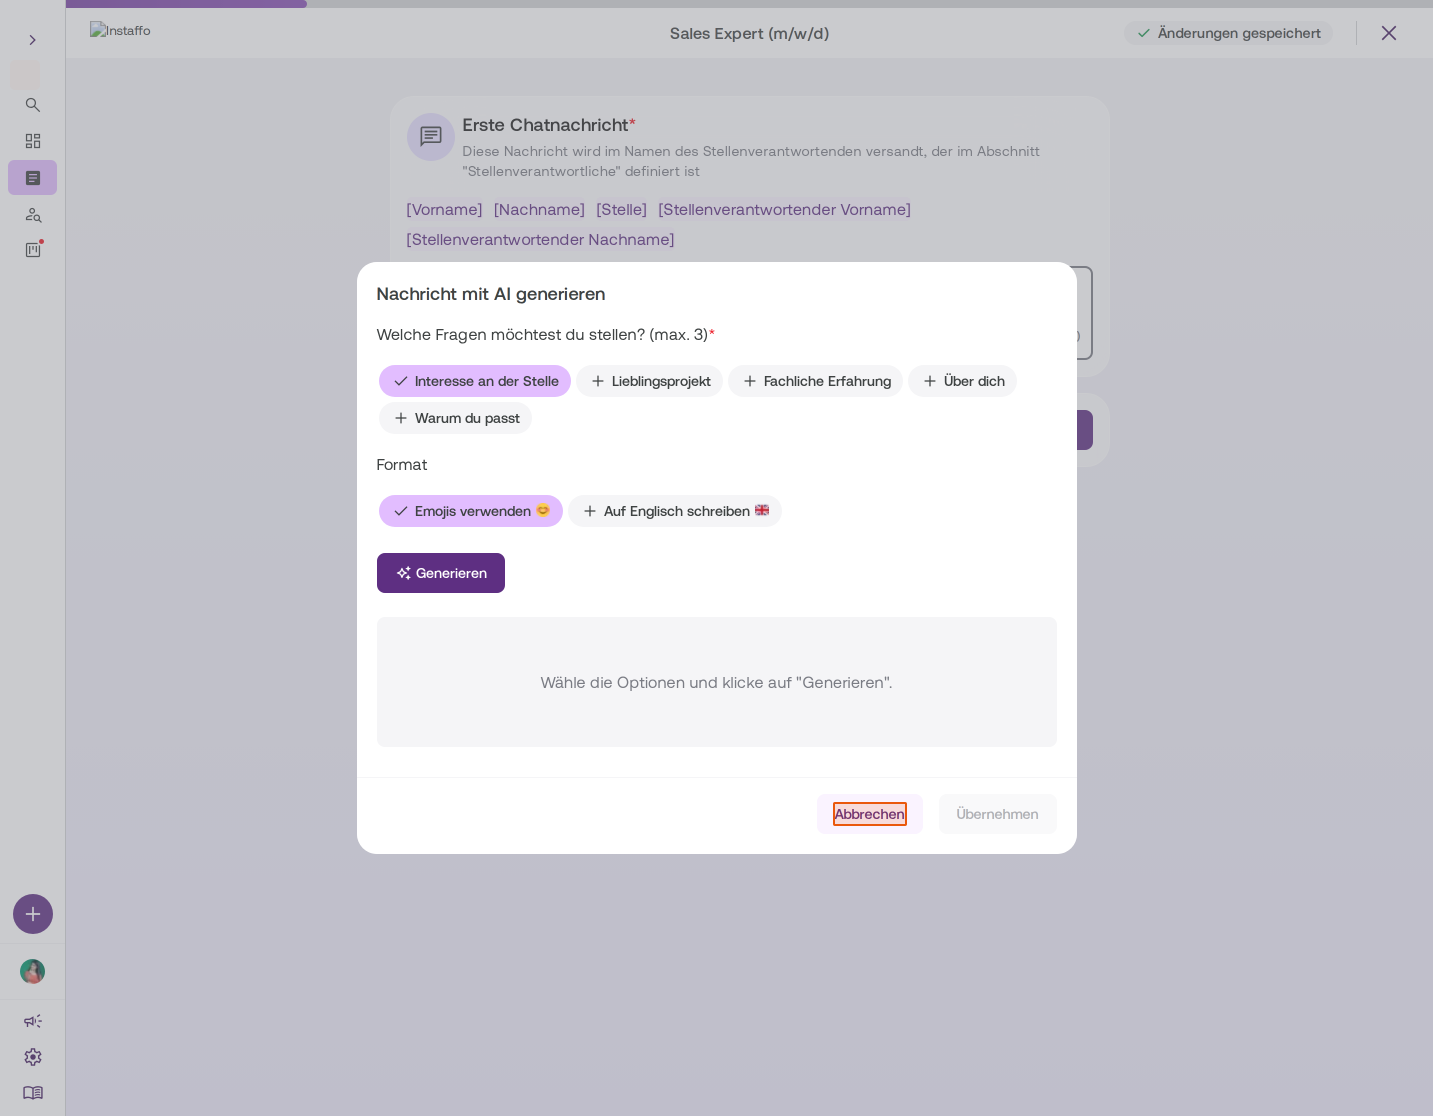
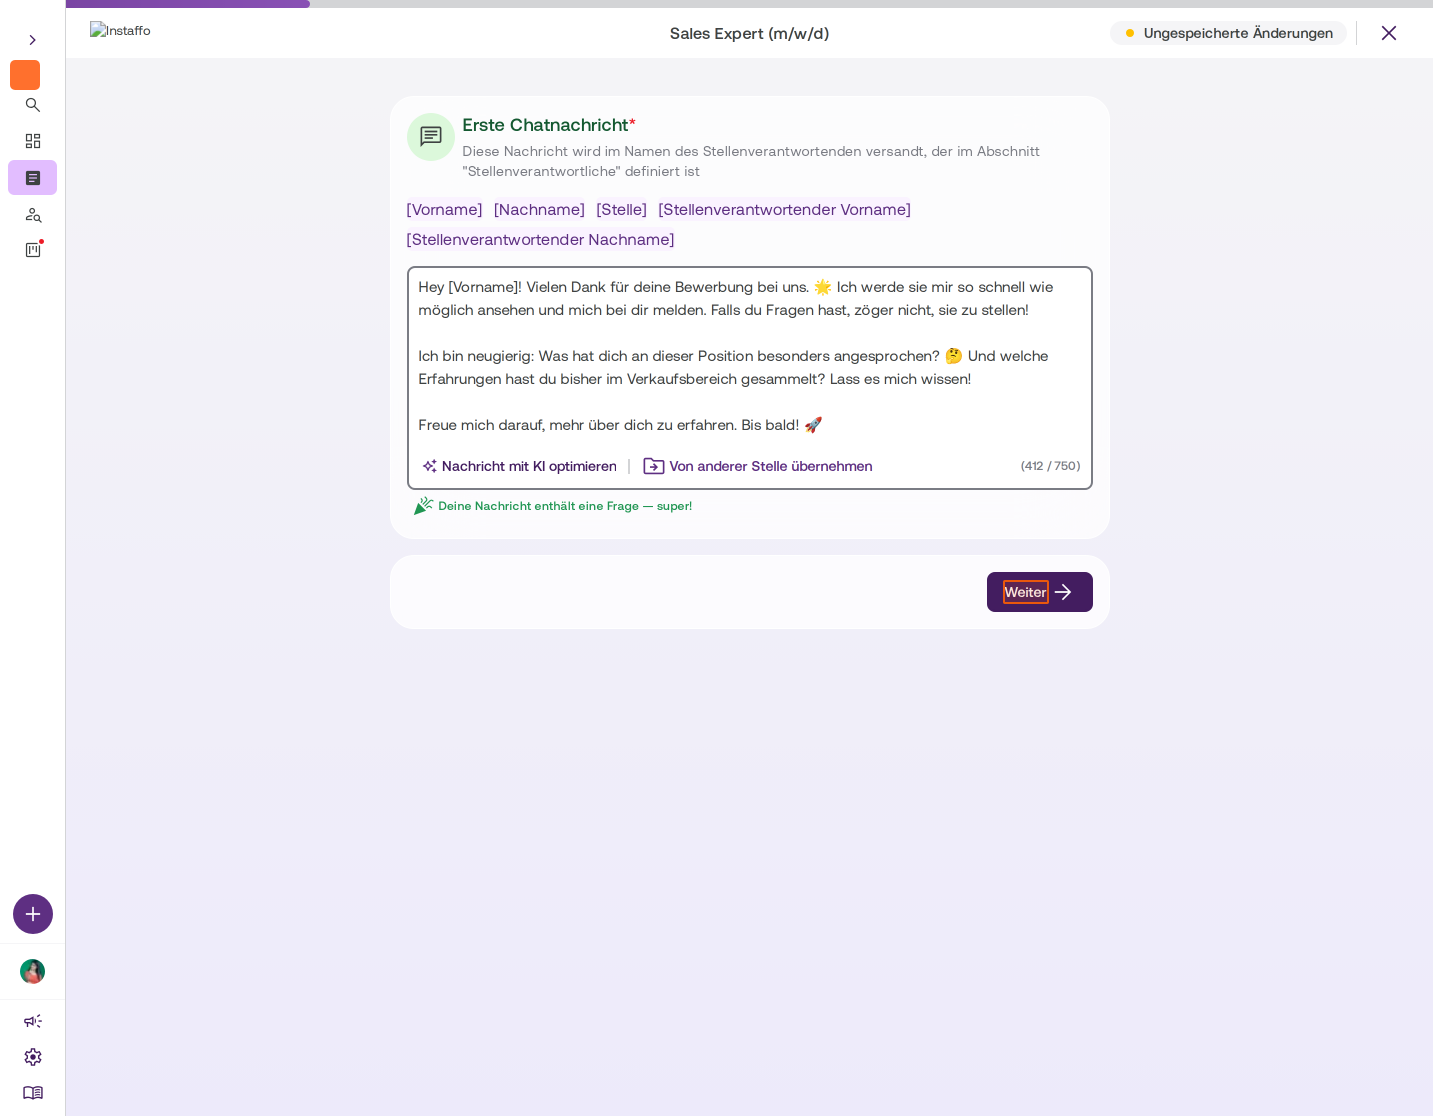
In the Initial Chat Message section, you have two options for creating your message:- Create message with AI: Automatically generates a personalized message based on your selection criteria
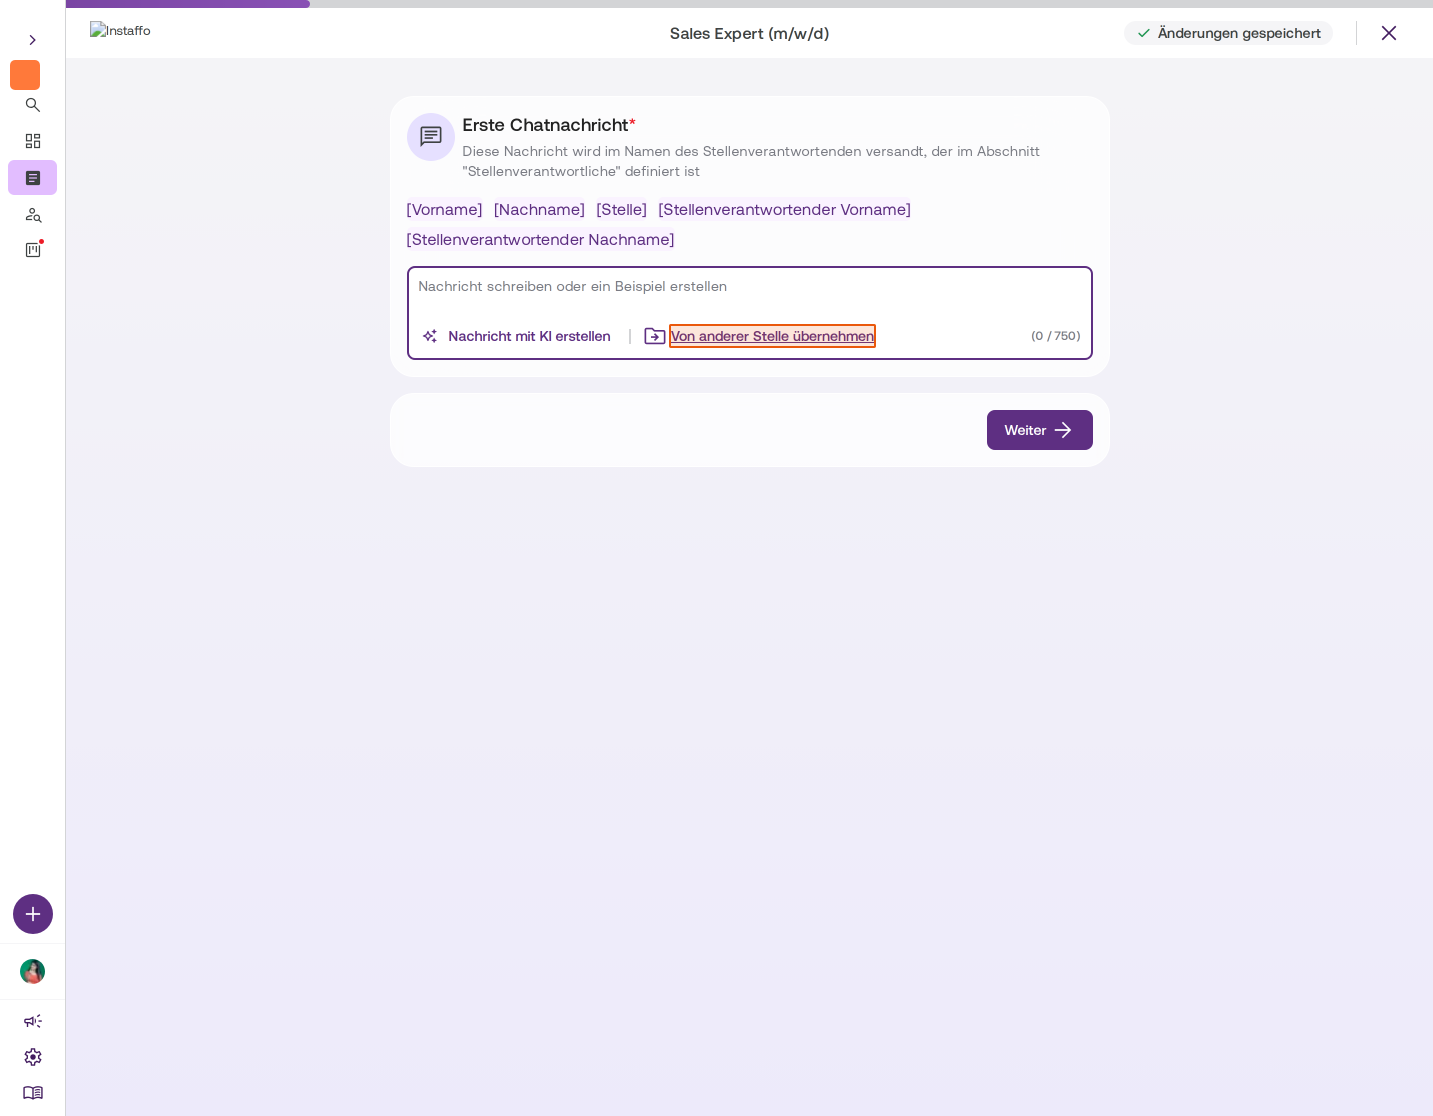
- Take from another position: Uses an existing message from another job posting
-
Take message from another position
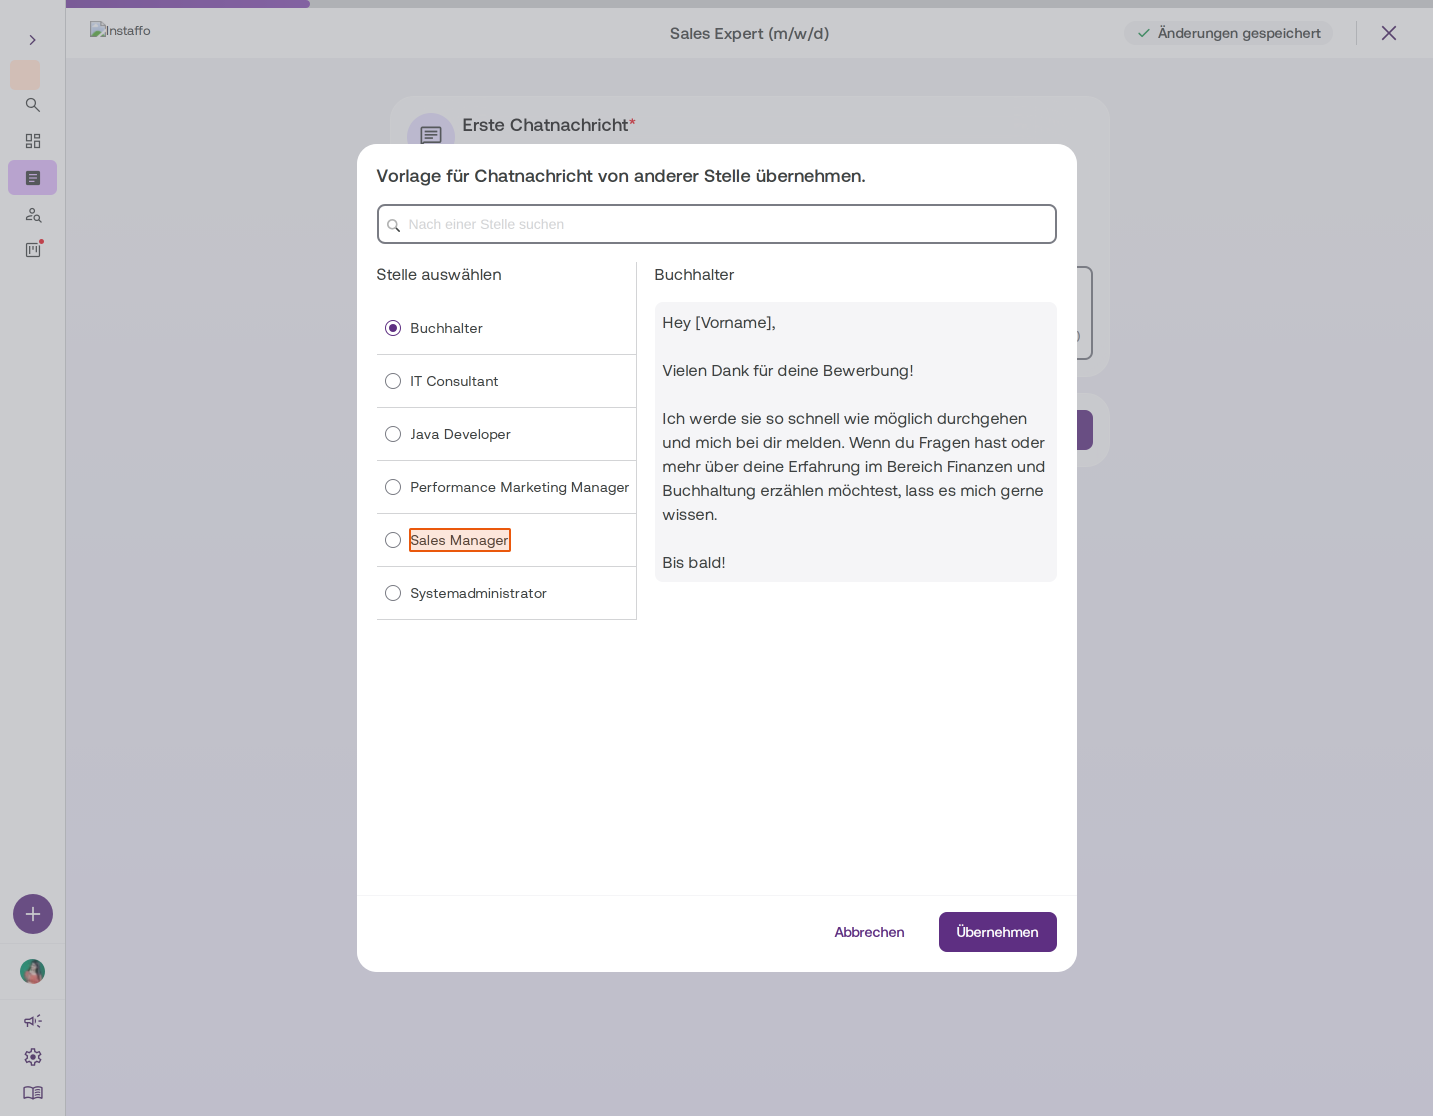
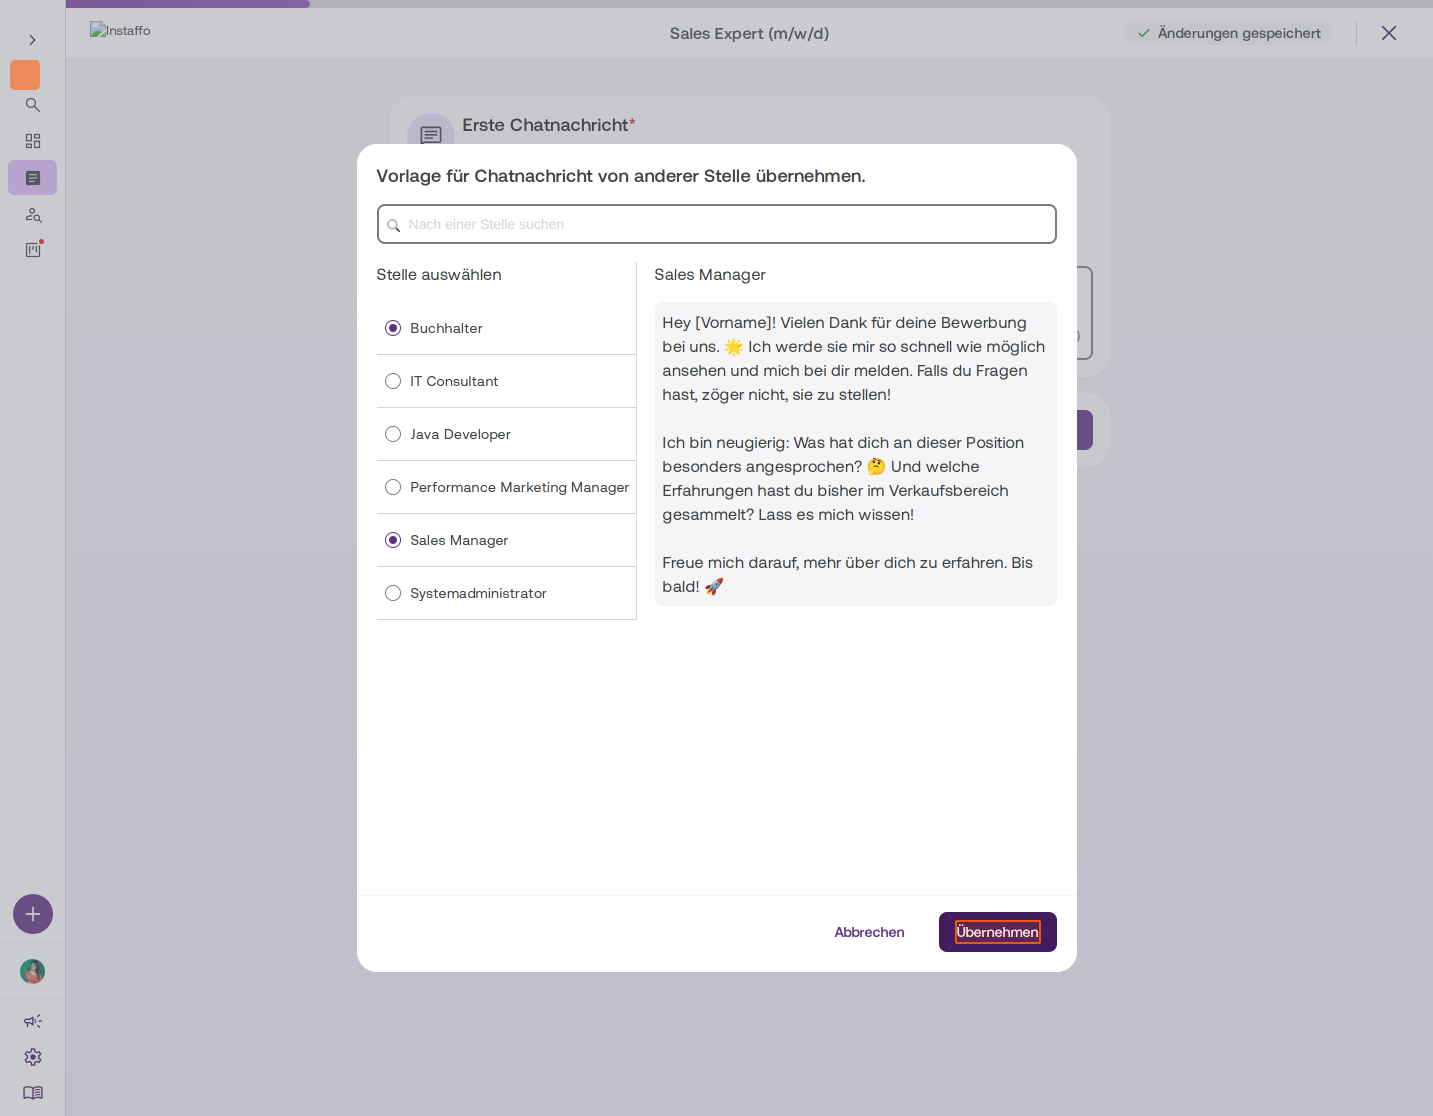
If you want to use an existing template, a dialog will open showing all available positions. Select the position you want from the list (e.g., "Sales Manager") and review the message preview on the right side. Then click Apply to import the message. -
Move to the next step
After you've created your chat message (you'll see a green note saying "Your message contains a question - awesome!"), click Next.
Define must-have skills
-
Set skills and years of experience
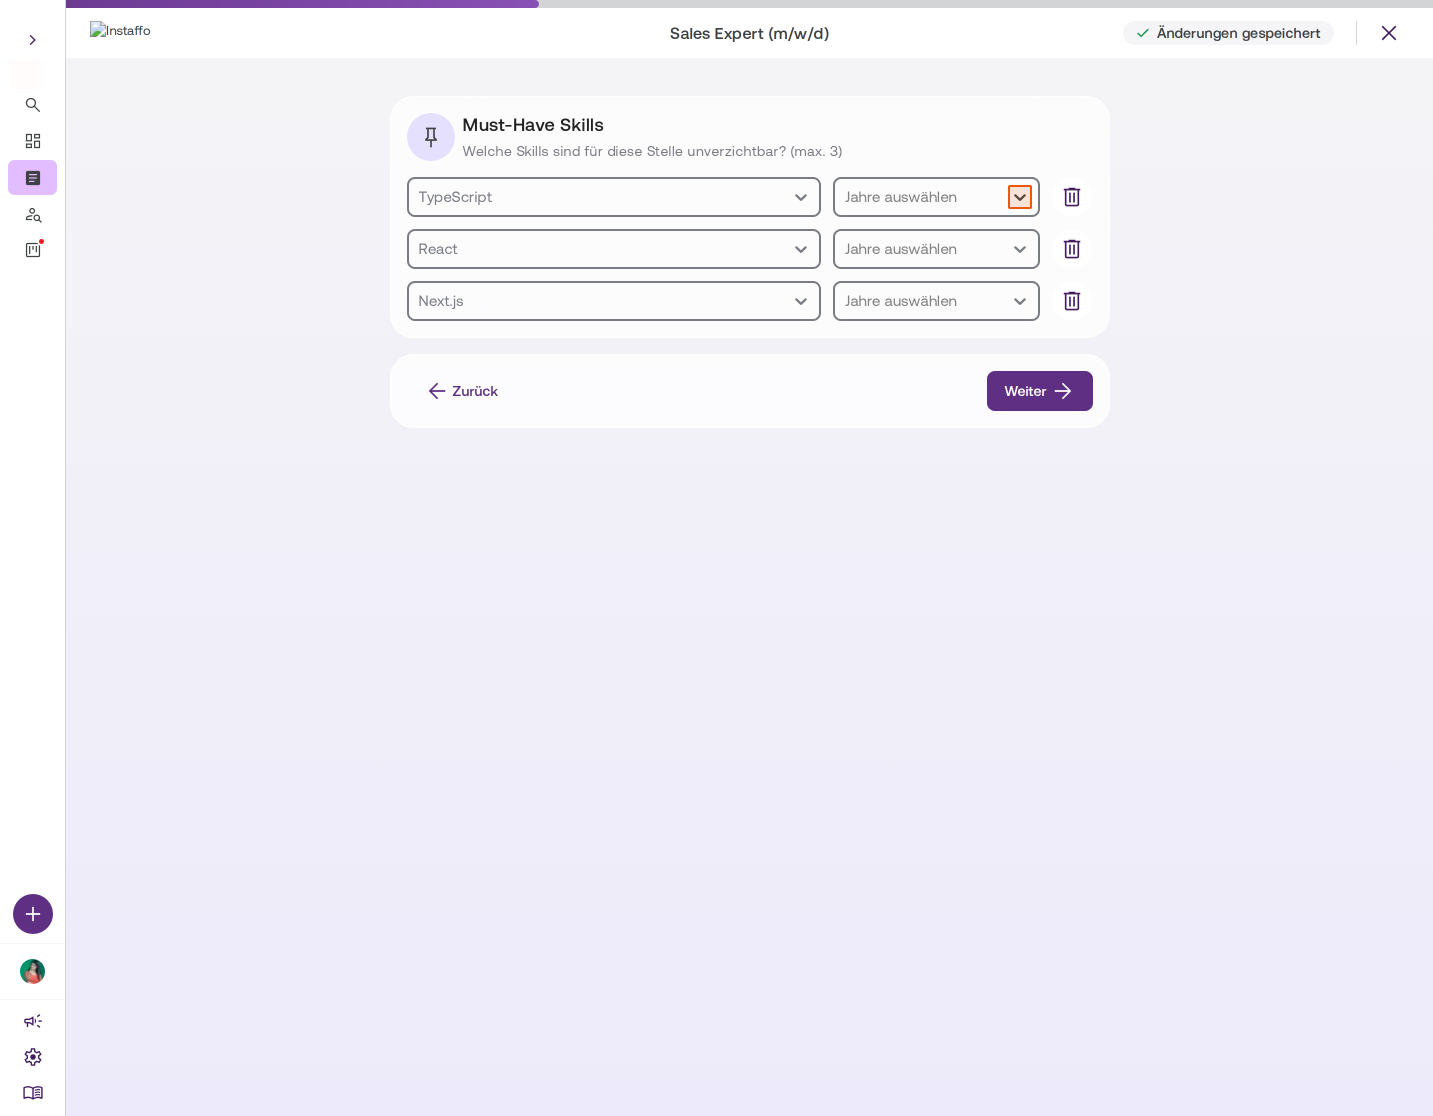
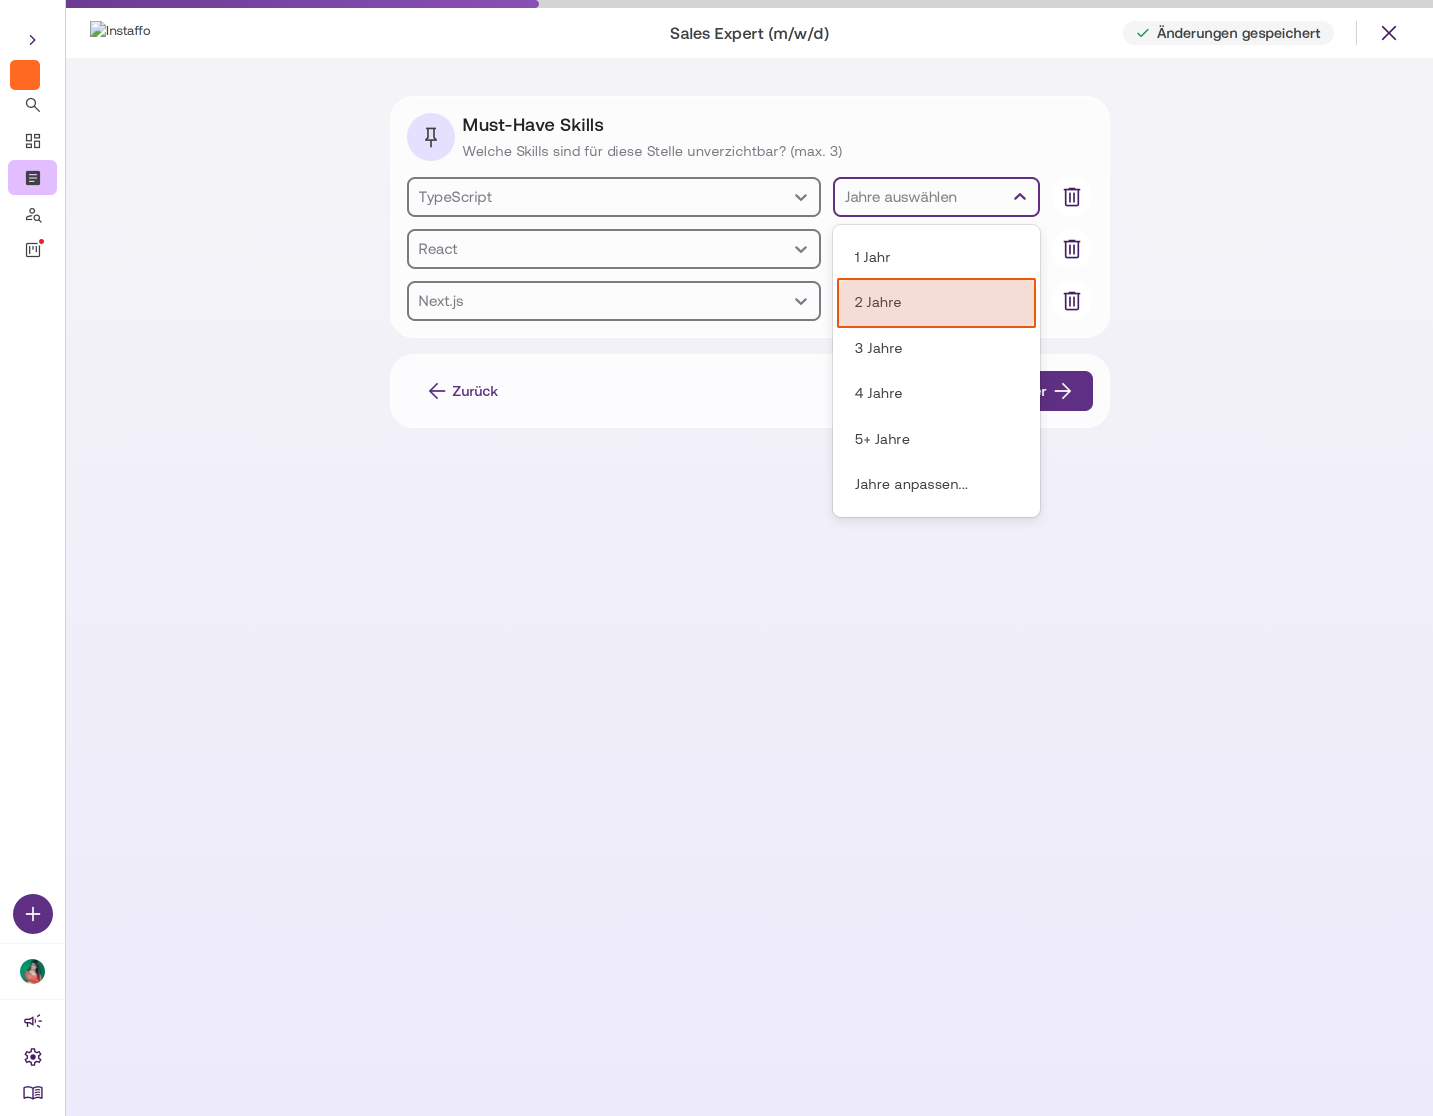
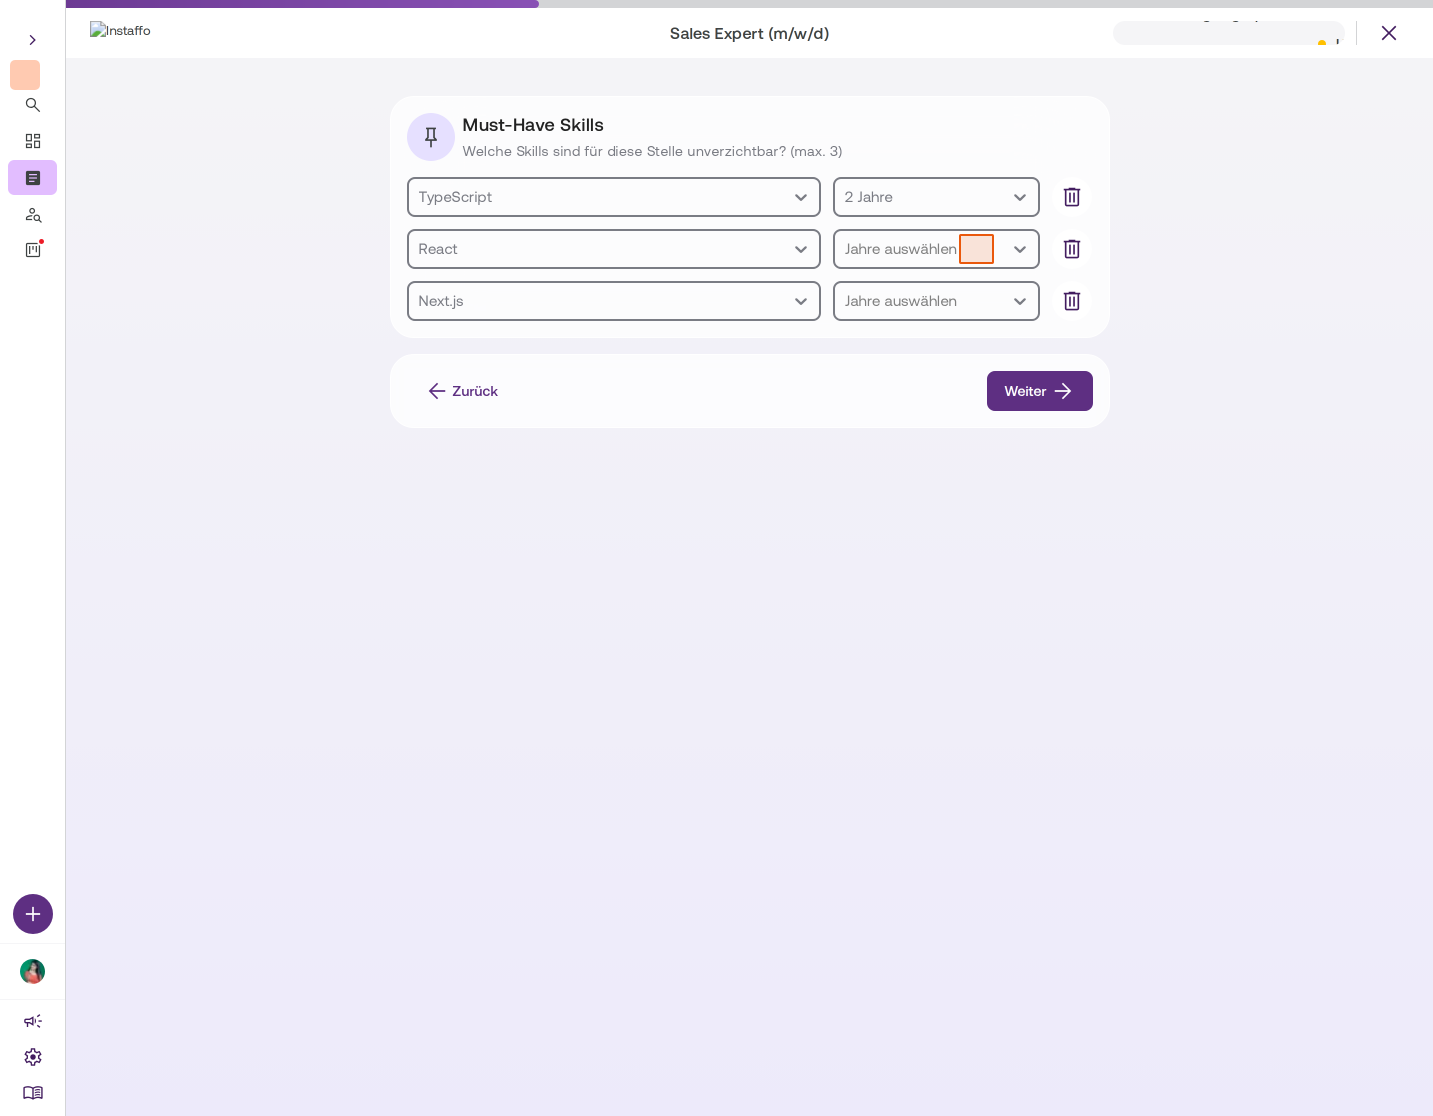
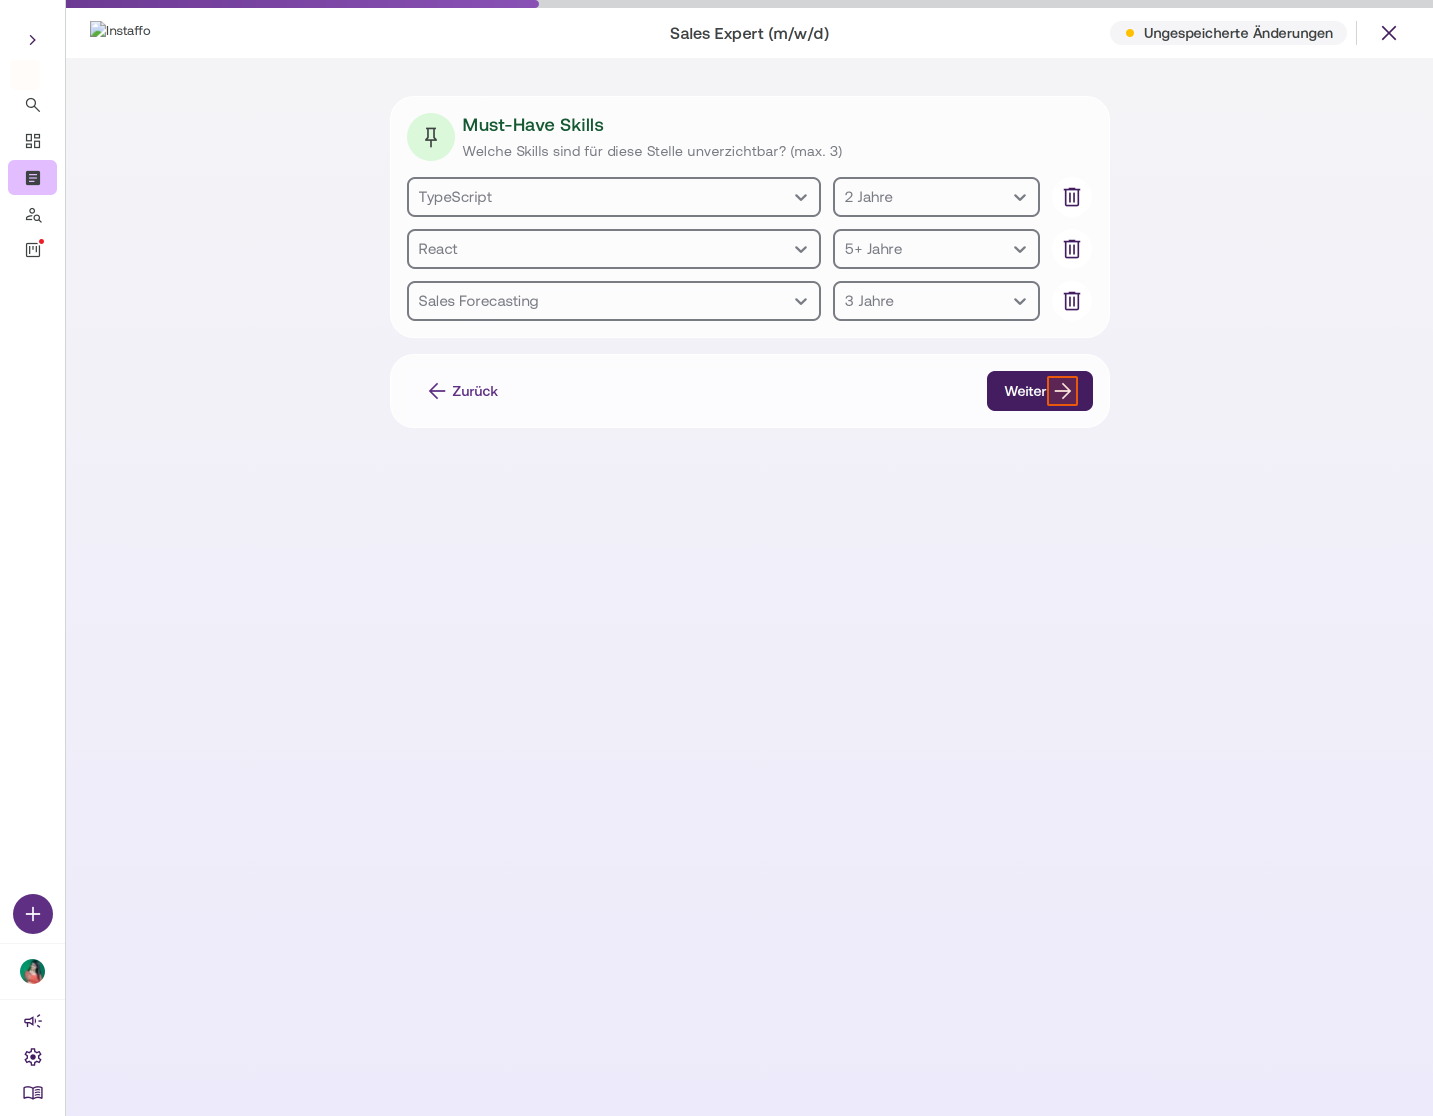
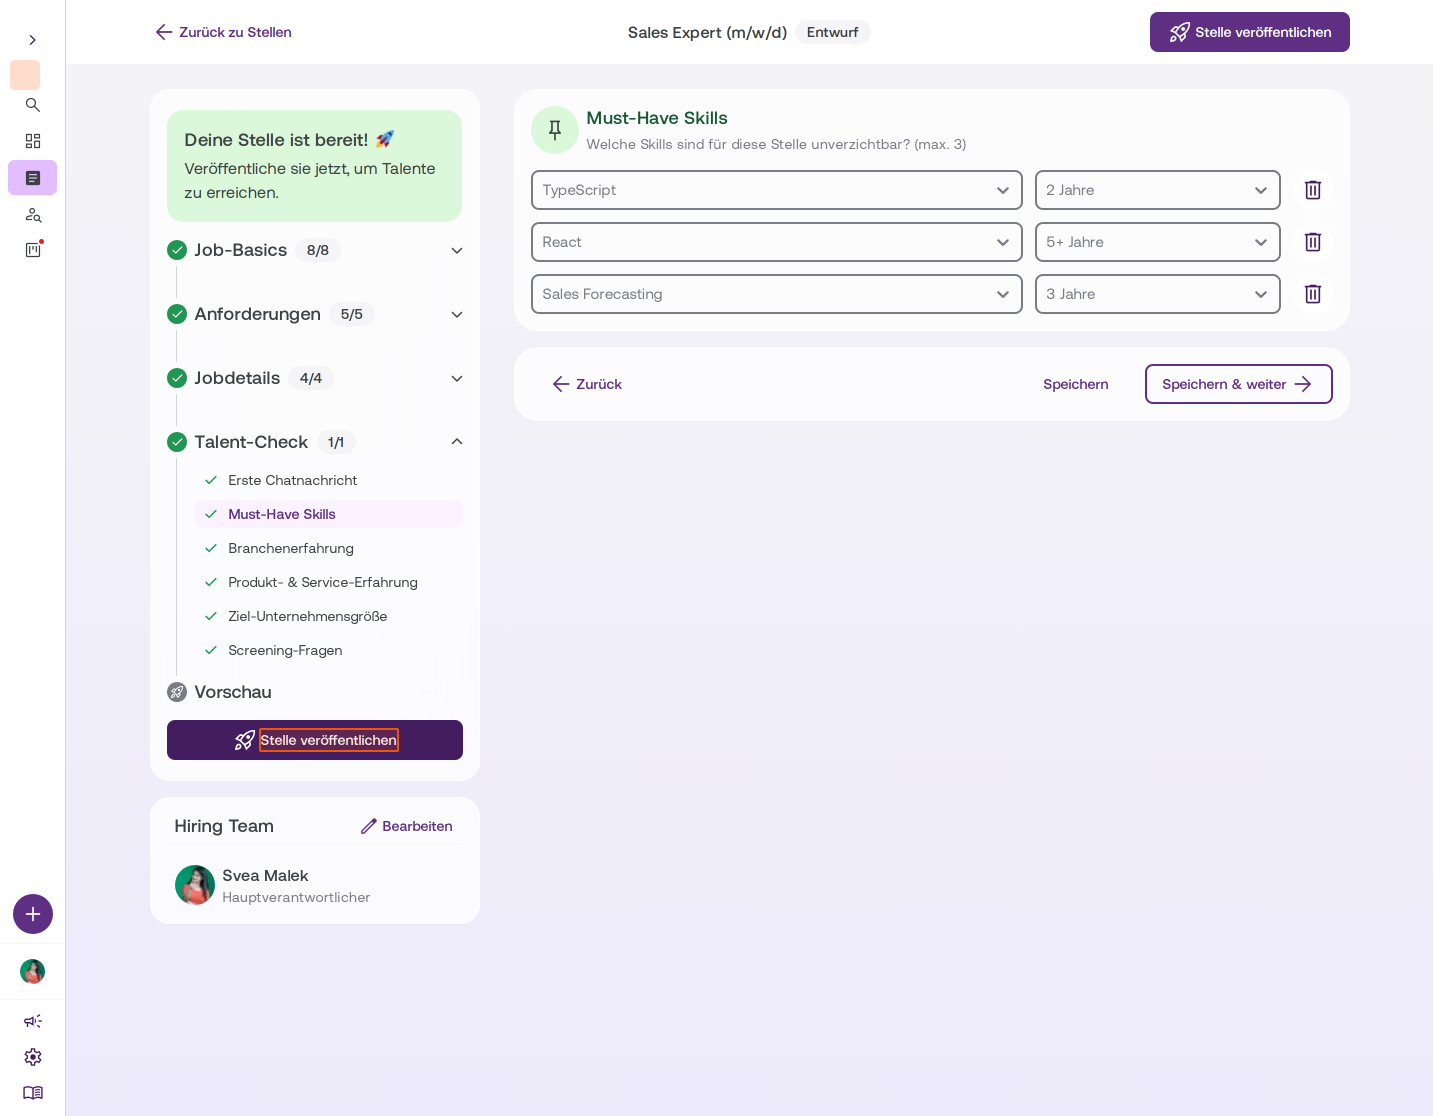
In the Must-Have Skills section, you can define up to three essential skills from the skills already added to the position. For each skill:- Select the skill from the left dropdown
- Set the required years of experience in the right dropdown (e.g., "2 years", "5+ years")
-
Confirm skills and continue
Once you've configured all your desired must-have skills with the corresponding years of experience, click Next.
Select industry experience
-
Define industries
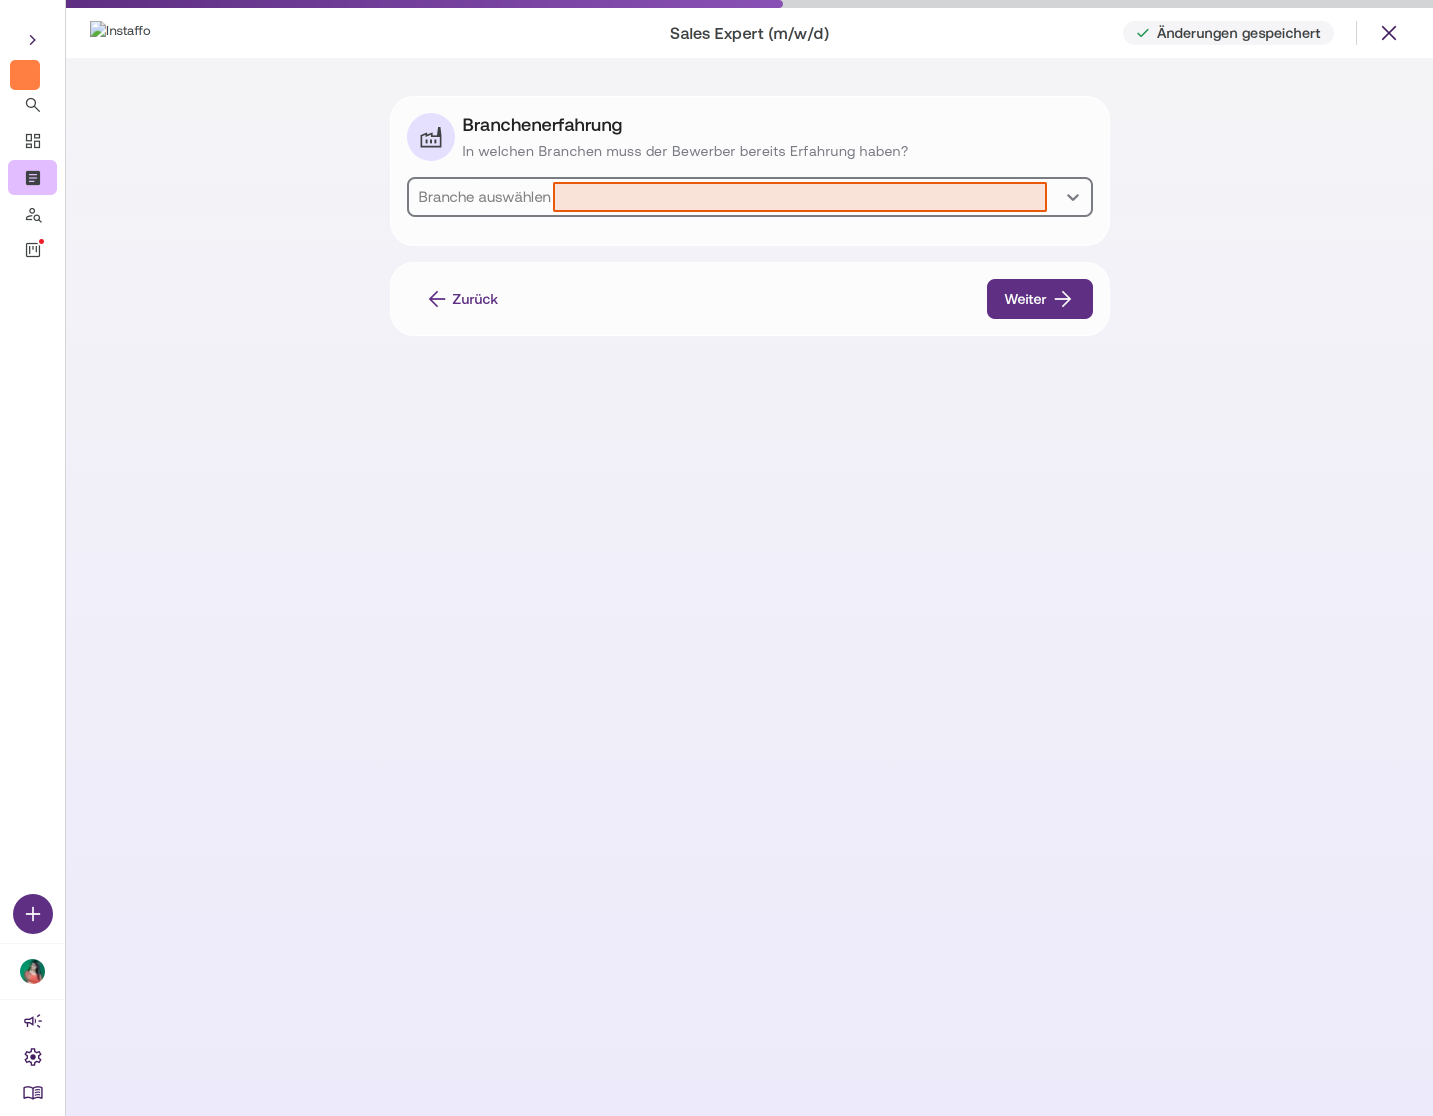
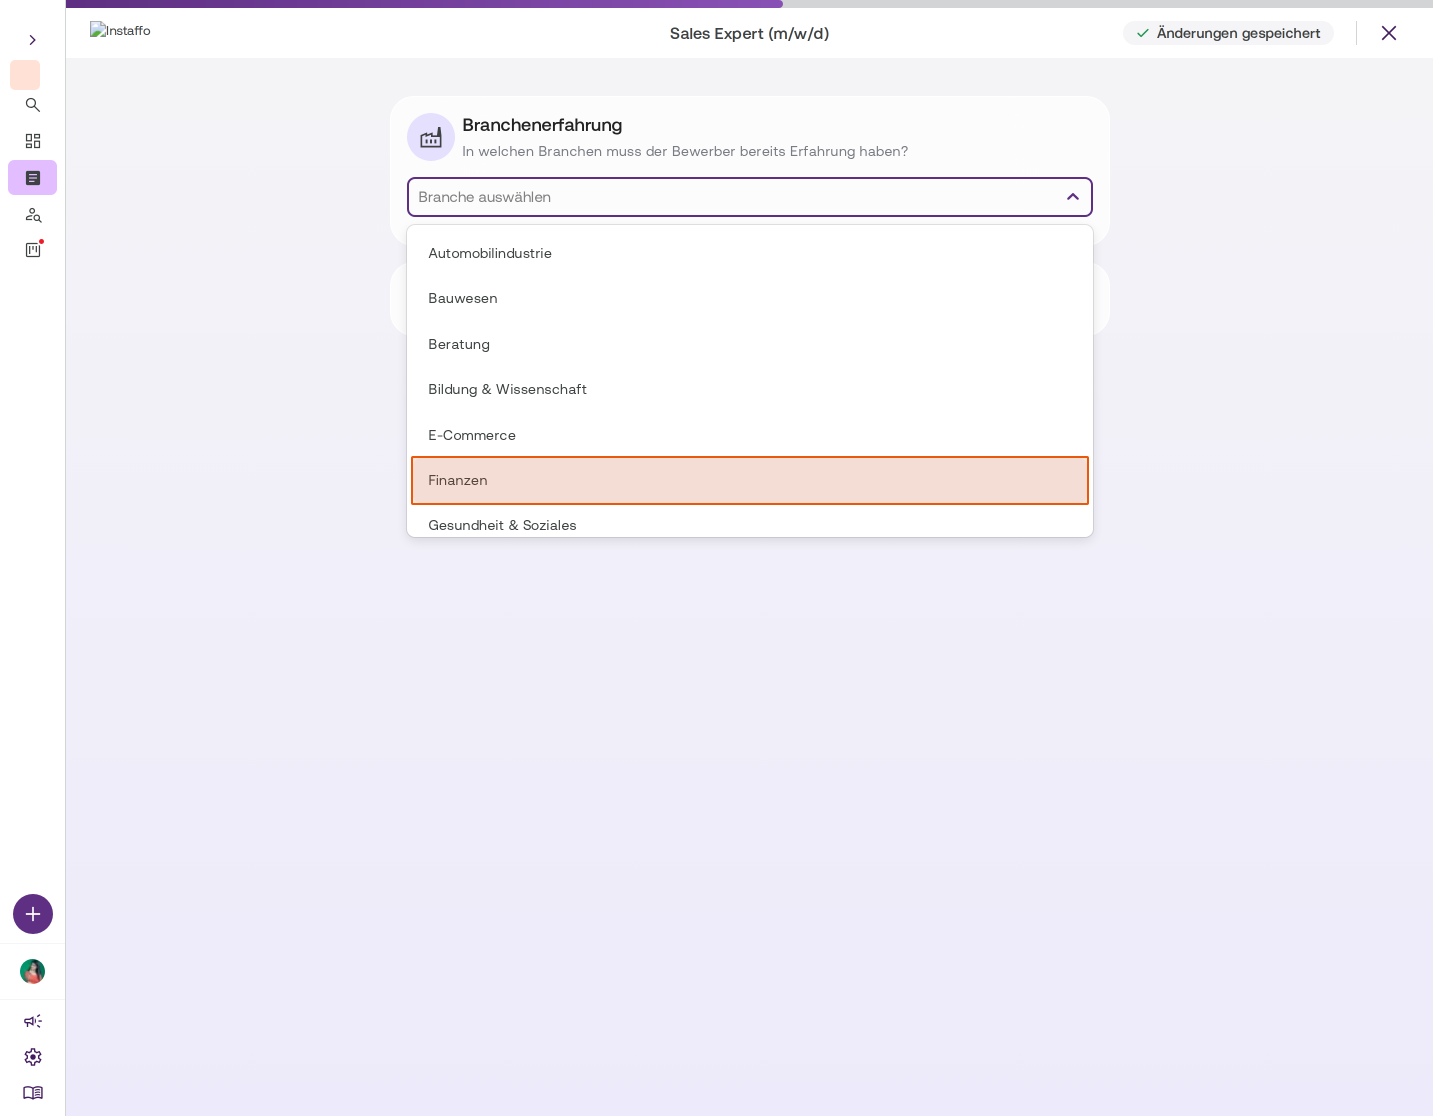
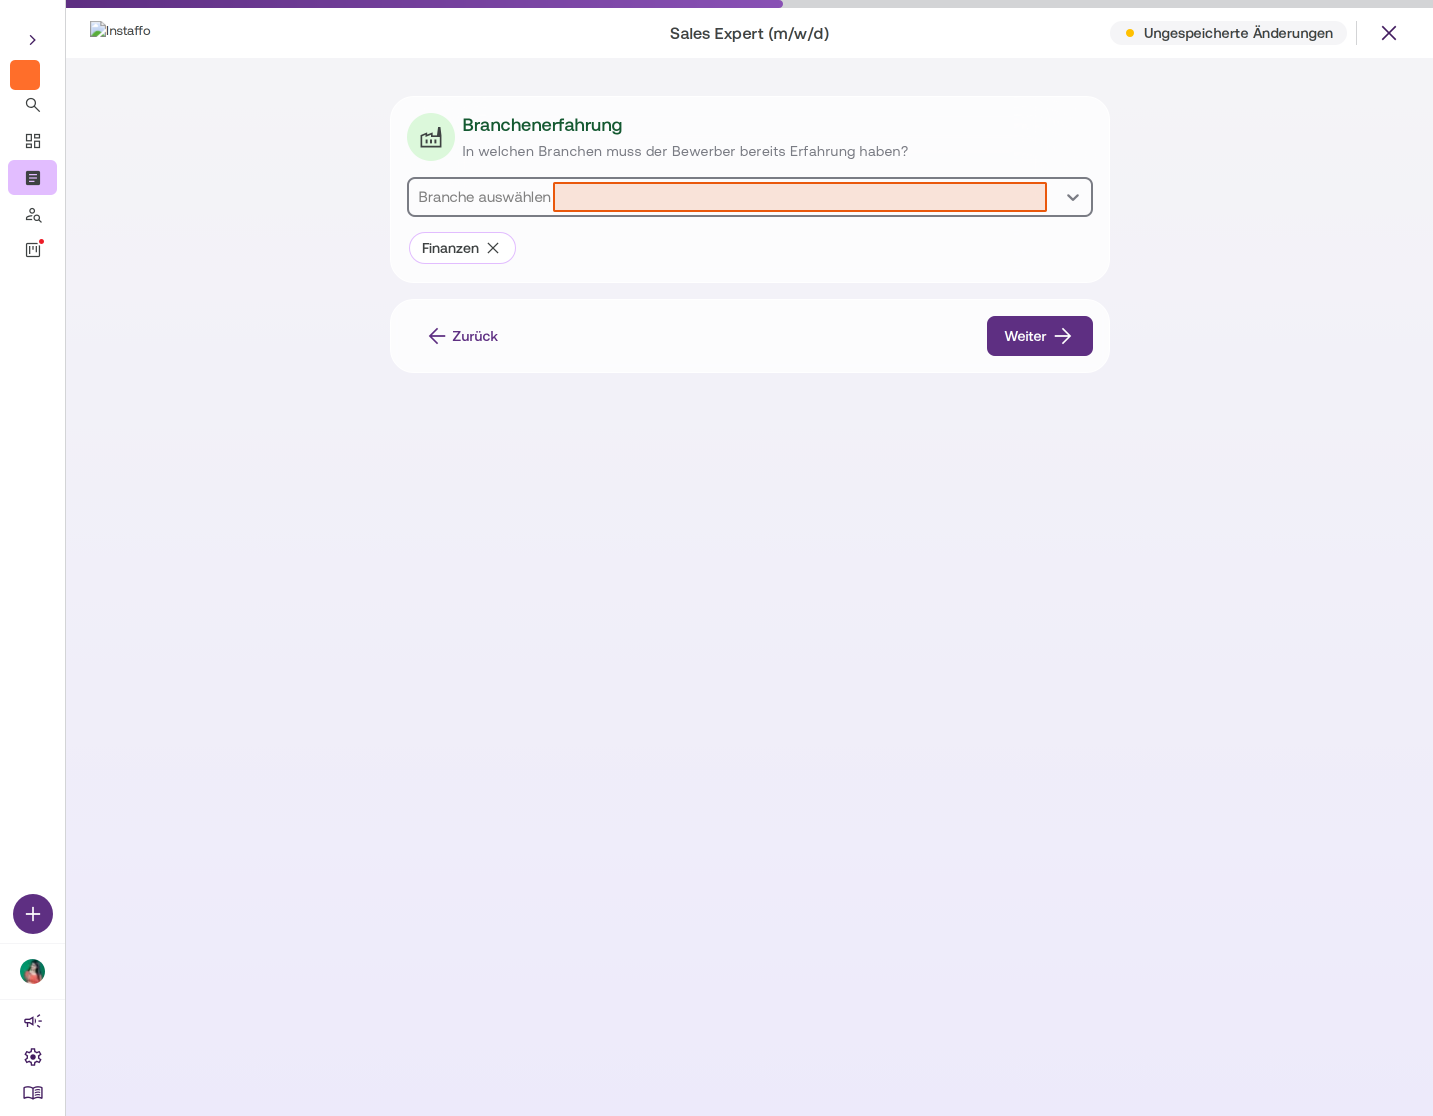
In the Industry Experience section, you can optionally specify which industries your talent should have experience in. Click on the Select industry dropdown and choose the industries you want (e.g., "Finance", "Consulting"). Selected industries appear as tags below the dropdown and can be removed using the X icon. -
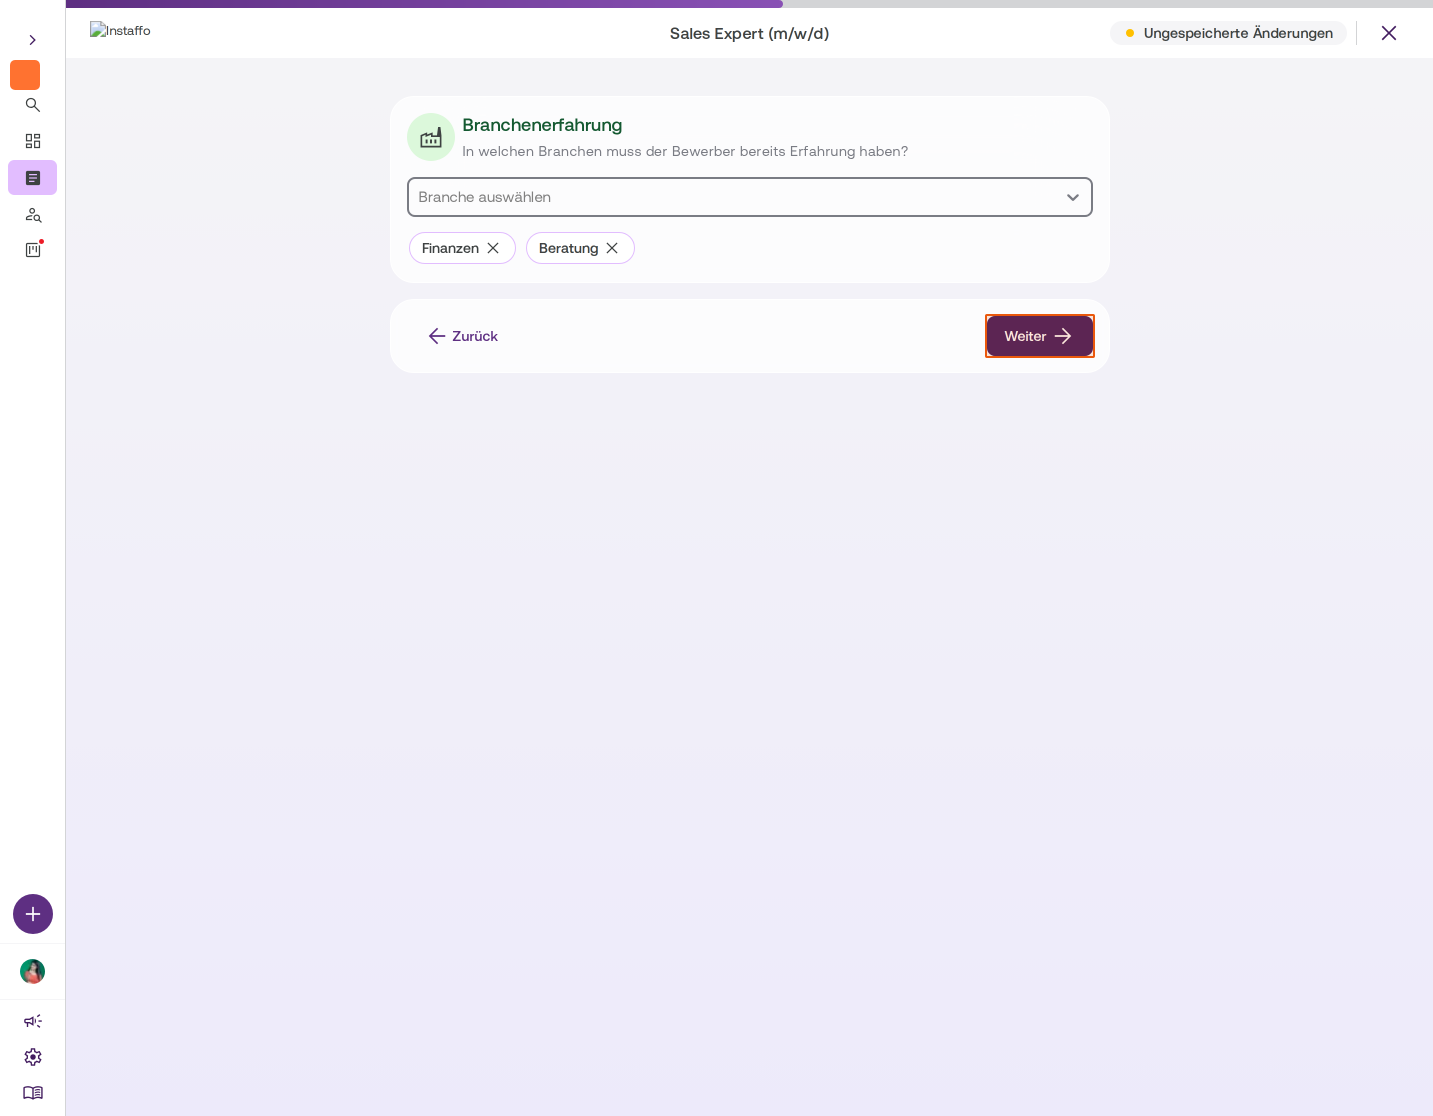
Confirm industry experience
Click Next to move to the next step.
Configure product and service experience (sales positions only)
-
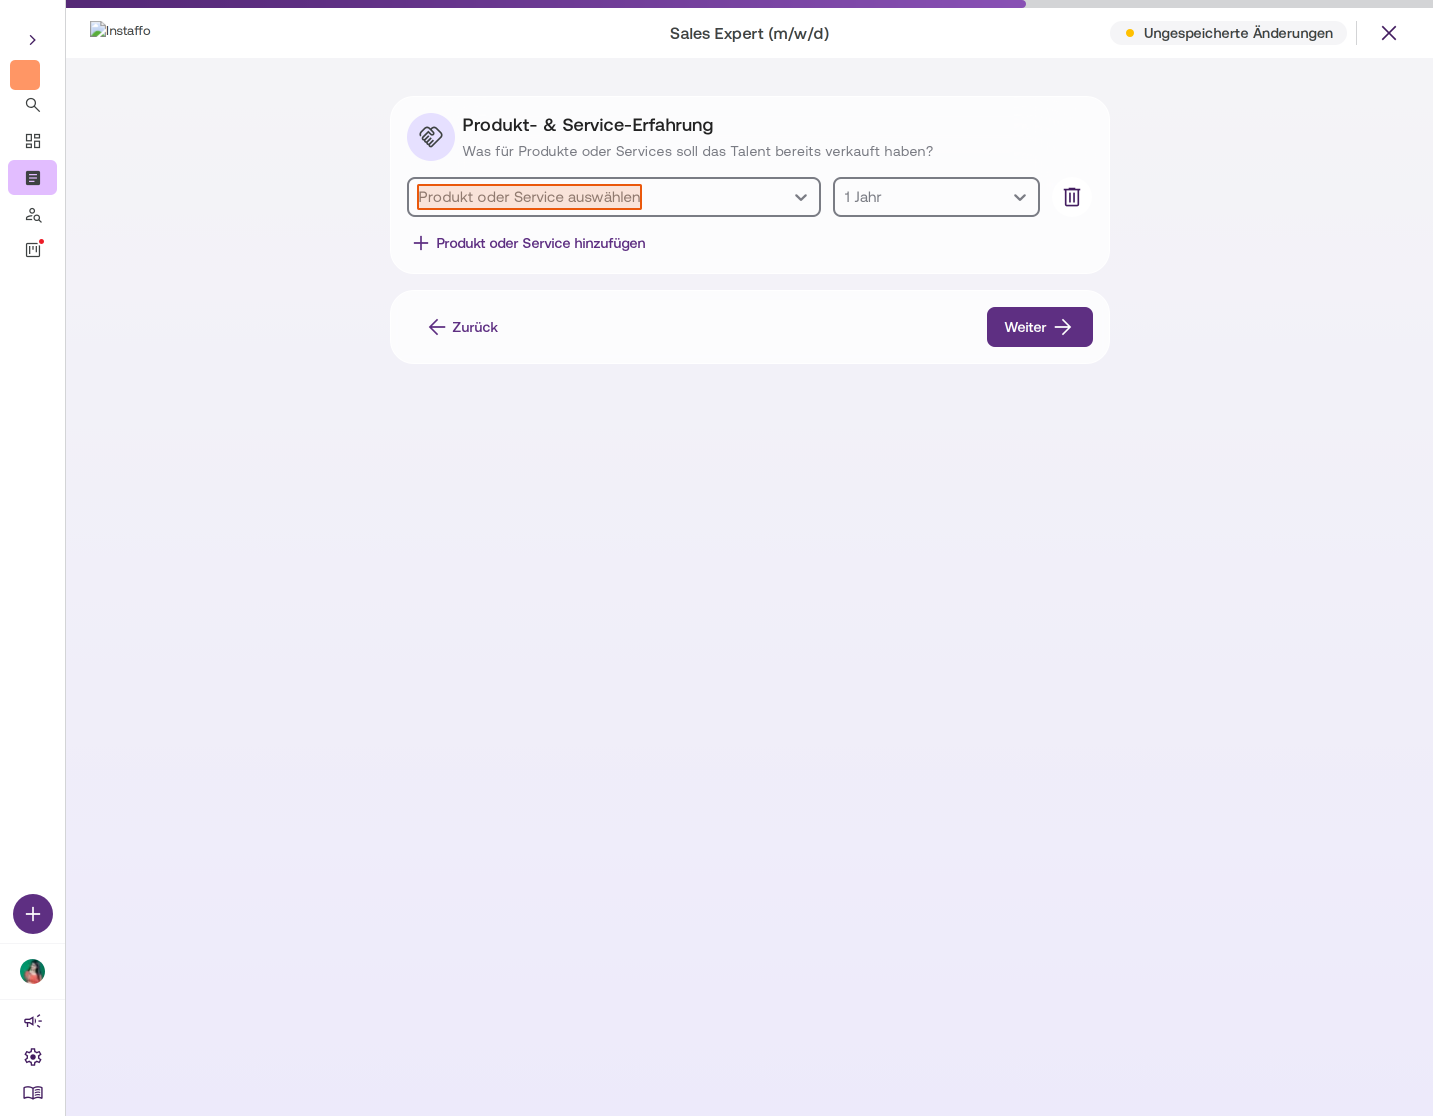
Add product or service experience
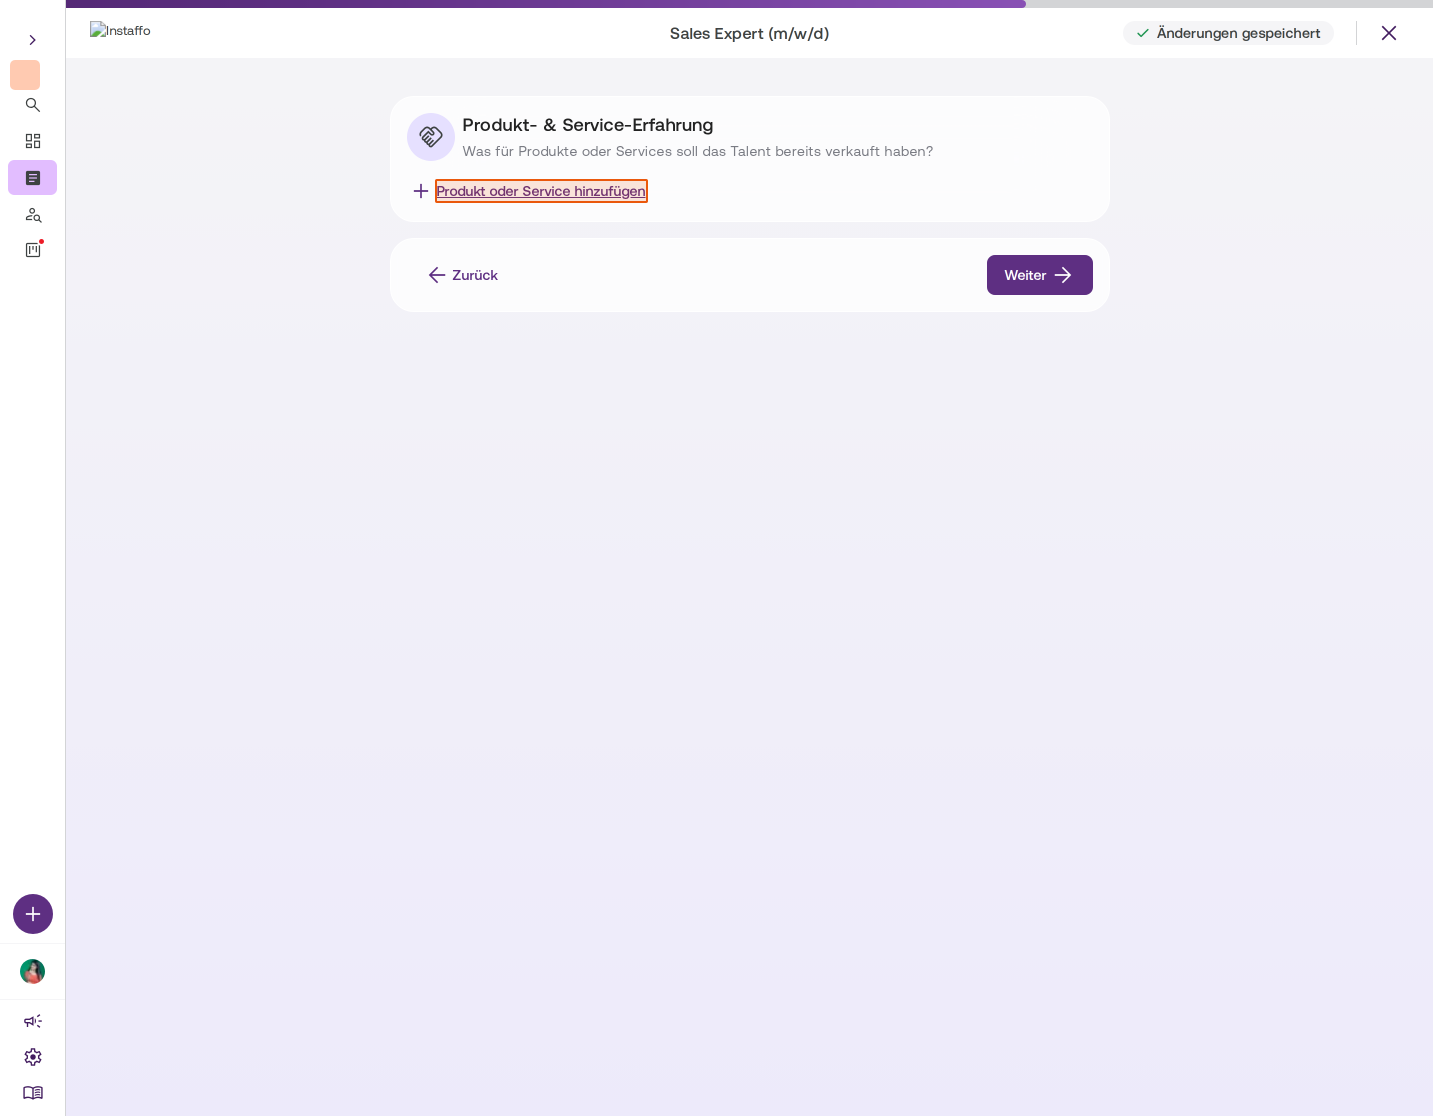
For sales positions, there are additional question options. Click Add product or service to specify which products or services your talent should have sold. -
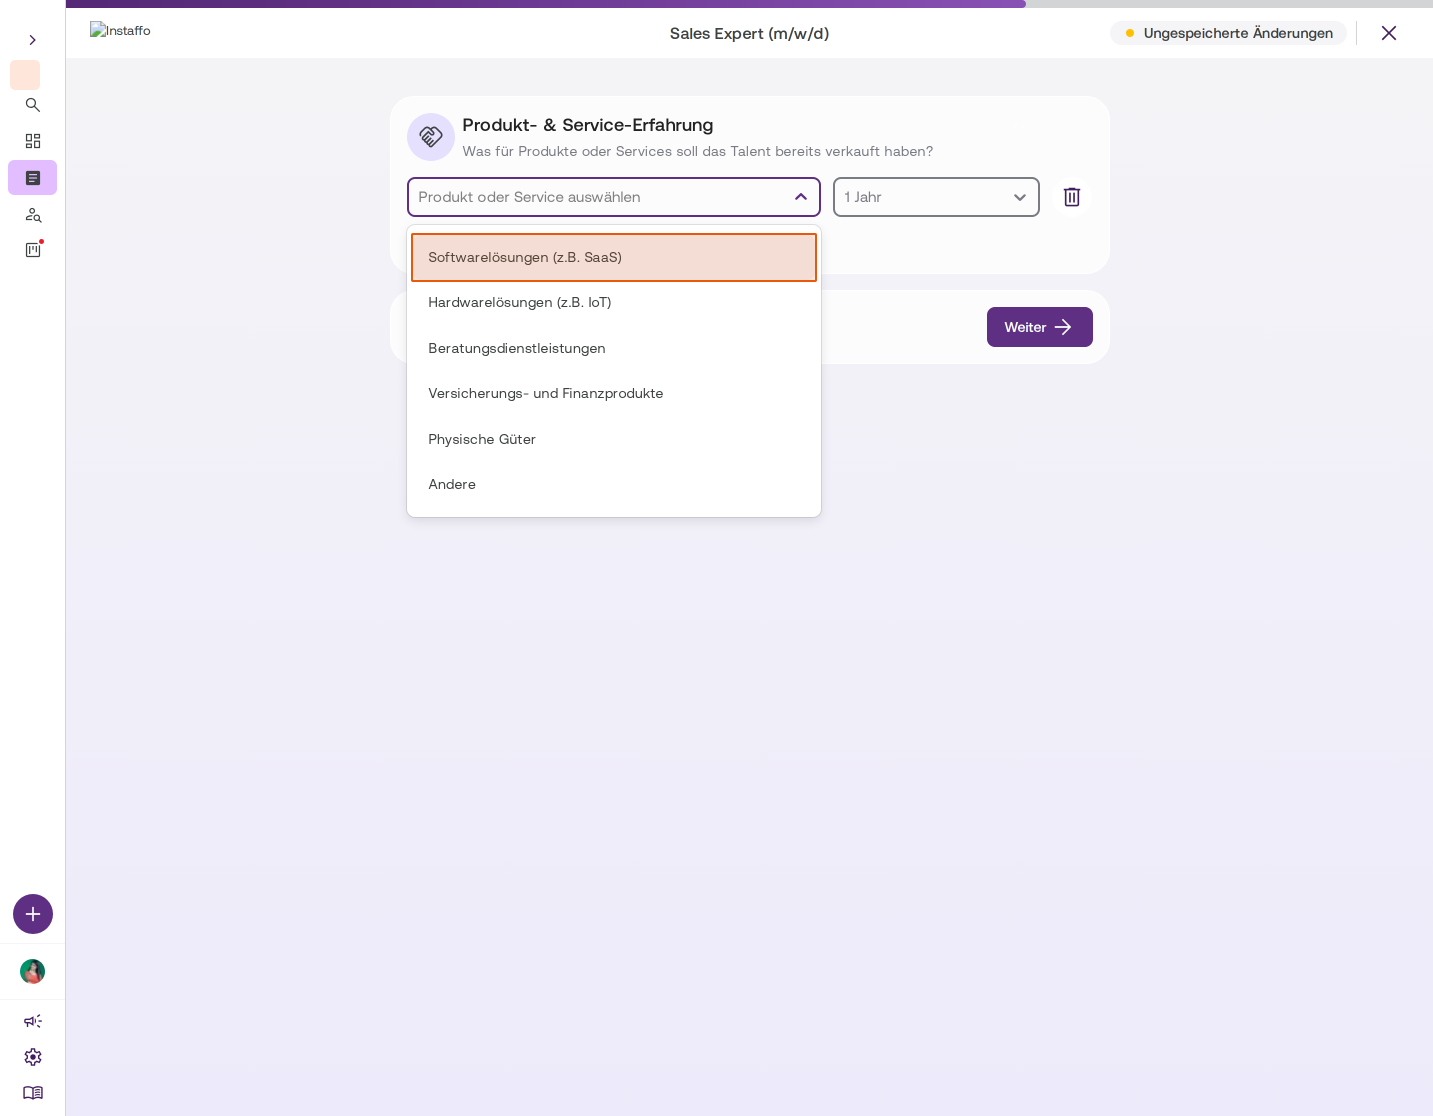
Select product and experience duration
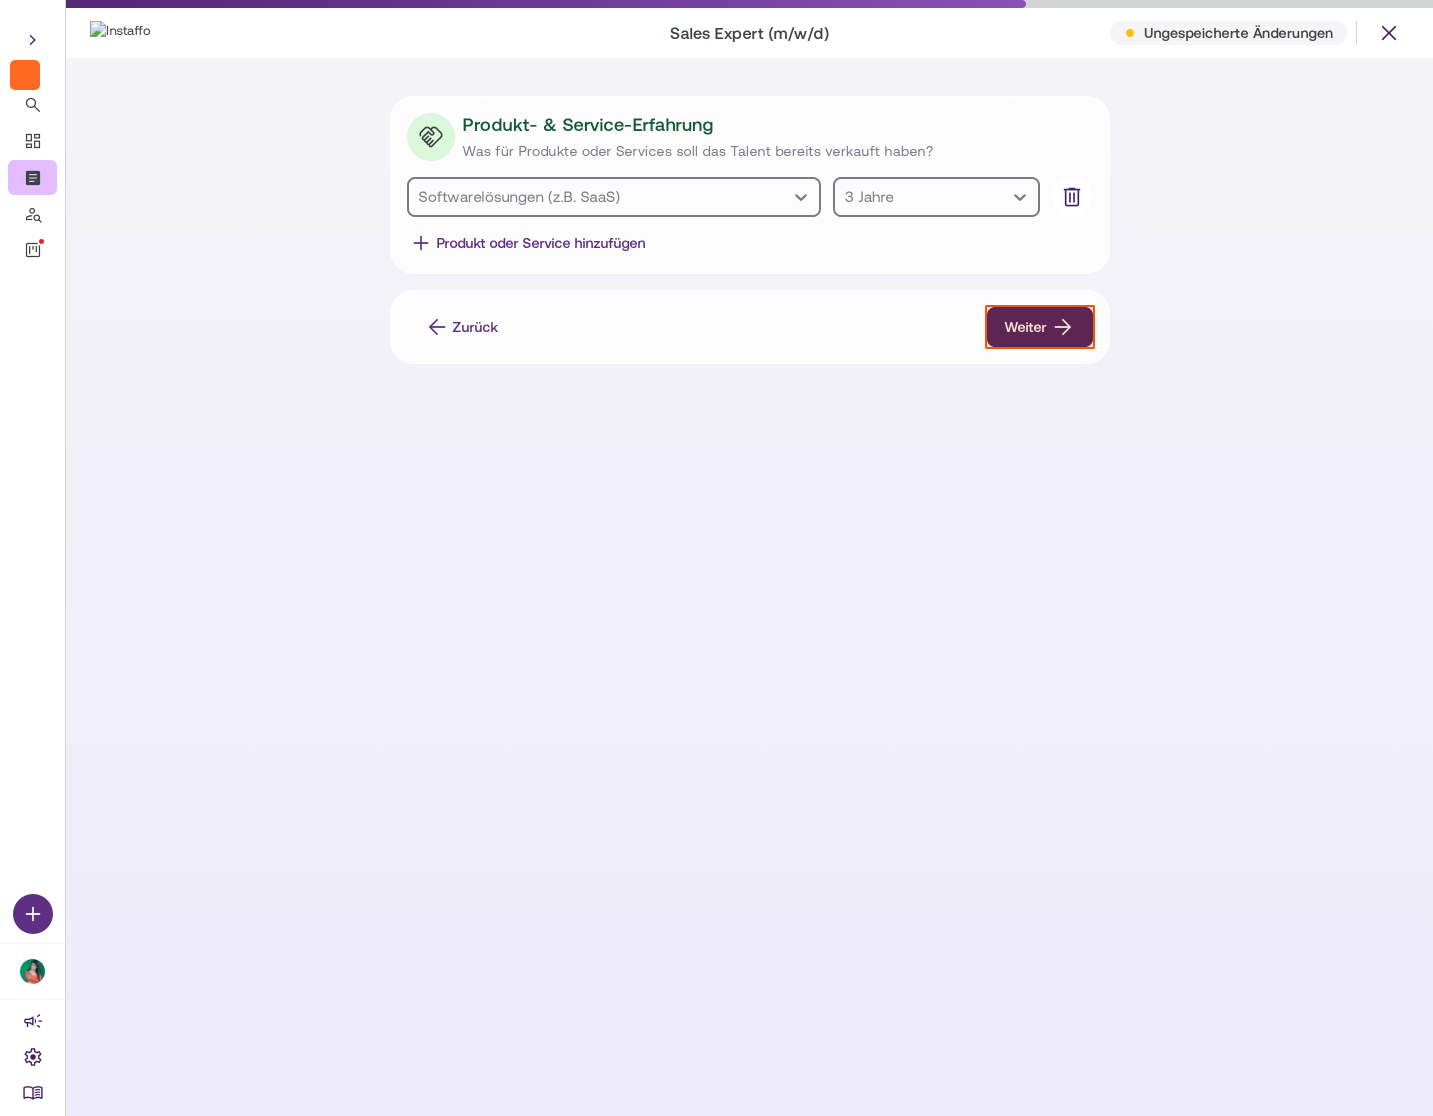
Select the product or service from the left dropdown (e.g., "Software solutions (e.g., SaaS)", "Consulting services") and set the desired experience duration in the right dropdown. -
Confirm product and service experience
Click Next to continue.
Set target company size (sales positions only)
-
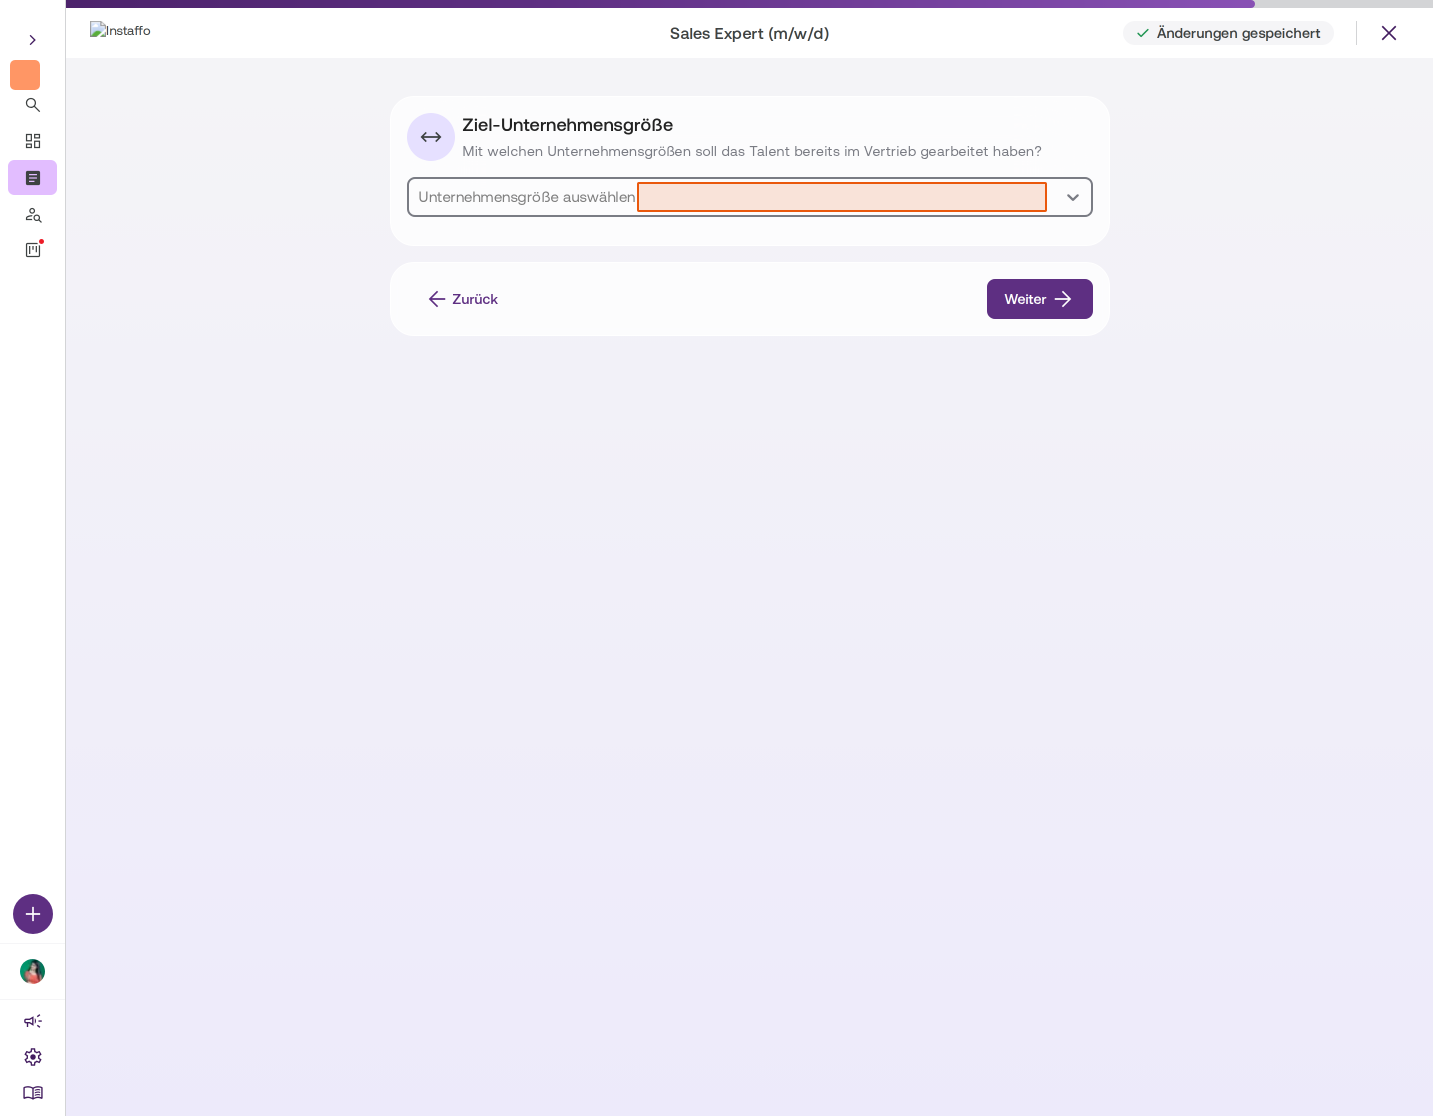
Select company sizes
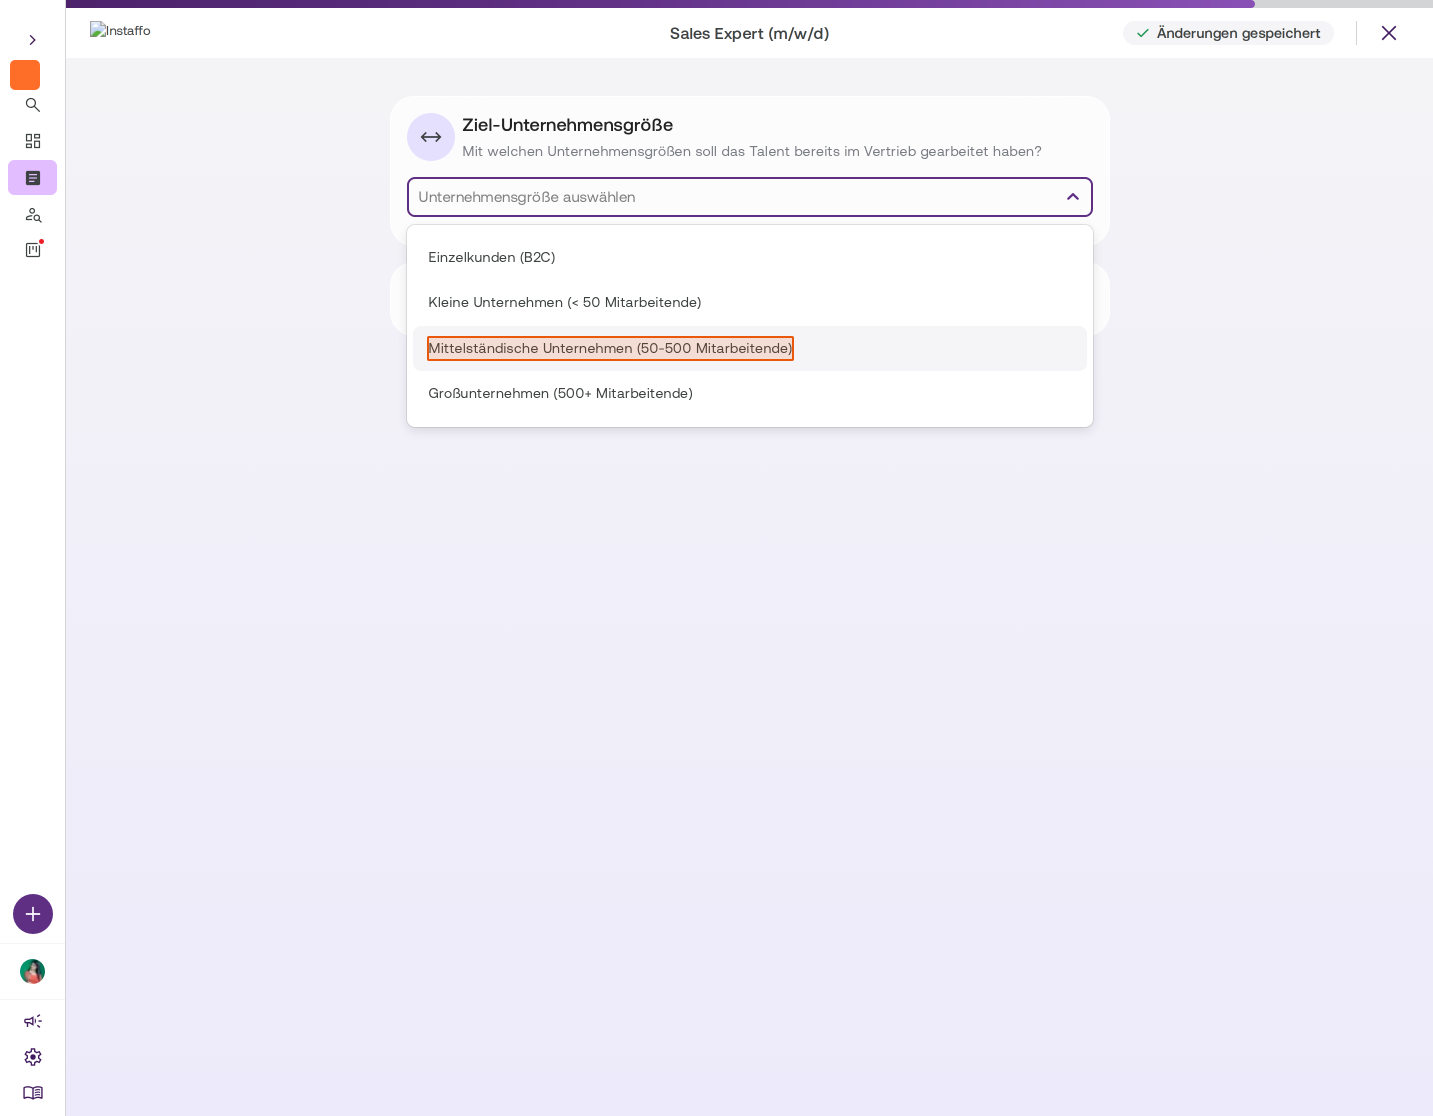
In the Target Company Size section, you specify which company sizes your talent should have sales experience with. Choose from the available options:- Individual customers (B2C)
- Small businesses (< 50 employees)
- Mid-sized companies (50-500 employees)
- Large enterprises (500+ employees)
-
Confirm your selection
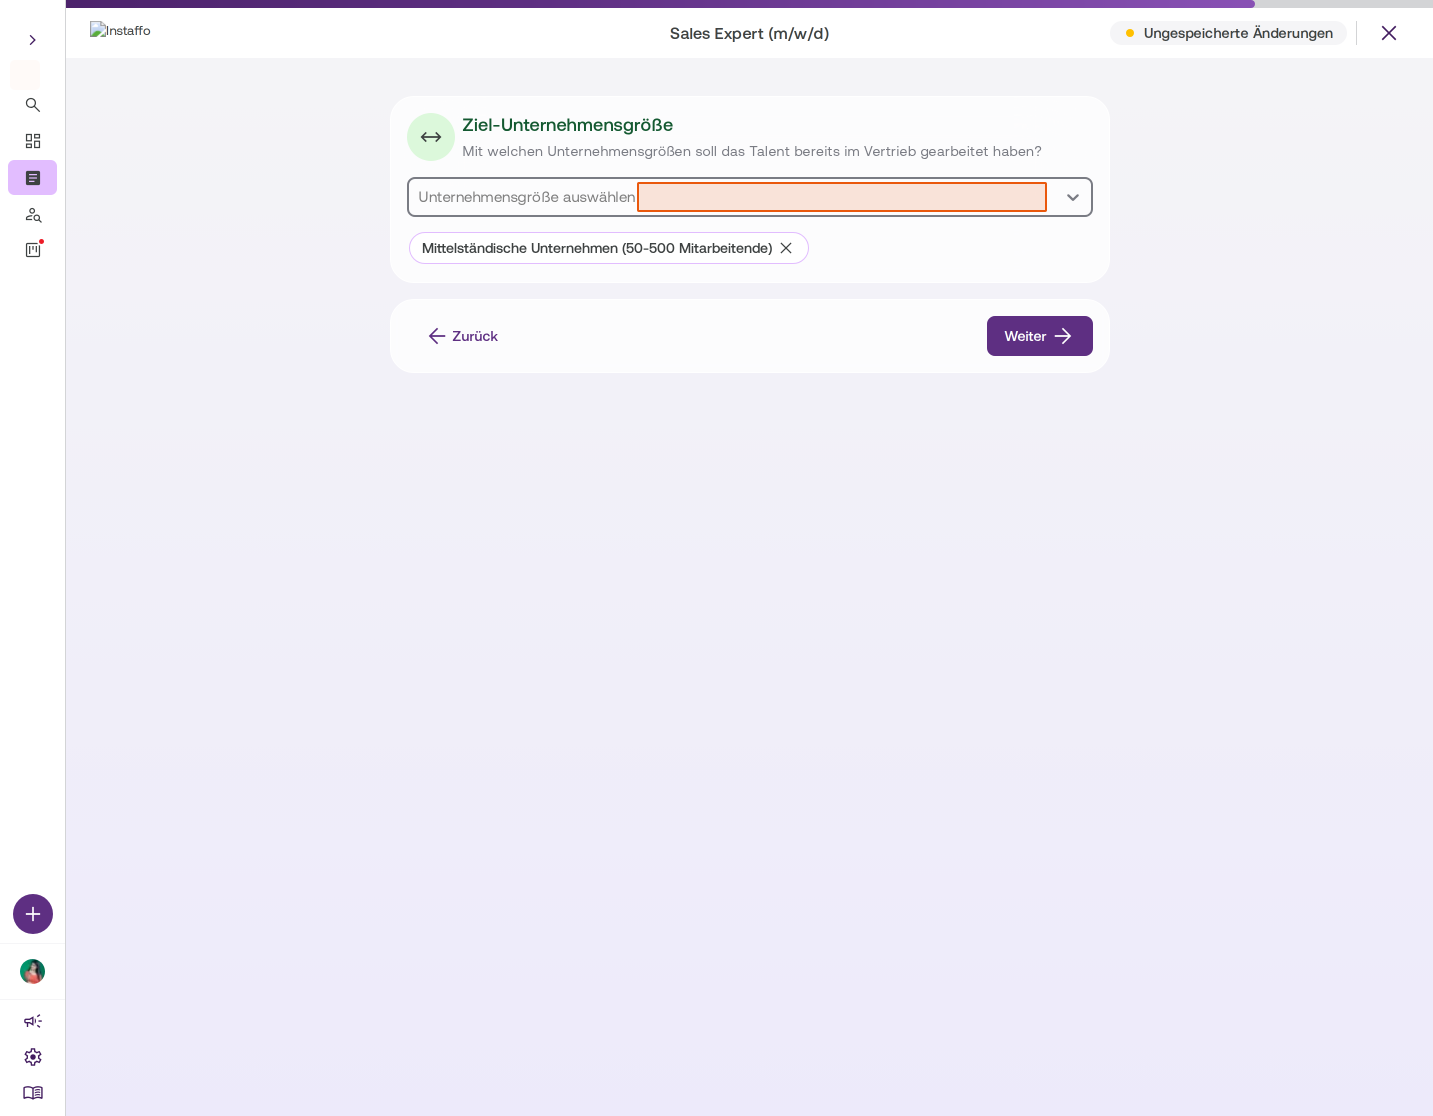
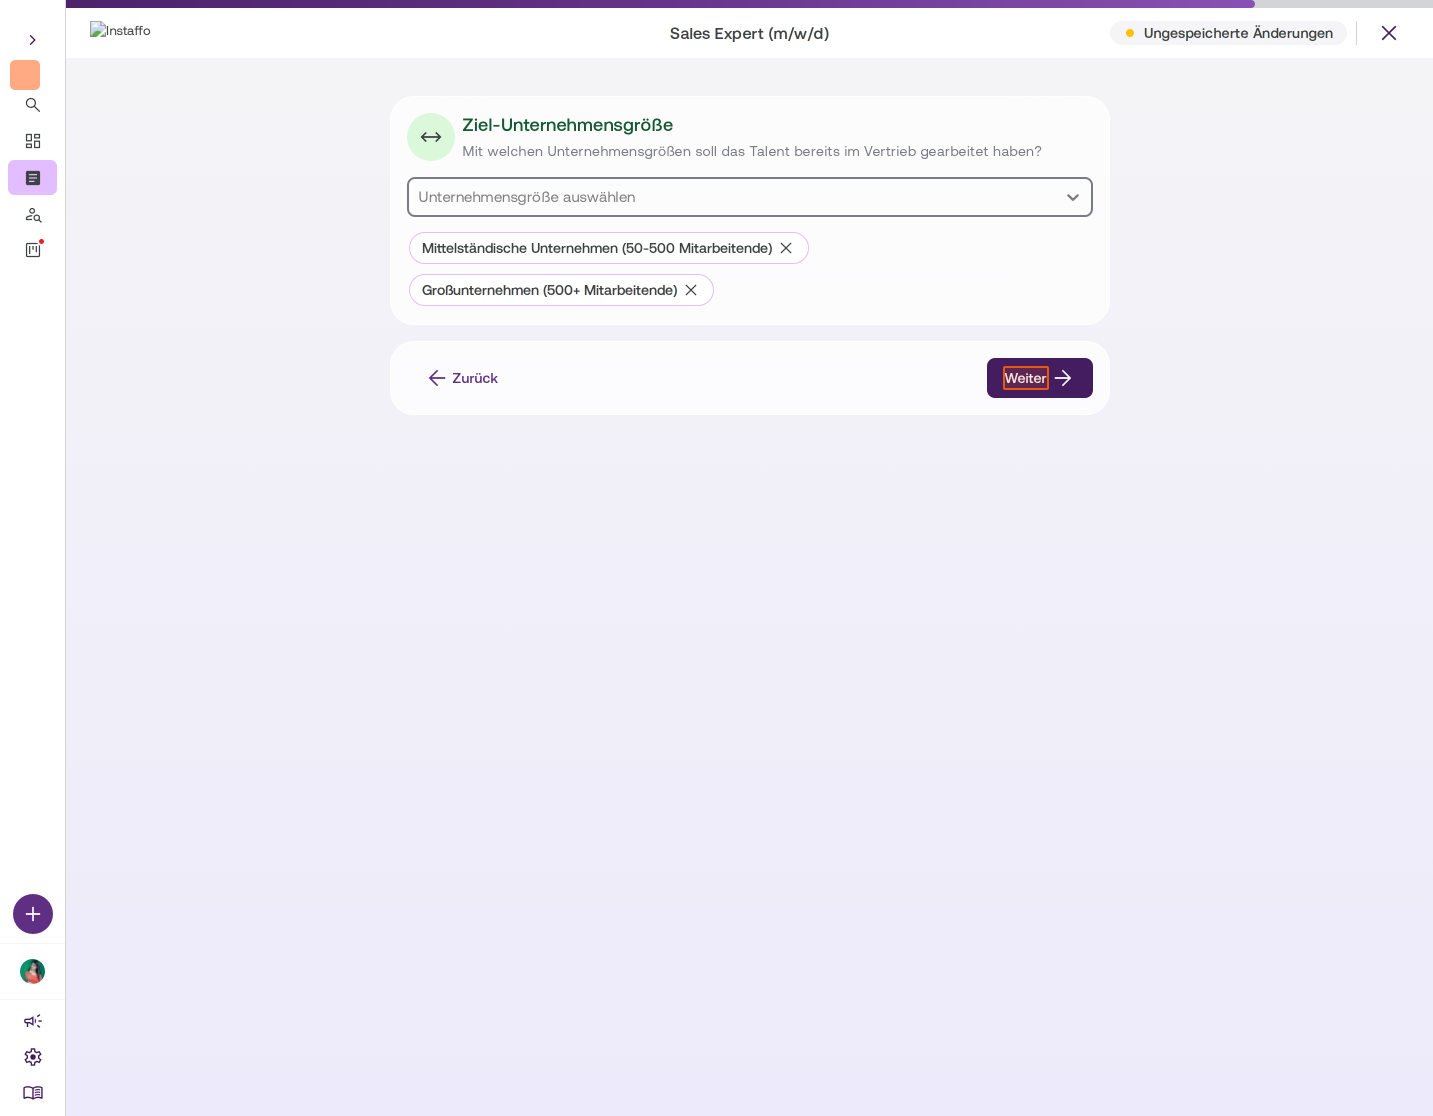
Selected company sizes appear as tags below the dropdown. Click Next.
Enable screening questions
-
Select additional screening questions
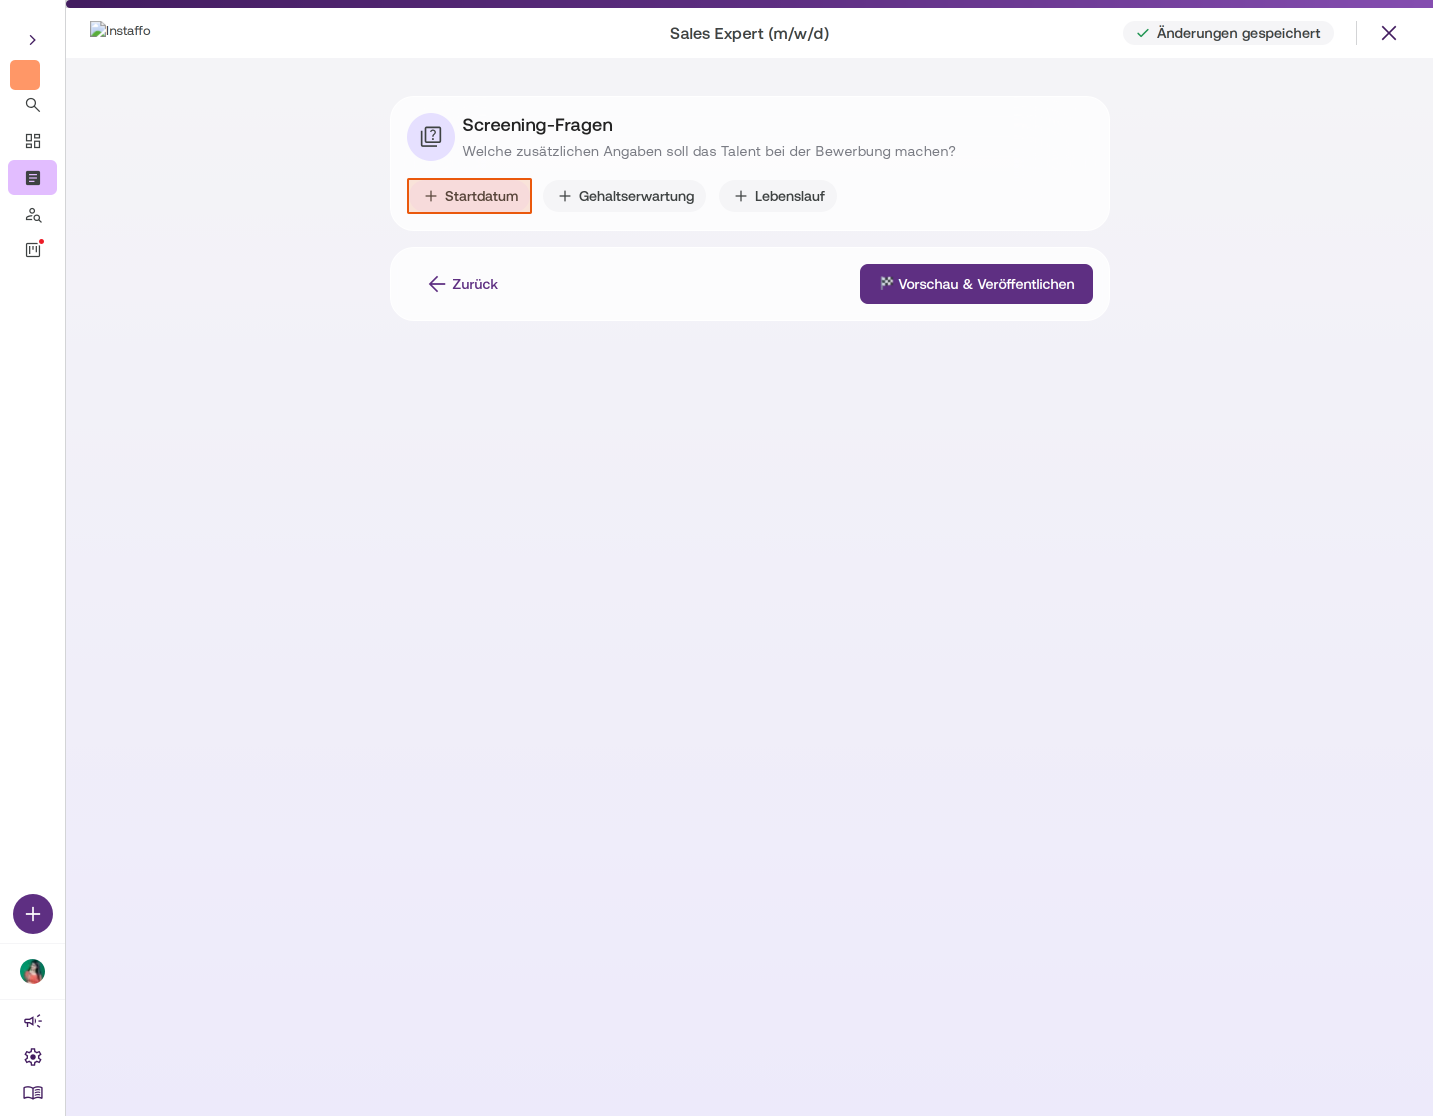
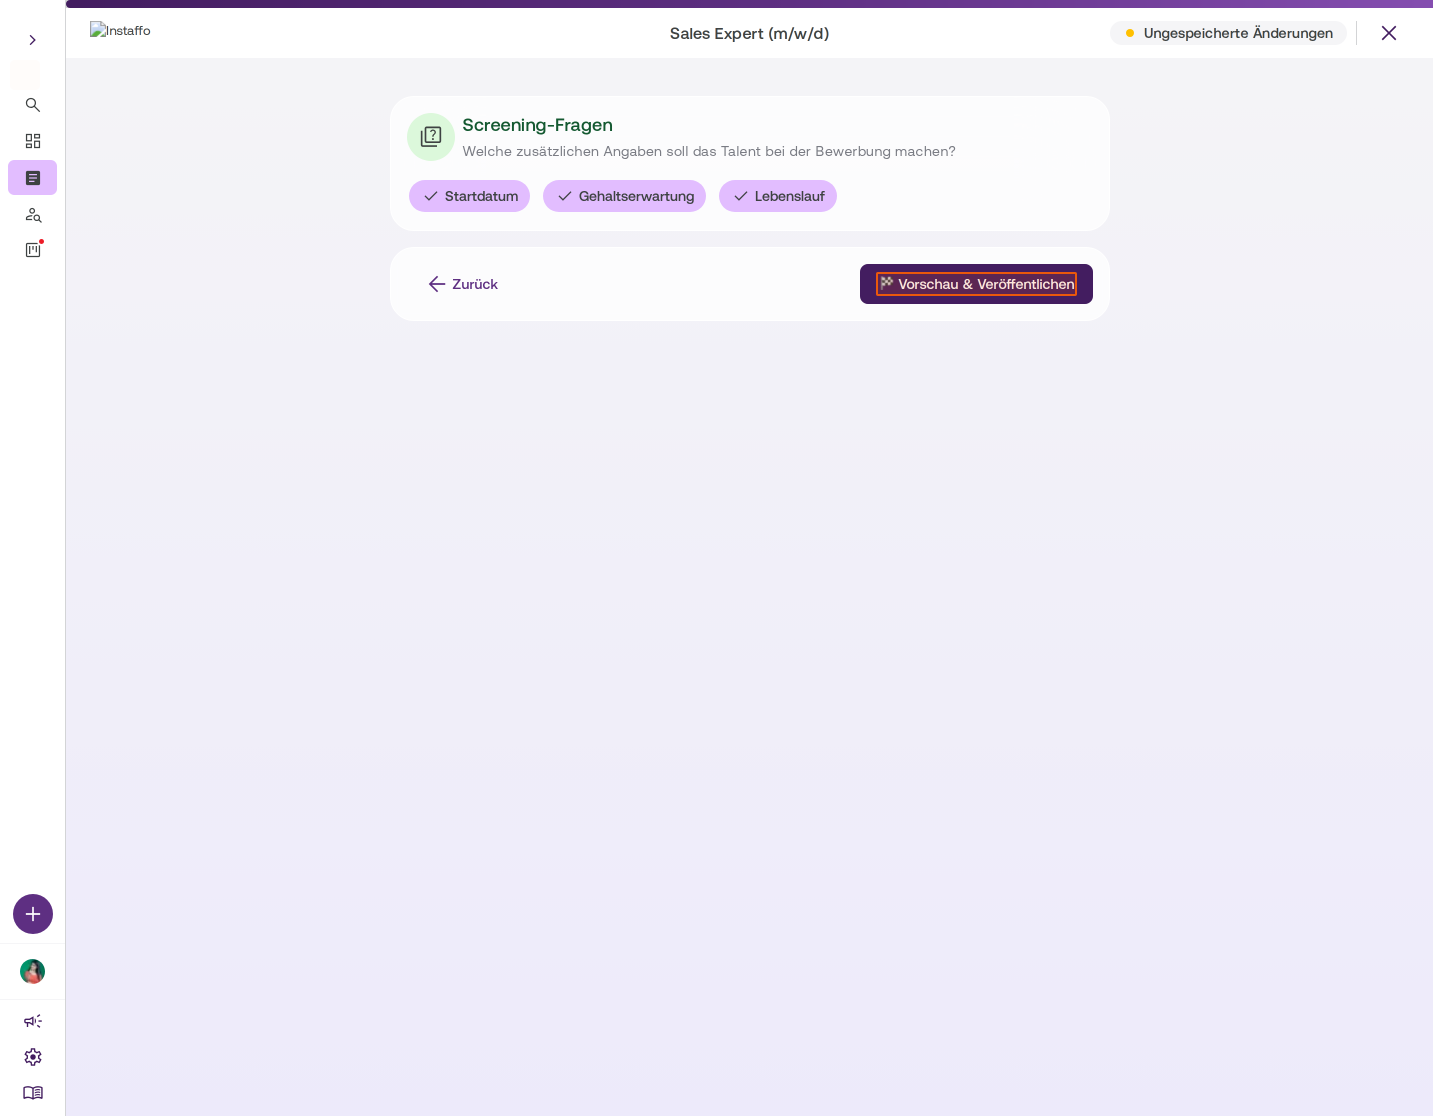
In the Screening Questions section, you decide what additional information your talent should provide when applying. Click on the options you want:- Start date: Asks for the possible start date
- Salary expectations: Asks about salary requirements
- CV: Requests a CV upload if one isn't already provided
-
Publish your position
Click Preview & Publish to review your position with the configured screening questions and publish it.
Managing Talent Check in the position preview
-
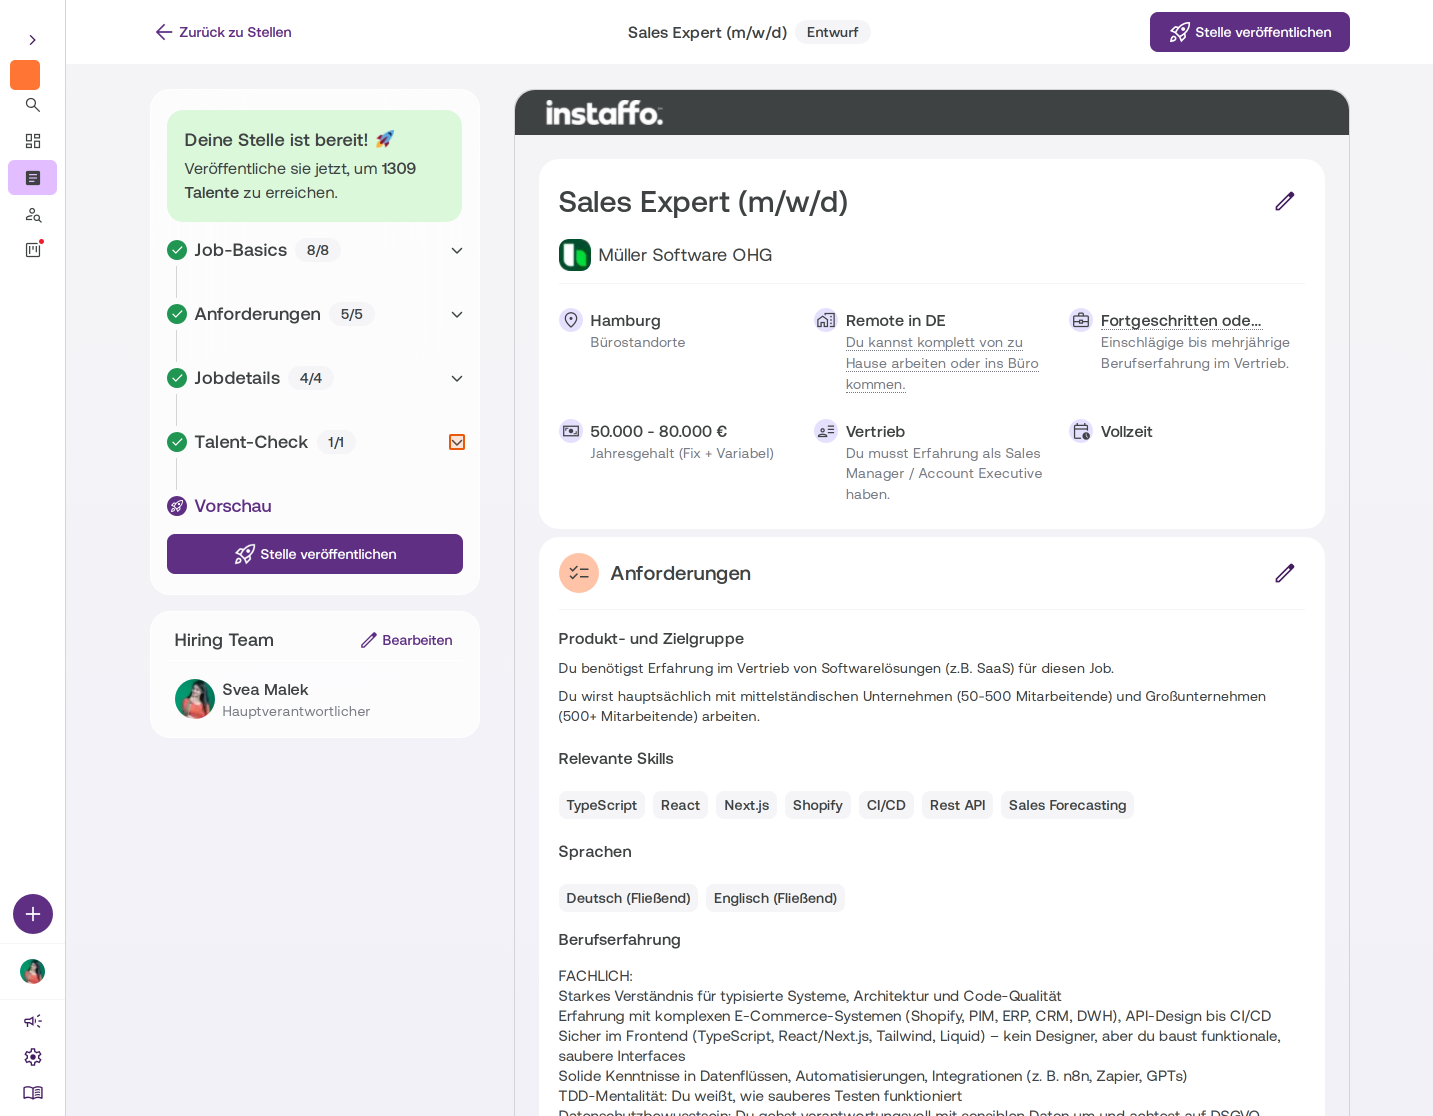
Review Talent Check settings
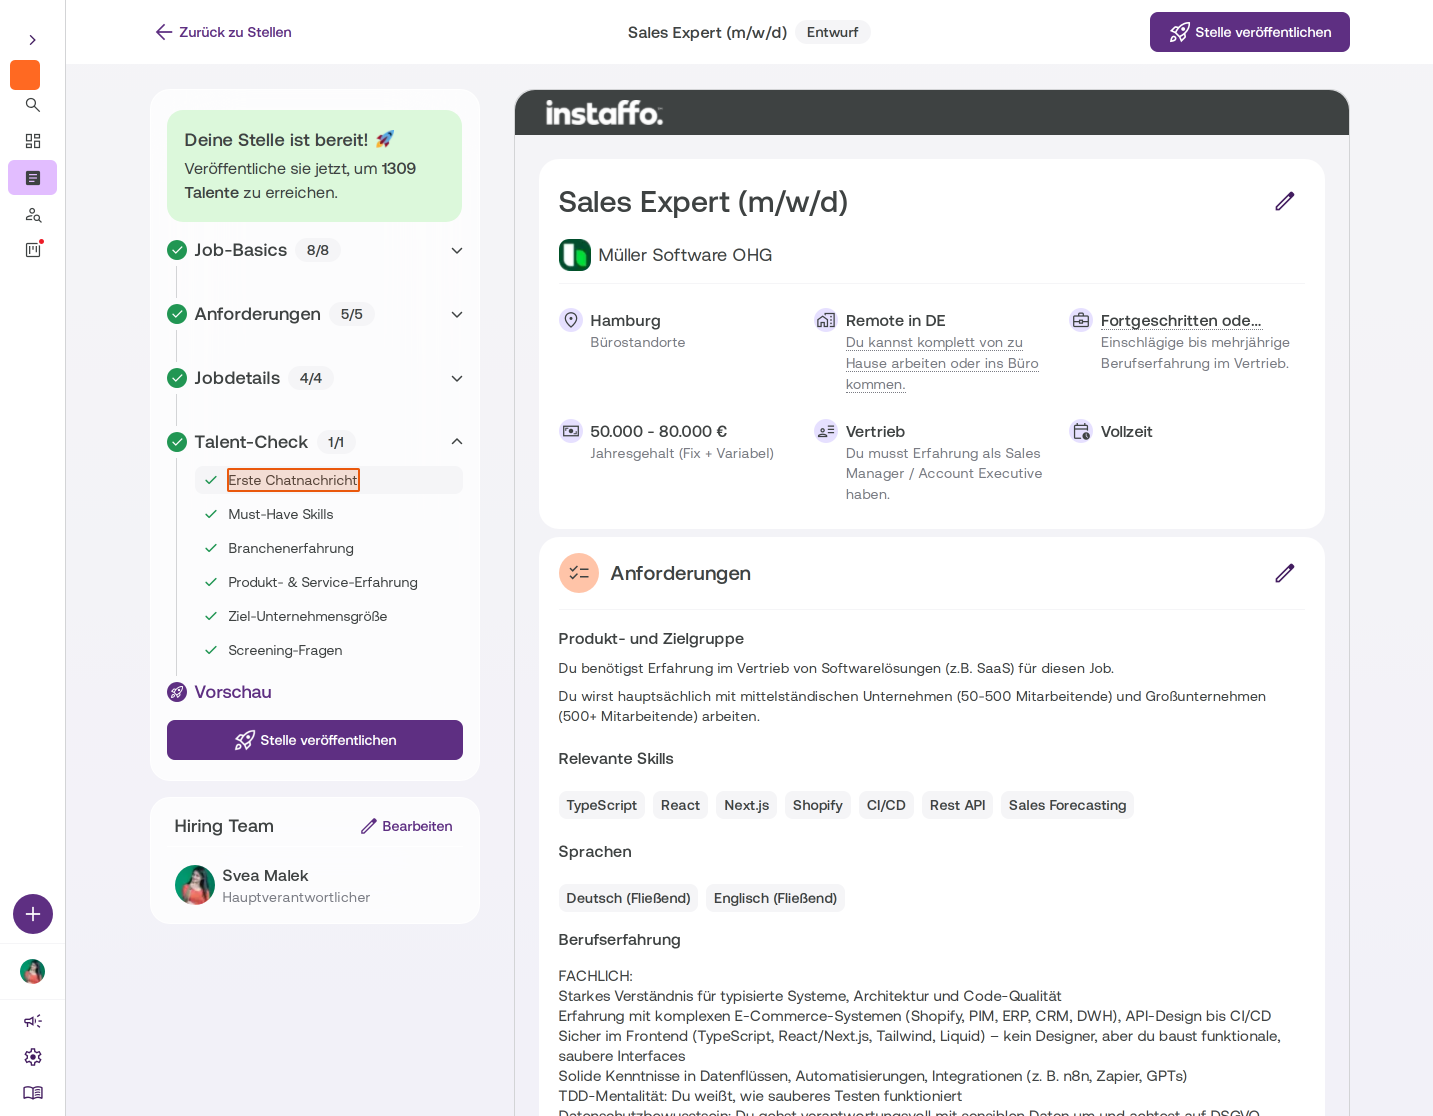
In the position preview, you'll find the Talent Check section in the left sidebar. Click on the dropdown arrow to see all subcategories:- Initial chat message
- Must-have skills
- Industry experience
- Product and service experience
- Target company size
- Screening questions
-
Adjust settings
Click on any subcategory (e.g., "Initial chat message") to adjust those specific settings. Once everything looks good, click Publish position.
How the application process works for talents
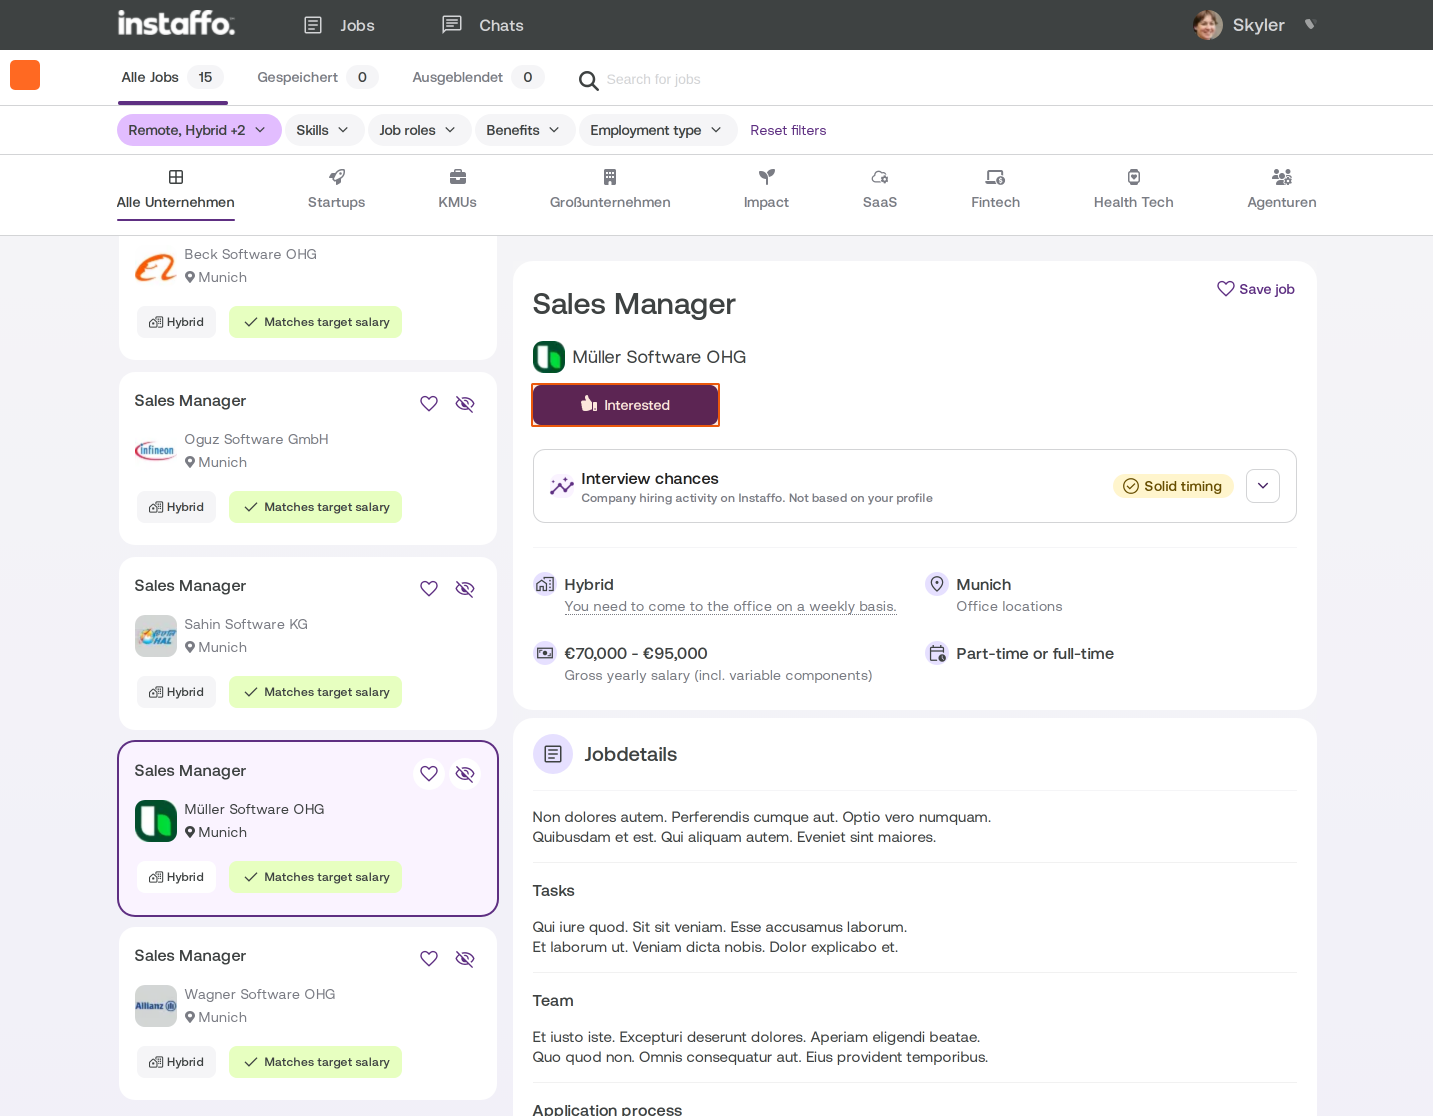
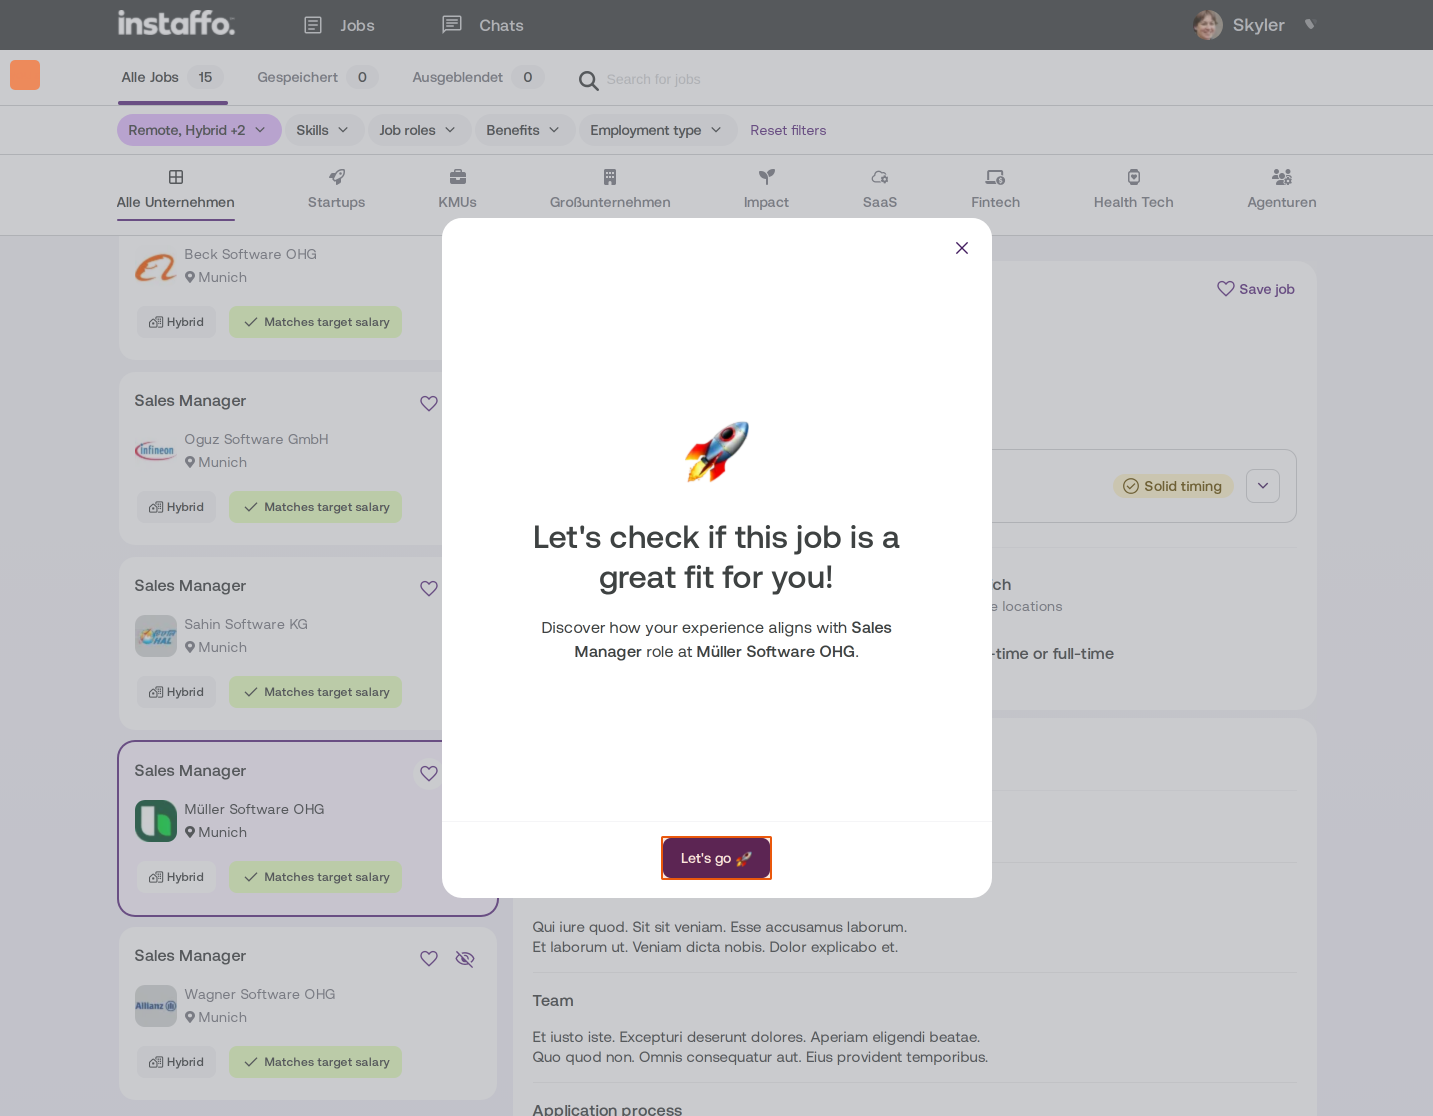
When a talent applies for your position, they go through the configured Talent Check:
-
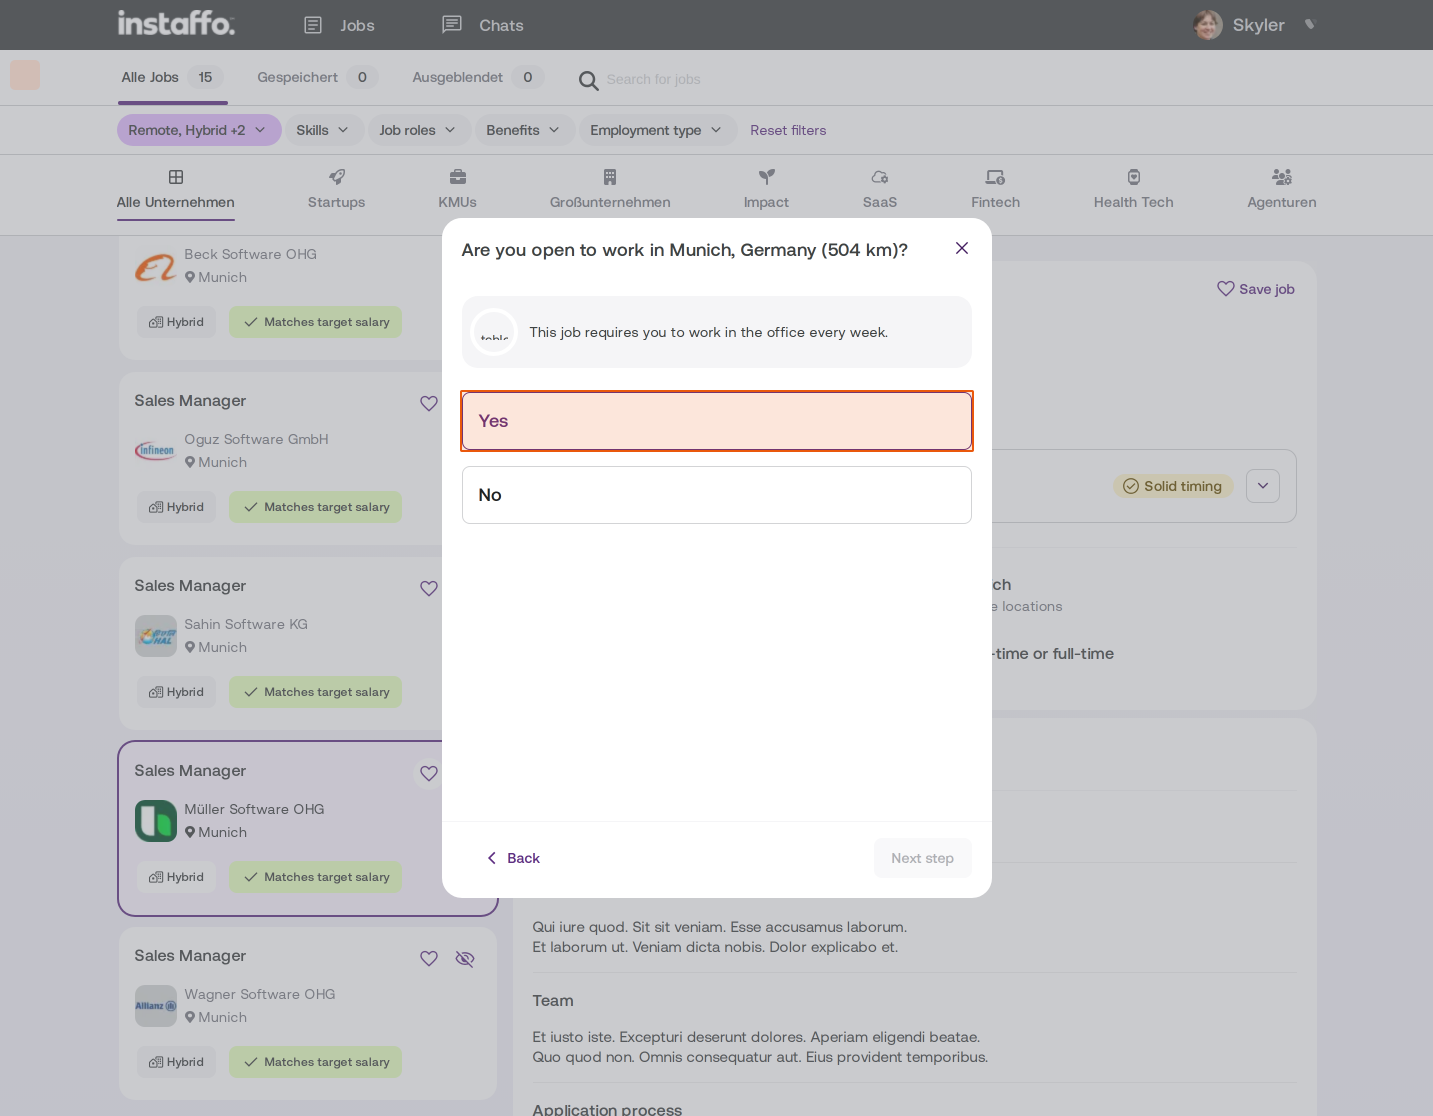
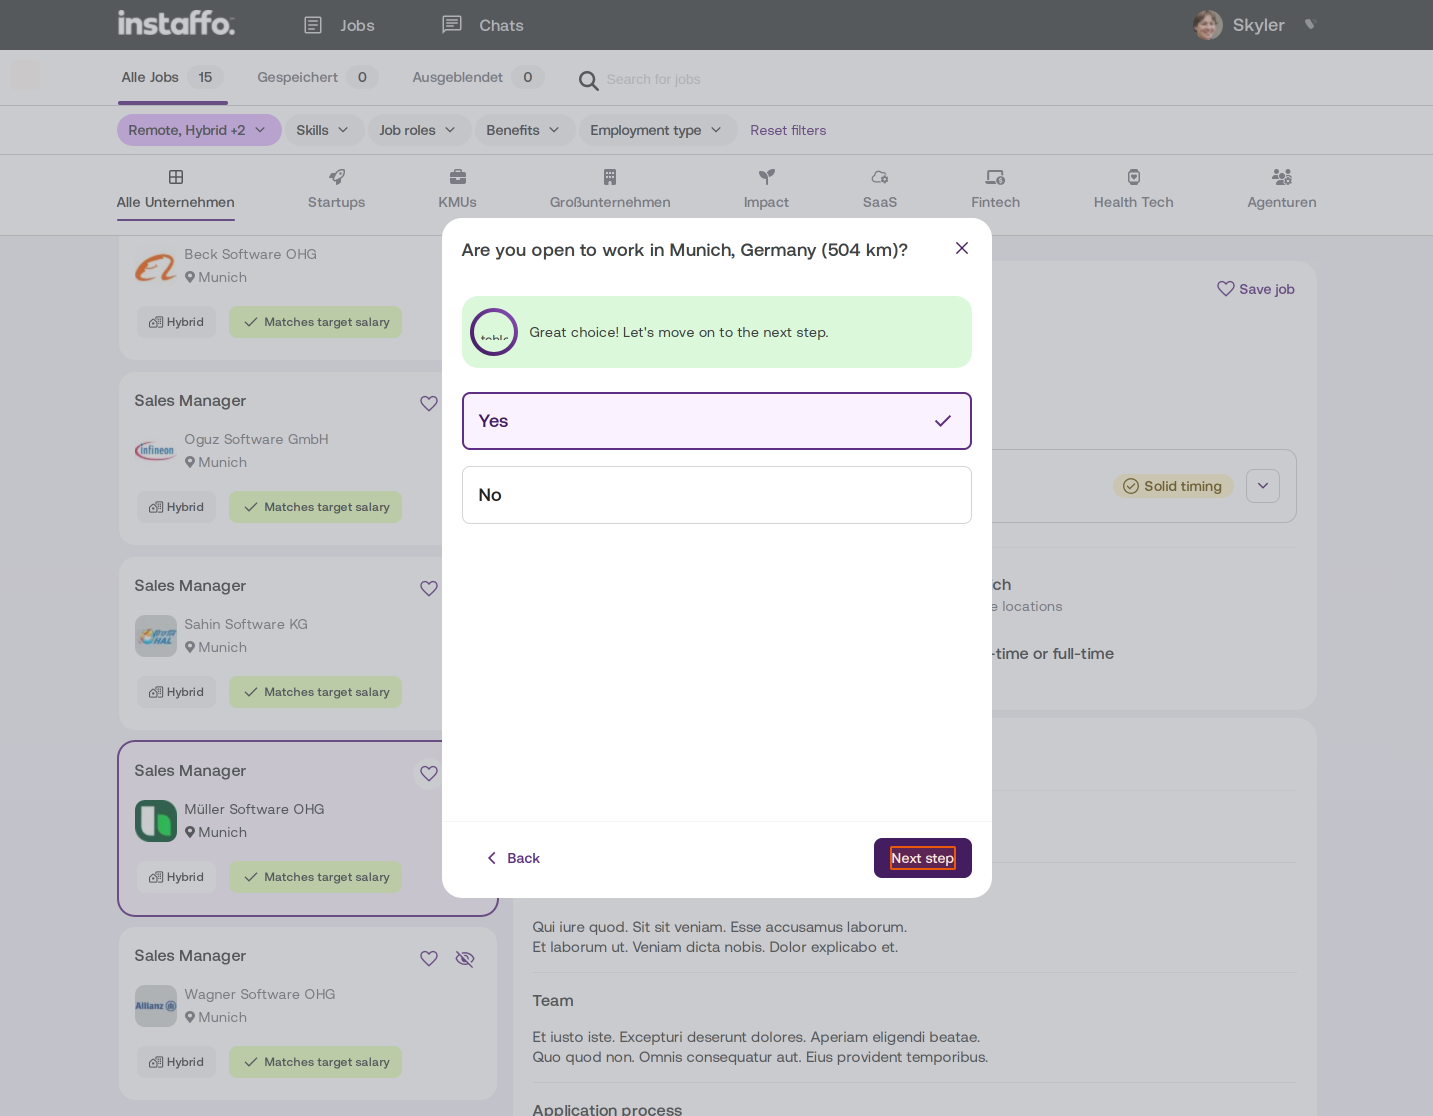
Location check
The talent is asked whether they're open to working at the specified location (with the distance from their current location shown). -
Must-have skills check
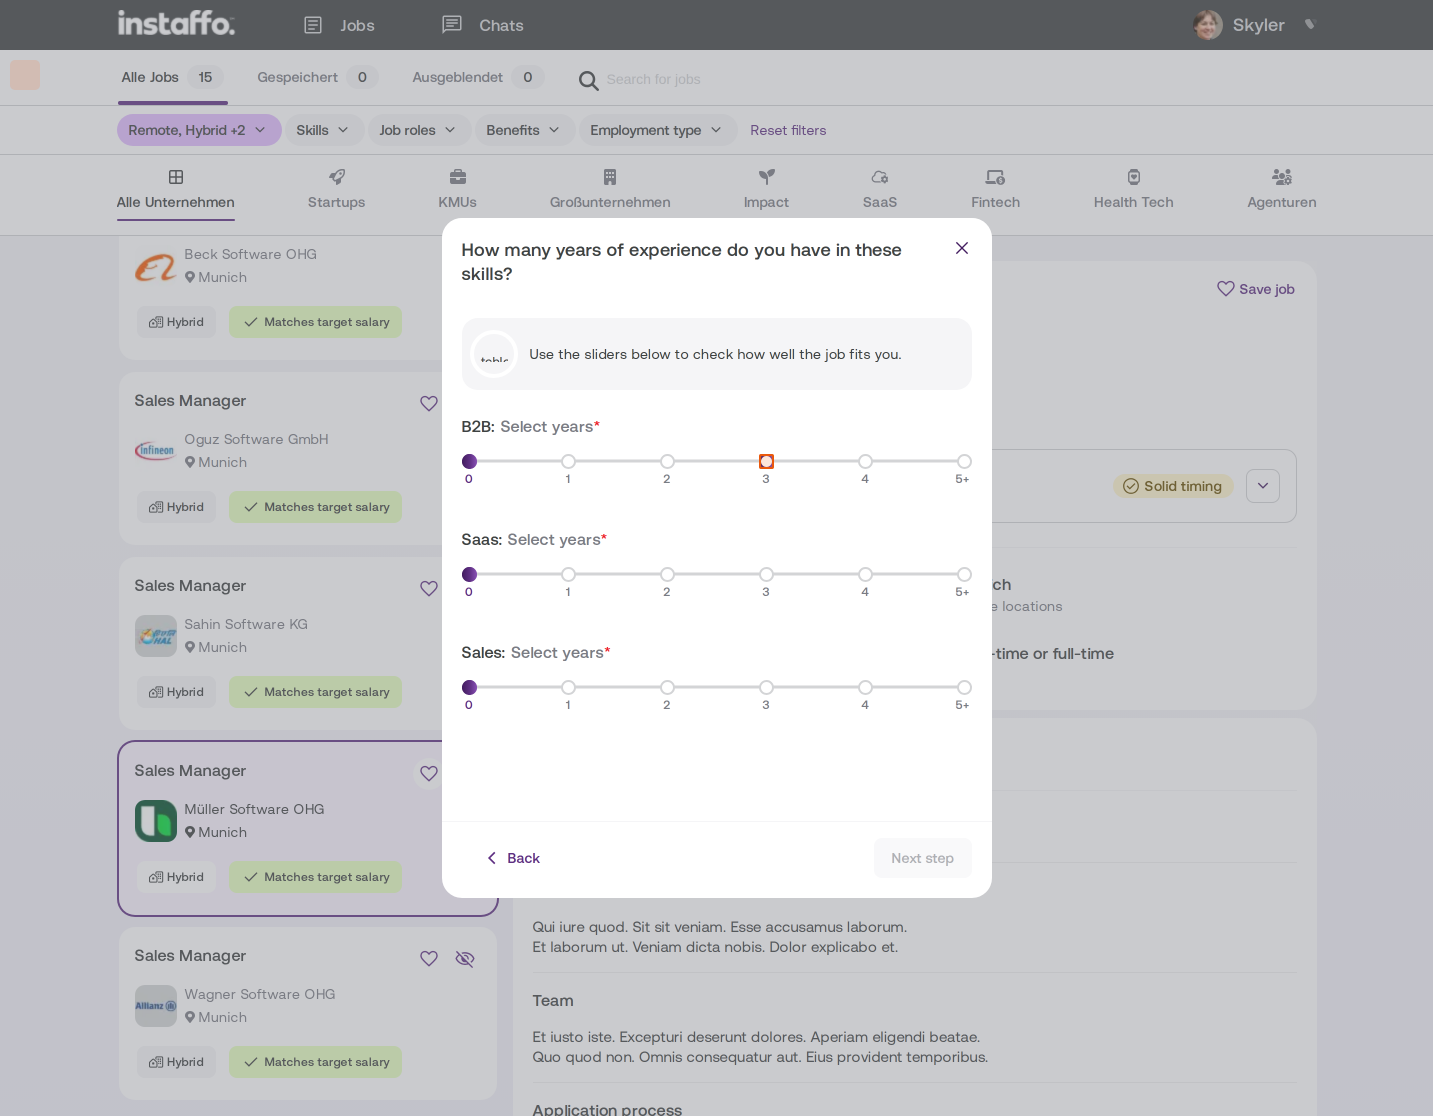
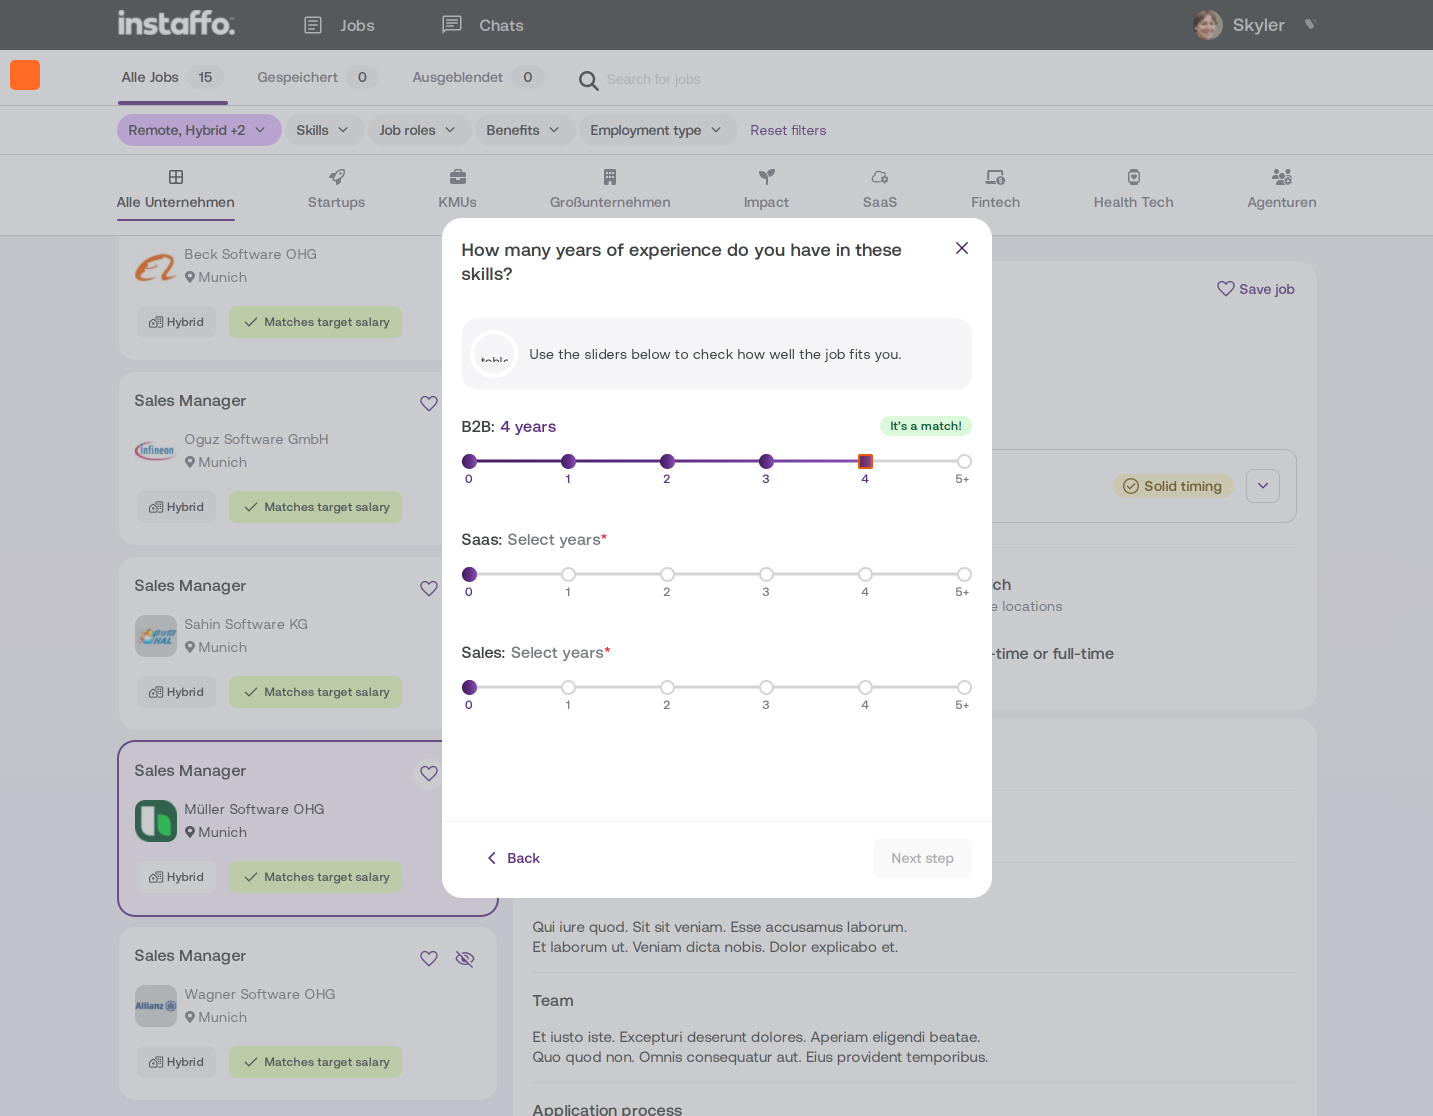
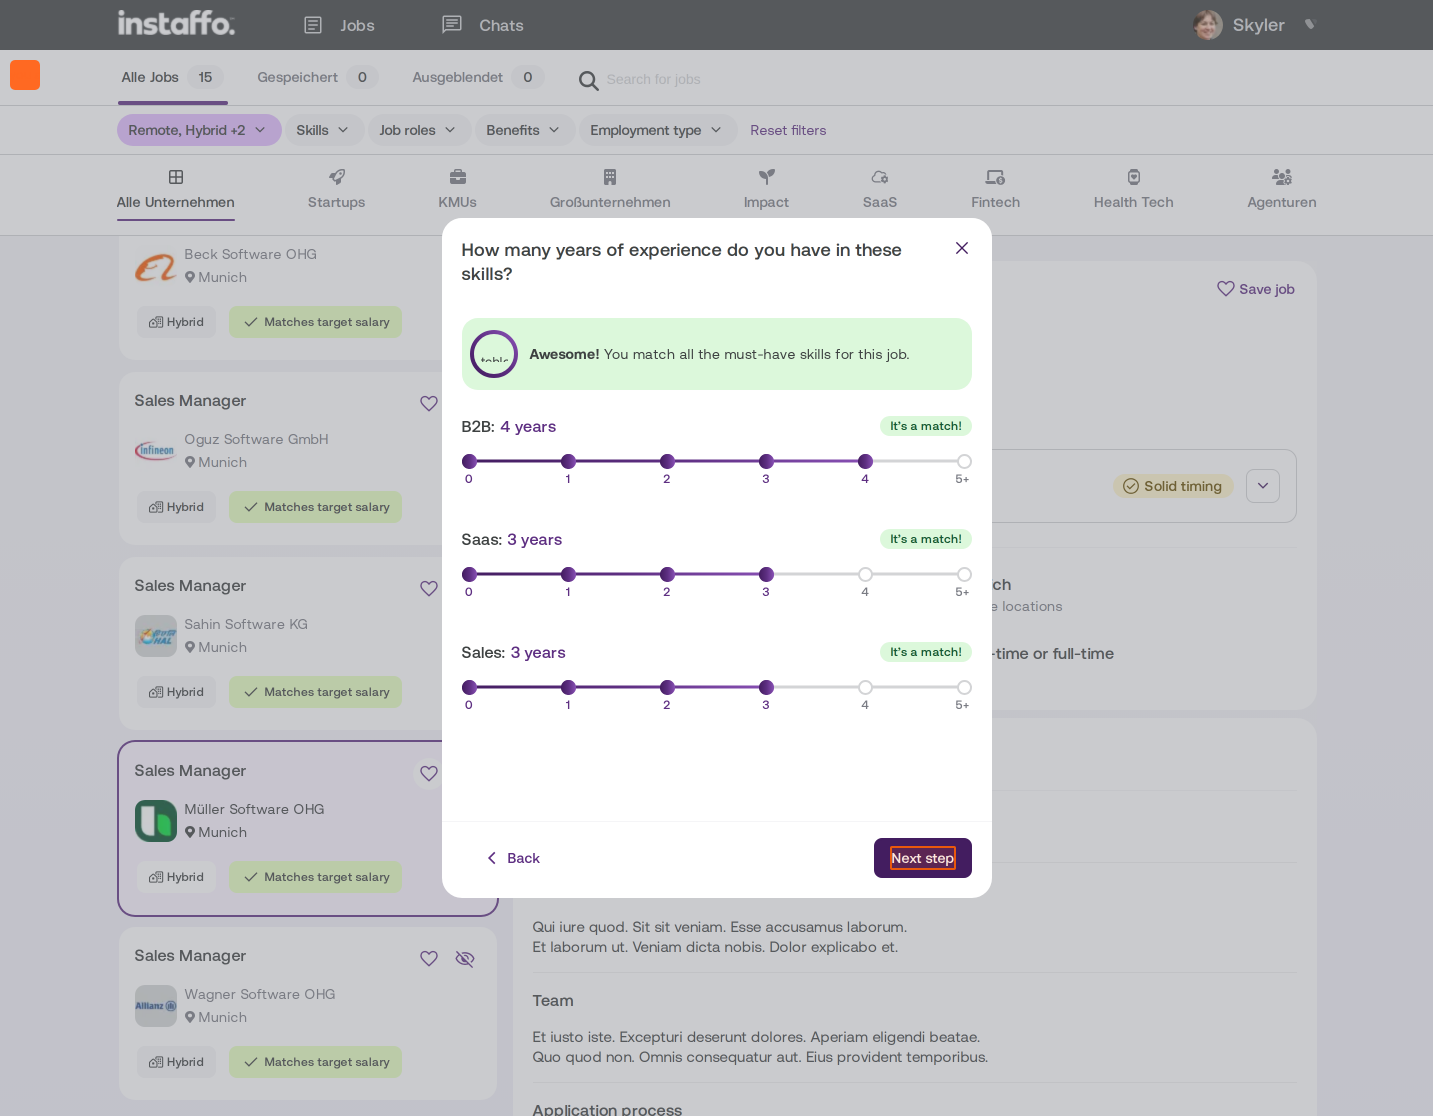
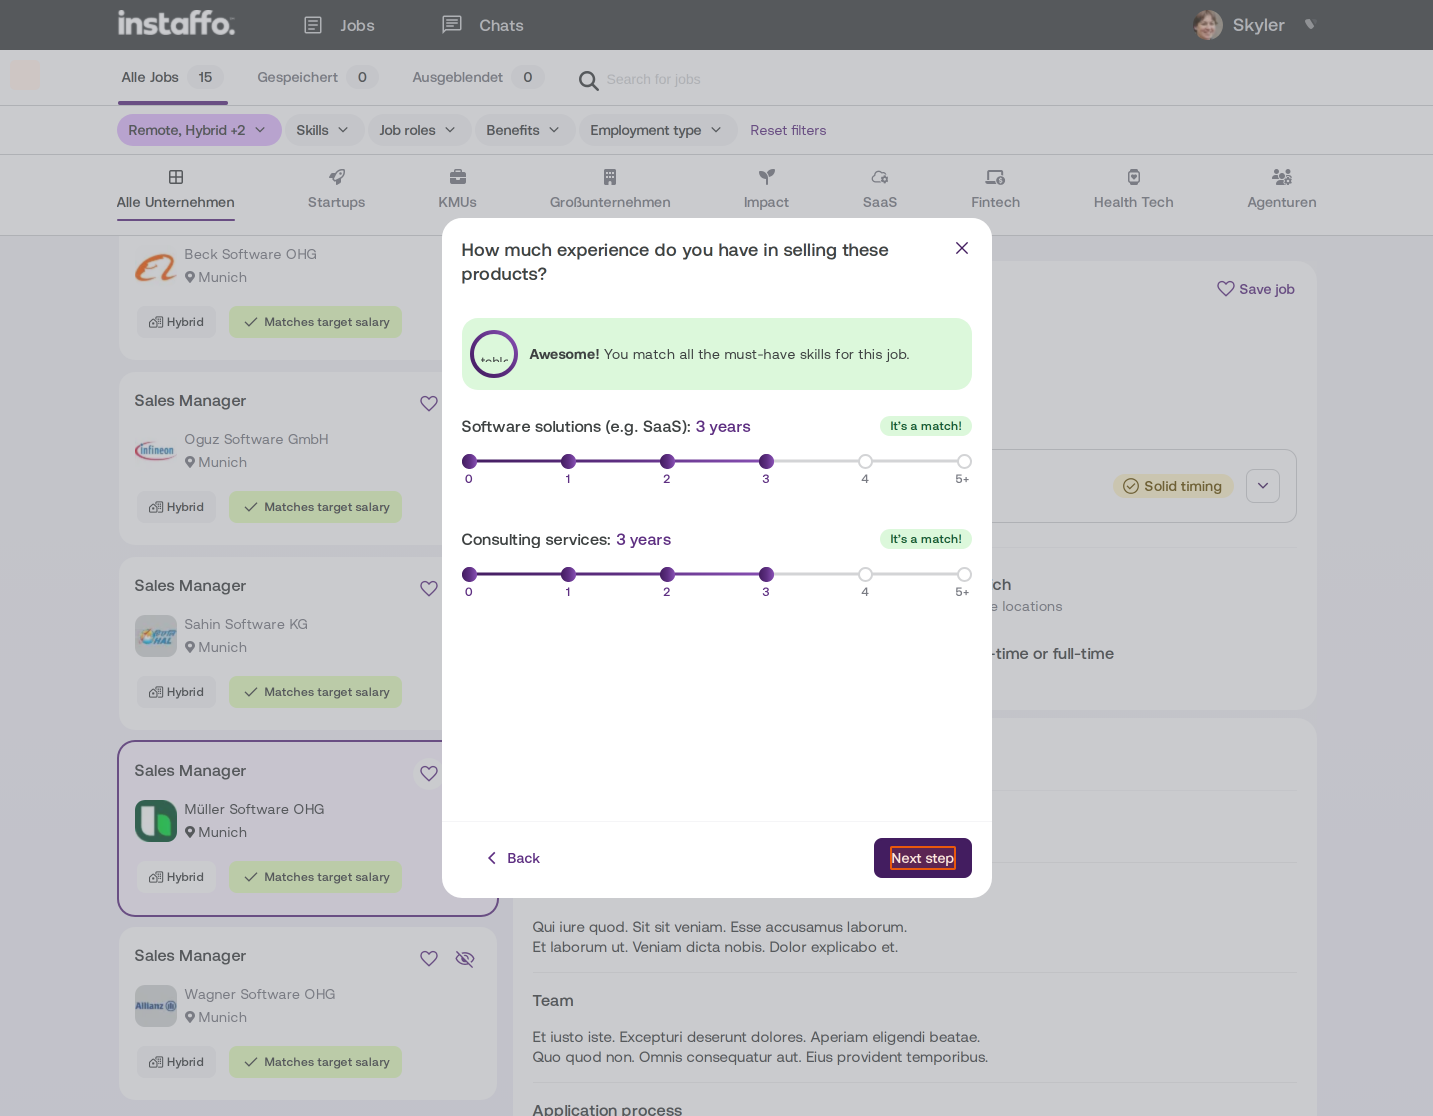
The talent uses sliders to indicate how many years of experience they have with the defined must-have skills (e.g., B2B, SaaS, Sales). -
Product experience
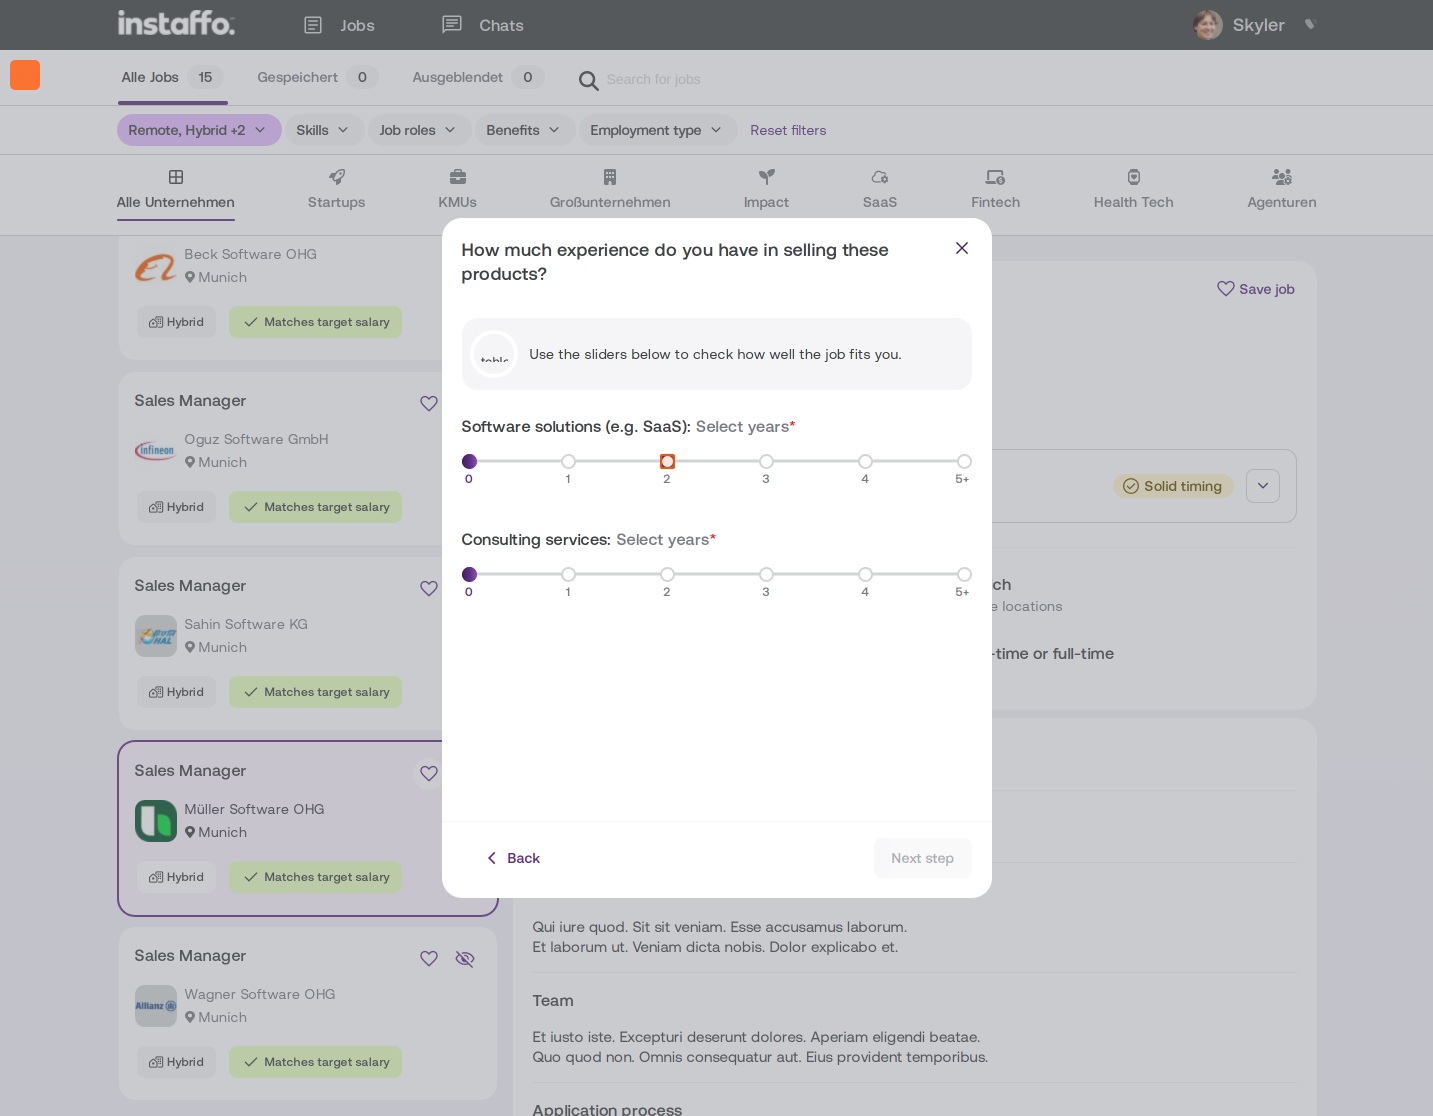
For sales positions, talents are asked about their experience with specific products and services. -
Industry experience
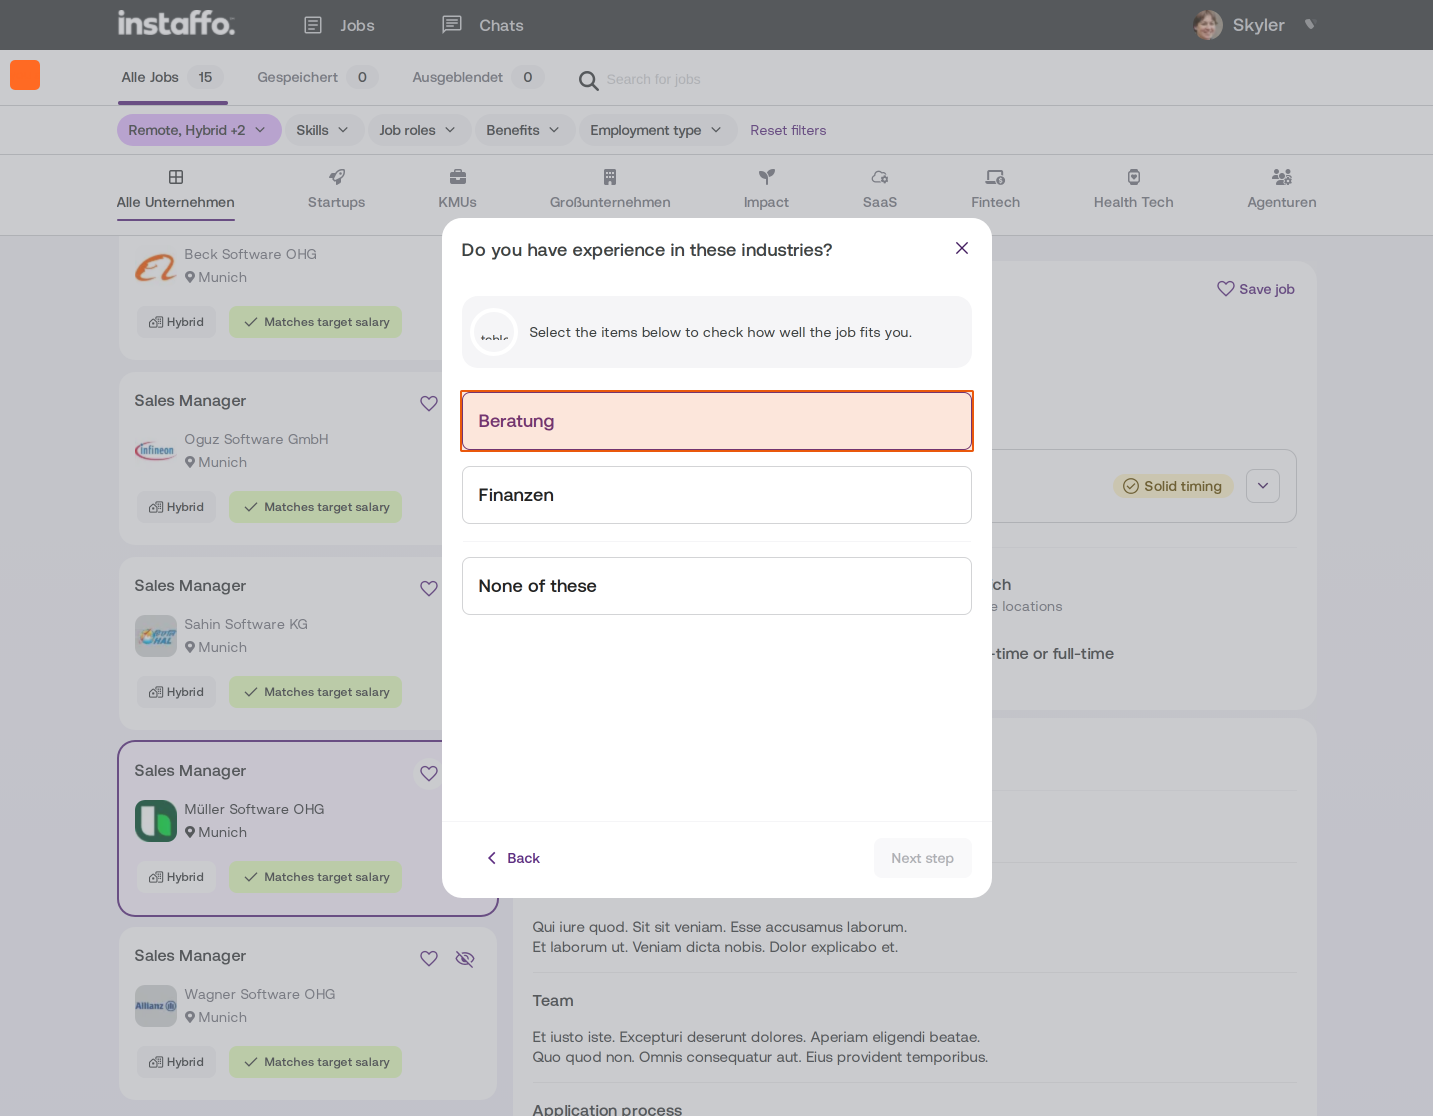
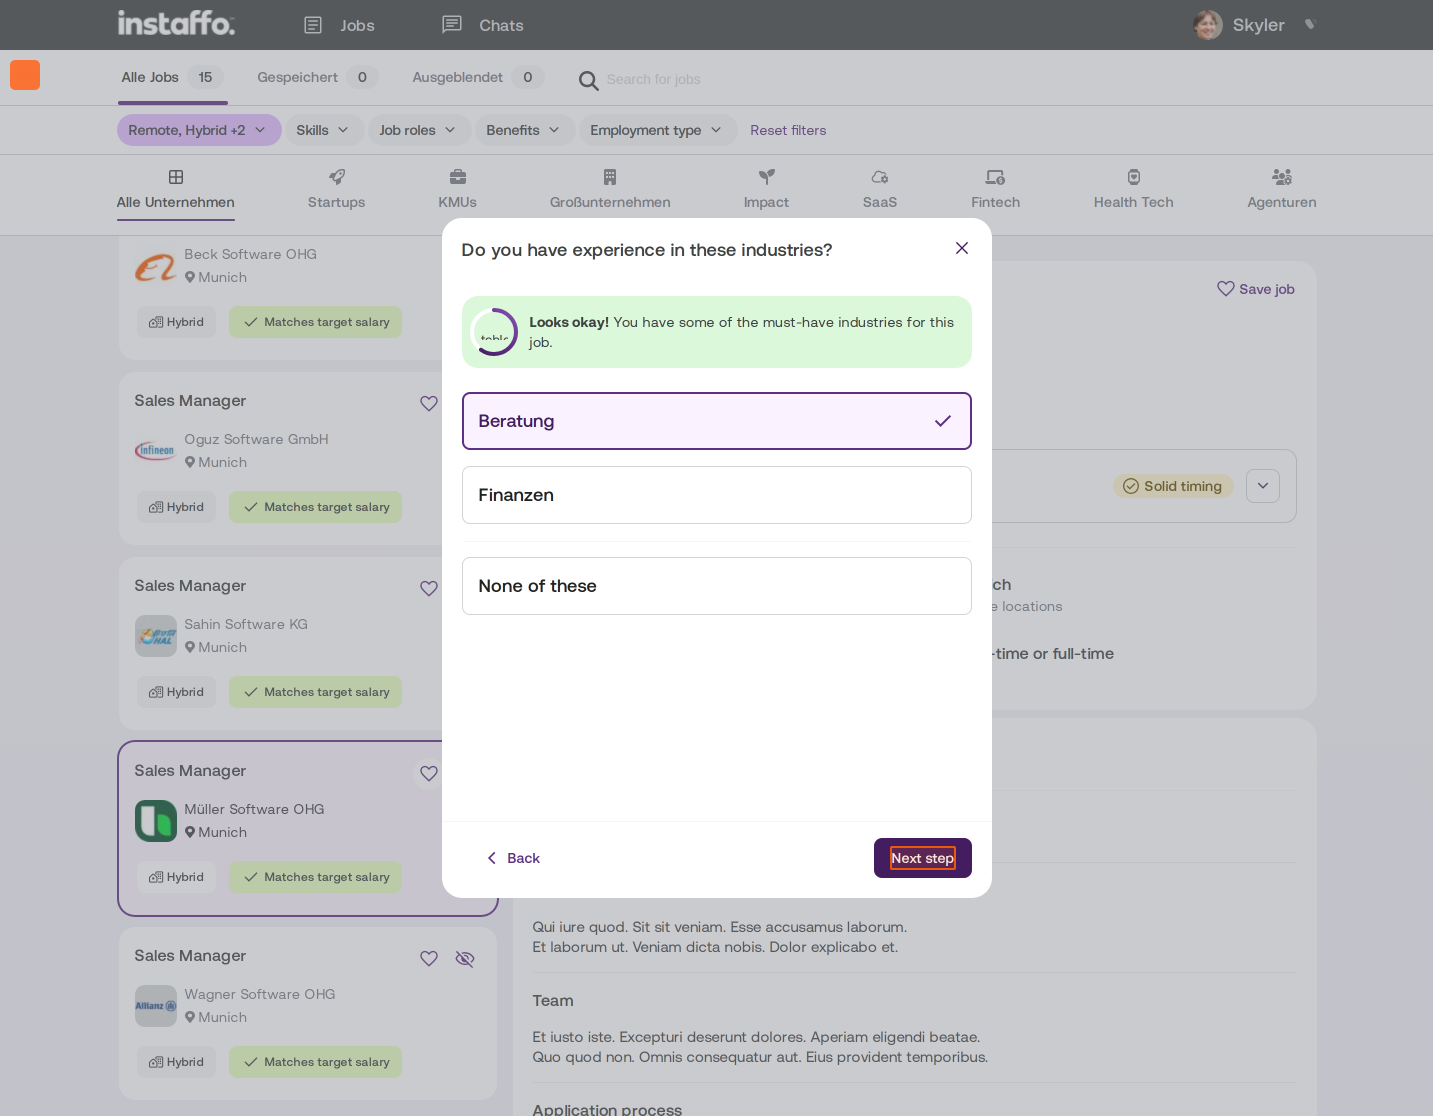
The talent selects which of the specified industries they already have experience in. -
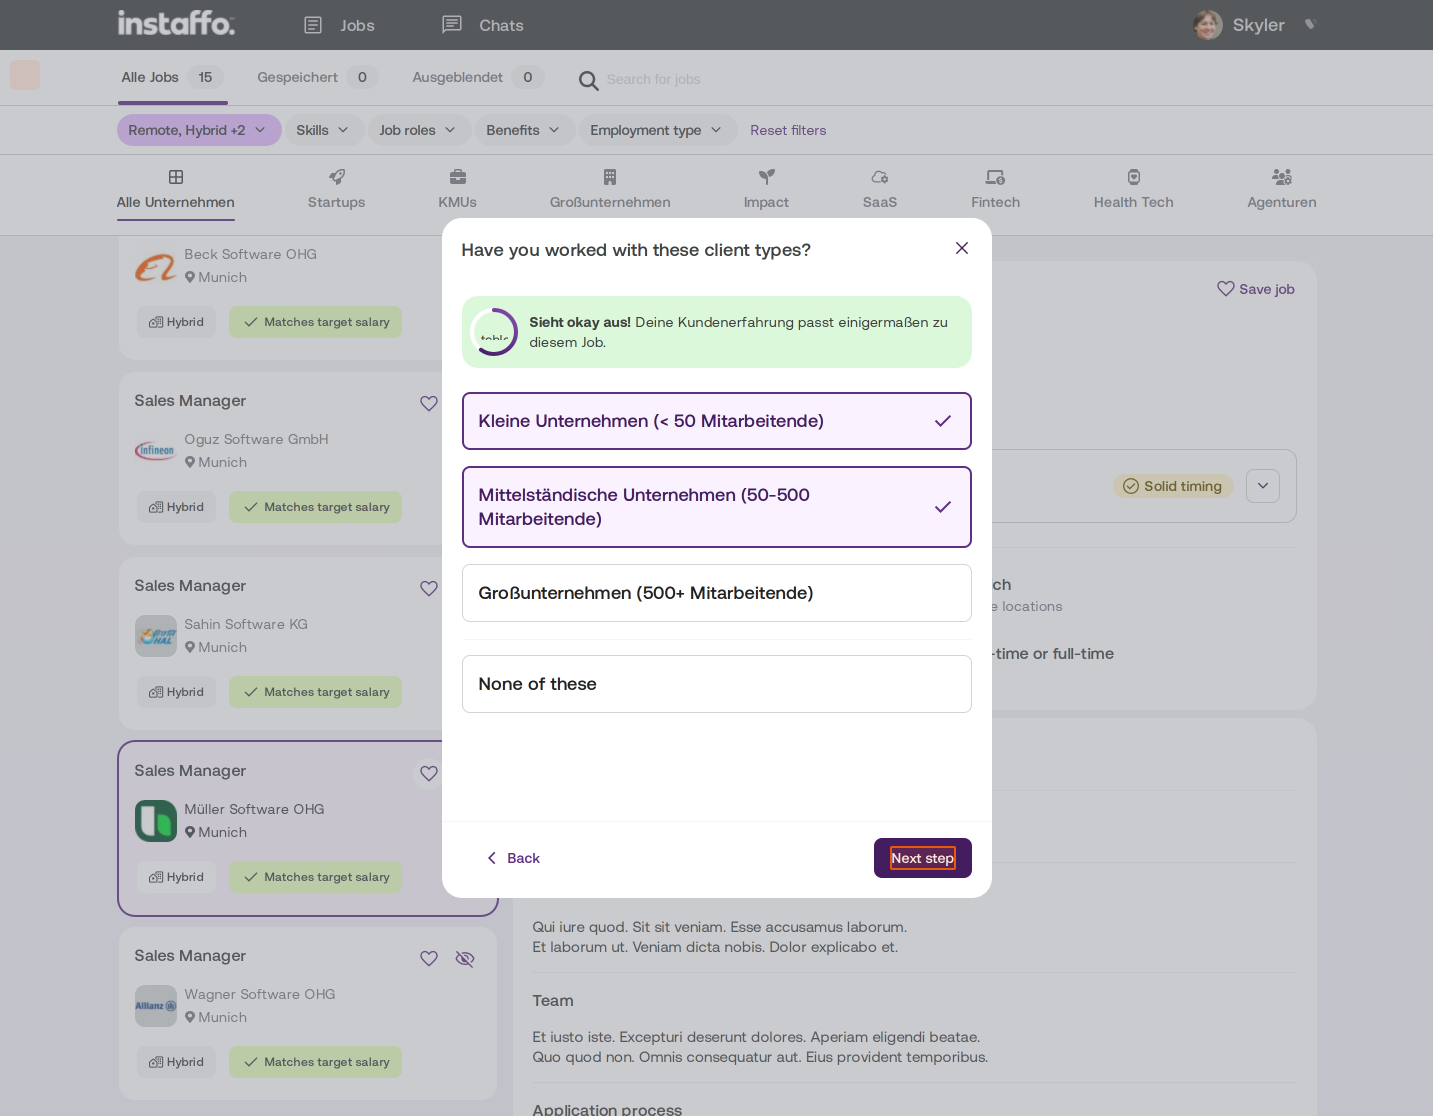
Customer experience
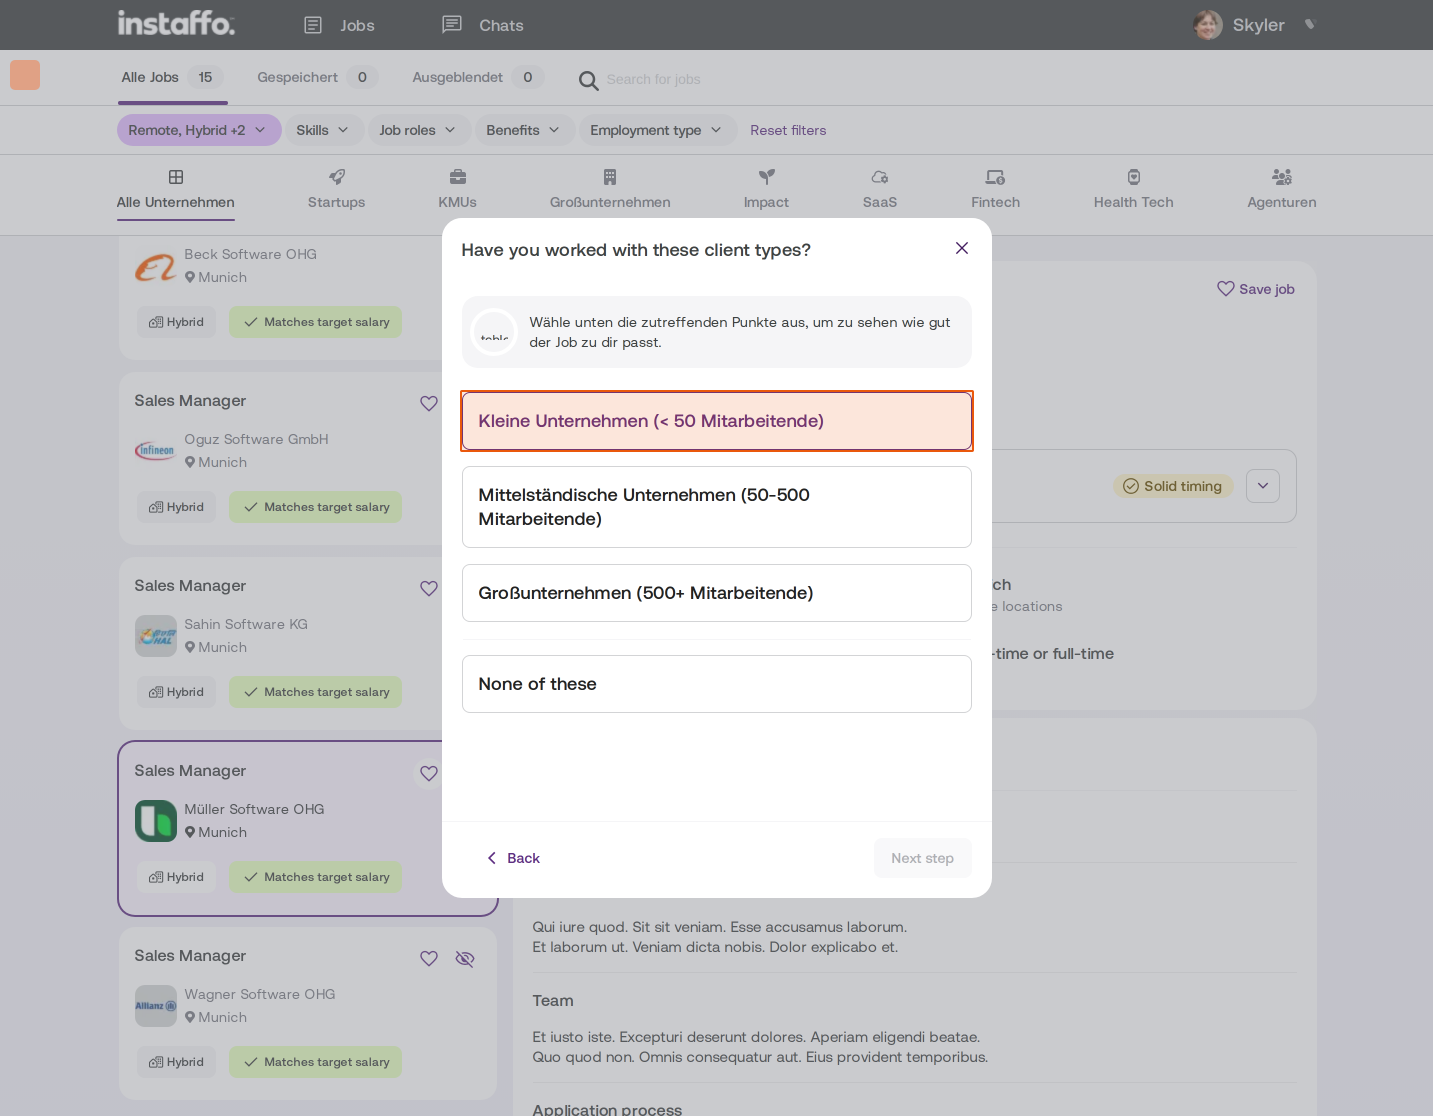
For sales positions, talents are asked about their experience with different customer groups and company sizes. -
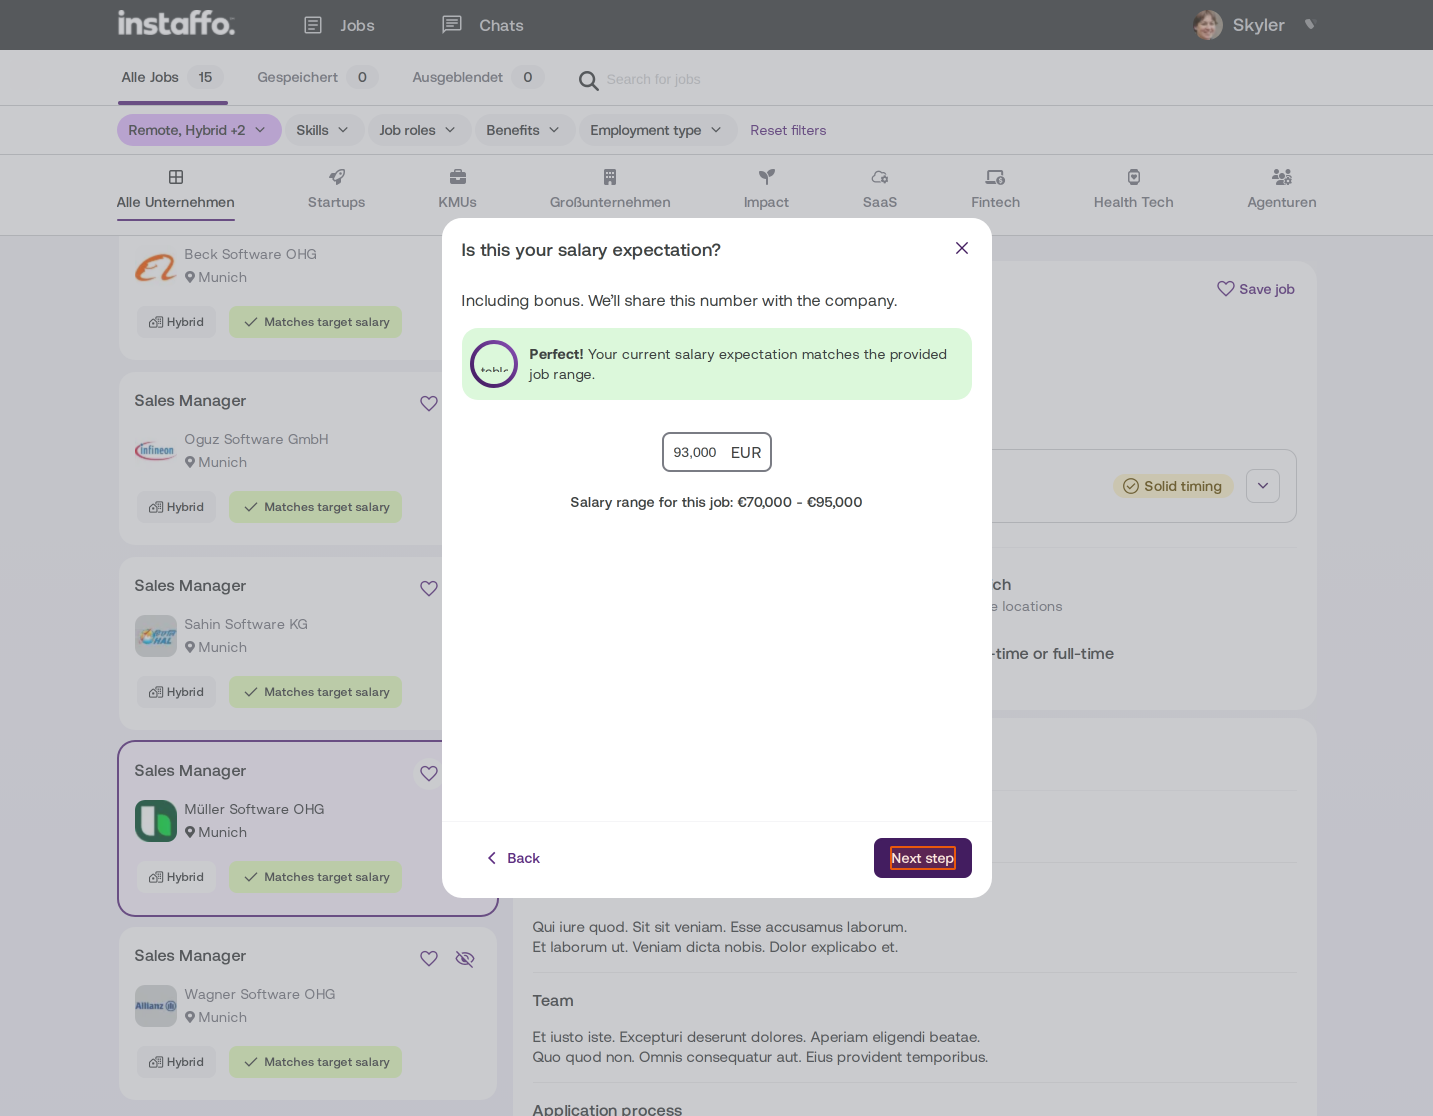
Salary expectations
The talent's salary expectations are matched against the salary range specified for the position. -
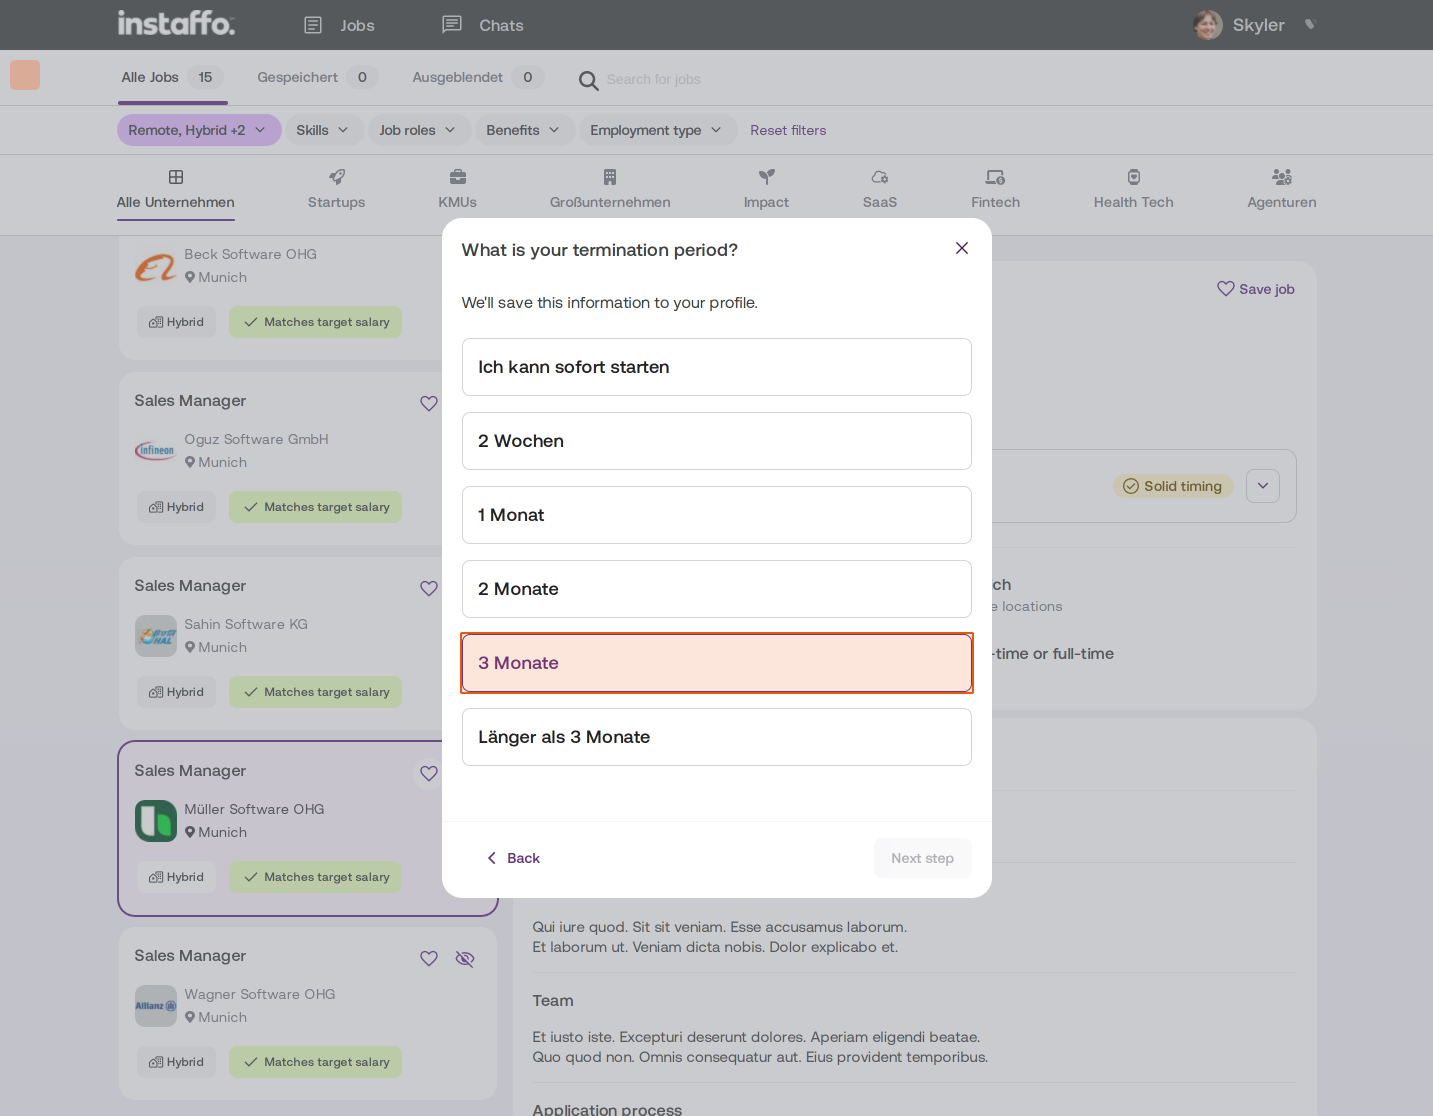
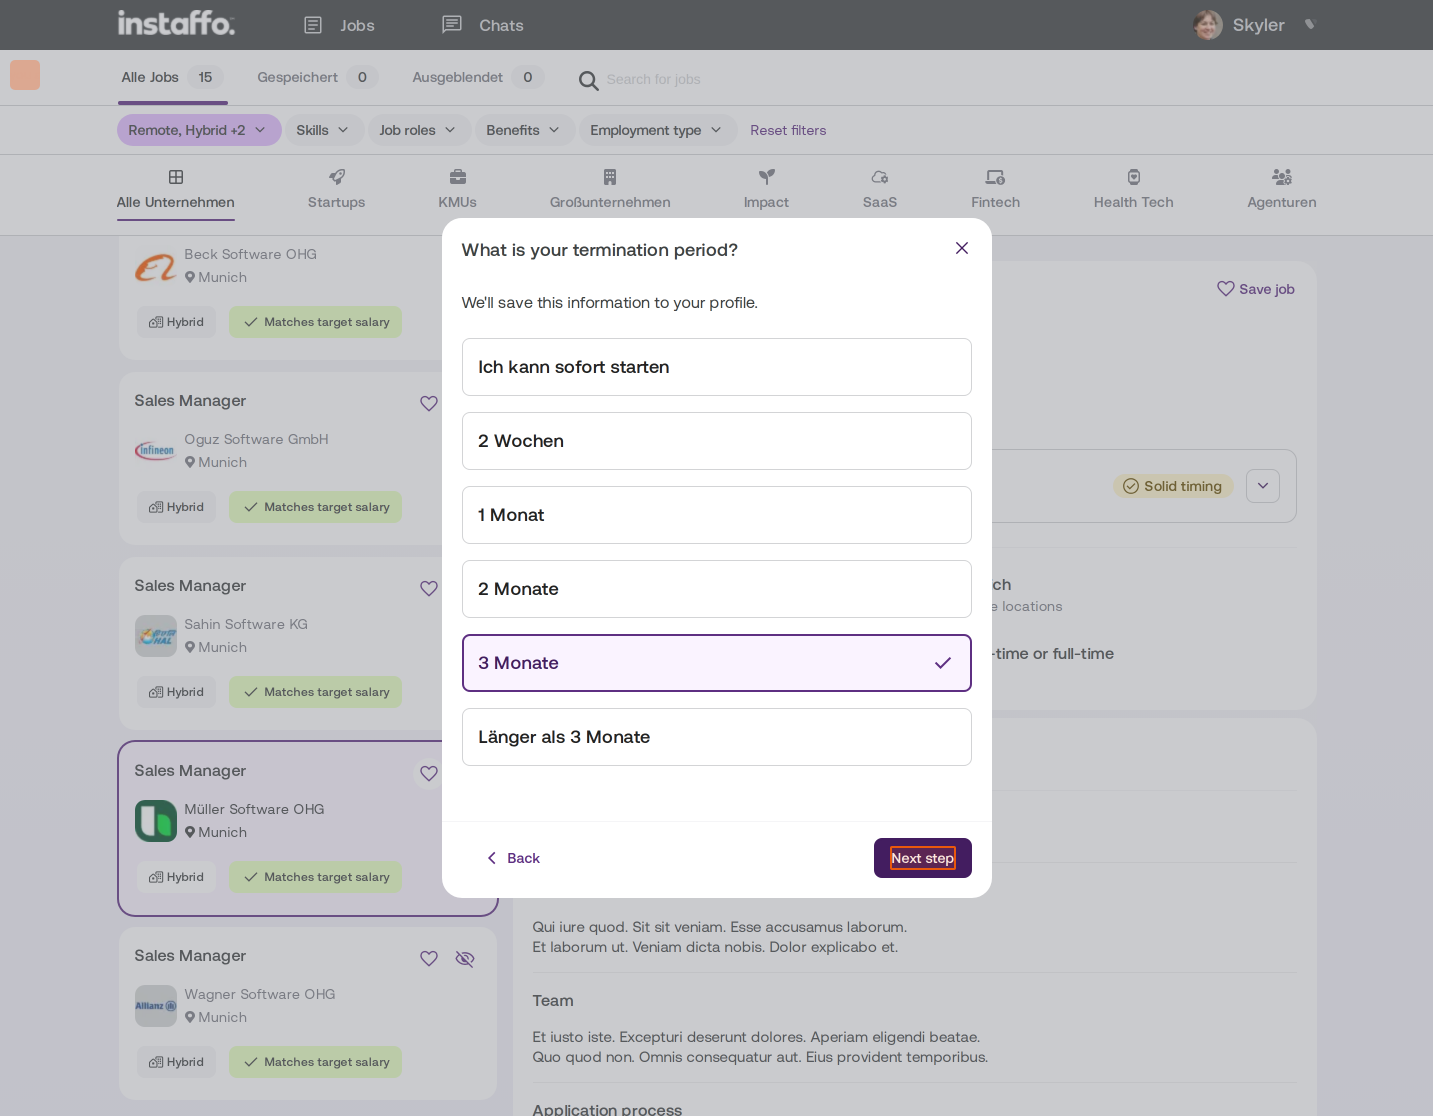
Notice period
The talent indicates their current notice period. -
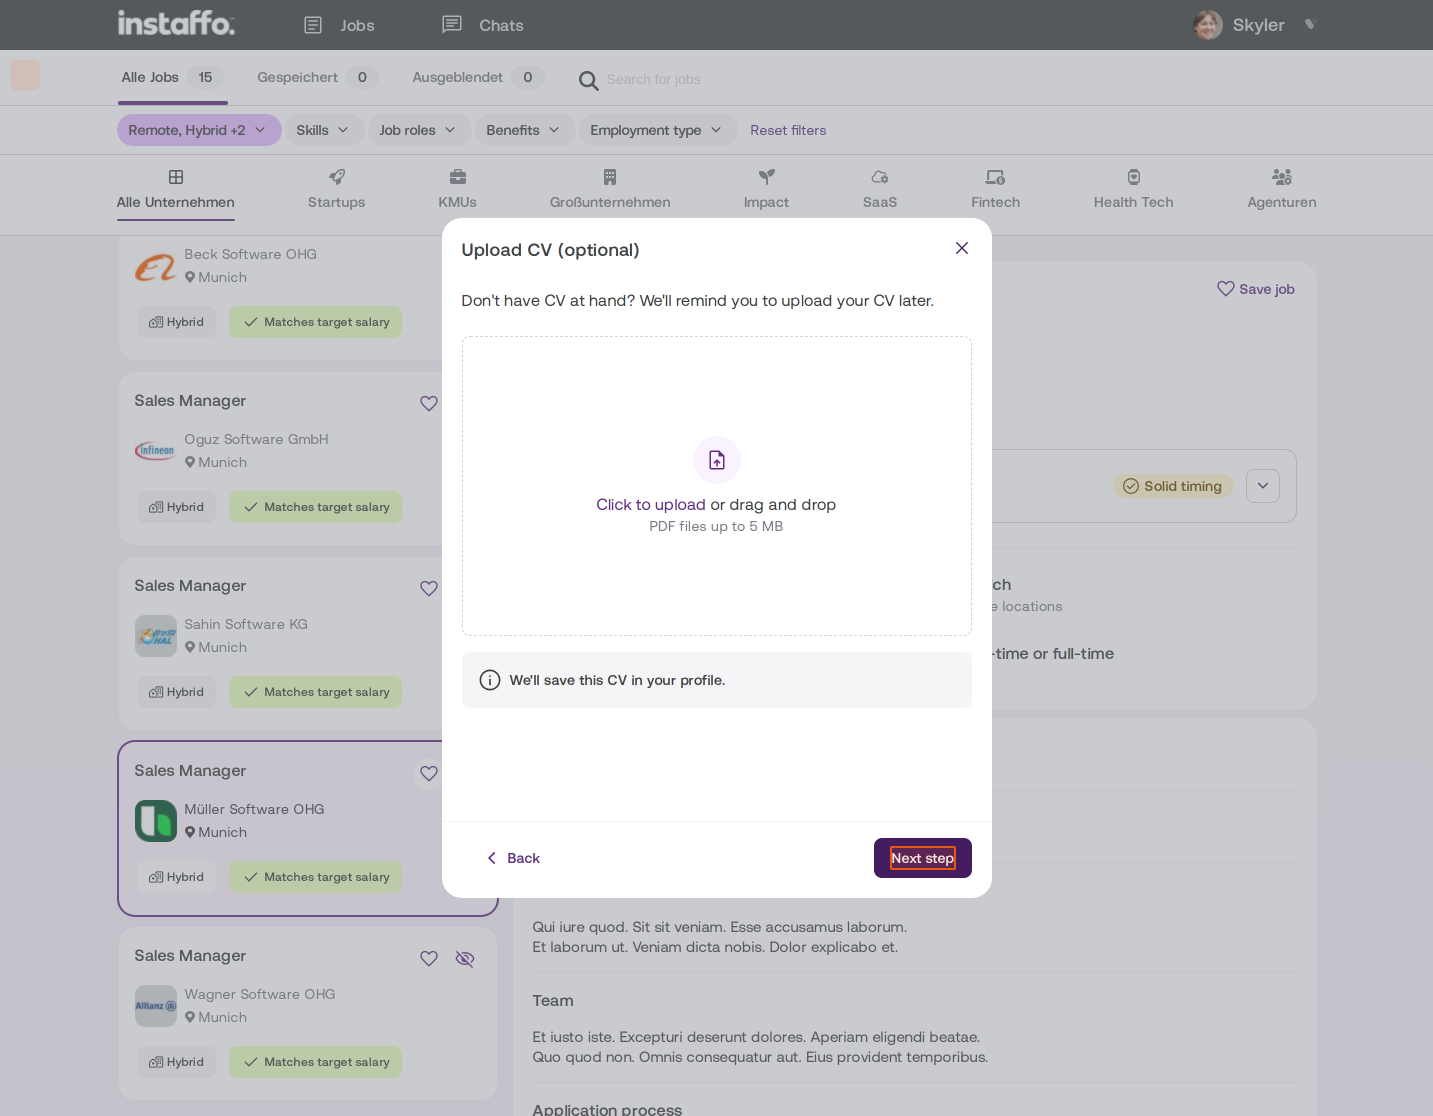
CV upload
Optionally, the talent can upload a CV directly. -
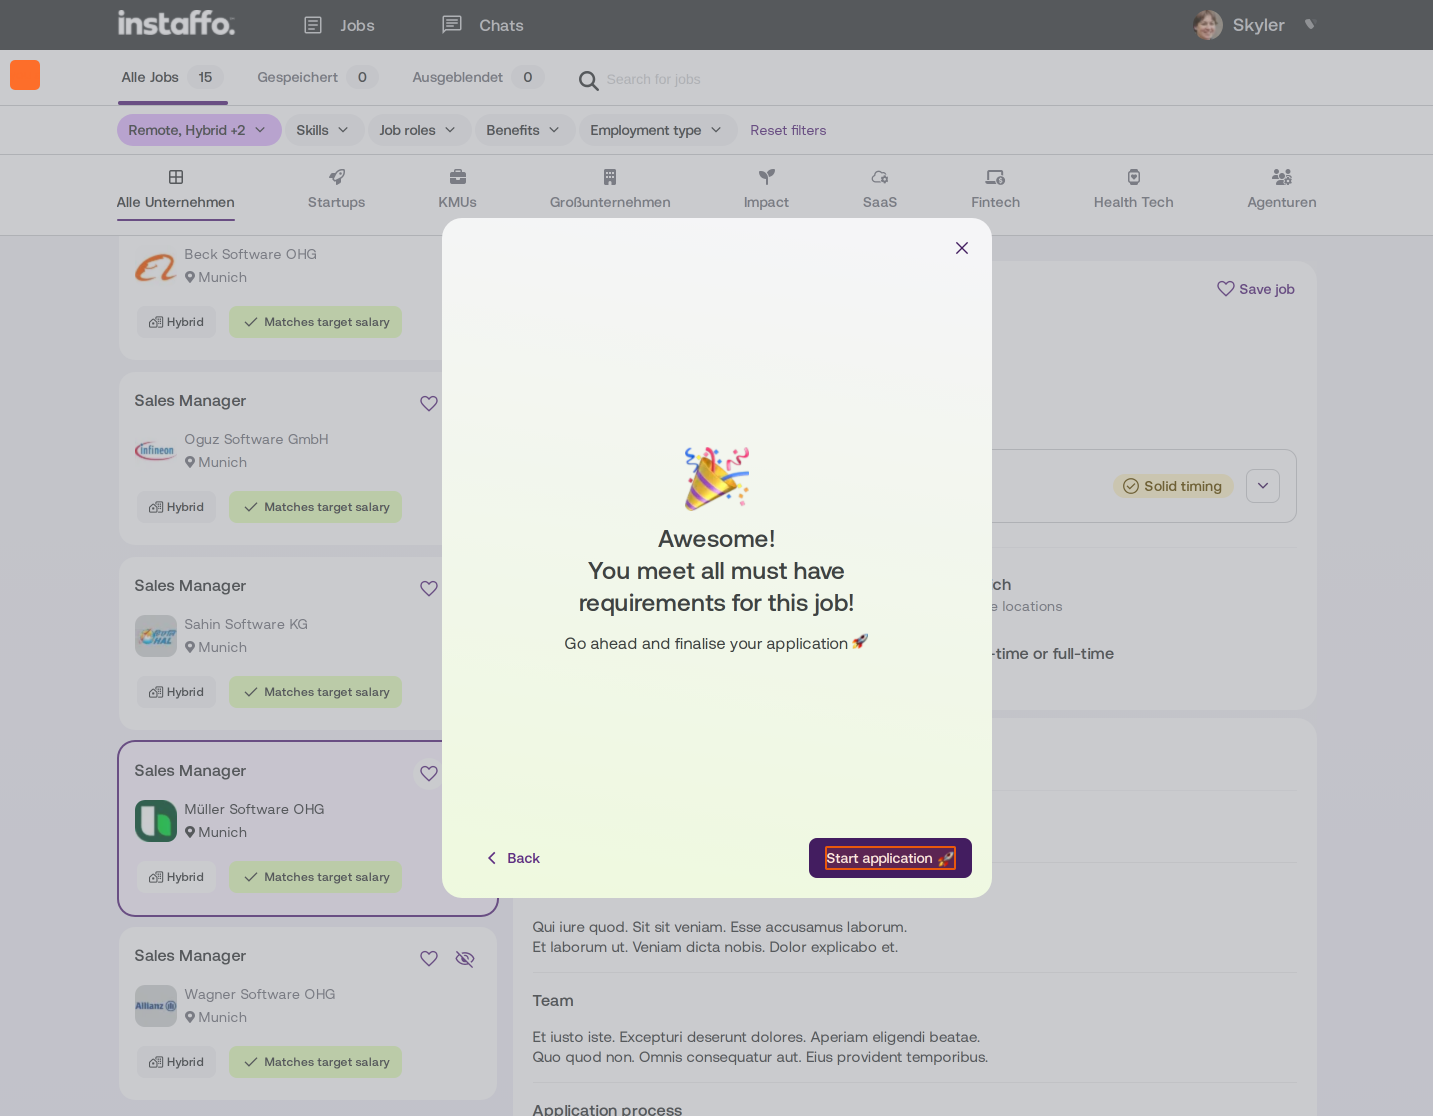
Complete application
Once all requirements are met, the talent can finalize their application.
Evaluate screening results
-
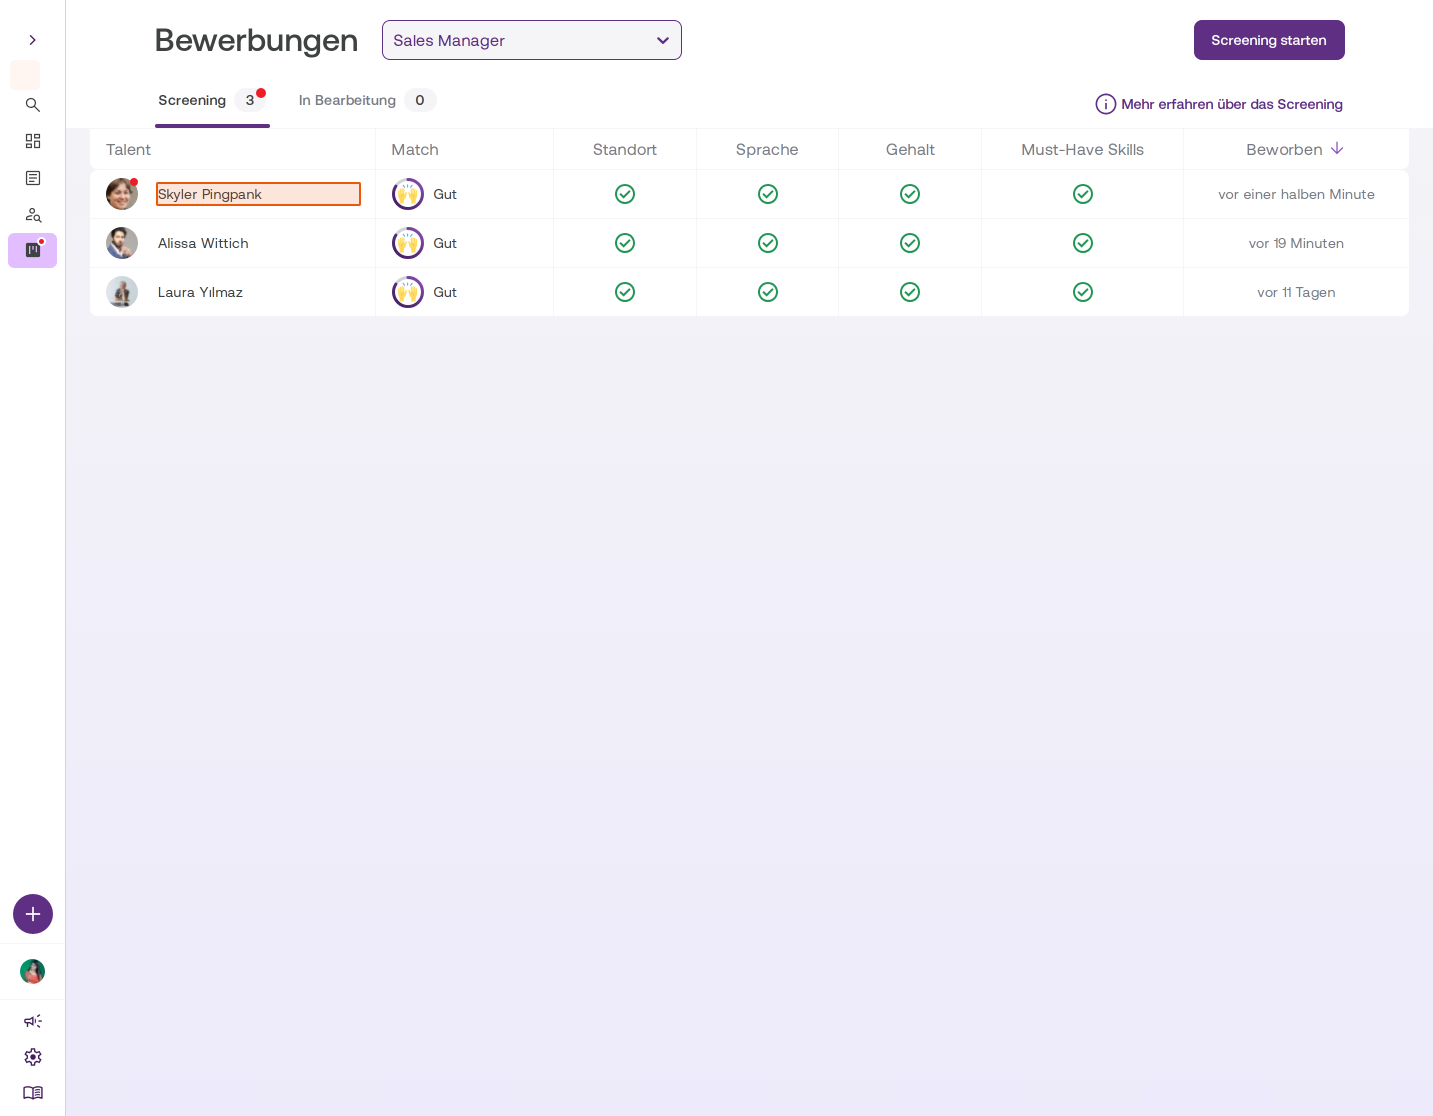
View applications in screening
In the Applications section, find all received applications under the Screening tab. The view automatically groups applications: talents who meet all hard facts appear in the "Qualified" group, while talents with unmet requirements appear in the "Unqualified" group. Empty groups are automatically hidden. For each application, you see requirement tags and match indicators for AI match, location, language, and salary. -
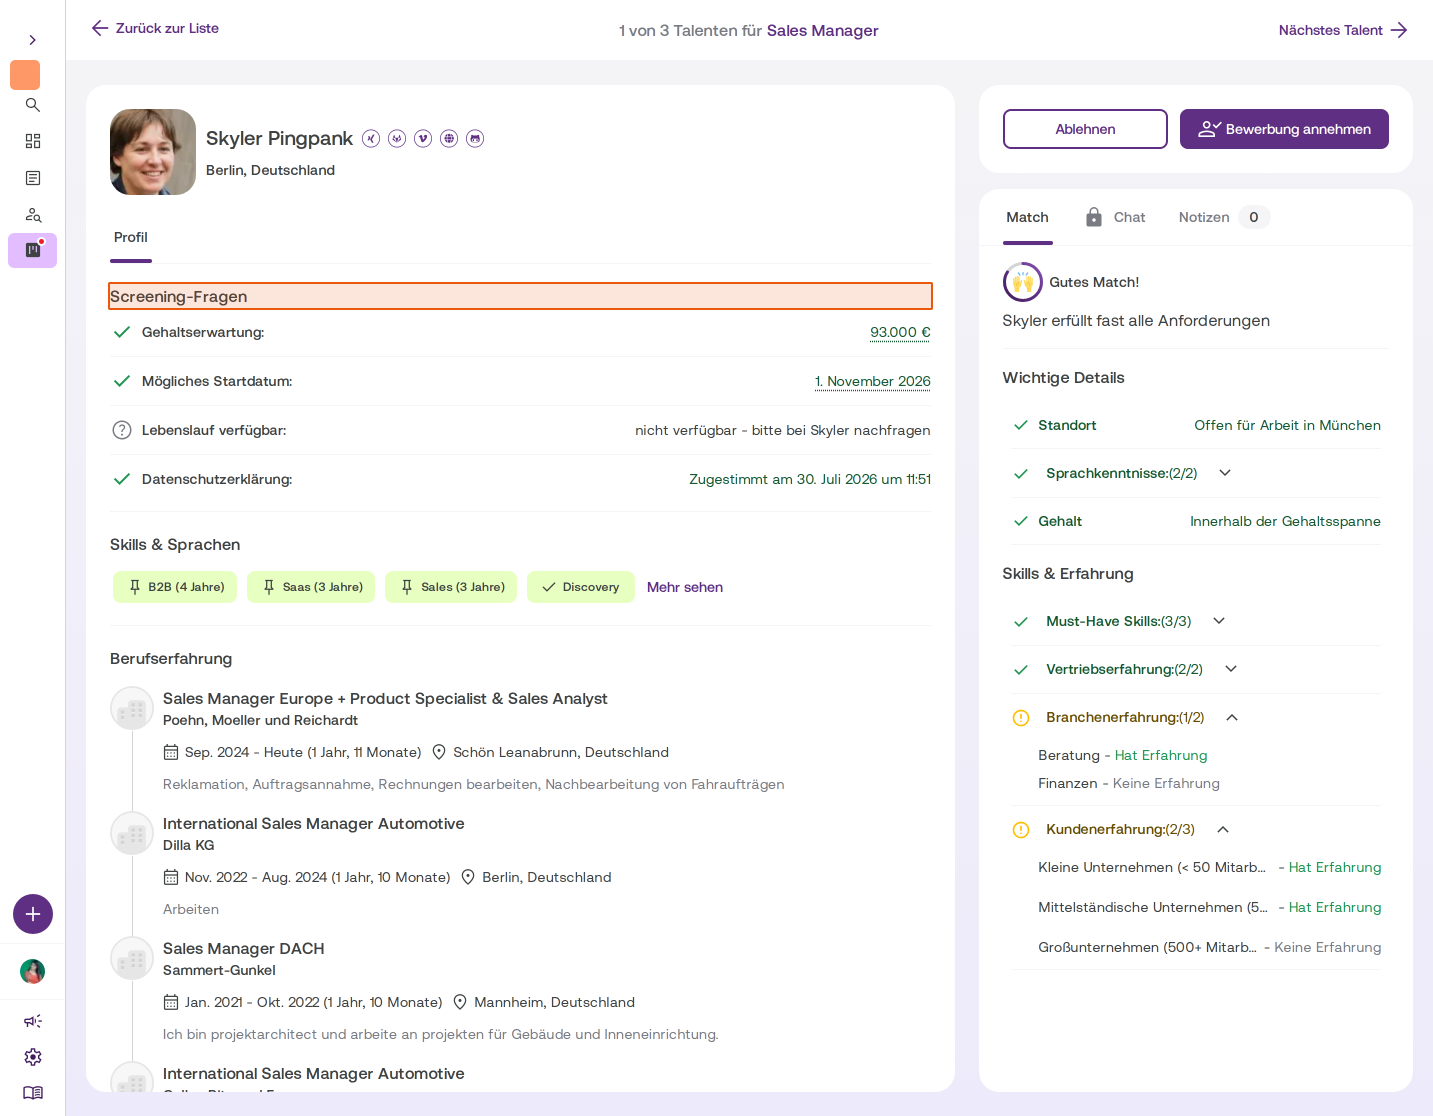
Analyze talent profile
Click on a talent to open their detailed profile. In the Screening Questions section, you'll see the talent's answers:- Salary expectations
- Possible start date
- CV availability
- Privacy policy
-
Check match details
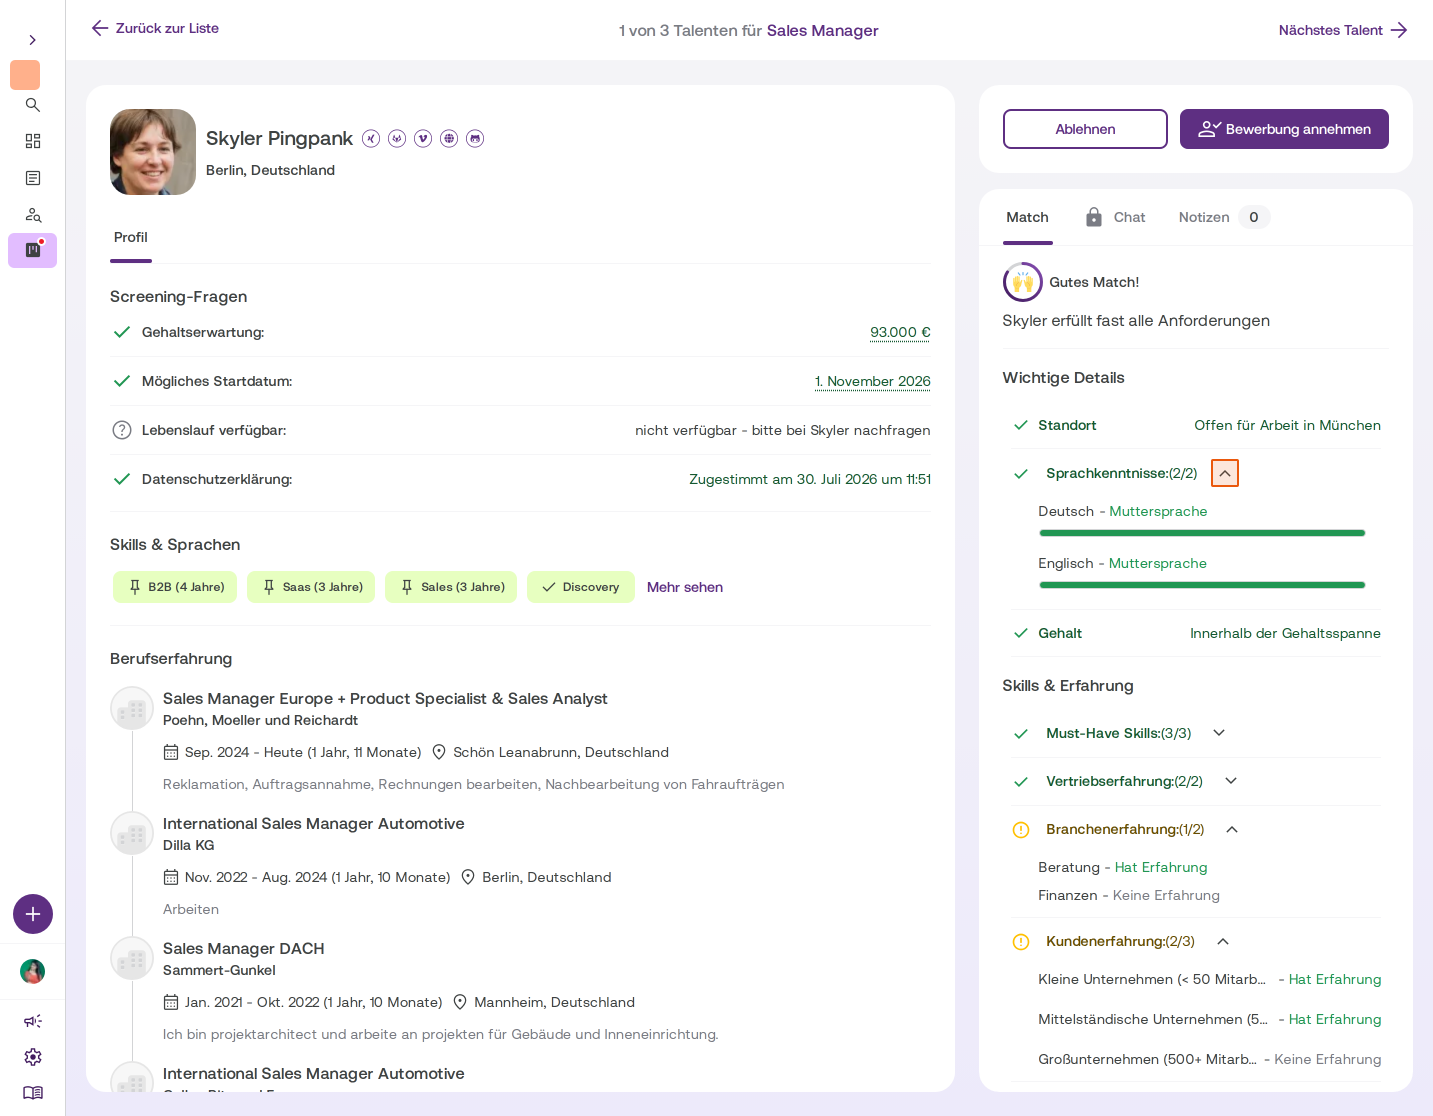
In the right sidebar under the Match tab, you'll find an overview of all important details:- Key details: Location, language skills, salary
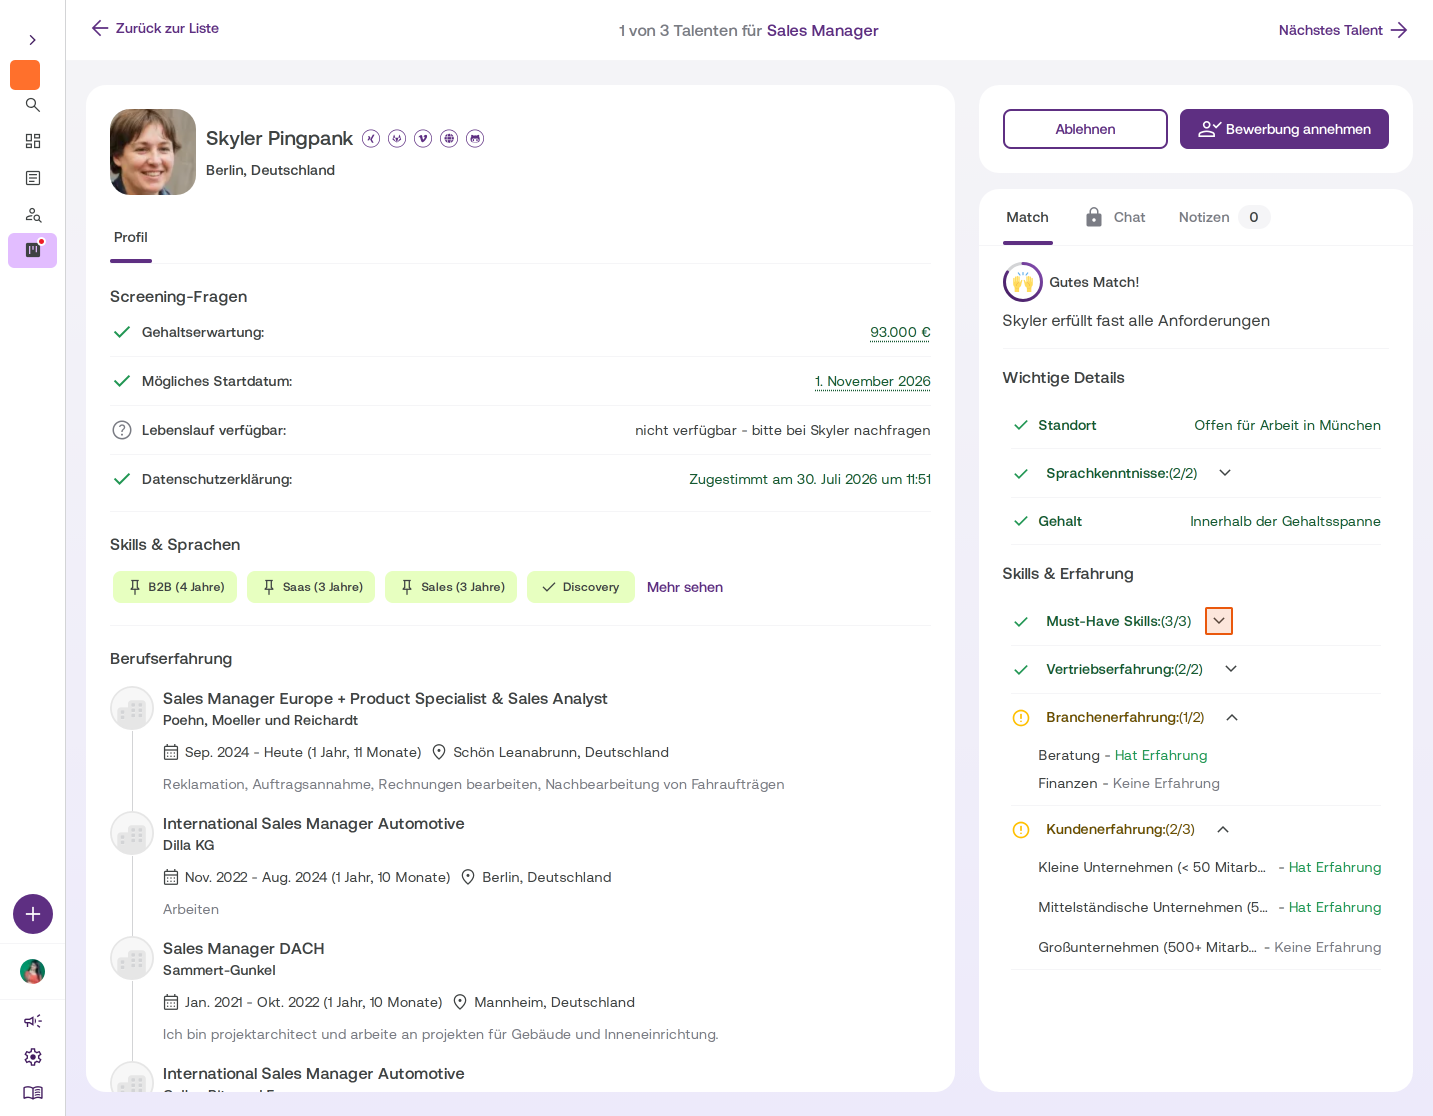
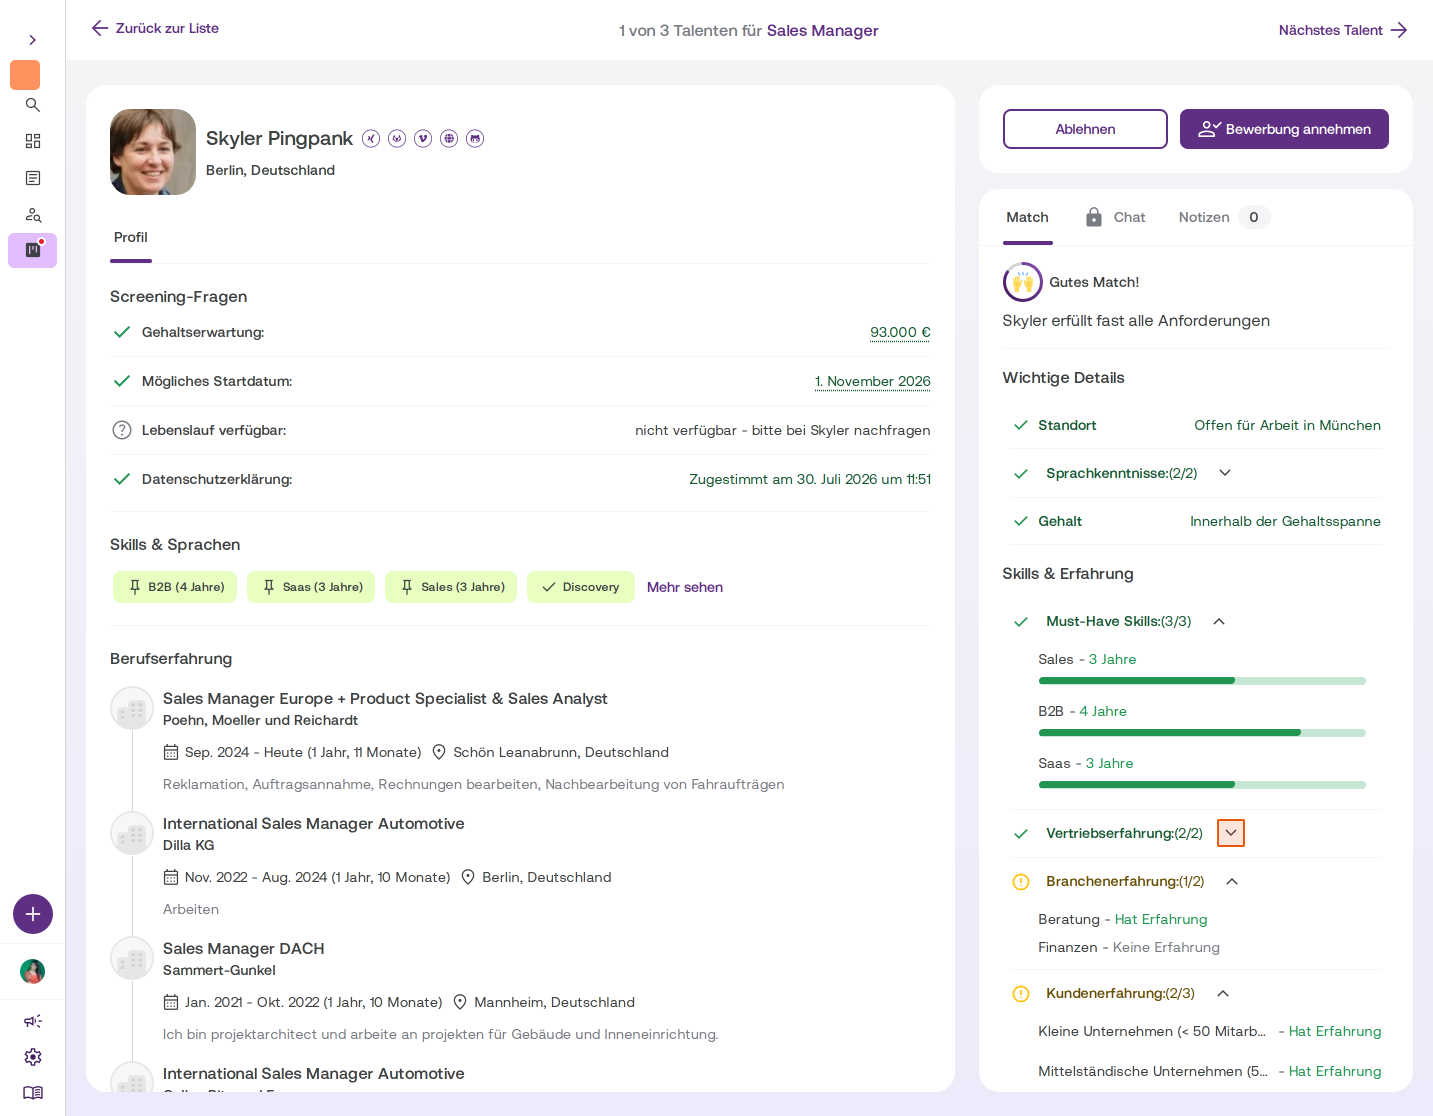
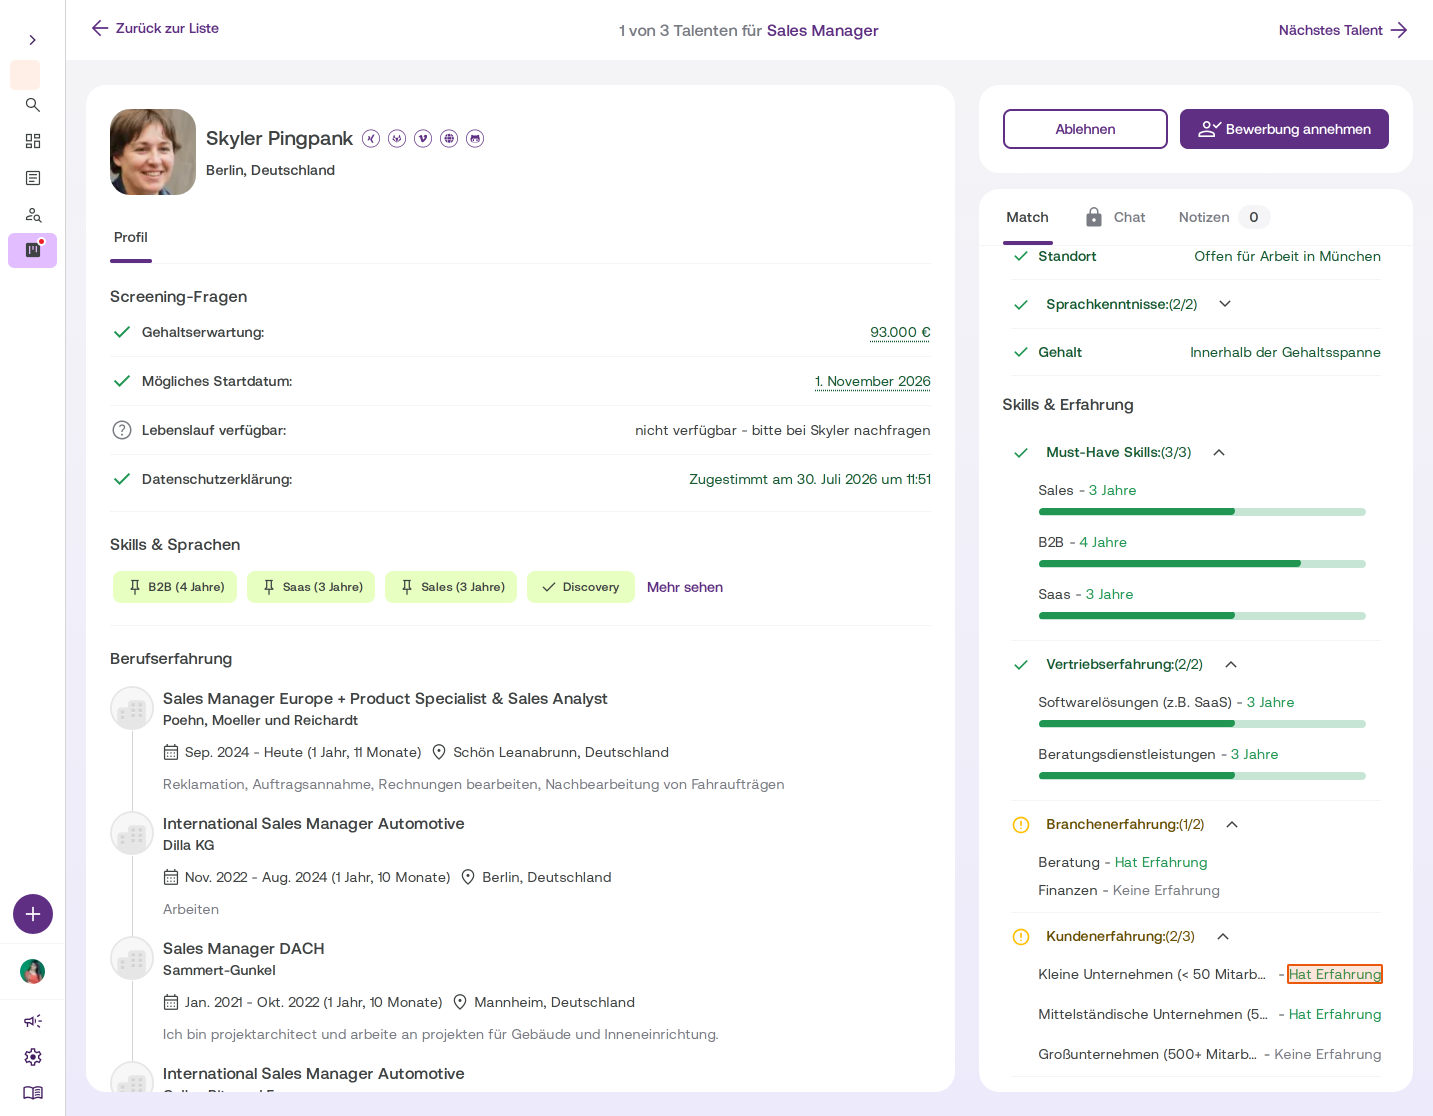
- Skills and experience: Must-have skills, sales experience, industry experience, customer experience
Click on individual categories to see detailed information, like how many years of experience the talent has with specific skills.
After completing the configuration, you'll automatically receive a structured overview with each new application showing how well the talent matches your defined requirements, allowing you to make quick, informed decisions.
 Powered by happysupport.ai